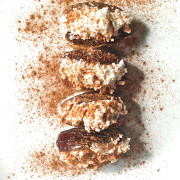
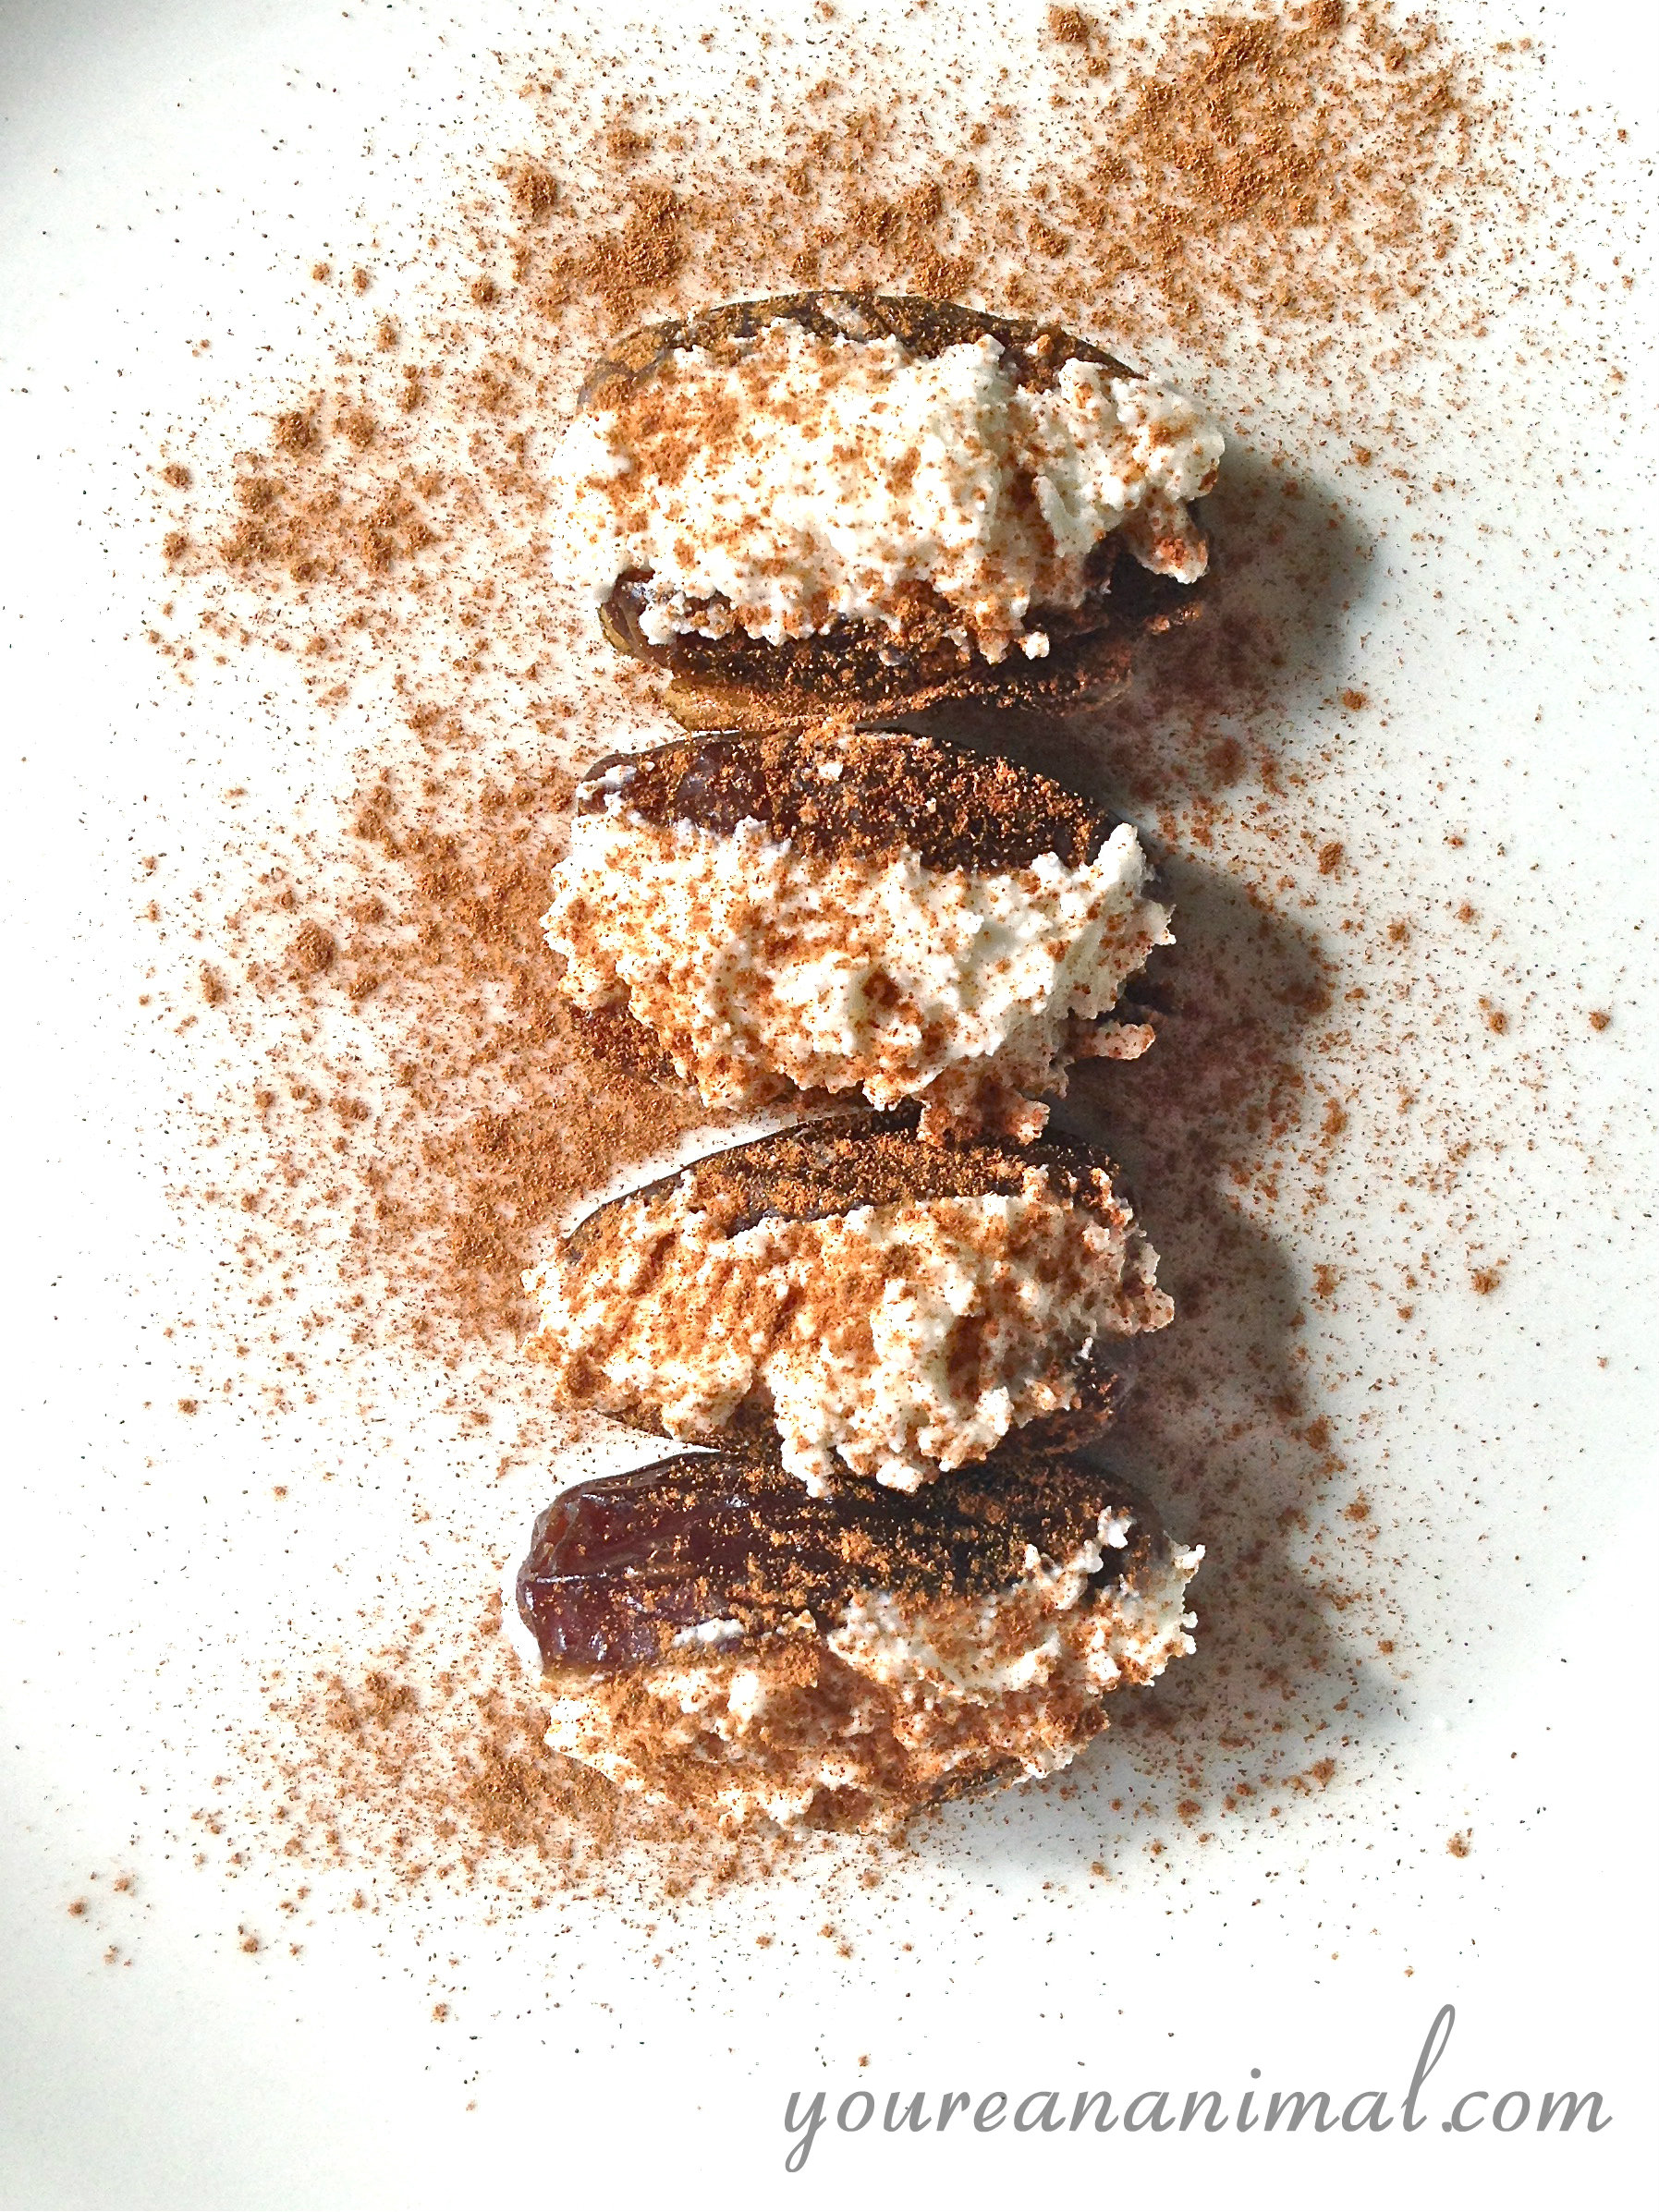
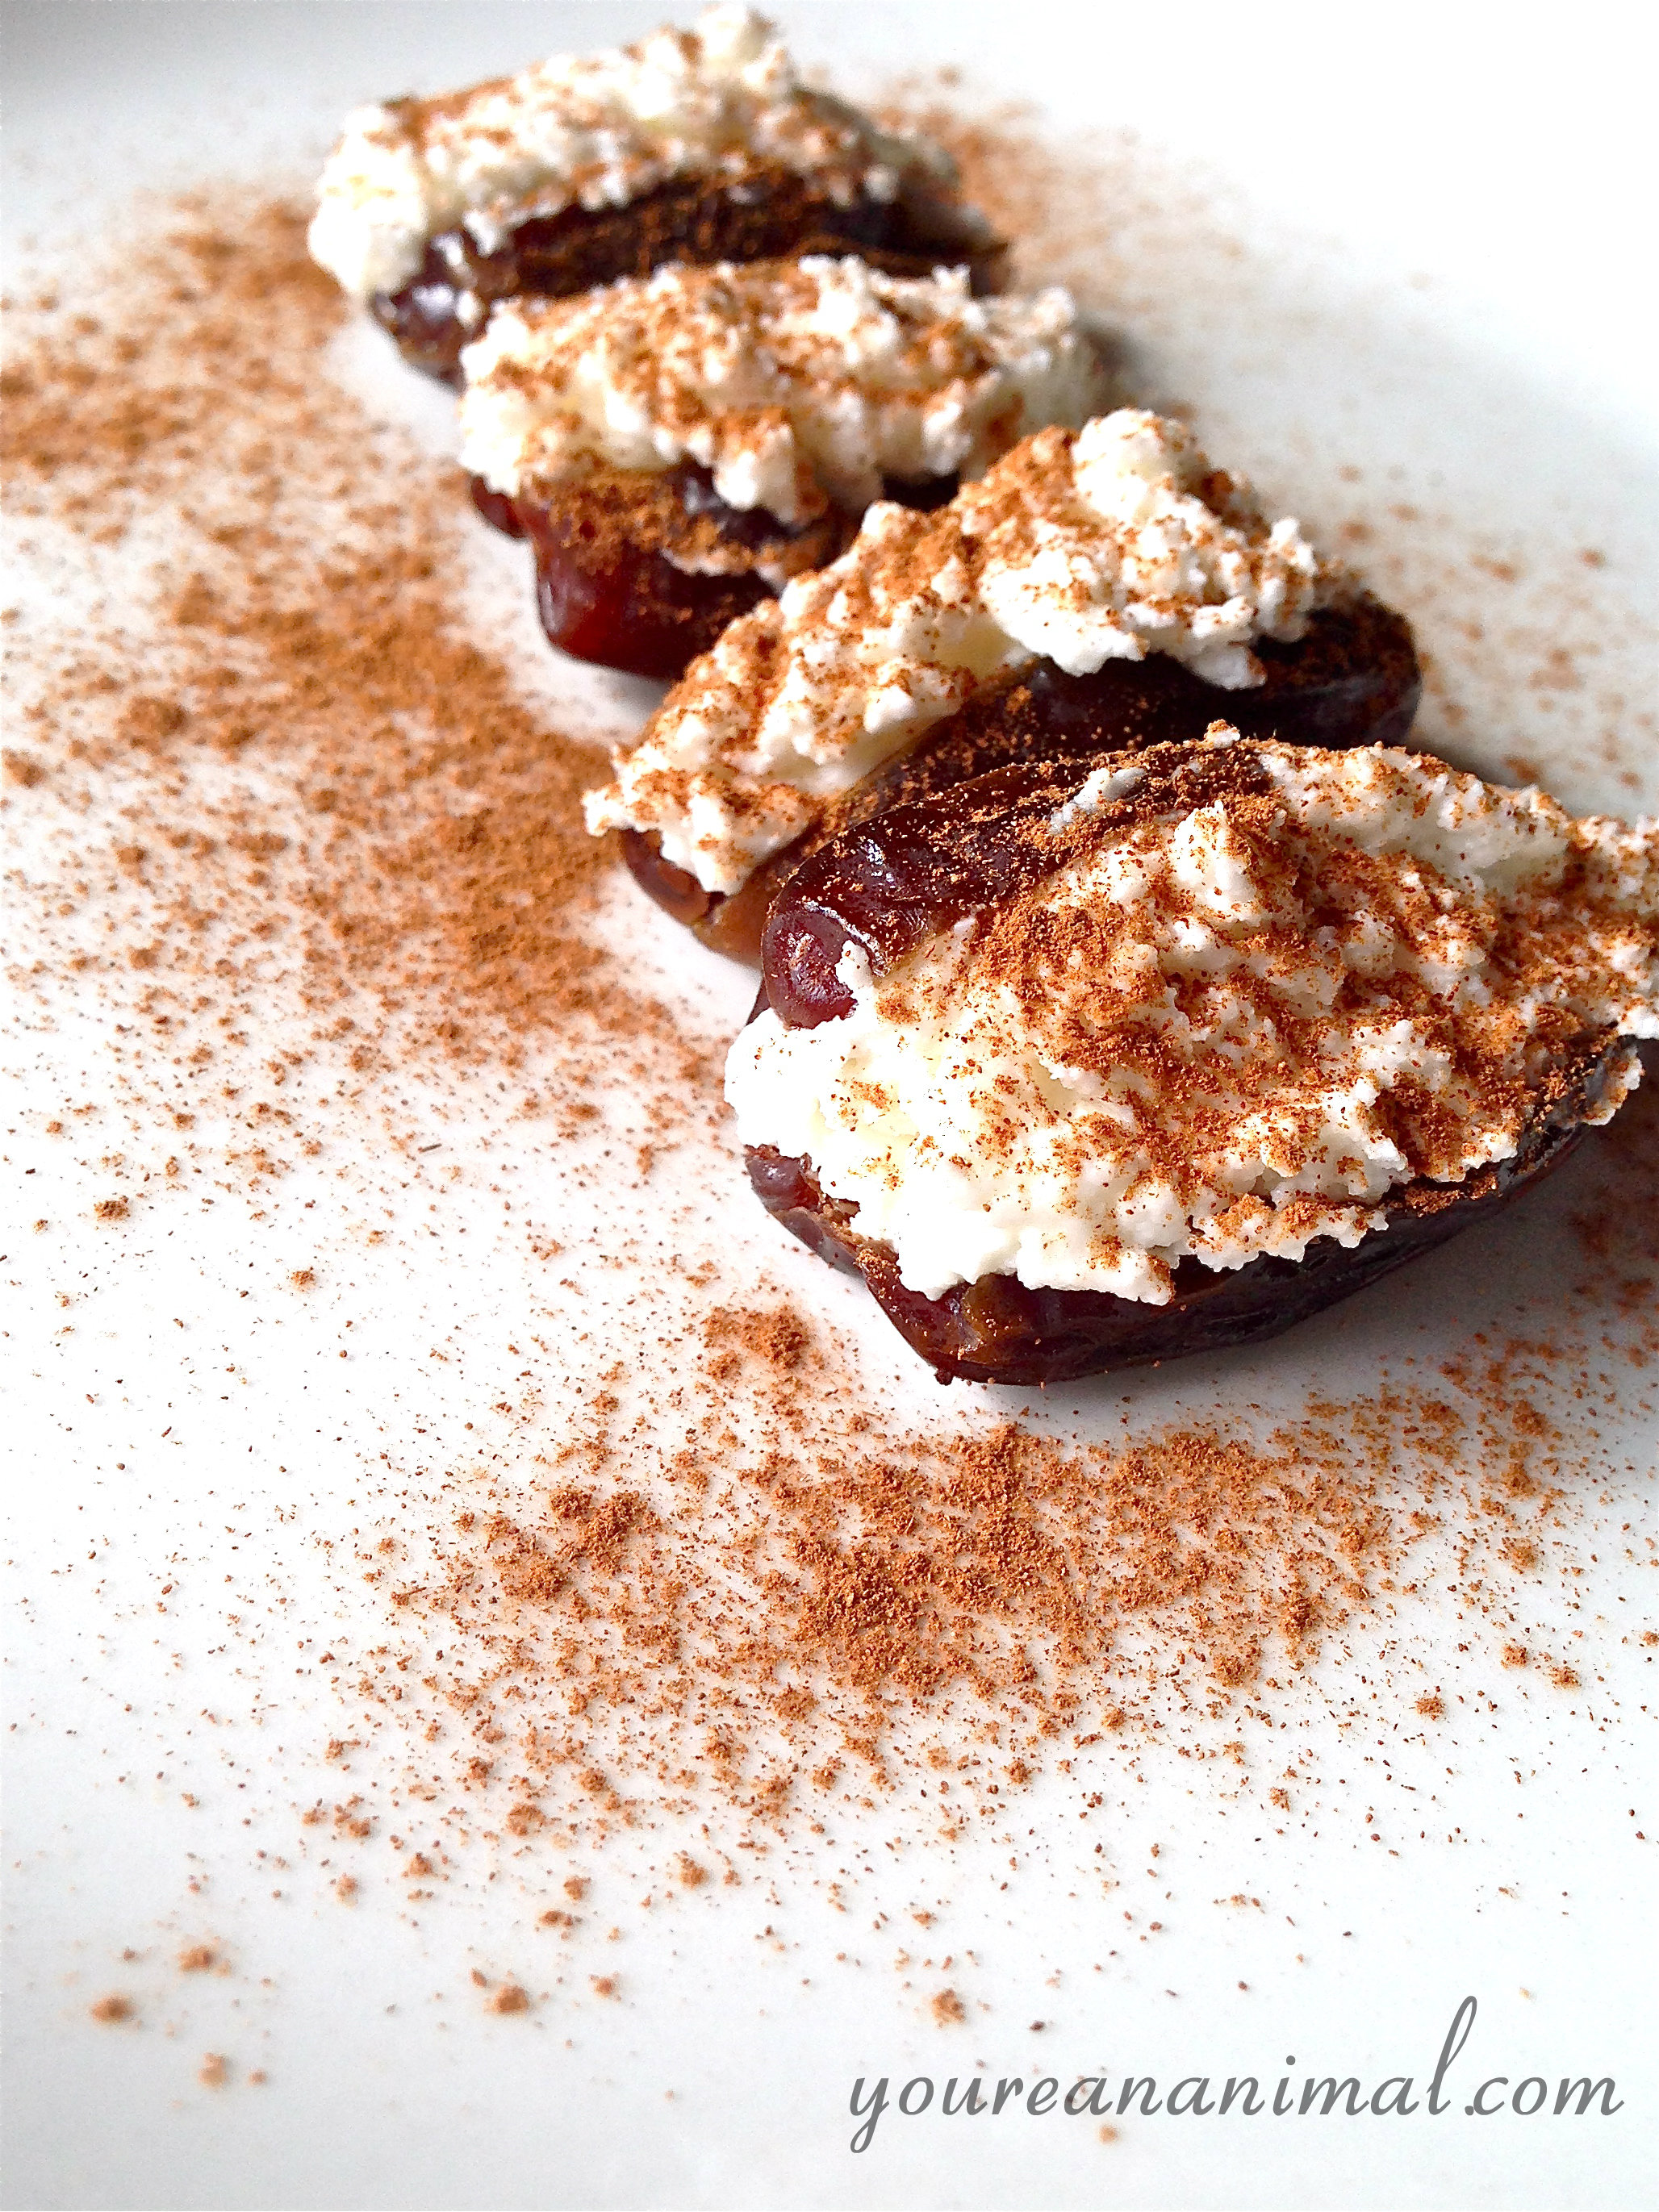
Cinnamon Goat Cheese Stuffed Dates
Okay, so this is more of a concept than a recipe since it’s so simple, but it’s a darn good concept at that! Vaguely reminiscent of a cinnamon roll (Andrew says my imagination was stretching on that one… maaaybe I just really wanted a cinnamon roll), this sweet treat is easy to whip up by the army-full. Just be careful, dates are only of the most sugar-filled fruits you can eat– about 5 grams of sugar per date. And trust me, it would be easy to go wild with these. These sweet, creamy, spicy bites were part of my post-workout routine a couple of days ago (the other part included a big ol’ hunk of grass-fed sirloin, ohhh yeahhhh), and they hit the spot perfectly. The slightly sour, creamy bite of the goat cheese pairs perfectly with the cloyingly sweet dates, and the cinnamon brings both flavors together perfectly for an addictive, small snack, appetizer or dessert. By the way, have you noticed a theme in the recipes lately? Lots of goat cheese… LOTS O’ GOAT CHEESE. Our fridge and freezer has been filled with it lately, because a friend of Andrew’s went out to a local goat farm and brought us back several tubs. I’m not complaining though, the stuff is amazingly fresh (straight from the source is always the best tasting!), and the exact consistency of ricotta but without the lactose and casein. Plus a lot of good stuff, like calcium. So, hang with me on the goat cheese recipes, I promise they will run out… eventually.
Cinnamon Goat Cheese Stuffed Dates
- 4 pitted dates
- 1/4 cup soft goat cheese (like Chev)
- cinnamon for dusting
- Using about 1 tbsp of goat cheese per date, use a butter knife to stuff the dates with the goat cheese.
- Dust the stuffed dates with cinnamon, or you can alternatively mix the cinnamon into the goat cheese prior to stuffing the dates.
- That’s it.


 Products Featured In This Post: