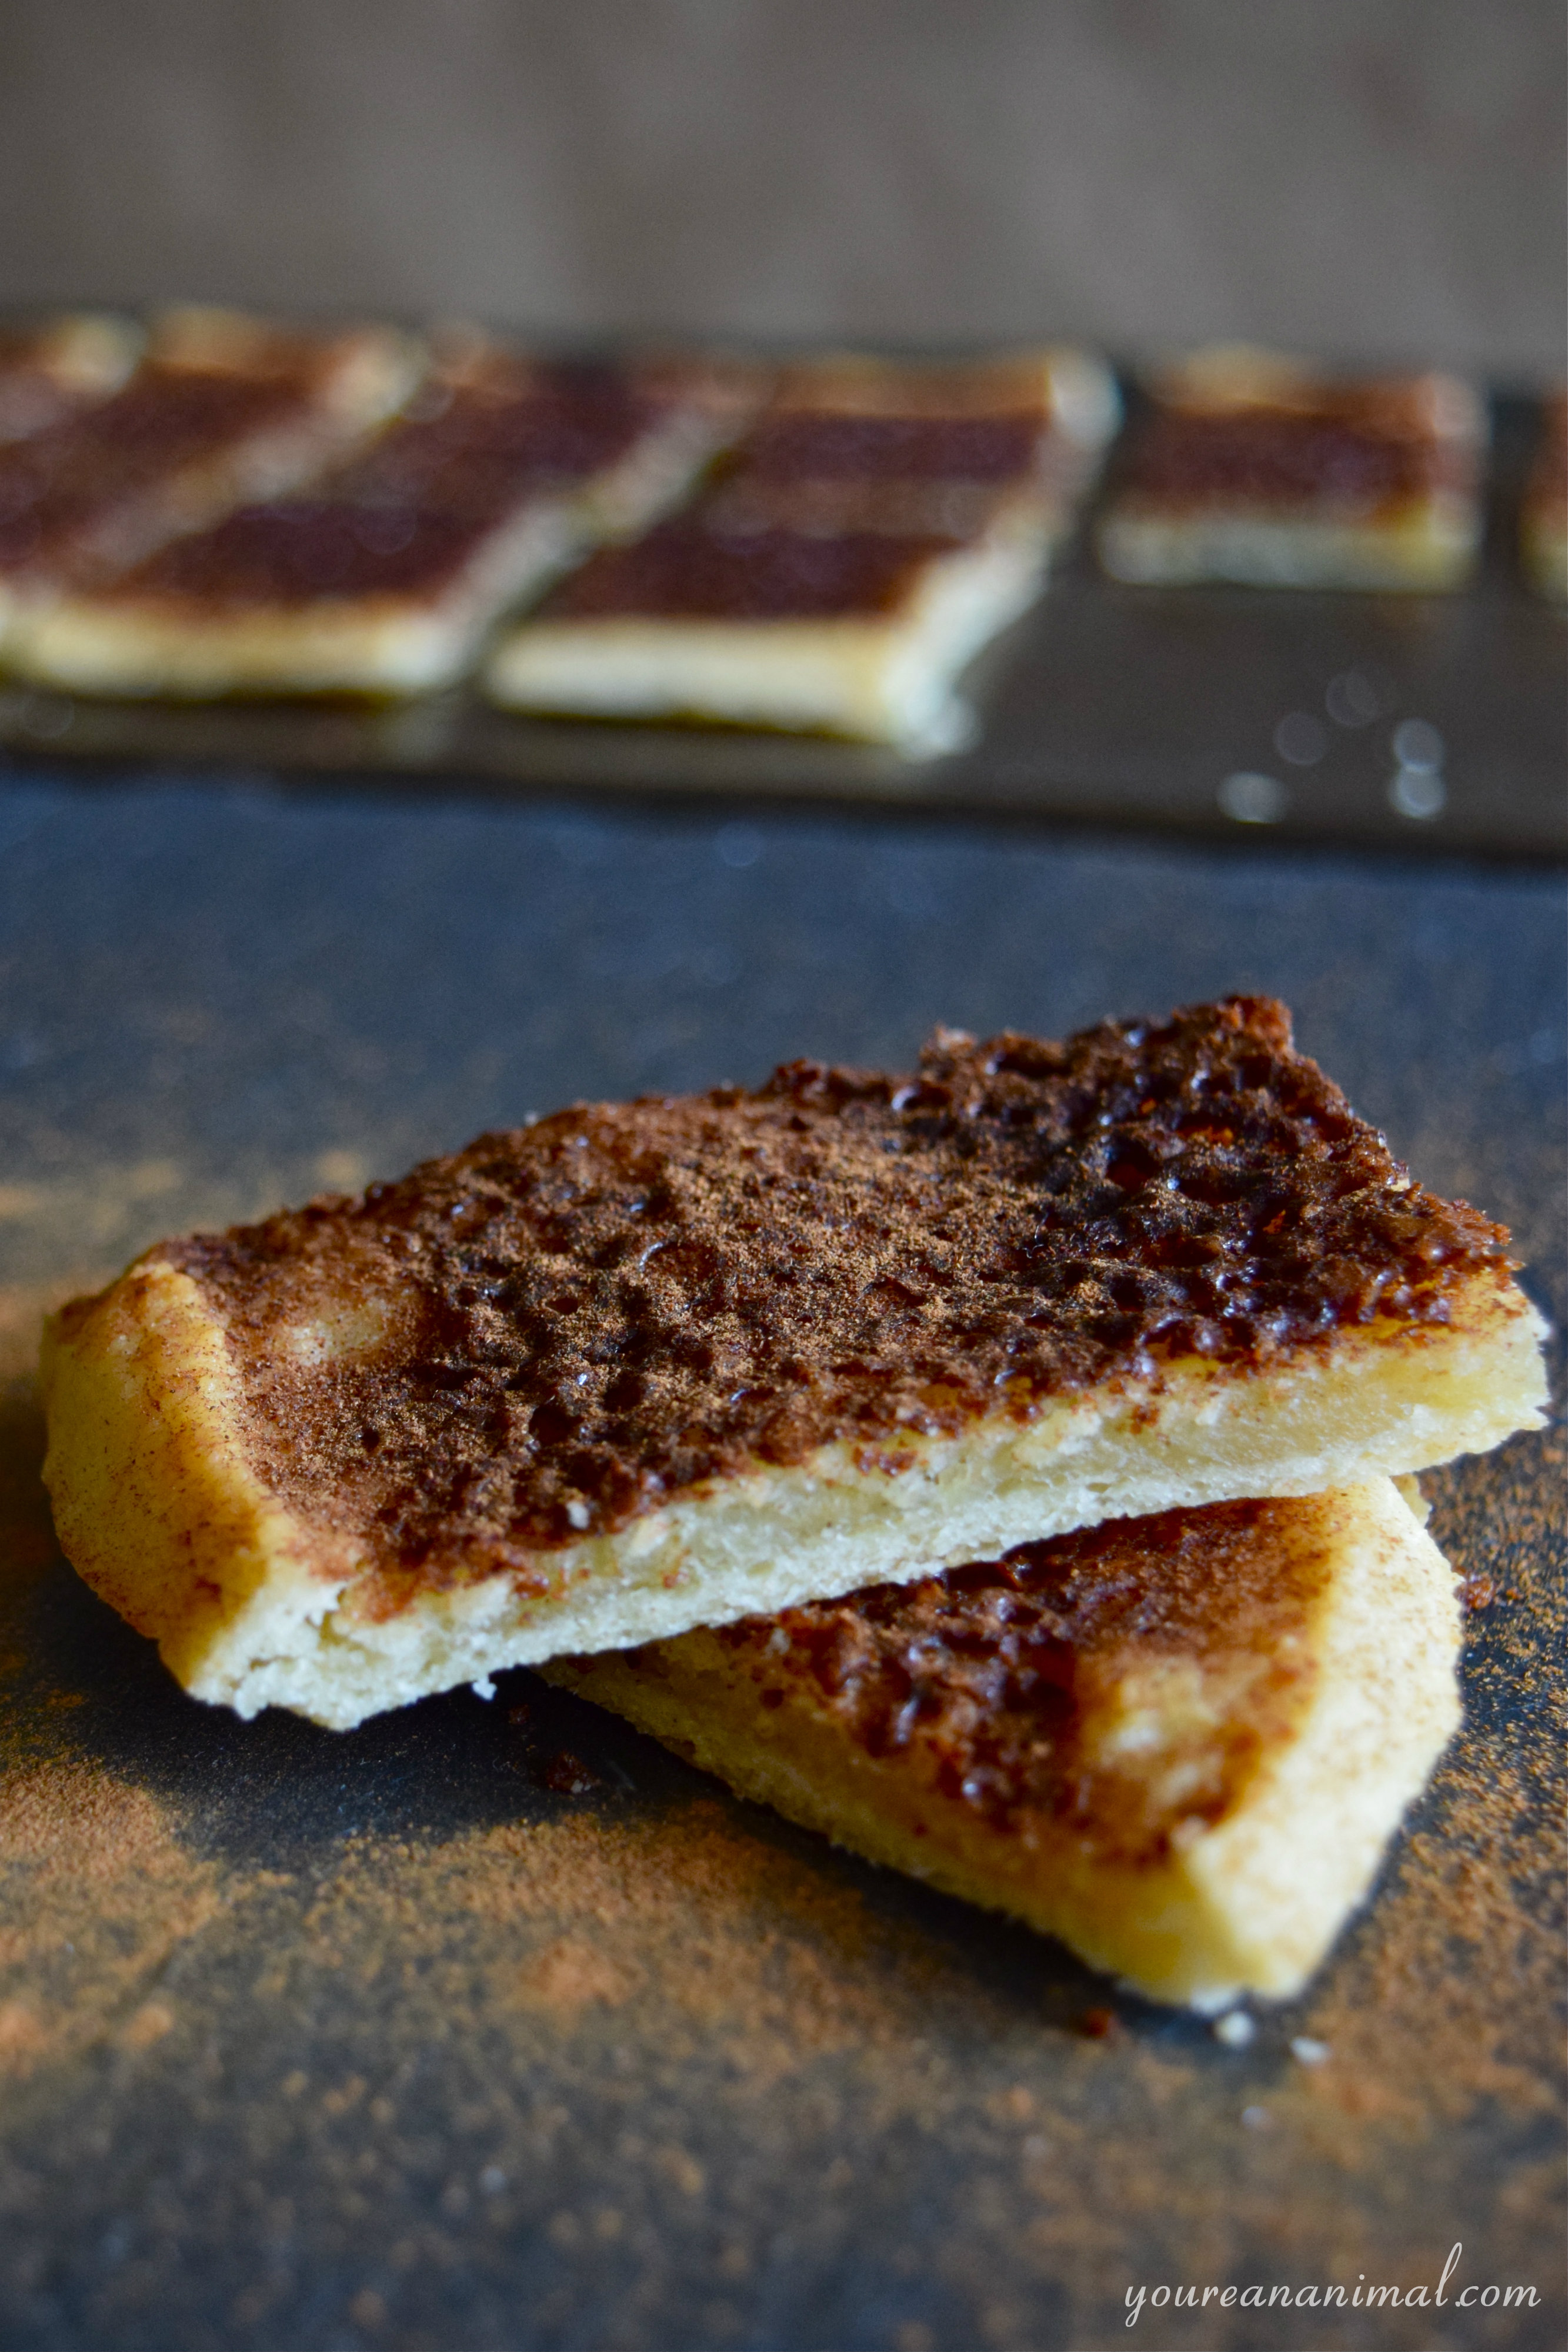
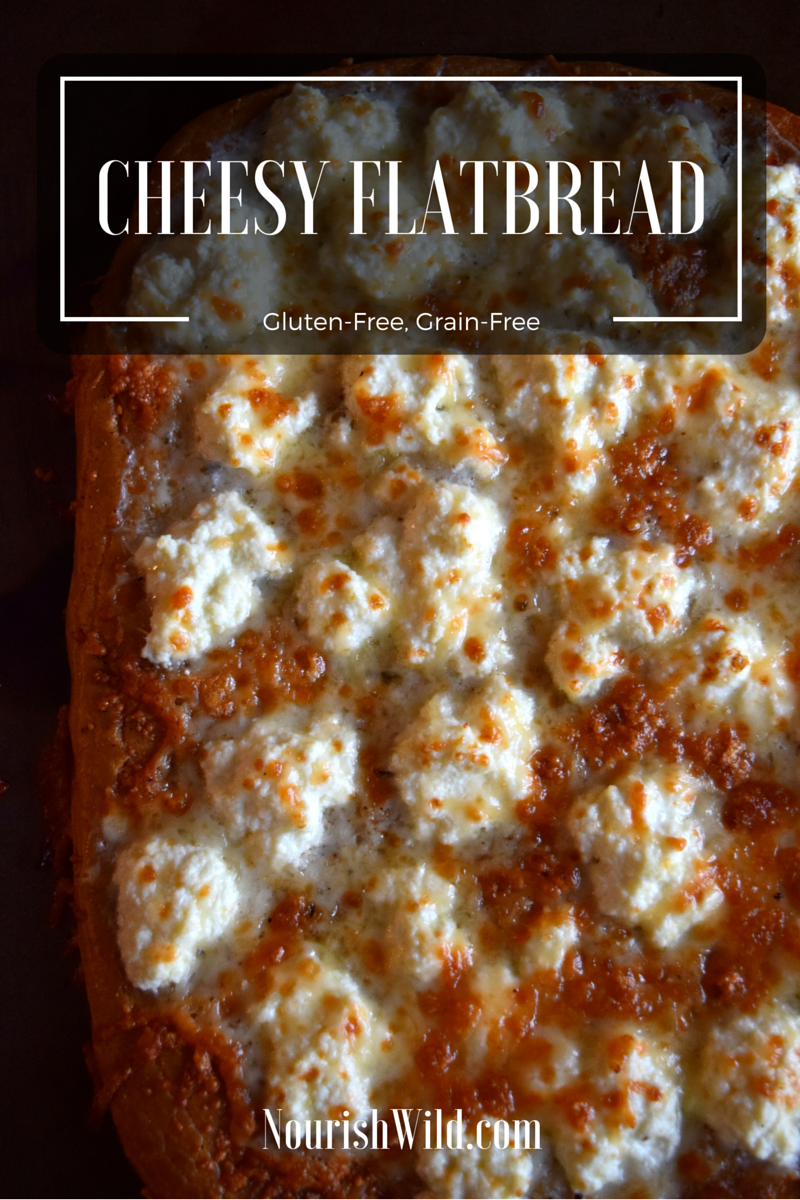
Cheesy Flatbread (Gluten-Free, Grain-Free)

Sometimes you need cheesy bread. It’s a great snack or side dish to have on, say, a Sunday football afternoon with a fruit and veggie platter and other various finger foods. This flatbread is full of flavor, it’s creamy and gooey, and it has a crispy outer edge that just screams “comfort food.” Plus, it’s made with quality ingredients like grass-fed cheese and avocado oil, and is also gluten-free and grain-free!

Cheesy Flatbread Gluten Free Grain Free Nourish Wild

We’re into Day 3 of being snowed in here in RVA. The sun is finally shining after a solid 36 hours of legitimate blizzard conditions, but the roads are still crazy bad at the moment because Virginia has no idea how to handle snow. Most of the Richmond area got about 12 inches, but my friends in the valley got closer to 2 feet. I can’t imagine how long they’ll be stuck at home! As for us, we can’t even get out of our parking lot (we’ve watched many of our neighbors try and struggle or fail), so we’ll just be over here eating. As usual.

Luckily, I planned ahead and bought lots (and lots and lots) of food. I was one of those crazy people fighting for a shopping cart and waiting 30 minutes to check out at the grocery store. We could probably be snowed in another few days and be a-okay in the food department. The sanity department though? Not sure about that.

Cheesy Flatbread Gluten Free Grain Free Nourish Wild

One of the must-haves this weekend was this Cheesy Flatbread. I used to make this with store-bought pizza dough at least twice a week in college. These days, however, I make my own flatbread dough– that way it’s both gluten-free and grain-free. Less junky ingredients, less guilt in my book.

Cheesy Flatbread Gluten Free Grain Free Nourish Wild

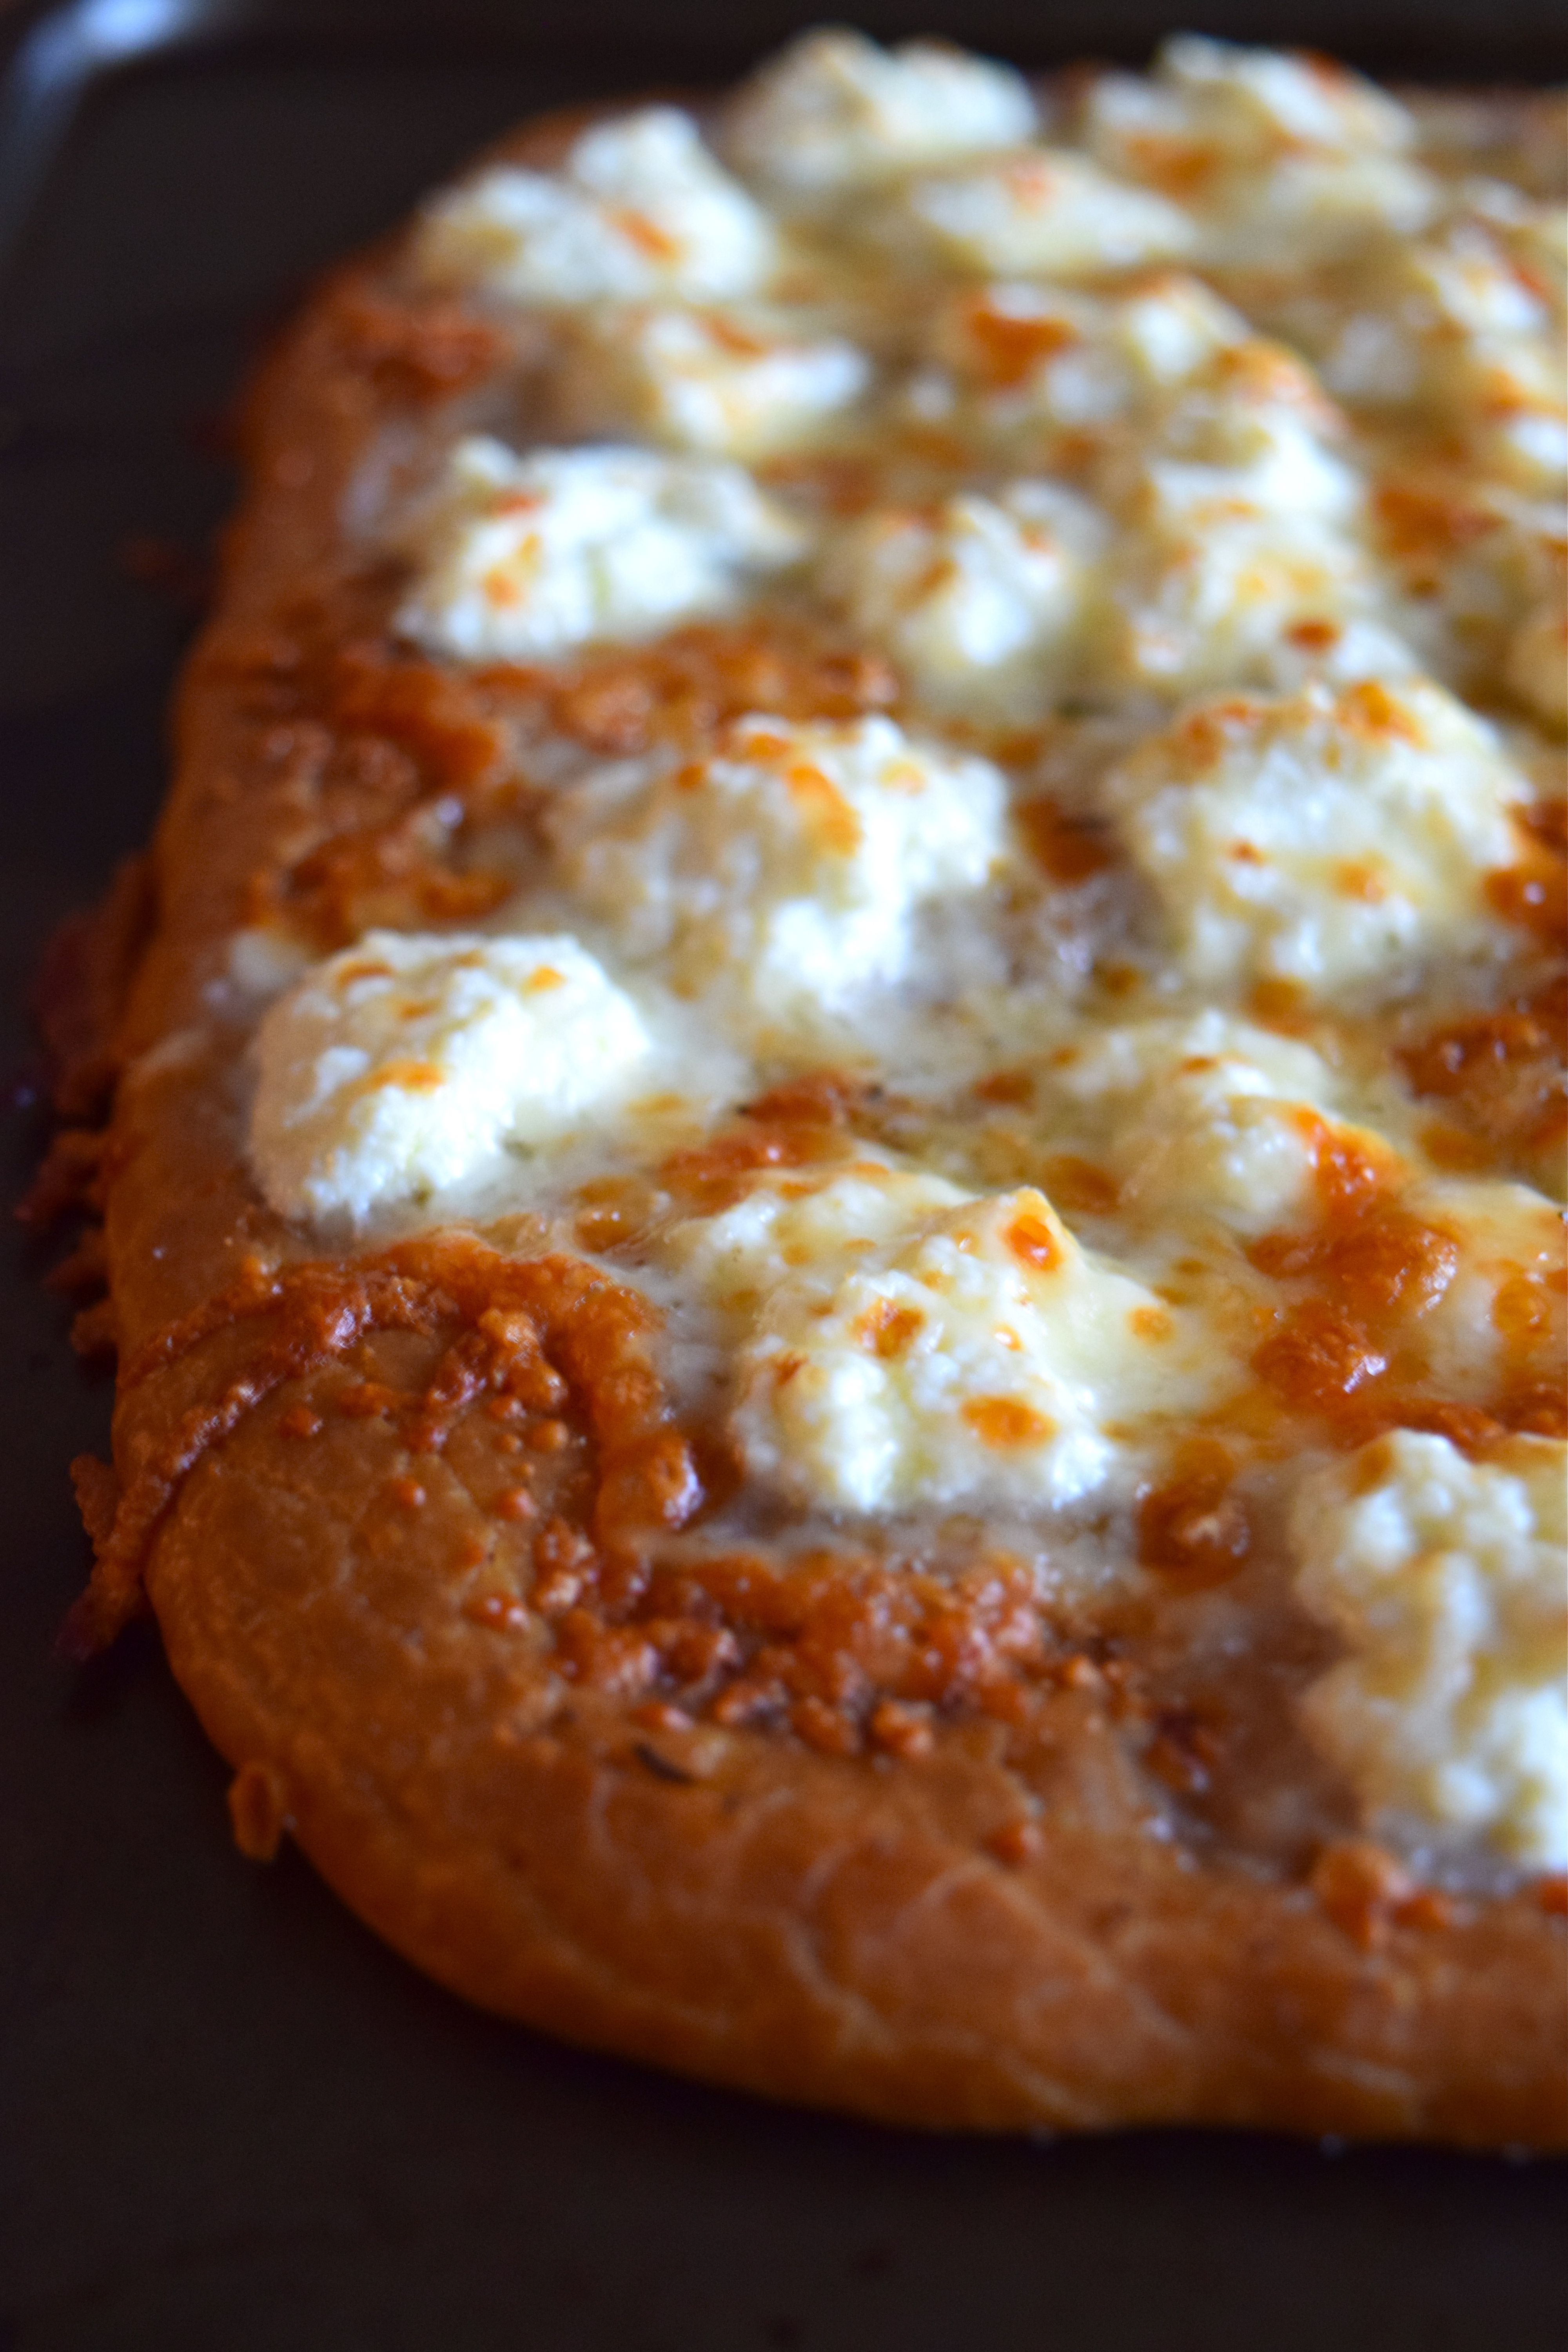
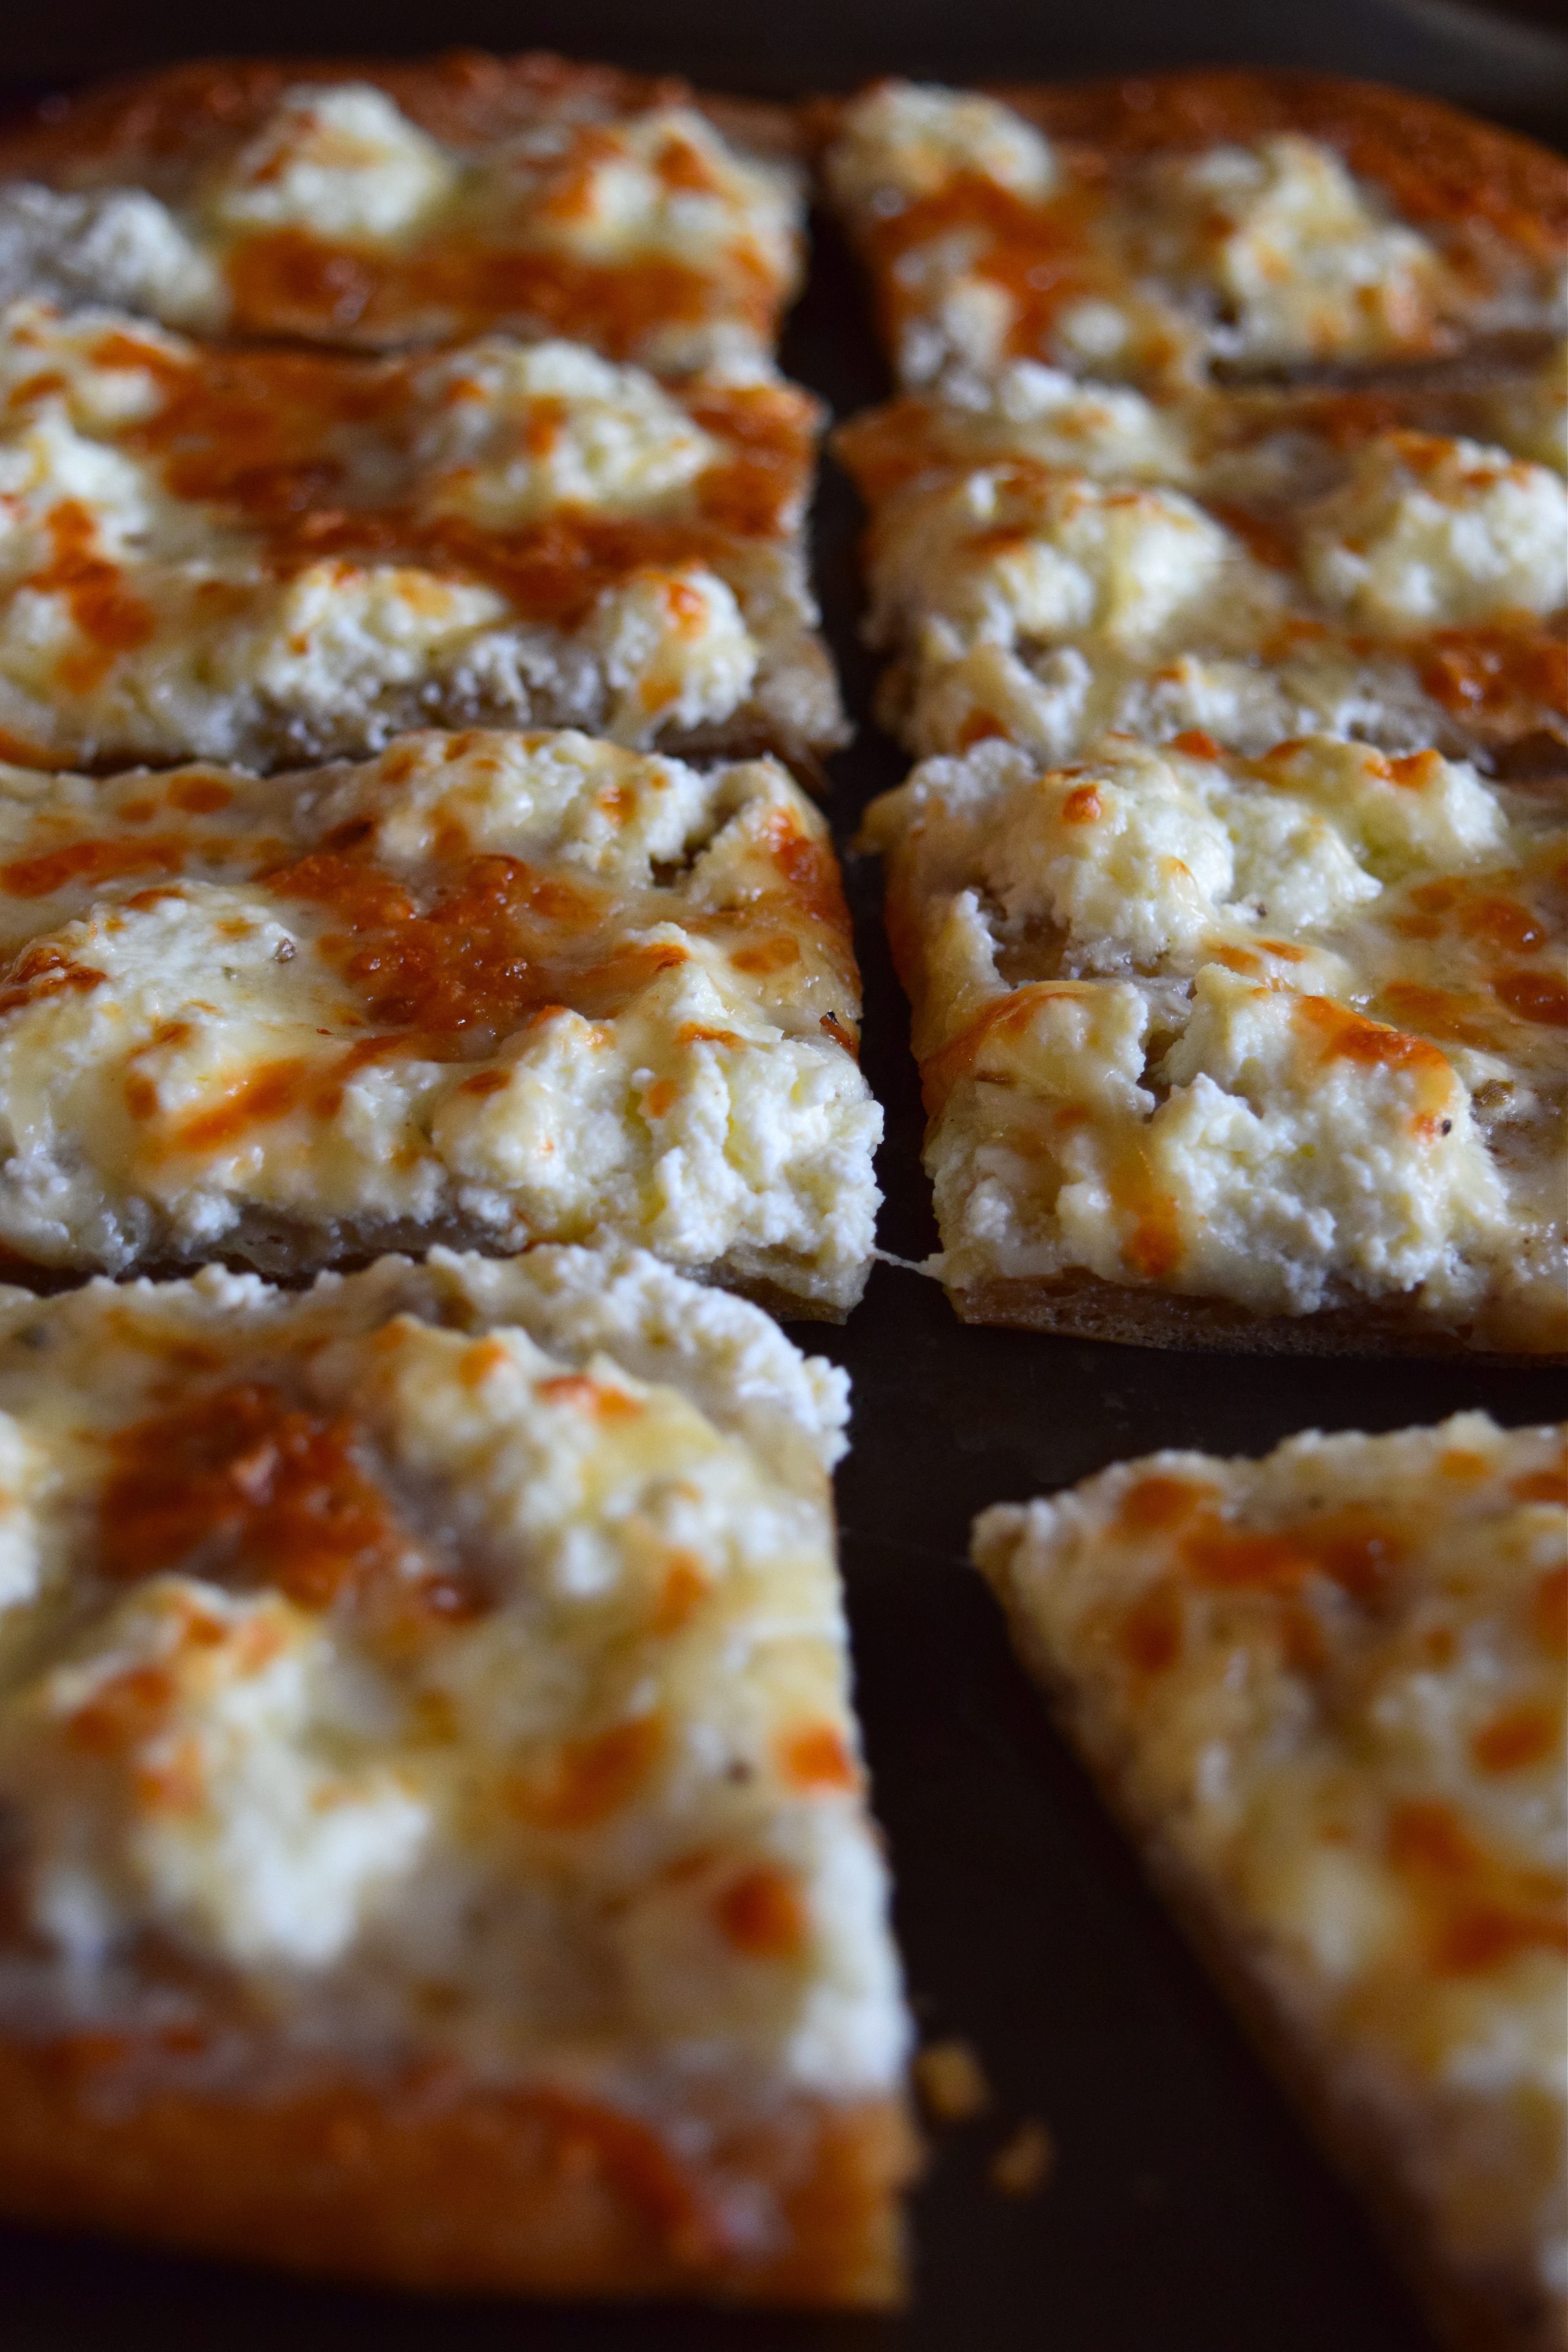
Who doesn’t want a nice crispy crust topped with spices, ricotta, and parmesan? No one I want to be friends with, that’s who.

Cheesy Flatbread Gluten Free Grain Free Nourish Wild

Is that drool? You may want to check yourself…

Cheesy Flatbread Gluten Free Grain Free Nourish Wild

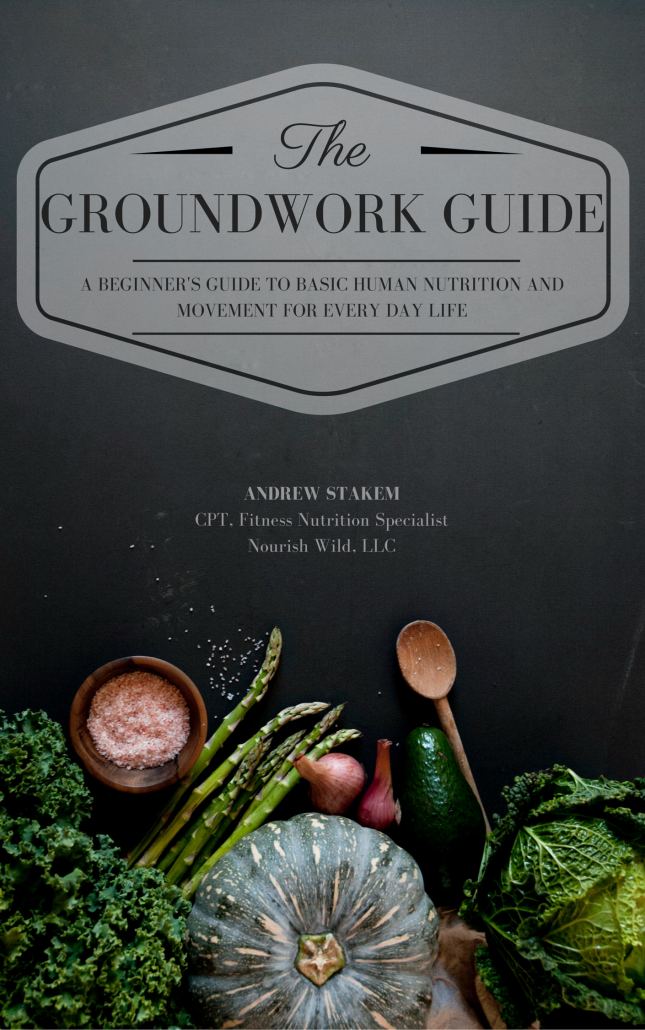
Want to learn more about how you can make healthy lifestyle choices that you can live with? Plus eat food like this cheesy flatbread and not feel guilty because you know it has health benefits too? Check out our eBook, The Groundwork Guide: A Beginner’s Guide to Human Nutrition and Movement for Every Day Life.

Groundwork Guide Cover

Cheesy Flatbread

Flatbread:

  • 1 cup tapioca OR arrowroot starch
  • 1/2 cup avocado oil
  • 1/4 cup warm water
  • 1 yeast packet
  • 1/2 tsp honey
  • 1/4 tsp baking soda
  • 1/4 tsp baking powder
  • 1 free-range egg

Topping:

  • 1/4 tsp sea salt
  • 1/4 tsp ground black pepper
  • 1/4-1/2 tsp garlic powder
  • 1/4-1/2 tsp onion powder
  • 1/4-1/2 tsp oregano
  • 1/2 cup grass-fed parmesan cheese
  • 1/2 cup grass-fed ricotta cheese
  1. Preheat the oven to 400 degrees F, and line a rectangular baking sheet with parchment paper.
  2. In a large bowl, activate the yeast by combining the 1/4 cup warm water, the yeast packet, and the 1/2 tsp of honey. Mix and allow to rest according to the yeast packet (approximately 15 minutes; the yeast will start to foam).
  3. To the yeast mixture, add the tapioca/arrowroot, avocado oil, baking soda, baking powder, and egg. Mix until combined. The mixture will be very loose and pourable. Let this mixture rest for about 15-30 minutes to let the ingredients combine and the yeast start to rise.
  4. Pour the mixture onto the parchment lined baking sheet. Use a rubber or off-set spatula to spread the mixture over the parchment paper into a rectangular shape. The batter should be about 1/4 inch thick, and the rectangle should measure about 8 in x 10-12 inches. Again, let it rest for about 15 minutes to let it rise slightly again. Note: This dough will only rise a little, not a lot.
  5. Bake the flatbread at 400 degrees for 10 minutes. Remove from oven.
  6. Top the baked flatbread with an even distribution of the cheeses and spices.
  7. Place the flatbread back in the oven under broil, until the cheese is bubbly and melted. Enjoy!

Whole Grain Cinnamon Rolls with Orange Honey Glaze (Gluten-Free)

Is your New Year resolution to get healthy, but you don’t want to give up life’s guilty pleasures? Try this healthier version of a cinnamon roll! Gluten-free and filled with whole grains, these rolls are made with brown rice and oat flours, and then topped with an orange honey glaze. These guilt-free cinnamon rolls will satisfy your fiber needs and your sweet tooth at the same time.

Whole Grain Cinnamon Rolls with Orange Honey Glaze (Gluten-Free) -- Nourish Wild

Happy 2016! It just feels like it’s going to be a good year, doesn’t it? I don’t know about you, but I absolutely love the beginning of a new year. Something about the freshness of it all. It’s like hitting the reset button. You can do and be anything!

Speaking of which, if you’re interested in hitting the reset button on your health, check out our Free 7 Day Challenge! It’s totally and completely free, and can be customized to any level of current health. With topics like real food, posture, hydration, sleep, meditation, screen time and more, you’re sure to learn something and get your health in check in the process. The next challenge starts on Monday, January 11th, and you can find out more and sign up here.

7 day challenge

Now, onto the goodness that is this delicious cinnamon roll. Cinnamon rolls are an interesting thing to take on at home. They aren’t exactly speedy, but they aren’t particularly difficult either. I would certainly start this process about 2 hours before you want to eat though, as they require an hour to rise in addition to putting them together and baking them. Or make the dough ahead of time, store in the fridge, then allow to rise in the morning before baking them.

But can we talk about how they’re totally worth it? Because they are. Especially if you are trying to eat healthier, and find yourself drooling in front of Cinna-Bon. They are chewy, hold together perfectly, and have that cinnamon/butter goodness oozing out of the center like any self-respecting cinnamon roll should. However! They also have 2 types of whole grains, no white flour, no gluten, no white sugar, and noooo junk.

Oh yeah, we’re busting into 2016 (but not busting out of our jeans).

Whole Grain Cinnamon Rolls with Orange Honey Glaze (Gluten-Free) -- Nourish Wild

The dough of this roll has very little sugar in it, so the sweetness has to come from the cinnamon sugar center, and the orange honey glaze. Thankfully, the only types of sugar used are coconut palm sugar and honey, and the overall sugar content is significantly reduced from your standard cinnamon roll.

I mean, can we talk about the texture of these things? It’s really exactly what it should be:

Whole Grain Cinnamon Rolls with Orange Honey Glaze (Gluten-Free) -- Nourish Wild

In other exciting news, Andrew wrote a book! Nourish Wild’s very first eBook in fact! The Groundwork Guide: A Beginner’s Guide To Basic Human Nutrition and Movement For Every Day Life. And it’s going to be released for sale right here on NourishWild.com in the next couple of weeks. Want to learn more about it? Click here to check it out.

Groundwork Guide Cover

Whole Grain Cinnamon Rolls with Orange Honey Glaze

Dough:

  • 1 2/3 cup tapioca starch
  • 1 cup oat flour (I grind rolled oats to make my own)
  • 1/2 cup brown rice flour
  • 3 Tbsp coconut palm sugar
  • 1 packet of yeast
  • 2 tsp baking powder
  • 1/4 tsp baking soda
  • 1 Tbsp xanthan gum
  • 1/4 cup warm water
  • 1/4 cup avocado oil
  • 1/4 cup coconut milk (from a can)
  • 2 eggs
  • 1 tsp honey
  • 1/4 tsp salt

Filling:

  • 6 Tbsp room temp softened grass-fed butter (I use Kerrygold)
  • 1/4 cup coconut palm sugar
  • 1 Tbsp ground cinnamon
  • pinch of salt

Orange Honey Glaze:

  • 1/4 cup honey
  • 2 Tbsp orange juice

Makes 8 cinnamon rolls

  1. Grease a 9″ round pan (I prefer coconut oil for greasing).
  2. In a large mixing bowl, dissolve the 1 tsp of honey in the 1/4 cup of warm water. Once dissolved, add the yeast packet to the mixture, and proof while putting together your other ingredients (the mixture should start to foam as the yeast activates).
  3. In a small mixing bowl combine your dry dough ingredients (tapioca starch, oat flour, brown rice flour, 3 Tbsp coconut sugar, baking powder, baking soda, xanthan gum, salt).
  4. In the large mixing bowl with the yeast mixture, add and mix together your remaining wet dough ingredients (avocado oil, coconut milk, eggs).
  5. Slowly add your dry ingredient mixture to the wet ingredient mixture, mixing constantly. Toward the end of adding the dry ingredients, the mixture will become very thick, and you may need to finish mixing/kneading with your hands. Once completely combined, the dough should hold together well and you should be able to form a big ball with your dough.
  6. Create your filling by mixing the softened butter, coconut sugar, cinnamon and salt in a small bowl.
  7. Using a rolling pin, roll out your dough ball between two pieces of parchment paper. You should roll the dough until it is in a long rectangle, about 14 inches long, 8 inches wide, and between 1/4″ and 1/2″ thick.
  8. Spread your filling mixture evenly over the rolled out dough.
  9. Using the bottom sheet of parchment paper, roll your dough into a tight log.
  10. Check out this video if you need more assistance with steps 7-9 (Rolling starts at the time 9:10 in the video)
  11. Cut the dough log into 8 equal pieces. Tip: I use a piece of sewing thread to cut the dough; it’s a much cleaner process than trying to use a knife!
  12. Distribute the 8 rolls into your greased round pan, with the swirl side facing up.
  13. Cover the pan with a cloth and place in a warm, dry area to rise.
  14. Allow the rolls to rise for 1 hour.
  15. Preheat the over to 375 degrees F. Once risen, bake the rolls for 18-22 min, until they no longer have any give, and are golden brown.
  16. While the rolls are baking, make the glaze by gently heating the 1/4 cup of honey with the 2 Tbsp of orange juice. Mix until combined.
  17. Let the rolls cool, then pour the honey glaze all over! Enjoy!

Peppermint Bark Cheesecake (Sweetened With Honey)

This seasonal favorite has been given a healthier upgrade by using honey instead of white sugar. Filled with chocolate and peppermint goodness in addition to the traditional tang of a vanilla cheesecake, this dessert is a great addition to your holiday parties.

Peppermint Bark Cheesecake Sweetend with Honey -- Nourish Wild

Peppermint bark and cheesecake. If that doesn’t sound like a winning holiday combination, I don’t know what does. There’s just something about the cool peppermint, rich chocolate and tangy cream cheese flavors that feels like Christmas in a bite. It’s decadent, but this version is slightly less guilty with honey instead of white sugar.

Peppermint Bark Cheesecake Sweetend with Honey -- Nourish Wild

Christmas is only 2 days away, which means New Year’s and New Year Resolutions are creeping up quickly. If you’re like most people, your resolutions probably include some type of health upgrade. Which is awesome! Wanting to get healthier is always a good goal. Of course, the trick is making it last longer than the month of January.

If you’re looking for a free, short and sweet kickstart to a healthier lifestyle, join us on January 11th for our Free 7 Day Challenge!

7 Day Challenge Poster

Ready to join us? What do you have to lose… It’s free!

If you have any questions, you can always contact us at nourishwild@gmail.com. We hope you join us! Tell your friends, let’s do this together!

But first, finish off the year with this guy:

Peppermint Bark Cheesecake Sweetend with Honey -- Nourish Wild

Peppermint Bark Cheesecake

Crust:

I used this recipe from Gluten Free On A Shoestring. I halved the recipe, then cooked it in one giant cookie. Once baked, I crumbled up the cookie into crumbs, and added about 2 Tbsp of melted butter. Of course, you can use your favorite crust recipe if this one doesn’t do it for ya.

Filling:

  • 2 pounds (four 8 oz block) of grass-fed cream cheese (I use Organic Valley), softened completely to room temperature
  • 3/4 cup of unfiltered honey (Depending on the initial consistency of your honey, you may need to gently heat the honey until it is a pour-able consistency.)
  • 4 free-range eggs, room temperature
  • 1.5 tsp vanilla extract
  • 4 crushed candy canes
  • 1/3 cup chocolate chips (I use Enjoy Life), melted
  • 1 tsp peppermint extract

Topping:

  • 1 cup chocolate chips, melted
  • 1/4 cup avocado oil
  • 1 tsp peppermint extract
  • 2-3 crushed candy canes
  1. Preheat the oven to 325 degrees F, and grease a 9″ springform pan (I like coconut oil for greasing pans). I also like to put a round cutout of parchment paper on the bottom of the pan for extra non-stick insurance.
  2. Press your crust mixture into the bottom of the pan. I’m not into the fancy edges. As long as it covers the bottom evenly, I’m happy.
  3. Bake the crust for about 15 minutes. Allow to cool slightly.
  4. Prepare the filling. Use an electric mixer to beat together the cream cheese and honey in a large bowl.
  5. Add your eggs, one at a time, to the cream cheese and honey, mixing continuously at a low speed. Also add in the vanilla and 4 crushed candy canes while mixing.
  6. Stop mixing and take 1 cup of this cream cheese mixture and place it a separate, small bowl.
  7. To this small bowl of batter, add the 1/3 cup of melted chocolate, and 1 tsp of peppermint extract. You now should have one large “vanilla” cream cheese mixture, and one small “chocolate peppermint” cream cheese mixture.
  8. On top of the crust, pour all of the large “vanilla” cream cheese mixture and make sure it is evenly distributed.
  9. Using a spoon, plop dollops of the “chocolate peppermint” cream cheese mixture on top of the “vanilla” cream cheese mixture. Now all of the cream cheese batter should be in the springform pan.
  10. Use a butter knife to gently swirl the chocolate peppermint dollops with the vanilla cream cheese mixture. This will create a marbled effect, with pockets of chocolate peppermint distributed throughout the vanilla batter. Make sure to not scrape the crust while doing this.
  11. Bake the cheesecake in lower 1/3 of your oven at 325 degrees for 1 hour 30 minutes, until the middle is just barely under-cooked. (I ‘m not concerned with a water bath for this recipe since it will be topped with chocolate and cracks in the top won’t show anyway, but if it makes you feel better, you can add a pan of water in the oven as well to create a steam effect.)
  12. After 1 hr 30 minutes, turn off the oven and crack the door, leaving the cheesecake in the oven. Allow the oven to cool completely with the cheesecake still inside. Once the oven is cooled, remove the cheesecake and let it continue to cool (still in the springform pan) on the counter until close to room temperature.
  13. Create the topping by mixing the 1 cup melted chocolate chips, avocado oil and peppermint extract. Pour this mixture on top of the cooled cheesecake. Sprinkle with crushed candy canes.
  14. Refrigerate the cheesecake (still in the springform pan) overnight before serving.

Bacon Leek Rice with White Wine Butter Sauce

This bacon and leek rice is the perfect grown-up stunner that can serve as an entree or side dish. With a decadent white wine and butter sauce, plus veggies and brown rice, this comforting bowl of goodness can be easily cooked up with relatively minimal hands-on cook time, and is a good blend of healthier choices and holiday cheer.

Bacon Leek Rice with White Wine Butter Sauce Nourish Wild

If your family is anything like mine, Christmas and the holiday season brings on several pot-luck dinner events. My strategy is to always bring something that I know I want to eat a lot of, just in case the other options are not quite agreeable to my little tummy (people tend to like cheese in everything, and I ain’t about dat lactose yo). So this past weekend when I heard the main side was going to be mac-n-cheese, I knew I needed to bring something that I could pile high on my plate and be a happy (not hangry) camper for the rest of the day.

I’ve made a similar dish with pasta a few times for dinner, but I wanted to change it up and make it a little more refined, so I took the bacon and leek combo to the next level. I also know that my palate is a little different than the majority of everyone else in my family, so I wanted to up the decadence points in hopes that it wouldn’t taste too “healthy.” Enter wine and butter. If that doesn’t say “happy holidays!” I don’t know what does. Wine, butter, and bacon… Close your mouth, you’re drooling. Don’t worry, there are some peas in there for good measure.

Bacon Leek Rice with White Wine Butter Sauce Nourish Wild

This recipe is meant to be shared, so it makes a pretty decent amount of food. If you’re making it for 2-4 people, I would cut this recipe in half.

The rice I used is brown rice, and I always try to get sprouted grains for more easy digestion, but you can use any kind of rice you prefer. If I were making this for just the two of us, I would have used wild rice, but I thought that may have been a little too “out there” for a pot luck event. Do your thang, whatever that may be.

With Christmas coming up this week, the New Year is right around the corner! And we have lots of exciting things coming that you should check back for in the New Year including:

The Groundwork Guide ebook: We are really excited about this and Andrew has been hard at work putting the finishing touches on his shiny new project. If you feel like you just need a good starting point to begin your journey of living healthier, and you want tips of how to incorporate healthier choices (both nutritionally and activity-wise) into your every day life, this ebook is the perfect beginner guide.

Free 7 Day Challenge: Don’t feel ready to make a monitary commitment to a new lifestyle, but instead just want to try it out for a few days? Our 7 Day Challenge is a great choice! The first one will be coming in early January 🙂

Want to stay updated on when these exciting new projects will be released? Sign up for our free newsletter!

  • Enter Your Email Address

Bacon Leek Rice with White Wine Butter Sauce Nourish Wild

Bacon Leek Rice with White Wine Butter Sauce

  • 2 cups uncooked rice of choice (I prefer brown or wild sprouted rice) + the amount of water recommended on package
  • 5 slices of bacon, cut into 1/4 inch strips
  • 2-3 leeks, chopped into 1/4 inch strips (check out this video for a demo)
  • 1 cup frozen peas
  • 2 cloves of garlic, minced
  • 1/4 cup extra virgin olive oil
  • 6 Tbsp grass-fed butter
  • 1/4 cup stock (I used chicken stock)
  • 1/3 cup white wine (I used sauv. blanc)
  • 1 Tbsp lemon juice
  • salt and pepper to taste
  1. Cook the rice according to the package. Note: you will add in the following sauce the last 10 minutes of cooking.
  2. Start making your sauce by first cooking your bacon in a medium sauce pan. Cook until the bacon is crispy.
  3. Once the bacon is crispy, add the olive oil, butter, leeks, garlic, wine, lemon juice and stock to the sauce pan with the bacon, and bring to a simmer. Let this sauce simmer until the leeks are soft and cooked down.
  4. When the rice has 10 minutes remaining to cook, add the prepared sauce and the frozen peas to the rice. Mix together, and allow to cook all together for the remaining 10 minutes. Add salt and pepper to taste. Enjoy!

Stars and Stripes Sangria

Are you in need of a last minute, quick and easy crowd-pleaser to bring to your 4th of July cookout? This Stars and Stripes Sangria is an Independence Day treat! With wine, champagne and frozen fruit, this sweet and bubbly sipper is super easy to throw together just in time to get out the door. Plus, people always love the guy/girl who brings alcohol, right?

Let freedom ring, it’s almost the fourth of July! Independence day here in the US always means an incredible amount of red, white and blue, fireworks, and (hopefully) some amazing cookout food. But sometimes it can be hard to figure out what to bring… let’s face it, 5 bowls of potato salad ain’t going to work out. Fear not, because I have a boozey crowd-pleaser that you can throw together as you’re running out the door (spraying bug spray on every square inch of exposed skin in the process.)

Stars and Stripes Sangria 4th of july


You can use fresh or frozen fruit with this, but if you’re in a hurry and haven’t had time to chill the wine and champagne, then frozen fruit is perfect! However, I will say that this drink gets better as time goes on and the flavors have a chance to get to know one another, so if you have time to put it together the night before (tonight! eek!) and let it sit in the fridge, the flavors will intensify. But if not, no worries! It will still be lovely.

I used a frozen fruit combo bag (antioxidant blend that I buy in bulk from Costco to make green smoothies) which had strawberries, raspberries, cranberries, cherries and blueberries, and then cut up some fresh Granny Smith apples. You can use any combo of red white and blue fruit though!

By the way, I took about 5 extra minutes to cut out star shapes in some of my apple chunks, but I was totally being an over-achiever. Although, if you want people to swoon over how cute your pitcher-o’-goodness is, it’s so worth it 😉

Stars and Stripes Sangria Independence Day

Stars and Stripes Sangria

  • 2 bottles of Moscato (750 mL)
  • 1 bottle of champagne (750 mL)
  • 2 cups of frozen fruit (red and blue colors of your choice, you also use fresh… see above post for my combo)
  • 2 Granny Smith apples (cut into 1 inch pieces… or star shapes if you’re feeling fancy)
  1. Combine all ingredients and stir. The longer it sits, the more the flavors combine.
  2. Note that I had to use 2 pitchers to hold all of this goodness, so you may be able to fit this all into one large pitcher or punch bowl, or you may need two.

Stars and Stripes Sangria for the 4th of July!


Edible Cookie Dough For Two (Gluten-Free, Paleo, Nut-Free)

If you’re guilty of standing at the fridge with a spoonful of cookie dough in your hand, this recipe is for you. Gluten-free, Paleo, Nut-Free edible cookie dough for two. Quick and easy for a late-night dessert treat to satisfy your sweet tooth, without having to deal with the processed nonsense!

If your college days were anything like mine, you were willing to risk salmonella for a spoonful of sweet and salty cookie dough goodness. Confession: my roommate and I would buy the large tubs of cookie dough and never bake a single cookie. It’s a wonder that I survived, but I’m glad I did because now I can bring you this wonderful recipe. Gone are the days of risking life and limb for a sneaky bite of raw cookie dough. Now you can make your own… without eggs, gluten, grains, nuts, or anything crazy. Can I get an amen?

Gluten Free Paleo Nut Free Edible Cookie Dough For Two

This small-batch recipe is perfect when you’re with your honey or roommate and you want a little bite, but don’t want the stuff staring at you every time you open the fridge. Because let’s be honest, if this were lingering in the fridge, it would end up being breakfast. Not that that would be the worst thing in the world….

Everything you want in cookie dough: sweet, salty, vanilla, and the creamy bits of chocolate. But none of the junk. Yeah man, now we’re talking.

Gluten Free Paleo Nut Free Edible Cookie Dough For Two

Edible Cookie Dough For Two

  • 2 Tbsp grass-fed butter or ghee, room temp (completely softened)
  • 1 Tbsp avocado oil
  • 2 Tbsp coconut flour
  • 3 Tbsp potato starch (or tapioca, or arrowroot)
  • 3 Tbsp coconut sugar
  • pinch of salt
  • 1/4 tsp vanilla extract
  • chocolate chips to preference (about 2 Tbsp) (I like Enjoy Life brand)
  1. Make sure your butter/ghee is completely softened. Place in a medium mixing bowl.
  2. Add the coconut sugar, vanilla, and salt to the butter, and use a fork to mix together until a uniform color/texture.
  3. Add in the coconut flour, starch, and avocado oil. Again, mix with a fork until the dry ingredients are no longer separate.
  4. Stir in the chocolate chips, and enjoy!

Makes about 1/2 cup of cookie dough.

Gluten Free Paleo Nut Free Edible Cookie Dough For Two

Mint Chocolate Chip Ice Cream (Dairy-Free, Paleo)

Mint Chocolate Chip Ice Cream is meant to be refreshing and slightly indulgent, but for people (like me) who are lactose intolerant this dessert can be a sign of tummy troubles. But not with this version! Dairy-free and paleo friendly, this ice cream uses coconut milk as a base, and is a silky, wonderful substitution for the traditional summer treat.

It’s been in the 90 degree range here in RVA consistently enough that we can officially call this summertime! And what better way to usher in summer than with the ultimate summer treat: ice cream. Mint chocolate chip has always been my favorite flavor; I enjoy a good chocolate brownie or cookie dough every once in a while, but that’s only when I can tear myself away from drooling over the mint chip. Ice cream is definitely my dessert weakness. If pressed, I may have even called it my favorite food once upon a time. (Does dessert count as a favorite food? Or does that just make it sound like I have a problem? Hello, my name is Morgan and I am a recovering sugar addict.) And even after discovering I am lactose intolerant, I still had no restraint. Who needs restraint when you have Lactaid? But somehow needing to take a pill in order to tolerate a food seemed counter-intuitive and I obviously was just fighting my body rather than trying to work with it. So I gave it up. While that sounds simple, it’s really not. Oh dairy, why must you haunt me in everything that is delicious and heavenly? Dairy-free alternatives intrigued me, and I set out to recreate my favorite mint chip. We bought an ice cream maker and some coconut milk, and I’ve been on a roll ever since. This was actually the first ice cream recipe I made, and definitely is a frequent staple in our freezer. In fact, just last night Andrew said, “We should keep a constant supply of this.” Yes, yes we should.
Dairy Free Paleo Mint Chocolate Chip Ice Cream

As I mentioned, the base of this ice cream is coconut milk. You get this in cans, and it’s usually found in the Asian food section. You want to get full-fat, and the least amount of ingredients you can find. When you shake the can, you shouldn’t feel/hear anything. If it’s sloshing around inside, then there’s usually extra water which can make your ice cream icy rather than creamy. Also, sometimes when you open the can, the cream has separated from the water. This is okay, you’re still going to use everything in the can. You will be heating up the mixture, so if the cream and water has separated, they will re-combine once heated. Finally, there is a little starch in this recipe. This makes the ice cream creamier and thus deliciouser, obviously. As with most homemade ice creams, it will be pretty solid after sitting in the freezer, so you may want to let the ice cream sit out on the counter for about 10 minutes so it softens up and you don’t break your scooper. But if you’re impatient, you can always just chisel away right out of the freezer.

Dairy Free Paleo Mint Chocolate Chip Ice Cream

Mint Chocolate Chip Ice Cream


  1. Place all of the ice cream ingredients in a medium saucepan, and stir until completely combined and the egg yolks are broken. Heat over medium-low heat, until the mixture is warm but not hot. Remove from the stove, cover with lid, then place in the fridge to cool for at least 1 hour.
  2. Once the ice cream base is cooled, strain the mixture so there are no lumps, and follow manufacturer instructions for your ice cream maker to make your ice cream. About 5 minutes before the end of the cycle while the machine is still running, add your chopped chocolate chips.
  3. Transfer into a storage container (I like to use a glass loaf pan, it’s the perfect size). Store in the freezer. Note that the ice cream will harden, so you may want to let it sit out for about 10 minutes before scooping once it has been sitting in the freezer for a while.

Dairy Free Paleo Mint Chocolate Chip Ice Cream


 Please note that some of the links in the above post are affiliate links that will take you to an Amazon.com page. If you choose to purchase a product featured in this post using an affiliate link, you will be directly supporting You’re An Animal. Thanks!


Individual Blueberry Crisp (Gluten-Free, Vegan, Paleo Option)

These individual blueberry crisps will transform your brunch or dessert into a comforting delight. Sweet blueberries reduce down into a thick, not-too-sinful sauce, while the granola becomes a warm oatmeal cookie waiting for you to dig in. Gluten-free, vegan, and with a paleo option, these treat jars will be a hit with everyone at the table!

I’ll be honest, I’m not much of a pie or cobbler kind of girl. It has to be something really very delectable to get me on board. So when I had my first fruit crisp at a bed and breakfast a couple years ago, I was hesitant. But it didn’t take long for me to fall in love. The juicy, sweet reduced berries that have become their own jelly-like sauce… the chewy, cookie-like topping made from the sweet oats and butter… I was hooked. But when I found out how much sugar usually goes into those things, I was turned off. Why does fruit need more sugar? Truth be told, it doesn’t. So I set out to make my own fruit crisp… one without the added sugar and typical dessert elements that are often used.

Gluten Free Vegan Paleo Individual Blueberry Crisp

Boy oh boy, do these babies deliver. The blueberries perfectly intertwined with the granola mixture, making them separate but one at the same time. On their own they are delicious, but together, they can take over the world. Or at least the world’s taste buds. Though these crisps are long gone (eaten in approximately 45 seconds), I can still smell the tantalizing simmering blueberries mingling mid-air with the cinnamon-infused granola. It’s making my mouth water all over again. I should have made more…

Gluten Free Vegan Paleo Individual Blueberry Crisp Purely Elizabeth Granola

Let’s talk about the ingredients. This comes together very quickly, as I use pre-made granola. There are a lot of good granola brands out there these days, but Purely Elizabeth is my favorite. No, they aren’t paying me to say that or to use their brand in a picture. I just really love it that much, and think it’s important to support companies that you agree with. Elizabeth’s granola (I get the Blueberry Hemp flavor) is gluten-free and vegan, and made with awesome ingredients like coconut oil, coconut sugar, chia seeds, hemp seeds, quinoa and amaranth. It also has dried blueberries mixed in, which are chewy and delicious. Have I sold you yet? Now, Elizabeth’s is a more “traditional” granola in that it uses oats as the base. However, for those of you looking for a Paleo option, you can use Paleo granola in this recipe. One brand that makes many different flavors and styles of Paleo granola is Steve’s PaleoGoods. Steve’s is true-blue paleo, with all junk-free ingredients and they also use part of their profits to support youth programs. Once again, I’m so excited that companies like Elizabeth’s and Steve’s exist, because they are the ones who will change our food culture for the better.

Gluten Free Vegan Paleo Individual Blueberry Crisp

Gluten Free Vegan Paleo Individual Blueberry Crisp

Individual Blueberry Crisp

  • 1 cup granola (pre-made, your choice, I prefer Elizabeth’s [vegan] or Steve’s [paleo])
  • 1 cup frozen blueberries
  • 1 Tbsp + 1 tsp tapioca starch
  • 1/2 Tbsp coconut flour
  • 1 Tbsp coconut oil (solid, not melted)
  • 1/4 tsp ground cinnamon
  • pinch of salt
  1. Preheat the oven to 375 degree F, and have two 8 oz mason jars (or one 16 oz mason jar) ready.
  2. In a small mixing bowl, combine the granola, 1 Tbsp tapioca, coconut flour, coconut oil, cinnamon and salt. You may need to use your fingers to thoroughly combine the coconut oil into the mixture.
  3. In a separate small mixing bowl, toss the frozen blueberries with the 1 tsp of tapioca. (This is going to make the blueberries gel a little bit when they reduce, so it’s not too liquidy of a sauce at the bottom of the jar.)
  4. Distribute your berries amongst the two jars, half cup in the bottom of one, half cup in the bottom of the other.
  5. Distribute your granola mixture amongst the two jars evenly, on top of the blueberries.
  6. Place the jars in the preheated oven (I like to put them on a cookie sheet so they’re easier to put in a take out).
  7. Bake for about 30 minutes, or until the berries have reduced and are simmering in their own juice.
  8. Note: if you’re using fresh berries instead of frozen, the bake time will likely be less.

Gluten Free Vegan Paleo Individual Blueberry Crisp

Cinnamon Crunch Flatbread (Gluten-Free, Grain-Free, Nut-Free)

Panera’s Cinnamon Crunch Bagels were once one of my all-time favorite things. But these days, I prefer to make my own treats. This Cinnamon Crunch Flatbread is a perfect little morning or afternoon treat, and is gluten-free, grain-free, nut-free, and Paleo friendly. Plus it’s quick and easy to throw together!

It’s a gloomy, gloomy day here in the RVA. Luckily, I didn’t have to work today and Andrew didn’t have to work until the afternoon, so we were able to have a lazy morning. I woke up with an intense need for cinnamon rolls. The sticky, sweet, spicy and steamy combination was calling my name. Unfortunately, I had no time or patience for such process. You know how the best ideas come from necessity, right? Cinnamon Crunch Flatbread was born under such necessity. The necessity to recreate the cinnamon roll flavors, without the process.

Gluten Free Grain Free Nut Free Cinnamon Crunch Flatbread

That spicy cinnamon that tickles your nose, that crispy crunch of the caramelized sugar, that chewy, savory flatbread… If this doesn’t say, “Good morning, let’s enjoy our time together” I don’t know what does. The flatbread base is adapted from a recipe by Savory Lotus, and the cinnamon crunch is inspired by those so-darn-delicious Panera bagels. The flatbread comes together in about 2 minutes, and only takes 12 minutes in the oven. A couple minutes under the broiler to caramelize that cinnamon sugar combo, and that’s right folks… This could be in your hand in about 15 minutes.

Grain Free Gluten Free Nut Free Cinnamon Crunch Flatbread

Cinnamon Crunch Flatbread

  • 2/3 cup tapioca starch
  • 1/3 cup potato starch
  • 1/4 cup coconut flour
  • 1/2 cup avocado oil
  • 1/4 cup water
  • 1 (cage-free) egg
  • 2 tsp ground cinnamon
  • 2 Tbsp coconut palm sugar
  • 1/4 tsp sea salt
  • 1 Tbsp (grass-fed) butter, softened
  1. Preheat the oven to 425 degrees F, and line a rectangular cookie sheet with parchment paper.
  2. In a small bowl, combine the cinnamon, coconut palm sugar, and salt. Set aside.
  3. In a large mixing bowl and using a fork to stir, combine the avocado oil, water, and egg.
  4. Sift in the tapioca starch, potato starch, and coconut flour, adding them to your wet ingredient mixture. Combine the wet and dry ingredients thoroughly with your fork. This mixture should be sticky and hold some shape.
  5. Spread this mixture onto the parchment-lined cookie sheet, evenly distributing the dough and forming a long, flat rectangular, flatbread shape. Note that this dough is super sticky, so I find it easiest to wet my hands and spread and shape the dough by hand. If the dough starts sticking to your hands, re-wet your hands.
  6. Once the dough is shaped into the rectangular shape and about 1/4″ thick, place in the preheated oven for 12 minutes.
  7. After 12 minutes, remove from the oven. Slide the flatbread off of the parchment, and straight onto the cookie sheet (I’ve found that if it gets left on the parchment paper, the bottom of the flatbread tends to get soggy. Take out the parchment and the bottom will get crispy.)
  8. Coat the top of the warm flatbread with the softened butter. Then evenly sprinkle the cinnamon sugar mixture over top of the buttered flatbread.
  9. Place under your oven’s broiler (High, if your oven has the option) for a couple of minutes. Watch your flatbread the whole time! This can turn ugly quickly. Let the cinnamon sugar start to bubble all over. Once the sugar is bubbling over the entire flatbread, remove from the oven and let it cool and set. Enjoy!

Cinnamon Crunch Flatbread Collage

The Ultimate Chocolate Chip Cookie (Gluten-Free, Grain-Free, Nut-Free)

Sometimes you just need that familiar comfort of a warm, fresh-from-the-oven, tastes-like-grandma’s chocolate chip cookie. But if you’re like us, the typical slice-and-bake kinds just don’t cut it anymore. These Ultimate Chocolate Chip Cookies are gluten-free, grain-free, and nut/seed-free, yet full of nostalgia. If you’re looking for a chocolate chip cookie that fulfills your comfort food needs, but doesn’t send you over the processed-food edge, look no further… you’re home.

We recently did a sugar detox for 3 weeks (foreal), and learned so much. First of all, I learned that I actually can function without sugar. Seriously, when you get to the end of your day and realize that you didn’t slip up once, and you didn’t even think about being tempted, it feels like you deserve a trophy. Sad? Yes. Reality for most Americans? Absolutely. But as we got closer to the end of the no-sugar test, I started thinking about cookies. Chocolate chip cookies. And I couldn’t stop… So guess what I made to celebrate the end of our detox? Taadaaa! The Ultimate Chocolate Chip Cookie was born. But let me tell you the craziest part, and what tells me that our little detox was pretty successful: I ate one and was satisfied. Guys, let’s go over that again. I made awesome chocolate chip cookies after going 3 weeks without sugar, and only wanted one. Winner winner, chicken dinner! The curse is broken.

Gluten-Free Grain-Free Nut-Free Ultimate Chocolate Chip Cookies

That certainly doesn’t mean these are any less scrumptious, of course. I based this recipe off a certain “House” recipe that many of us grew up with, and they do not disappoint. You have a choice with these as well: to Xanthan or not to Xanthan, that is the question. A lot of gluten-free bakers use xanthan gum in their recipes because it helps the goodies stick together and not crumble into a million pieces. Personally, I prefer not to use it because it is still a relatively processed ingredient, and it’s not something I would naturally use in daily life. But in the interest of science, I ended up making one batch of these cookies without xanthan (pictured) and one batch with it. There are definitely differences. Mainly, the ones with xanthan held together better and were much less delicate (expected), and they also didn’t spread out quite as prettily as the ones without xanthan did. Also, I felt like the ones with the xanthan were a little fluffier and cakier than the ones without. That being said, while the cookies without the xanthan required a more delicate touch while eating them, I will probably make them without the xanthan in the future. If you do plan on using the xanthan, I would recommend you flatten out the cookie dough a little more (don’t just roll them into balls and bake) since they don’t seem to spread out as much in the baking process.

Gluten-Free Grain-Free Nut-Free Ultimate Chocolate Chip Cookies

What makes these cuties different, is that they are “paleo” or “primal” friendly, without using nuts. I do already have one chocolate chip cookie recipe posted, but that uses almond flour or sunflour seed meal, and these days we really try to stay away from nuts and seeds. Plus the texture of these Ultimate cookies is a lot better, and more like a “traditional” cookie I think. They do still use a good bit of butter, but you could use ghee as well. As always, please please use grass-fed butter! Contrary to popular belief and traditional thought, butter that is good quality (read: grass-fed) is actually full of good stuff.

The Ultimate Chocolate Chip Cookie

  • 1/3 cup tapioca starch
  • 1/3 cup potato starch
  • 1/2 cup coconut flour
  • 1/2 tsp baking soda
  • 1/2 tsp sea salt
  • 1/2 cup grass-fed butter, softened to room temperature (important!) — I use Kerrygold salted
  • 2/3 cup coconut palm sugar
  • 1/4 tsp molasses
  • 1/2 tsp vanilla extract
  • 1 egg (free-range)
  • about 1/2-3/4 cup chocolate chips — I use Enjoy Life minis
  • optional: 1/2 tsp xanthan gum (see above for my notes)
  1. Preheat the oven to 375 degrees F, and line a cookie sheet with parchment paper.
  2. In a small bowl, sift and mix the tapioca starch, potato starch, coconut flour, baking soda, and salt (and xanthan gum if using) together.
  3. In a large mixing bowl, beat together the softened butter, coconut palm sugar, molasses, vanilla, and egg with an electric mixture, until the texture is uniform.
  4. Slowly mix in the dry ingredients to the wet mixture, using the electric mixer to combine. Continue until all of the dry ingredients have been completely mixed in.
  5. Fold in the chocolate chips.
  6. Using a 1 Tbsp scoop, place balls of dough on the parchment-lined cookie sheet. You should get about 12 balls of dough. Flatten the tops of the balls slightly (flatten a little extra if you’ve used xanthan gum).
  7. Place your cookie sheet with the dough in your fridge for 10 minutes to allow the dough to set up a little before baking. This will prevent the butter from melting too quickly so the cookies won’t spread out too much and run together.
  8. After 10 minutes in the fridge, place the cookie sheet straight into the preheated oven, and bake for about 9-11 minutes, until golden brown and cracked.
  9. Remember, if you haven’t used xanthan gum, be gentle! They should not be dry, but they might be fragile.

Gluten Free Grain Free Nut Free Ultimate Chocolate Chip Cookie