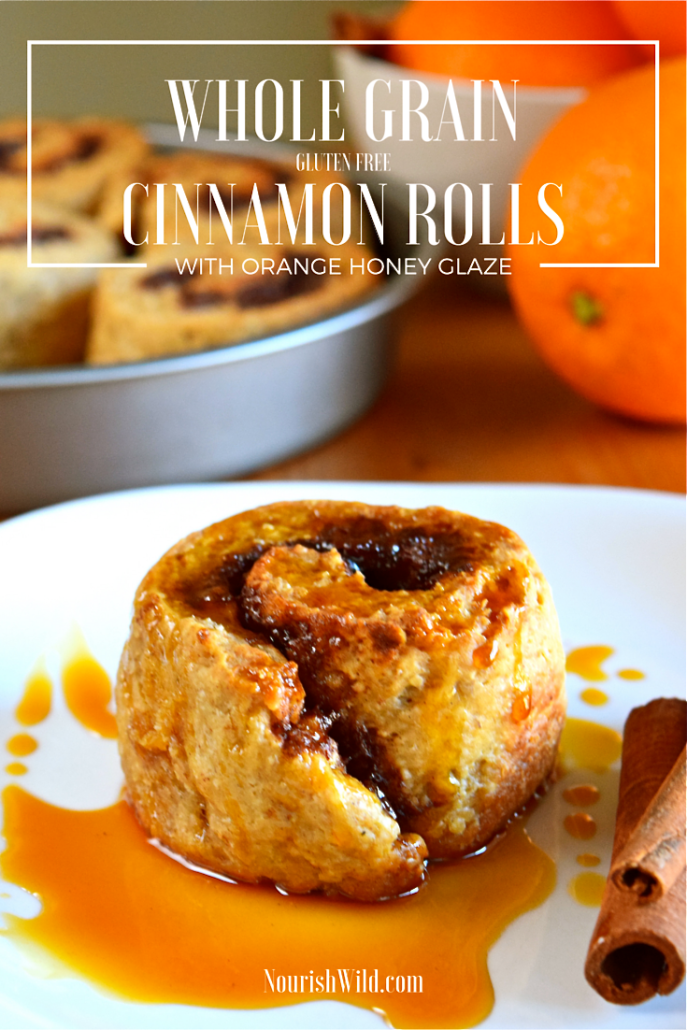
Whole Grain Cinnamon Rolls with Orange Honey Glaze (Gluten-Free)

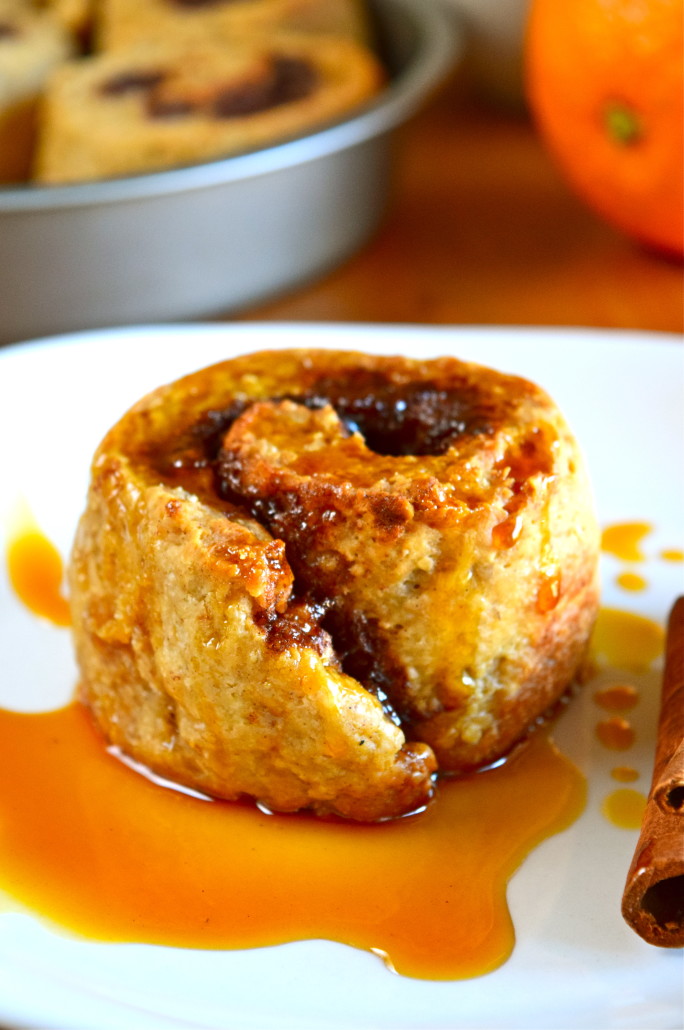
Is your New Year resolution to get healthy, but you don’t want to give up life’s guilty pleasures? Try this healthier version of a cinnamon roll! Gluten-free and filled with whole grains, these rolls are made with brown rice and oat flours, and then topped with an orange honey glaze. These guilt-free cinnamon rolls will satisfy your fiber needs and your sweet tooth at the same time.

Whole Grain Cinnamon Rolls with Orange Honey Glaze (Gluten-Free) -- Nourish Wild

Happy 2016! It just feels like it’s going to be a good year, doesn’t it? I don’t know about you, but I absolutely love the beginning of a new year. Something about the freshness of it all. It’s like hitting the reset button. You can do and be anything!

Speaking of which, if you’re interested in hitting the reset button on your health, check out our Free 7 Day Challenge! It’s totally and completely free, and can be customized to any level of current health. With topics like real food, posture, hydration, sleep, meditation, screen time and more, you’re sure to learn something and get your health in check in the process. The next challenge starts on Monday, January 11th, and you can find out more and sign up here.

7 day challenge

Now, onto the goodness that is this delicious cinnamon roll. Cinnamon rolls are an interesting thing to take on at home. They aren’t exactly speedy, but they aren’t particularly difficult either. I would certainly start this process about 2 hours before you want to eat though, as they require an hour to rise in addition to putting them together and baking them. Or make the dough ahead of time, store in the fridge, then allow to rise in the morning before baking them.

But can we talk about how they’re totally worth it? Because they are. Especially if you are trying to eat healthier, and find yourself drooling in front of Cinna-Bon. They are chewy, hold together perfectly, and have that cinnamon/butter goodness oozing out of the center like any self-respecting cinnamon roll should. However! They also have 2 types of whole grains, no white flour, no gluten, no white sugar, and noooo junk.

Oh yeah, we’re busting into 2016 (but not busting out of our jeans).

Whole Grain Cinnamon Rolls with Orange Honey Glaze (Gluten-Free) -- Nourish Wild

The dough of this roll has very little sugar in it, so the sweetness has to come from the cinnamon sugar center, and the orange honey glaze. Thankfully, the only types of sugar used are coconut palm sugar and honey, and the overall sugar content is significantly reduced from your standard cinnamon roll.

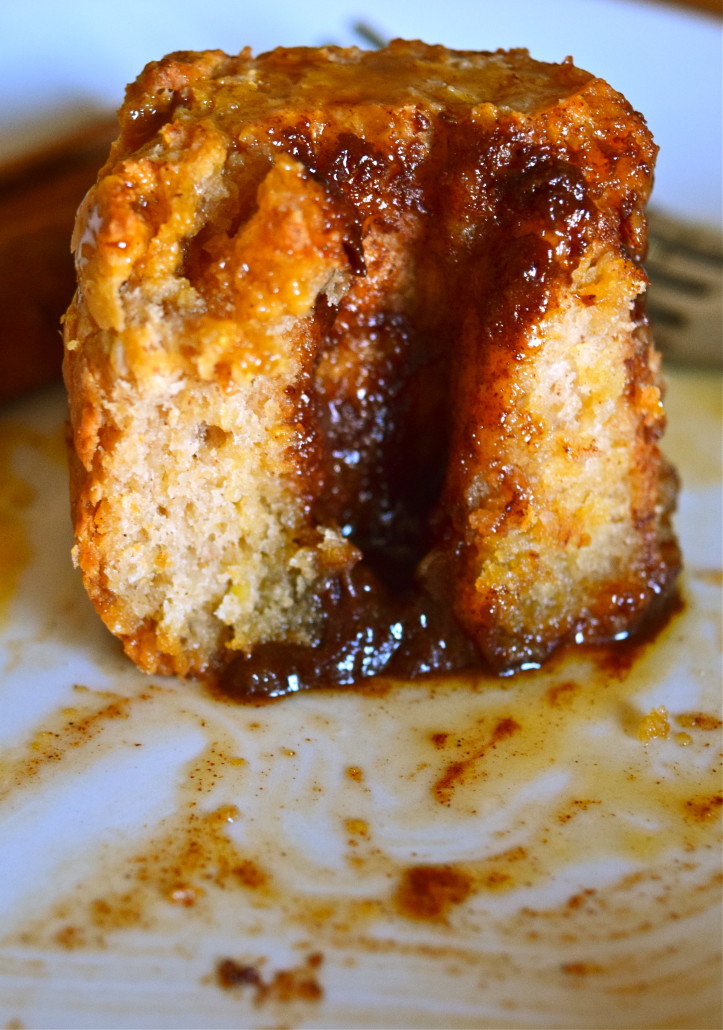
I mean, can we talk about the texture of these things? It’s really exactly what it should be:

Whole Grain Cinnamon Rolls with Orange Honey Glaze (Gluten-Free) -- Nourish Wild

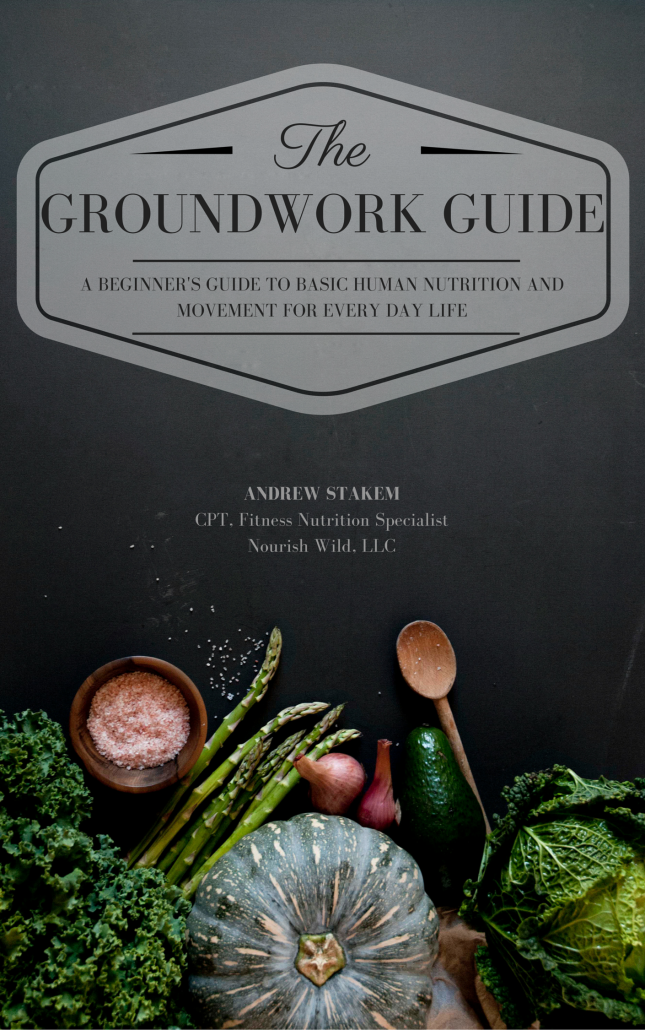
In other exciting news, Andrew wrote a book! Nourish Wild’s very first eBook in fact! The Groundwork Guide: A Beginner’s Guide To Basic Human Nutrition and Movement For Every Day Life. And it’s going to be released for sale right here on NourishWild.com in the next couple of weeks. Want to learn more about it? Click here to check it out.

Groundwork Guide Cover

Whole Grain Cinnamon Rolls with Orange Honey Glaze

Dough:

  • 1 2/3 cup tapioca starch
  • 1 cup oat flour (I grind rolled oats to make my own)
  • 1/2 cup brown rice flour
  • 3 Tbsp coconut palm sugar
  • 1 packet of yeast
  • 2 tsp baking powder
  • 1/4 tsp baking soda
  • 1 Tbsp xanthan gum
  • 1/4 cup warm water
  • 1/4 cup avocado oil
  • 1/4 cup coconut milk (from a can)
  • 2 eggs
  • 1 tsp honey
  • 1/4 tsp salt

Filling:

  • 6 Tbsp room temp softened grass-fed butter (I use Kerrygold)
  • 1/4 cup coconut palm sugar
  • 1 Tbsp ground cinnamon
  • pinch of salt

Orange Honey Glaze:

  • 1/4 cup honey
  • 2 Tbsp orange juice

Makes 8 cinnamon rolls

  1. Grease a 9″ round pan (I prefer coconut oil for greasing).
  2. In a large mixing bowl, dissolve the 1 tsp of honey in the 1/4 cup of warm water. Once dissolved, add the yeast packet to the mixture, and proof while putting together your other ingredients (the mixture should start to foam as the yeast activates).
  3. In a small mixing bowl combine your dry dough ingredients (tapioca starch, oat flour, brown rice flour, 3 Tbsp coconut sugar, baking powder, baking soda, xanthan gum, salt).
  4. In the large mixing bowl with the yeast mixture, add and mix together your remaining wet dough ingredients (avocado oil, coconut milk, eggs).
  5. Slowly add your dry ingredient mixture to the wet ingredient mixture, mixing constantly. Toward the end of adding the dry ingredients, the mixture will become very thick, and you may need to finish mixing/kneading with your hands. Once completely combined, the dough should hold together well and you should be able to form a big ball with your dough.
  6. Create your filling by mixing the softened butter, coconut sugar, cinnamon and salt in a small bowl.
  7. Using a rolling pin, roll out your dough ball between two pieces of parchment paper. You should roll the dough until it is in a long rectangle, about 14 inches long, 8 inches wide, and between 1/4″ and 1/2″ thick.
  8. Spread your filling mixture evenly over the rolled out dough.
  9. Using the bottom sheet of parchment paper, roll your dough into a tight log.
  10. Check out this video if you need more assistance with steps 7-9 (Rolling starts at the time 9:10 in the video)
  11. Cut the dough log into 8 equal pieces. Tip: I use a piece of sewing thread to cut the dough; it’s a much cleaner process than trying to use a knife!
  12. Distribute the 8 rolls into your greased round pan, with the swirl side facing up.
  13. Cover the pan with a cloth and place in a warm, dry area to rise.
  14. Allow the rolls to rise for 1 hour.
  15. Preheat the over to 375 degrees F. Once risen, bake the rolls for 18-22 min, until they no longer have any give, and are golden brown.
  16. While the rolls are baking, make the glaze by gently heating the 1/4 cup of honey with the 2 Tbsp of orange juice. Mix until combined.
  17. Let the rolls cool, then pour the honey glaze all over! Enjoy!

Peppermint Bark Cheesecake (Sweetened With Honey)

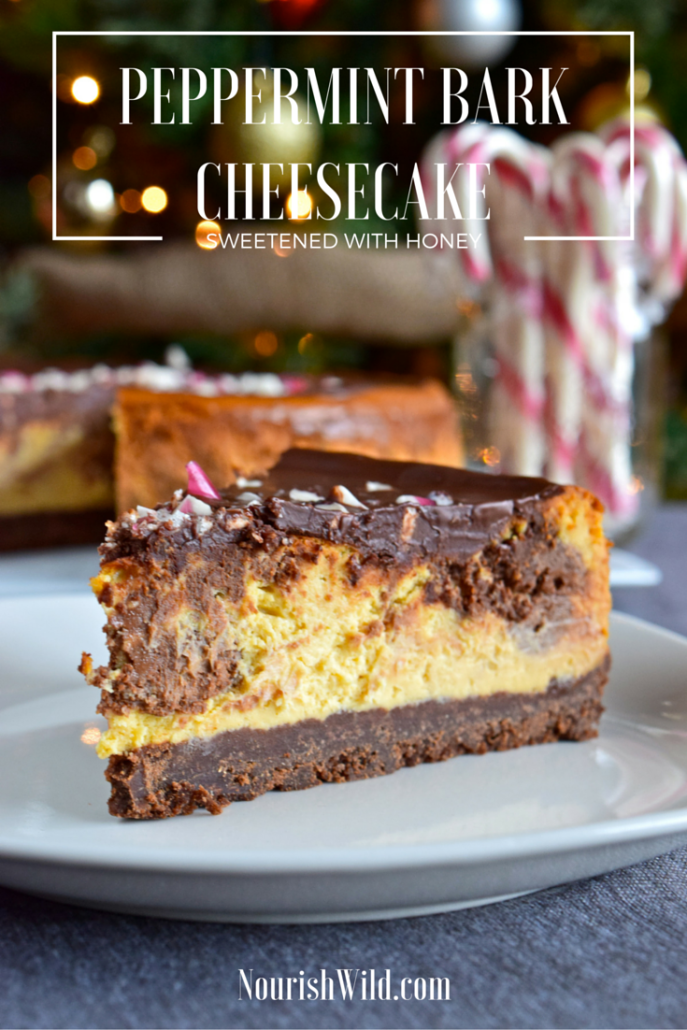
This seasonal favorite has been given a healthier upgrade by using honey instead of white sugar. Filled with chocolate and peppermint goodness in addition to the traditional tang of a vanilla cheesecake, this dessert is a great addition to your holiday parties.

Peppermint Bark Cheesecake Sweetend with Honey -- Nourish Wild

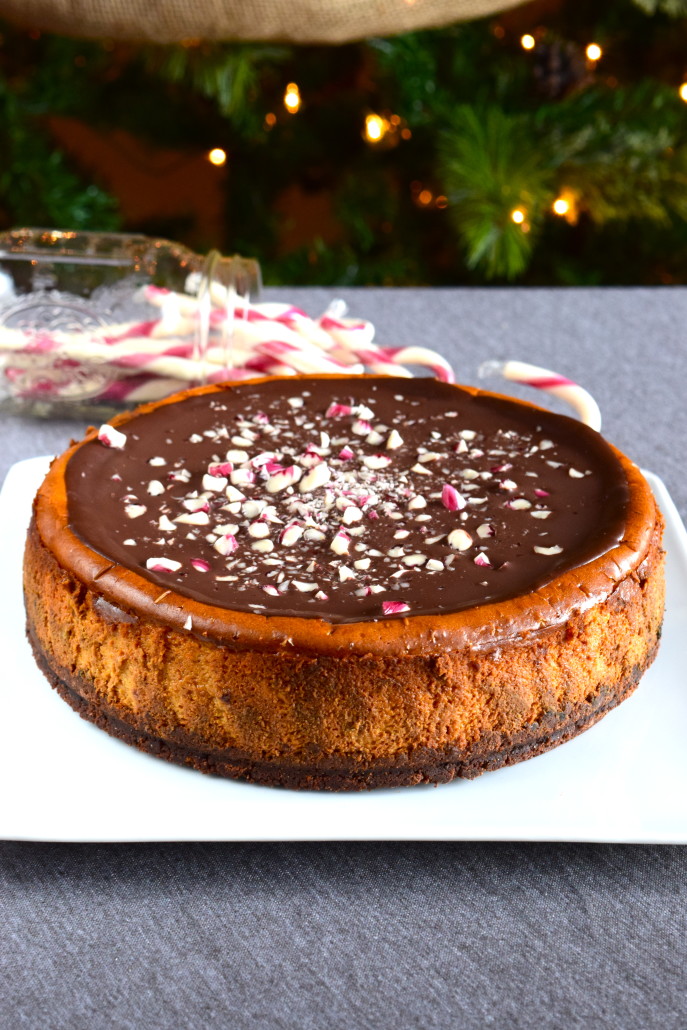
Peppermint bark and cheesecake. If that doesn’t sound like a winning holiday combination, I don’t know what does. There’s just something about the cool peppermint, rich chocolate and tangy cream cheese flavors that feels like Christmas in a bite. It’s decadent, but this version is slightly less guilty with honey instead of white sugar.

Peppermint Bark Cheesecake Sweetend with Honey -- Nourish Wild

Christmas is only 2 days away, which means New Year’s and New Year Resolutions are creeping up quickly. If you’re like most people, your resolutions probably include some type of health upgrade. Which is awesome! Wanting to get healthier is always a good goal. Of course, the trick is making it last longer than the month of January.

If you’re looking for a free, short and sweet kickstart to a healthier lifestyle, join us on January 11th for our Free 7 Day Challenge!

7 Day Challenge Poster

Ready to join us? What do you have to lose… It’s free!

If you have any questions, you can always contact us at nourishwild@gmail.com. We hope you join us! Tell your friends, let’s do this together!

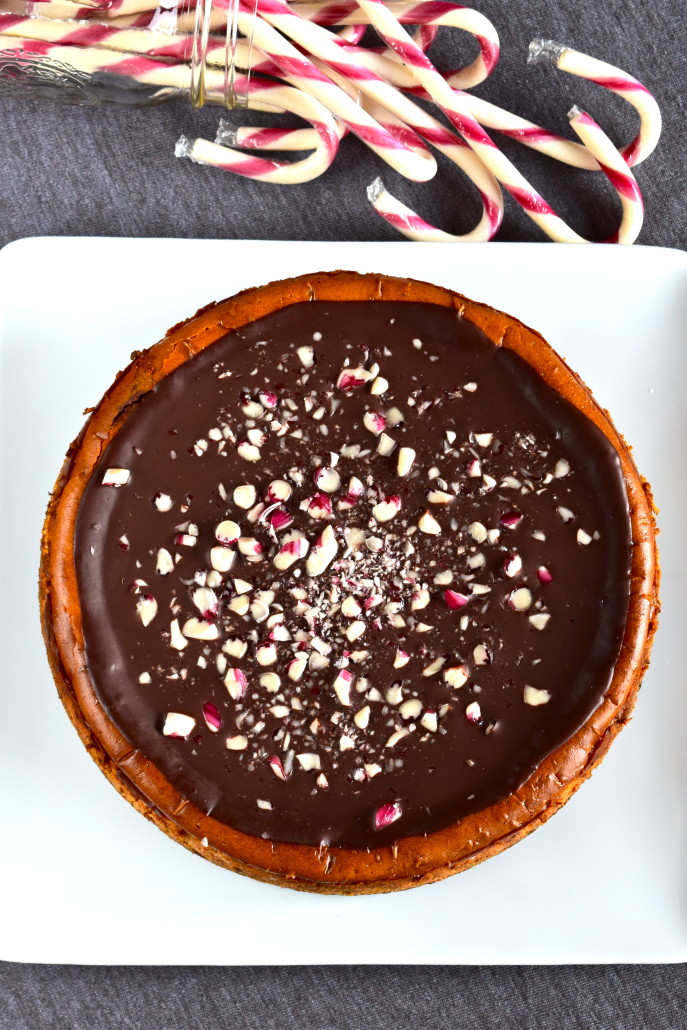
But first, finish off the year with this guy:

Peppermint Bark Cheesecake Sweetend with Honey -- Nourish Wild

Peppermint Bark Cheesecake

Crust:

I used this recipe from Gluten Free On A Shoestring. I halved the recipe, then cooked it in one giant cookie. Once baked, I crumbled up the cookie into crumbs, and added about 2 Tbsp of melted butter. Of course, you can use your favorite crust recipe if this one doesn’t do it for ya.

Filling:

  • 2 pounds (four 8 oz block) of grass-fed cream cheese (I use Organic Valley), softened completely to room temperature
  • 3/4 cup of unfiltered honey (Depending on the initial consistency of your honey, you may need to gently heat the honey until it is a pour-able consistency.)
  • 4 free-range eggs, room temperature
  • 1.5 tsp vanilla extract
  • 4 crushed candy canes
  • 1/3 cup chocolate chips (I use Enjoy Life), melted
  • 1 tsp peppermint extract

Topping:

  • 1 cup chocolate chips, melted
  • 1/4 cup avocado oil
  • 1 tsp peppermint extract
  • 2-3 crushed candy canes
  1. Preheat the oven to 325 degrees F, and grease a 9″ springform pan (I like coconut oil for greasing pans). I also like to put a round cutout of parchment paper on the bottom of the pan for extra non-stick insurance.
  2. Press your crust mixture into the bottom of the pan. I’m not into the fancy edges. As long as it covers the bottom evenly, I’m happy.
  3. Bake the crust for about 15 minutes. Allow to cool slightly.
  4. Prepare the filling. Use an electric mixer to beat together the cream cheese and honey in a large bowl.
  5. Add your eggs, one at a time, to the cream cheese and honey, mixing continuously at a low speed. Also add in the vanilla and 4 crushed candy canes while mixing.
  6. Stop mixing and take 1 cup of this cream cheese mixture and place it a separate, small bowl.
  7. To this small bowl of batter, add the 1/3 cup of melted chocolate, and 1 tsp of peppermint extract. You now should have one large “vanilla” cream cheese mixture, and one small “chocolate peppermint” cream cheese mixture.
  8. On top of the crust, pour all of the large “vanilla” cream cheese mixture and make sure it is evenly distributed.
  9. Using a spoon, plop dollops of the “chocolate peppermint” cream cheese mixture on top of the “vanilla” cream cheese mixture. Now all of the cream cheese batter should be in the springform pan.
  10. Use a butter knife to gently swirl the chocolate peppermint dollops with the vanilla cream cheese mixture. This will create a marbled effect, with pockets of chocolate peppermint distributed throughout the vanilla batter. Make sure to not scrape the crust while doing this.
  11. Bake the cheesecake in lower 1/3 of your oven at 325 degrees for 1 hour 30 minutes, until the middle is just barely under-cooked. (I ‘m not concerned with a water bath for this recipe since it will be topped with chocolate and cracks in the top won’t show anyway, but if it makes you feel better, you can add a pan of water in the oven as well to create a steam effect.)
  12. After 1 hr 30 minutes, turn off the oven and crack the door, leaving the cheesecake in the oven. Allow the oven to cool completely with the cheesecake still inside. Once the oven is cooled, remove the cheesecake and let it continue to cool (still in the springform pan) on the counter until close to room temperature.
  13. Create the topping by mixing the 1 cup melted chocolate chips, avocado oil and peppermint extract. Pour this mixture on top of the cooled cheesecake. Sprinkle with crushed candy canes.
  14. Refrigerate the cheesecake (still in the springform pan) overnight before serving.

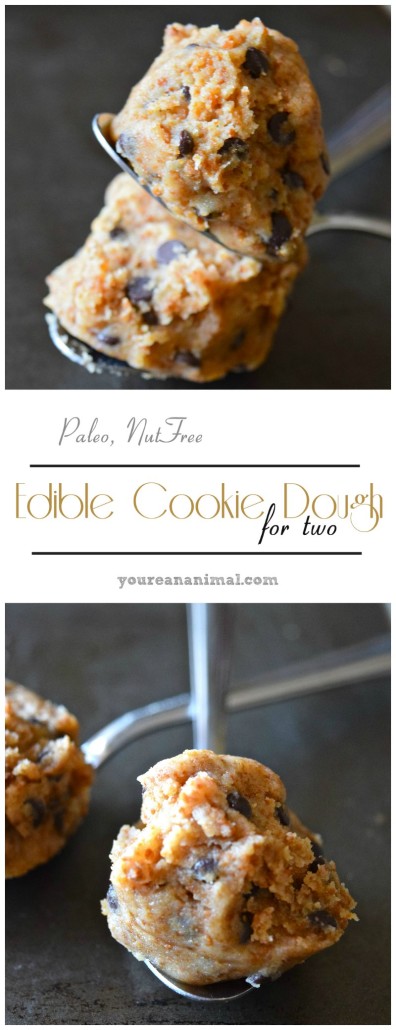
Edible Cookie Dough For Two (Gluten-Free, Paleo, Nut-Free)

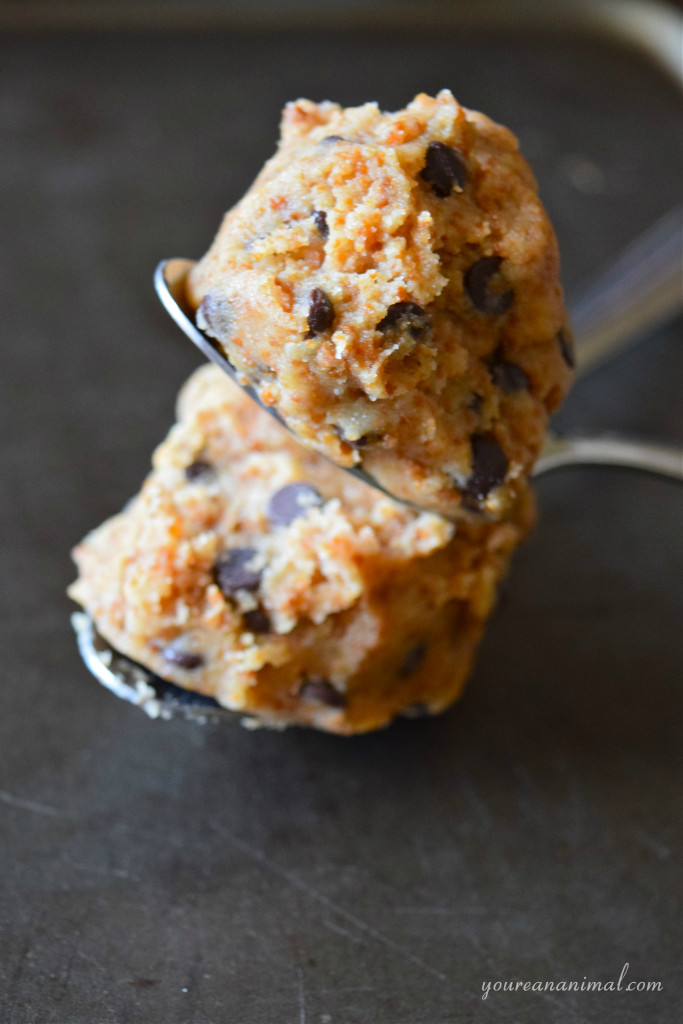
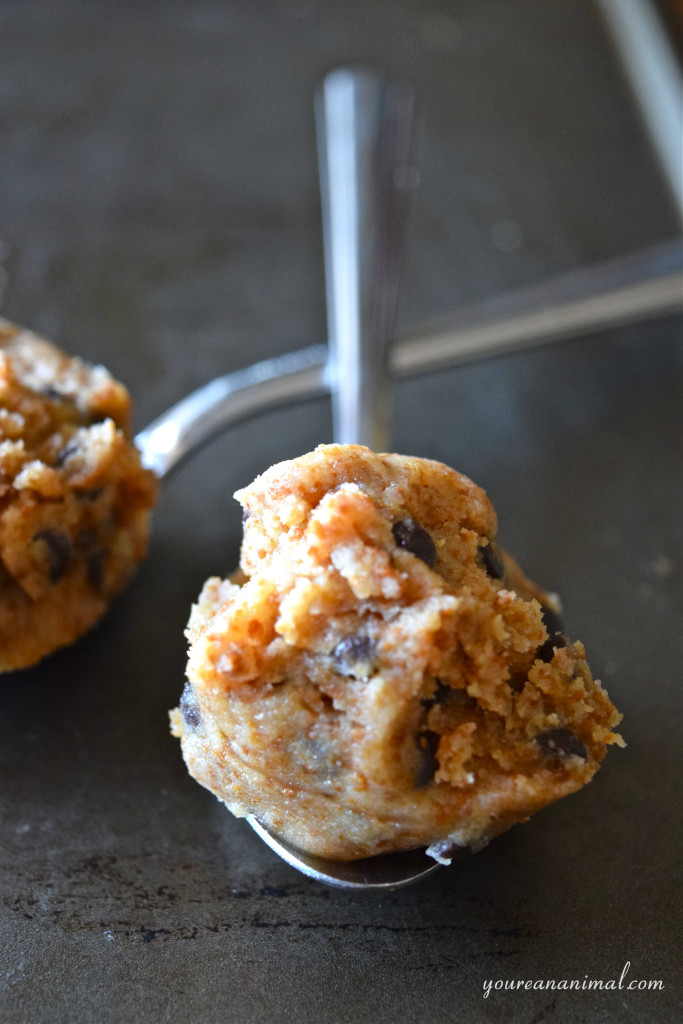
If you’re guilty of standing at the fridge with a spoonful of cookie dough in your hand, this recipe is for you. Gluten-free, Paleo, Nut-Free edible cookie dough for two. Quick and easy for a late-night dessert treat to satisfy your sweet tooth, without having to deal with the processed nonsense!

If your college days were anything like mine, you were willing to risk salmonella for a spoonful of sweet and salty cookie dough goodness. Confession: my roommate and I would buy the large tubs of cookie dough and never bake a single cookie. It’s a wonder that I survived, but I’m glad I did because now I can bring you this wonderful recipe. Gone are the days of risking life and limb for a sneaky bite of raw cookie dough. Now you can make your own… without eggs, gluten, grains, nuts, or anything crazy. Can I get an amen?

Gluten Free Paleo Nut Free Edible Cookie Dough For Two

This small-batch recipe is perfect when you’re with your honey or roommate and you want a little bite, but don’t want the stuff staring at you every time you open the fridge. Because let’s be honest, if this were lingering in the fridge, it would end up being breakfast. Not that that would be the worst thing in the world….

Everything you want in cookie dough: sweet, salty, vanilla, and the creamy bits of chocolate. But none of the junk. Yeah man, now we’re talking.

Gluten Free Paleo Nut Free Edible Cookie Dough For Two

Edible Cookie Dough For Two

  • 2 Tbsp grass-fed butter or ghee, room temp (completely softened)
  • 1 Tbsp avocado oil
  • 2 Tbsp coconut flour
  • 3 Tbsp potato starch (or tapioca, or arrowroot)
  • 3 Tbsp coconut sugar
  • pinch of salt
  • 1/4 tsp vanilla extract
  • chocolate chips to preference (about 2 Tbsp) (I like Enjoy Life brand)
  1. Make sure your butter/ghee is completely softened. Place in a medium mixing bowl.
  2. Add the coconut sugar, vanilla, and salt to the butter, and use a fork to mix together until a uniform color/texture.
  3. Add in the coconut flour, starch, and avocado oil. Again, mix with a fork until the dry ingredients are no longer separate.
  4. Stir in the chocolate chips, and enjoy!

Makes about 1/2 cup of cookie dough.

Gluten Free Paleo Nut Free Edible Cookie Dough For Two

Mint Chocolate Chip Ice Cream (Dairy-Free, Paleo)

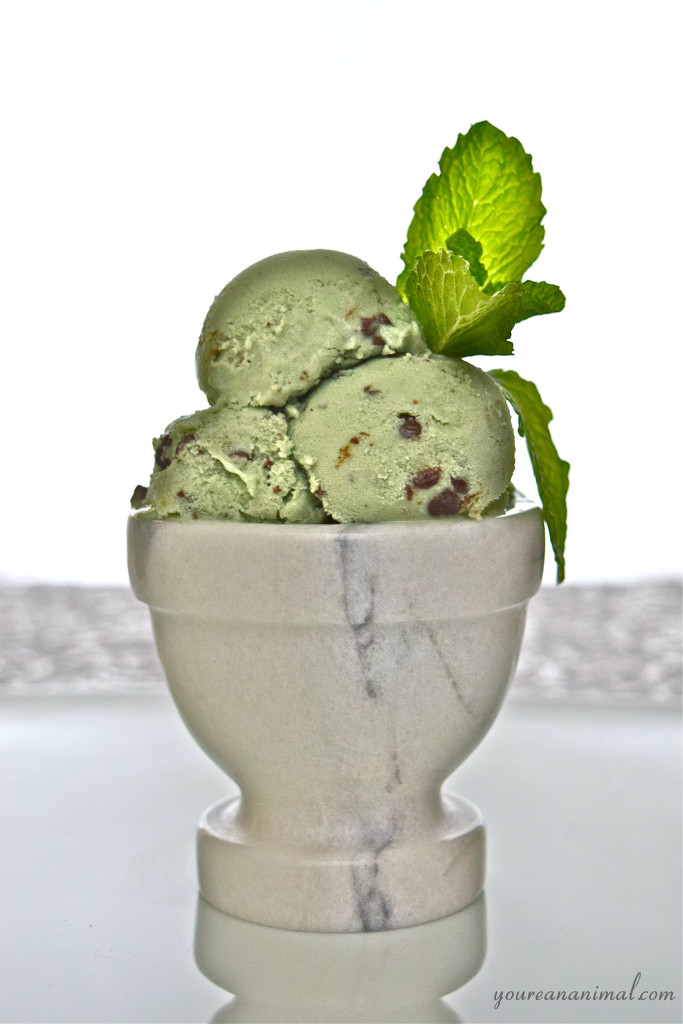
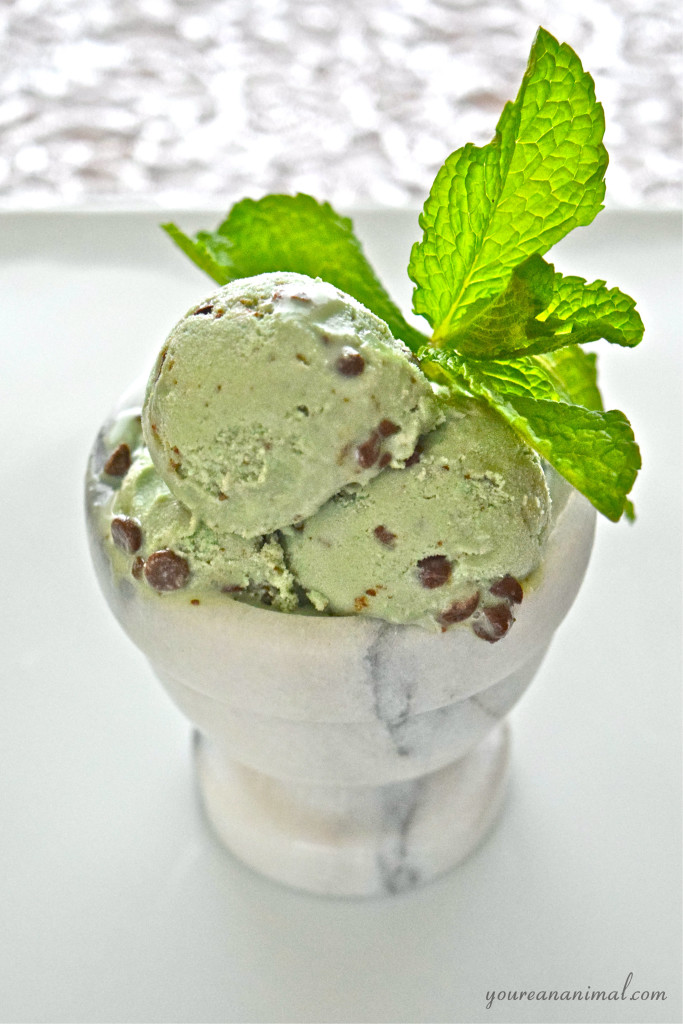
Mint Chocolate Chip Ice Cream is meant to be refreshing and slightly indulgent, but for people (like me) who are lactose intolerant this dessert can be a sign of tummy troubles. But not with this version! Dairy-free and paleo friendly, this ice cream uses coconut milk as a base, and is a silky, wonderful substitution for the traditional summer treat.

It’s been in the 90 degree range here in RVA consistently enough that we can officially call this summertime! And what better way to usher in summer than with the ultimate summer treat: ice cream. Mint chocolate chip has always been my favorite flavor; I enjoy a good chocolate brownie or cookie dough every once in a while, but that’s only when I can tear myself away from drooling over the mint chip. Ice cream is definitely my dessert weakness. If pressed, I may have even called it my favorite food once upon a time. (Does dessert count as a favorite food? Or does that just make it sound like I have a problem? Hello, my name is Morgan and I am a recovering sugar addict.) And even after discovering I am lactose intolerant, I still had no restraint. Who needs restraint when you have Lactaid? But somehow needing to take a pill in order to tolerate a food seemed counter-intuitive and I obviously was just fighting my body rather than trying to work with it. So I gave it up. While that sounds simple, it’s really not. Oh dairy, why must you haunt me in everything that is delicious and heavenly? Dairy-free alternatives intrigued me, and I set out to recreate my favorite mint chip. We bought an ice cream maker and some coconut milk, and I’ve been on a roll ever since. This was actually the first ice cream recipe I made, and definitely is a frequent staple in our freezer. In fact, just last night Andrew said, “We should keep a constant supply of this.” Yes, yes we should.
Dairy Free Paleo Mint Chocolate Chip Ice Cream

As I mentioned, the base of this ice cream is coconut milk. You get this in cans, and it’s usually found in the Asian food section. You want to get full-fat, and the least amount of ingredients you can find. When you shake the can, you shouldn’t feel/hear anything. If it’s sloshing around inside, then there’s usually extra water which can make your ice cream icy rather than creamy. Also, sometimes when you open the can, the cream has separated from the water. This is okay, you’re still going to use everything in the can. You will be heating up the mixture, so if the cream and water has separated, they will re-combine once heated. Finally, there is a little starch in this recipe. This makes the ice cream creamier and thus deliciouser, obviously. As with most homemade ice creams, it will be pretty solid after sitting in the freezer, so you may want to let the ice cream sit out on the counter for about 10 minutes so it softens up and you don’t break your scooper. But if you’re impatient, you can always just chisel away right out of the freezer.

Dairy Free Paleo Mint Chocolate Chip Ice Cream

Mint Chocolate Chip Ice Cream


  1. Place all of the ice cream ingredients in a medium saucepan, and stir until completely combined and the egg yolks are broken. Heat over medium-low heat, until the mixture is warm but not hot. Remove from the stove, cover with lid, then place in the fridge to cool for at least 1 hour.
  2. Once the ice cream base is cooled, strain the mixture so there are no lumps, and follow manufacturer instructions for your ice cream maker to make your ice cream. About 5 minutes before the end of the cycle while the machine is still running, add your chopped chocolate chips.
  3. Transfer into a storage container (I like to use a glass loaf pan, it’s the perfect size). Store in the freezer. Note that the ice cream will harden, so you may want to let it sit out for about 10 minutes before scooping once it has been sitting in the freezer for a while.

Dairy Free Paleo Mint Chocolate Chip Ice Cream


 Please note that some of the links in the above post are affiliate links that will take you to an Amazon.com page. If you choose to purchase a product featured in this post using an affiliate link, you will be directly supporting You’re An Animal. Thanks!


Individual Blueberry Crisp (Gluten-Free, Vegan, Paleo Option)

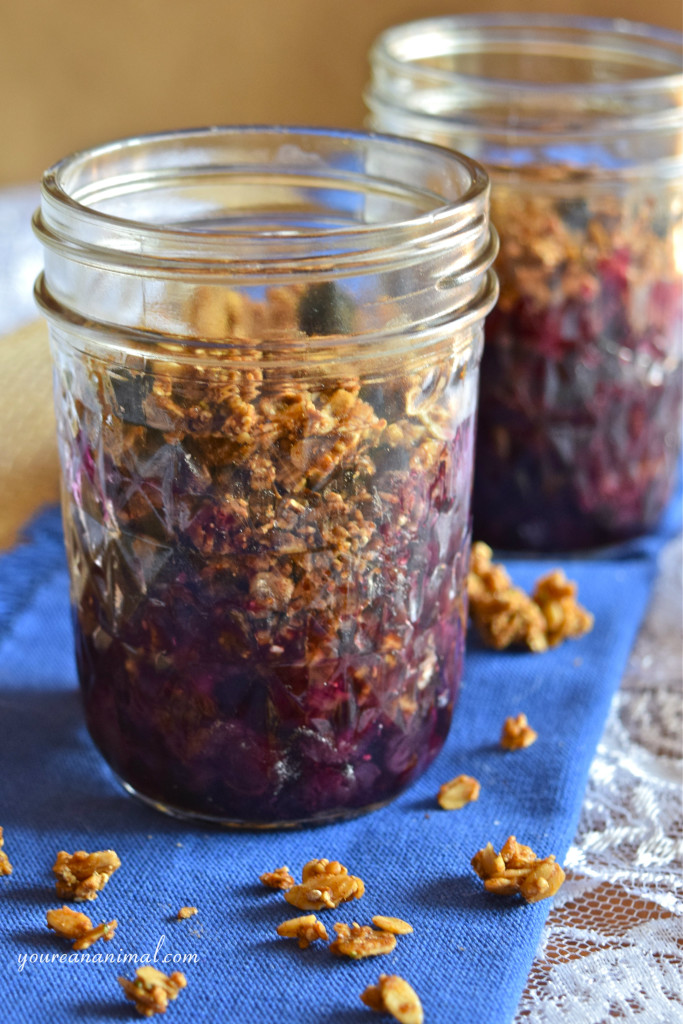
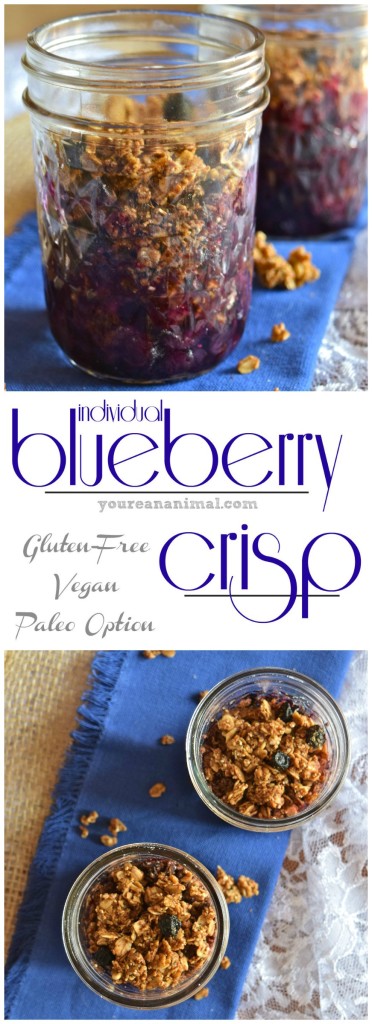
These individual blueberry crisps will transform your brunch or dessert into a comforting delight. Sweet blueberries reduce down into a thick, not-too-sinful sauce, while the granola becomes a warm oatmeal cookie waiting for you to dig in. Gluten-free, vegan, and with a paleo option, these treat jars will be a hit with everyone at the table!

I’ll be honest, I’m not much of a pie or cobbler kind of girl. It has to be something really very delectable to get me on board. So when I had my first fruit crisp at a bed and breakfast a couple years ago, I was hesitant. But it didn’t take long for me to fall in love. The juicy, sweet reduced berries that have become their own jelly-like sauce… the chewy, cookie-like topping made from the sweet oats and butter… I was hooked. But when I found out how much sugar usually goes into those things, I was turned off. Why does fruit need more sugar? Truth be told, it doesn’t. So I set out to make my own fruit crisp… one without the added sugar and typical dessert elements that are often used.

Gluten Free Vegan Paleo Individual Blueberry Crisp

Boy oh boy, do these babies deliver. The blueberries perfectly intertwined with the granola mixture, making them separate but one at the same time. On their own they are delicious, but together, they can take over the world. Or at least the world’s taste buds. Though these crisps are long gone (eaten in approximately 45 seconds), I can still smell the tantalizing simmering blueberries mingling mid-air with the cinnamon-infused granola. It’s making my mouth water all over again. I should have made more…

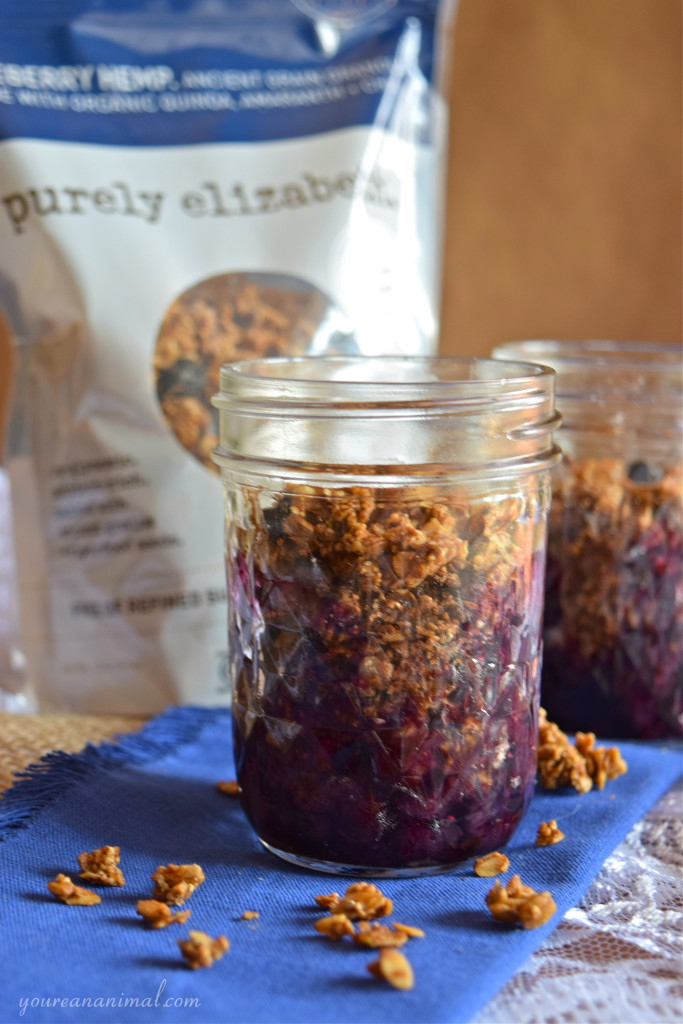
Gluten Free Vegan Paleo Individual Blueberry Crisp Purely Elizabeth Granola

Let’s talk about the ingredients. This comes together very quickly, as I use pre-made granola. There are a lot of good granola brands out there these days, but Purely Elizabeth is my favorite. No, they aren’t paying me to say that or to use their brand in a picture. I just really love it that much, and think it’s important to support companies that you agree with. Elizabeth’s granola (I get the Blueberry Hemp flavor) is gluten-free and vegan, and made with awesome ingredients like coconut oil, coconut sugar, chia seeds, hemp seeds, quinoa and amaranth. It also has dried blueberries mixed in, which are chewy and delicious. Have I sold you yet? Now, Elizabeth’s is a more “traditional” granola in that it uses oats as the base. However, for those of you looking for a Paleo option, you can use Paleo granola in this recipe. One brand that makes many different flavors and styles of Paleo granola is Steve’s PaleoGoods. Steve’s is true-blue paleo, with all junk-free ingredients and they also use part of their profits to support youth programs. Once again, I’m so excited that companies like Elizabeth’s and Steve’s exist, because they are the ones who will change our food culture for the better.

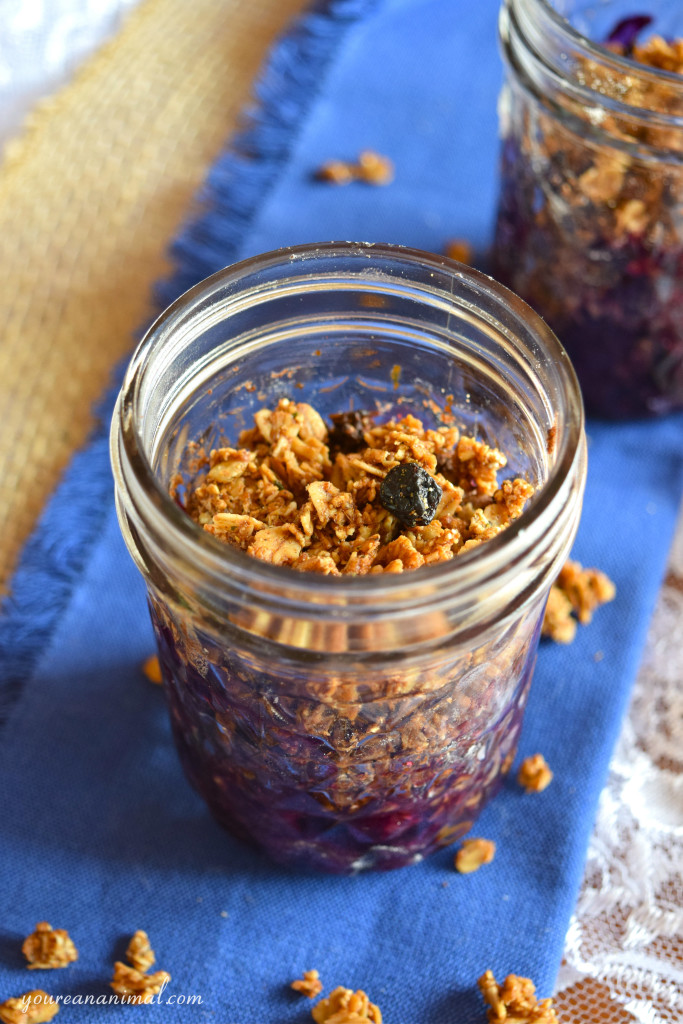
Gluten Free Vegan Paleo Individual Blueberry Crisp

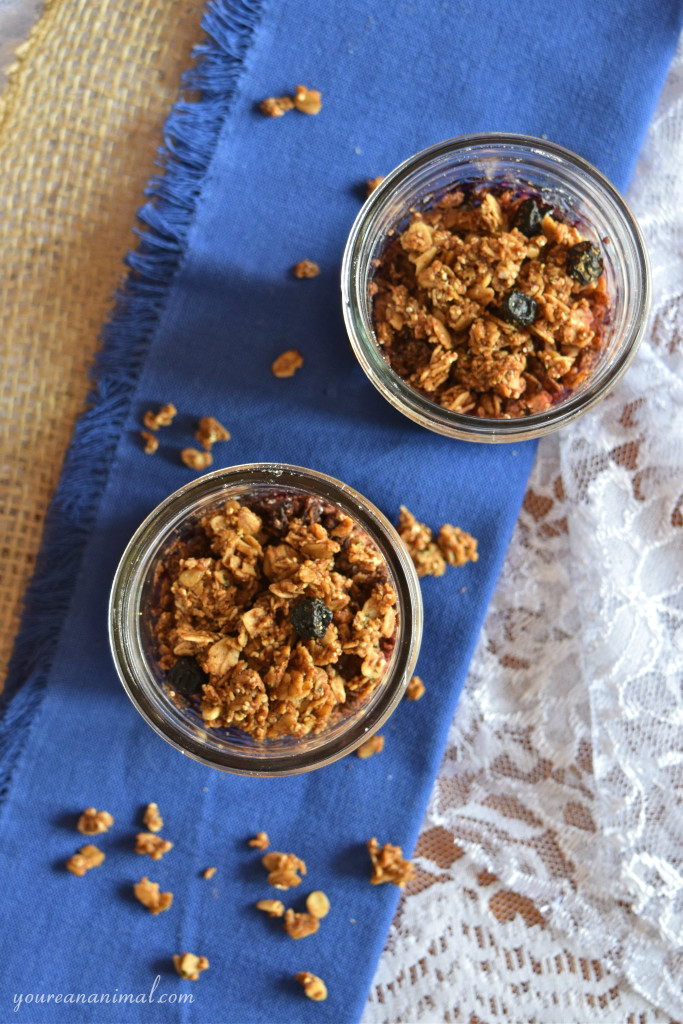
Gluten Free Vegan Paleo Individual Blueberry Crisp

Individual Blueberry Crisp

  • 1 cup granola (pre-made, your choice, I prefer Elizabeth’s [vegan] or Steve’s [paleo])
  • 1 cup frozen blueberries
  • 1 Tbsp + 1 tsp tapioca starch
  • 1/2 Tbsp coconut flour
  • 1 Tbsp coconut oil (solid, not melted)
  • 1/4 tsp ground cinnamon
  • pinch of salt
  1. Preheat the oven to 375 degree F, and have two 8 oz mason jars (or one 16 oz mason jar) ready.
  2. In a small mixing bowl, combine the granola, 1 Tbsp tapioca, coconut flour, coconut oil, cinnamon and salt. You may need to use your fingers to thoroughly combine the coconut oil into the mixture.
  3. In a separate small mixing bowl, toss the frozen blueberries with the 1 tsp of tapioca. (This is going to make the blueberries gel a little bit when they reduce, so it’s not too liquidy of a sauce at the bottom of the jar.)
  4. Distribute your berries amongst the two jars, half cup in the bottom of one, half cup in the bottom of the other.
  5. Distribute your granola mixture amongst the two jars evenly, on top of the blueberries.
  6. Place the jars in the preheated oven (I like to put them on a cookie sheet so they’re easier to put in a take out).
  7. Bake for about 30 minutes, or until the berries have reduced and are simmering in their own juice.
  8. Note: if you’re using fresh berries instead of frozen, the bake time will likely be less.

Gluten Free Vegan Paleo Individual Blueberry Crisp

Brownie and Mint Chocolate Chip Ice Cream Cake (Gluten-Free, Dairy-Free, White Sugar-Free)

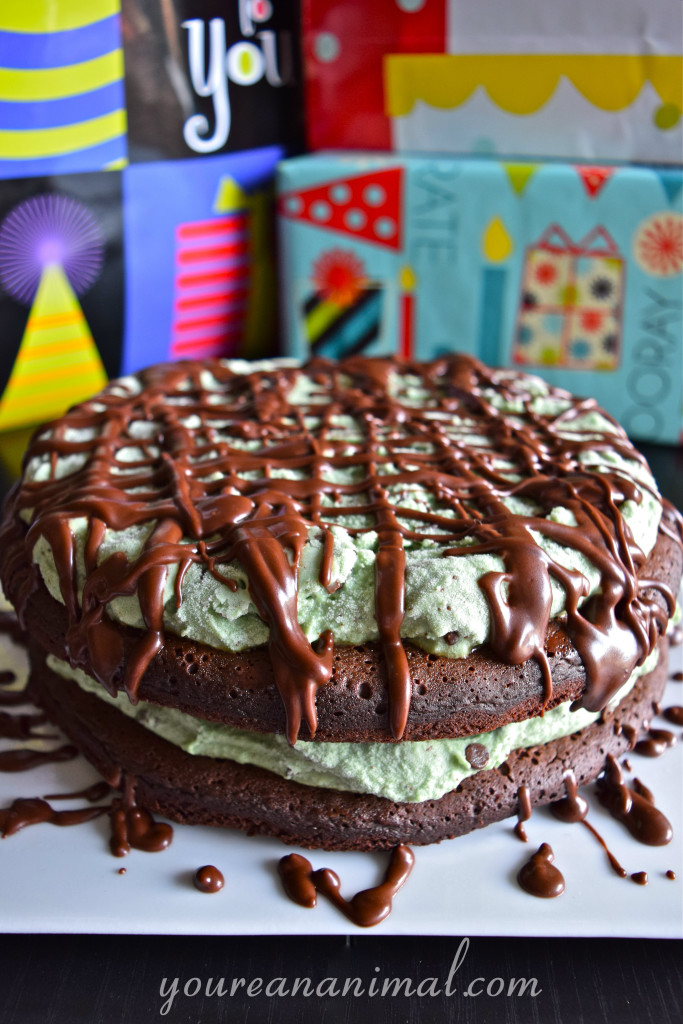
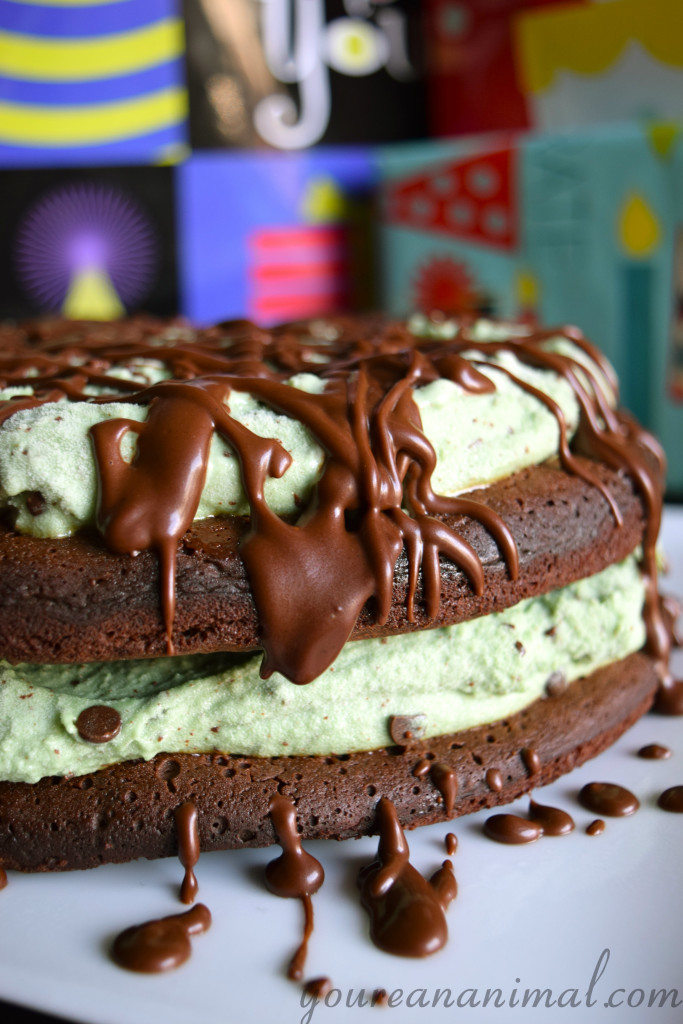
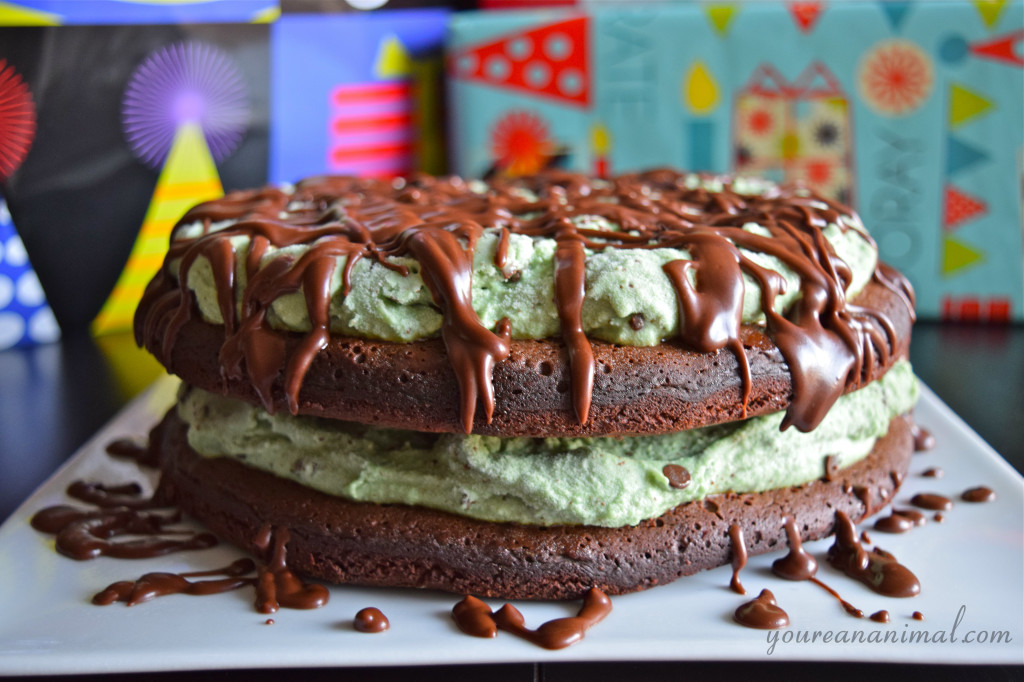
This is a brownie and mint chip ice cream cake treat with great credentials: gluten-free, dairy-free, and white sugar-free. And trust me, you won’t miss any of it. Creamy mint chocolate chip ice cream layered with dense, chewy brownie. Perfect for any celebration… especially a 27th birthday!

Brownie and Mint Chocolate Chip Ice Cream Cake (Gluten-Free, Dairy-Free, White Sugar-Free). Let's celebrate!

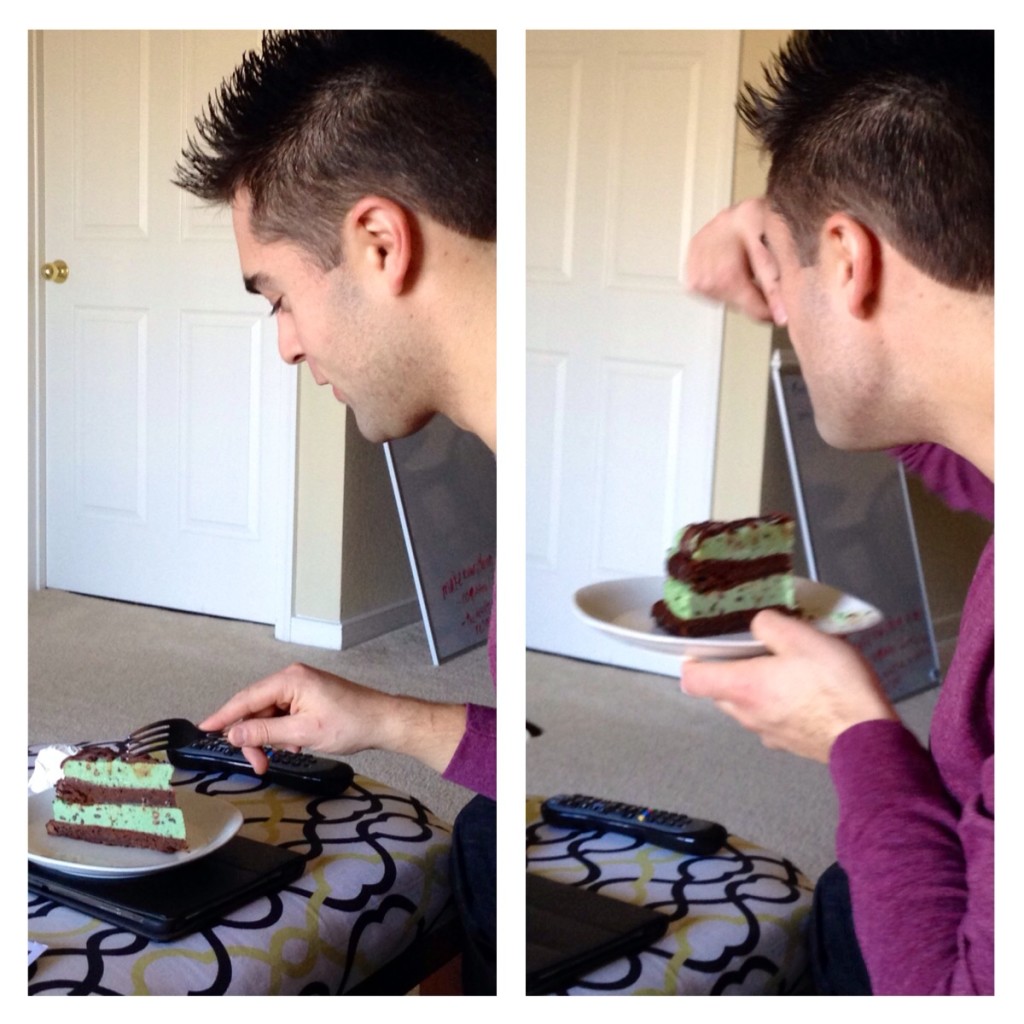
Happy birthday to my main man and partner in crime, Andrew! On the 22nd my favorite nutrition nerd turned 27, which of course called for a special birthday treat. He’s not much of cake fan and actually asked for mint chocolate chip ice cream instead, but I decided to take it a step further. Birthdays are supposed to have some form of cake, amiright? When I unveiled this creation, he literally did a happy dance and then threw me over his shoulder. I’d say I succeeded.

Brownie and Mint Chocolate Chip Ice Cream Cake (Gluten-Free, Dairy-Free, White Sugar-Free). Let's celebrate!

Yep, he’s loving it.

photo(3)

If you ask me, mint chocolate chip is the best ice cream flavor, best flavor combination, best thing ever. Add brownie and we’re done here, it’s a wrap. The brownie is dense and chewy, and the ice cream is creamy and fresh, even though it doesn’t have any of the “typical” ingredients. No gluten, no dairy. All the fun. Don’t have a birthday to celebrate? Celebrate any day that ends in a “y.” Done and done. Just make sure you share 🙂

Brownie and Mint Chocolate Chip Ice Cream Cake (Gluten-Free, Dairy-Free, White Sugar-Free). Let's celebrate!

Brownie and Mint Chocolate Chip Ice Cream Cake

Brownie

Mint Chocolate Chip Ice Cream

Chocolate Ganache Drizzle

  1. Start by making a double batch of my Flourless Classic Brownies recipe. Line the bottom of two 8″ round cake pans with parchment paper (I traced the pans and cut out the circles so the paper fit exactly in the bottom of the pan). Coat the bottom and corners of the pan with coconut oil or another fat source, place the paper on top of the oil, then coat the paper with the same oil. You don’t want these to stick! Distribute the brownie batter evenly into the two pans. Bake these brownies at 350 degrees F for about 30 minutes, or until the tops are cracked and an inserted toothpick comes out clean. Place these brownies in the freezer to cool (they need to be cold before you put the ice cream on top).
  2. Next, make the ice cream base. Place all of the ice cream ingredients in a medium saucepan, and stir until completely combined and the egg yolks are broken. Heat over medium-low heat, until the mixture is warm but not hot. Remove from the stove, cover with lid, then place in the fridge to cool for at least 1 hour.
  3. Once the ice cream base is cooled, strain the mixture so there are no lumps, and follow manufacturer instructions for your ice cream maker to make your ice cream. About 5 minutes before the end of the cycle while the machine is still running, add your chopped chocolate chips.
  4. Once your ice cream has finished, evenly distribute the ice cream over the brownies still in the pans. Don’t push the ice cream all the way to the edges of the pans because this will make it harder to remove– leave a gap between the ice cream and pan edges. Place the pans back in the freezer, and let the ice cream harden.
  5. Once the ice cream is hardened, remove both brownie/ice cream cakes from the pan (I just flipped them upside down and they came right out), peel off the parchment paper, and stack them on a plate.
  6. To make the ganache, place the chocolate chips and coconut milk in a double broiler, and heat until melted and combined. Remove from the heat and drizzle over the cake. Enjoy!


 Please note that some of the links in the above post are affiliate links that will take you to an Amazon.com page. If you choose to purchase a product featured in this post using an affiliate link, you will be directly supporting You’re An Animal. Thanks!


Chocolate Covered Peppermint Marshmallows (Made with Honey)

peppermint-marshmallow

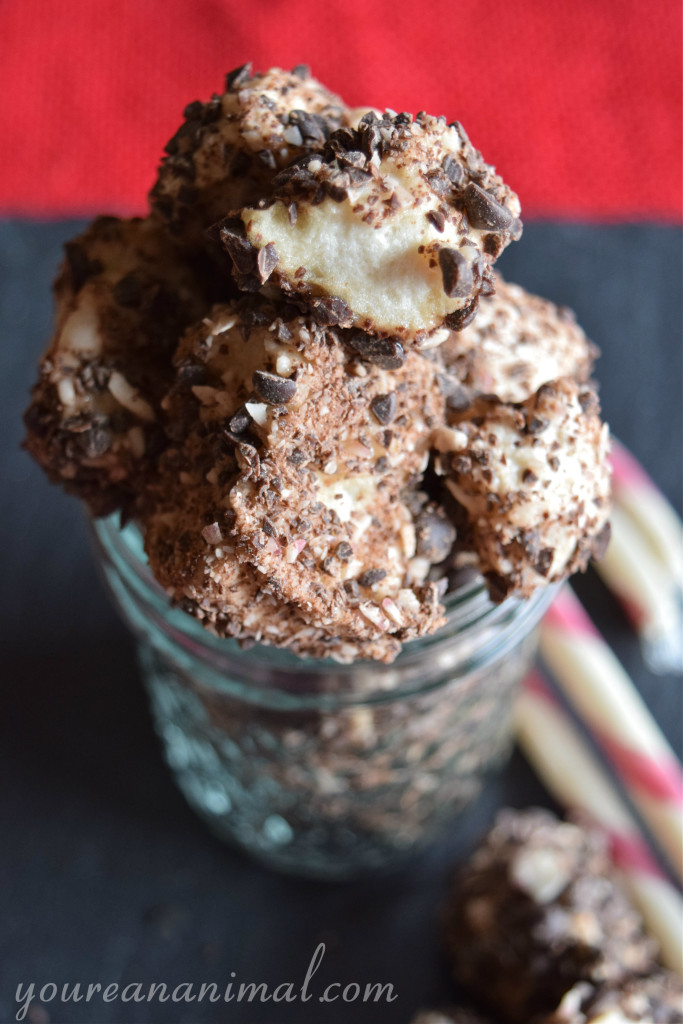
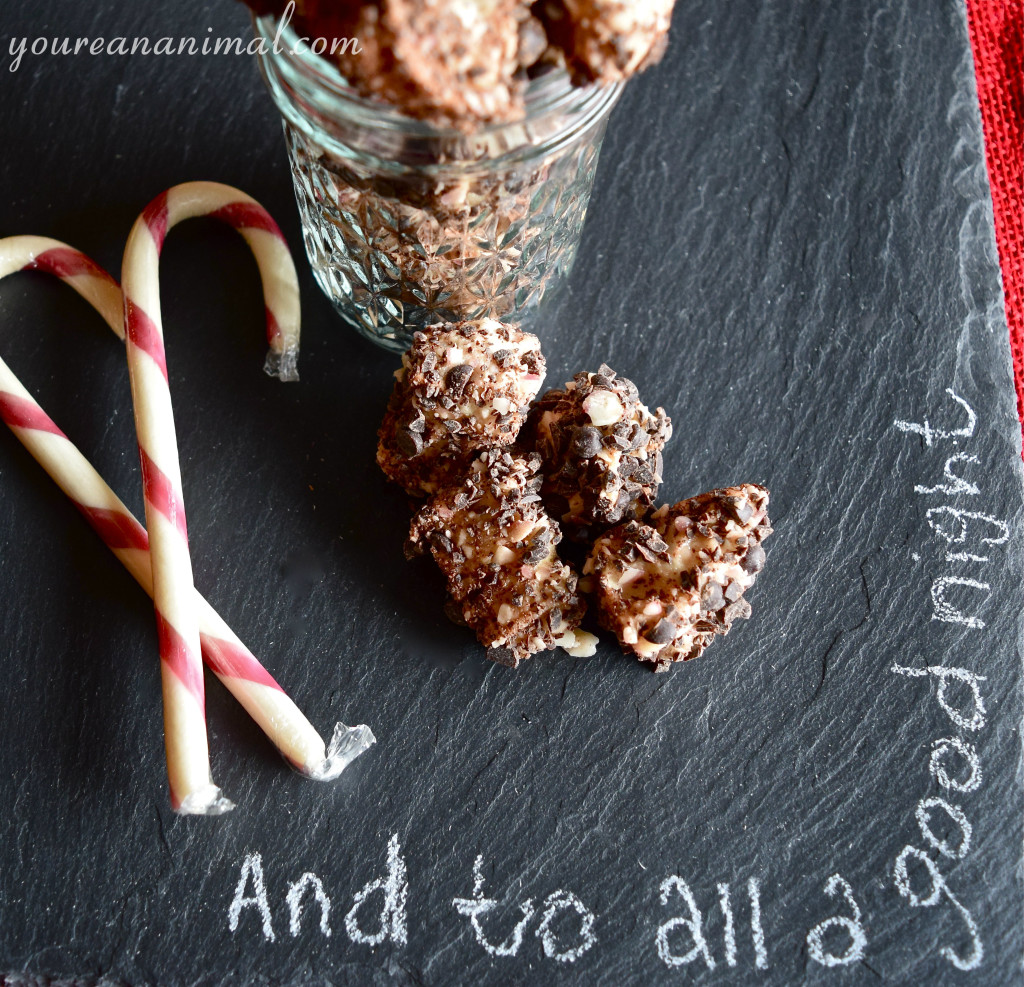
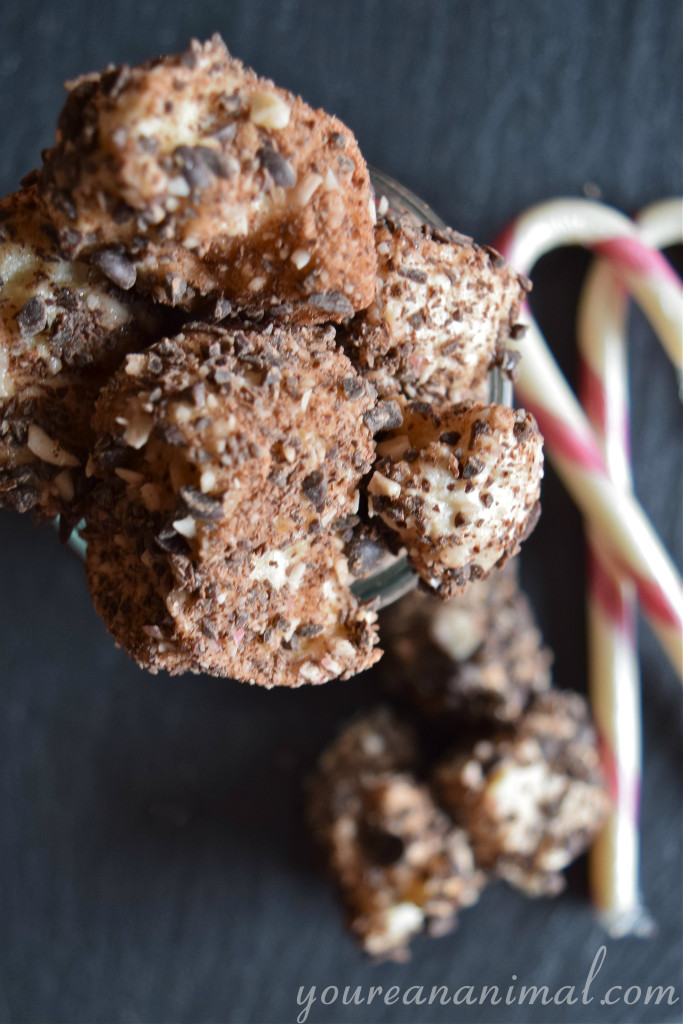
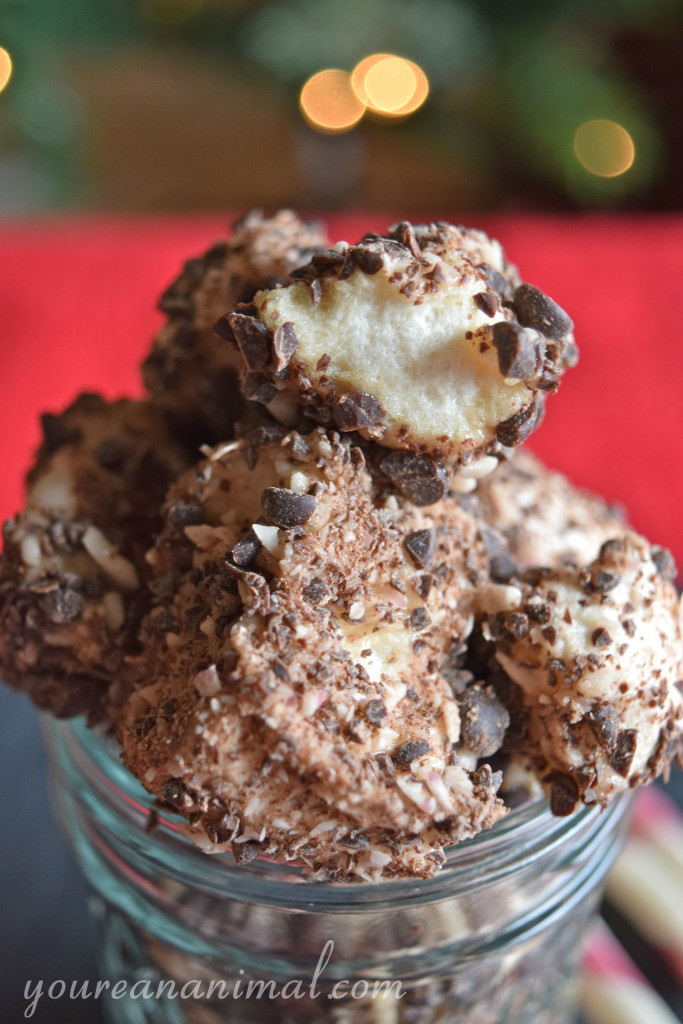
This is a Christmas post, coming to you on December 30th. It was fully intended to be in perfect holiday timing, ready for you to make and take to your favorite host or hostess and share with your family and friends. However, last Tuesday, the 23rd, when I intended to create this post, I instead woke up with the flu and was completely derailed. No website, no last-minute Christmas errands, just me and my couch, my two blankets, my hoodie, and copious amount of Turmeric Tea. So now it is coming to you, in fully restored health, an entire week overdue. But, better late than never, right? It’s almost New Year’s Eve, and this would still make the perfect host/hostess gift. Use up the last of those candy canes, and indulge in one last sweet treat before the bewitching day of January 1st when the gyms are full of wide-eyed people looking to make a change, and healthy cookbook sales skyrocket.

peppermint-marshmallows2

Speaking of which, I should mention that this will be the last sugar-laden recipe I make for a little while. Sugar has always been my downfall, and I have tried and tried to give it up. However, the restrictive nature of a “detox” always makes me want it even more. So I’ve decided to take a different approach. Instead of telling myself that I am not making sugary treats, I have decided to see it as an opportunity to explore new recipes… you know, with actual veggies and meats and… stuff. I’ve always been a baker, but I want to try my hand at more actual “cooking.” And so, with the turn of the calendar, I start that adventure. Yay!

peppermint-marshmallows3

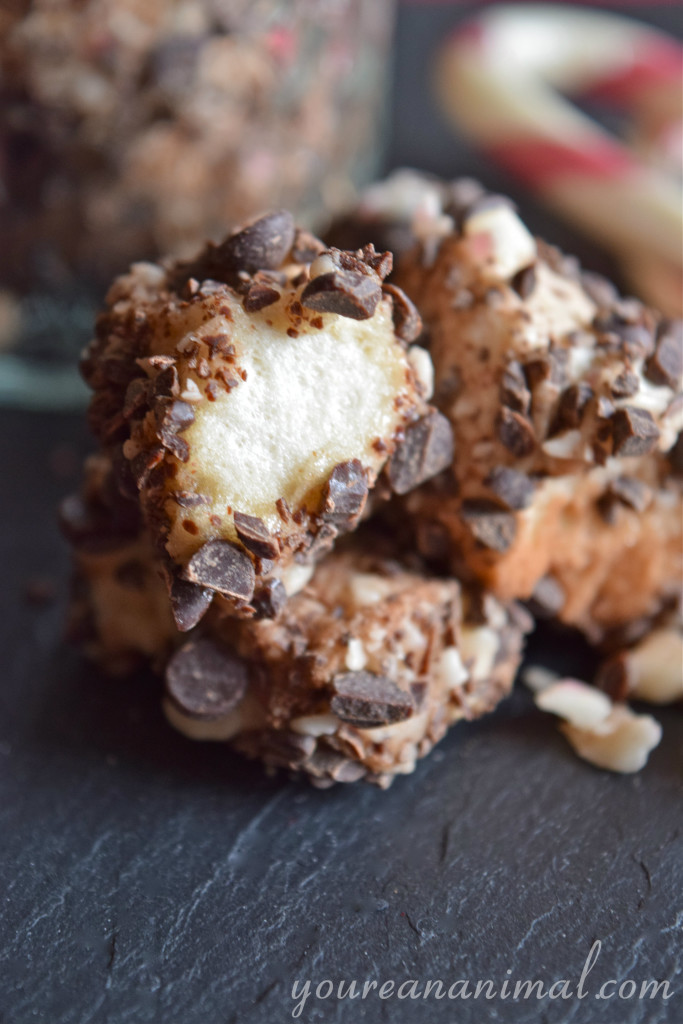
As for this recipe, making marshmallows probably sounds totally daunting and not worth it. But I can promise you, it is so much easier than you would think. And when you realize how much crappy HFCS and other who-knows-what ingredients go into your store-bought marshmallows, making your own, with just honey, water and gelatin, seems like the obvious choice. Homemade marshmallows, if you’ve never had them, are incredibly light and delicate. As trite as it may sound, they actually do just melt in your mouth. I love this version, because my favorite flavor combination is chocolate and peppermint. There is just something about that combo that says “holidays” for me. This is very reminiscent of chocolate bark, which is a beautiful holiday tradition in itself. Not to mention that all of your fellow guests will be totally impressed that you made your own candy. Who does that? You do, of course!

peppermint-marshmallows4

Chocolate Covered Peppermint Marshmallows

This recipe is adapted from this one by Urban Poser. If you have any issues, she has many trouble-shooting tips that can be very helpful.

  • 1 cup unfiltered honey
  • 1 cup water
  • 2.5 Tbsp powdered gelatin
  • 1 tsp vanilla extract
  • 1/2 tsp peppermint extract
  • 8 candy canes, crushed (I used TruJoy candy canes, which are organic, corn syrup free, and colored with fruit juice)
  • 1.5 cups of chocolate chips, finely chopped (I use Enjoy Life, allergy-free chocolate)
  • Note: you will need a candy thermometer for this recipe
  1. Line an 8×8 inch baking dish with parchment paper.
  2. In a large mixing bowl, add your gelatin, and 1/2 cup of water. Allow this to sit while you work with your sugar mixture. Also, have an electric hand mixer ready to go for when your sugar is ready.
  3. To a medium saucepan, add your other 1/2 cup of water, and all of your honey. Turn the heat up to medium-high, and bring to a boil. The mixture will foam up significantly, so be very careful to not let it boil over. If it starts to get to close to the top, remove from the heat briefly. Stir consistently.
  4. Using a candy thermometer (very important, you cannot do this without one. But good news is you can get one cheap at Walmart!), bring your sugar/water mixture up to the “soft ball” level, or 240 degrees F. This will take between 15-30 minutes. Continue stirring your mixture throughout the entire process, you do not want it to burn on the bottom. Watch your temperature very closely.
  5. As soon as the temperature is exactly at the “soft ball” mark, remove it from the heat. Immediately start to drizzle your sugar mixture over the gelatin, and mix the two together with your electric mixer on medium. This is a relatively delicate process, because this means you are pouring hot, liquid sugar with one hand, and are using the electric mixer to mix the ingredients with the other. Slowly pour in all of your sugar, in a thin stream, until it is all in your bowl.
  6. Now use your electric mixer, on high, to combine the gelatine and sugar. This process will take about 5-10 minutes, but as you continue to mix and incorporate, you will notice that the mixture will begin to froth up, slowly lighten in color, and then thicken into a fluff. Even if it seems like it isn’t doing anything in the beginning, just keep going!
  7. Continue to mix until you have a fluffy, marshmallow-like texture. There will be ripples in your fluff, and it will easily coat your finger. At this point, add the vanilla extract, and peppermint extract, and continue to mix until combined.
  8. Once you mixture is the consistency of marshmallow fluff, use a rubber spatula to transfer the mixture into your parchment-lined baking dish. Evenly distribute the fluff, and allow to sit for at least 2 hours, or until completely set. Note that this will be VERY sticky, even once set. Do not touch the top. (If you do, it will be like when Clark gets tree sap on his fingers in Christmas Vacation. Yep, I just went there.)
  9. Once your mixture is set, use a pizza cutter to cut the marshmallows into equal-sized squares (whatever size you prefer). Again, the marshmallows will still be VERY sticky, so it may be helpful to grease the pizza cutter, or your fingers. However, you want them to remain sticky so you can easily coat them, so try not to get the marshmallows too oily.
  10. Add the chopped candy canes and chocolate into a large bowl and combine. In small batches, add the marshmallows to the candy cane and chocolate mixture, and toss to coat. Repeat until all of the marshmallows are coated. Store in a jar or Tupperware container, and enjoy!

peppermint-marshmallows5

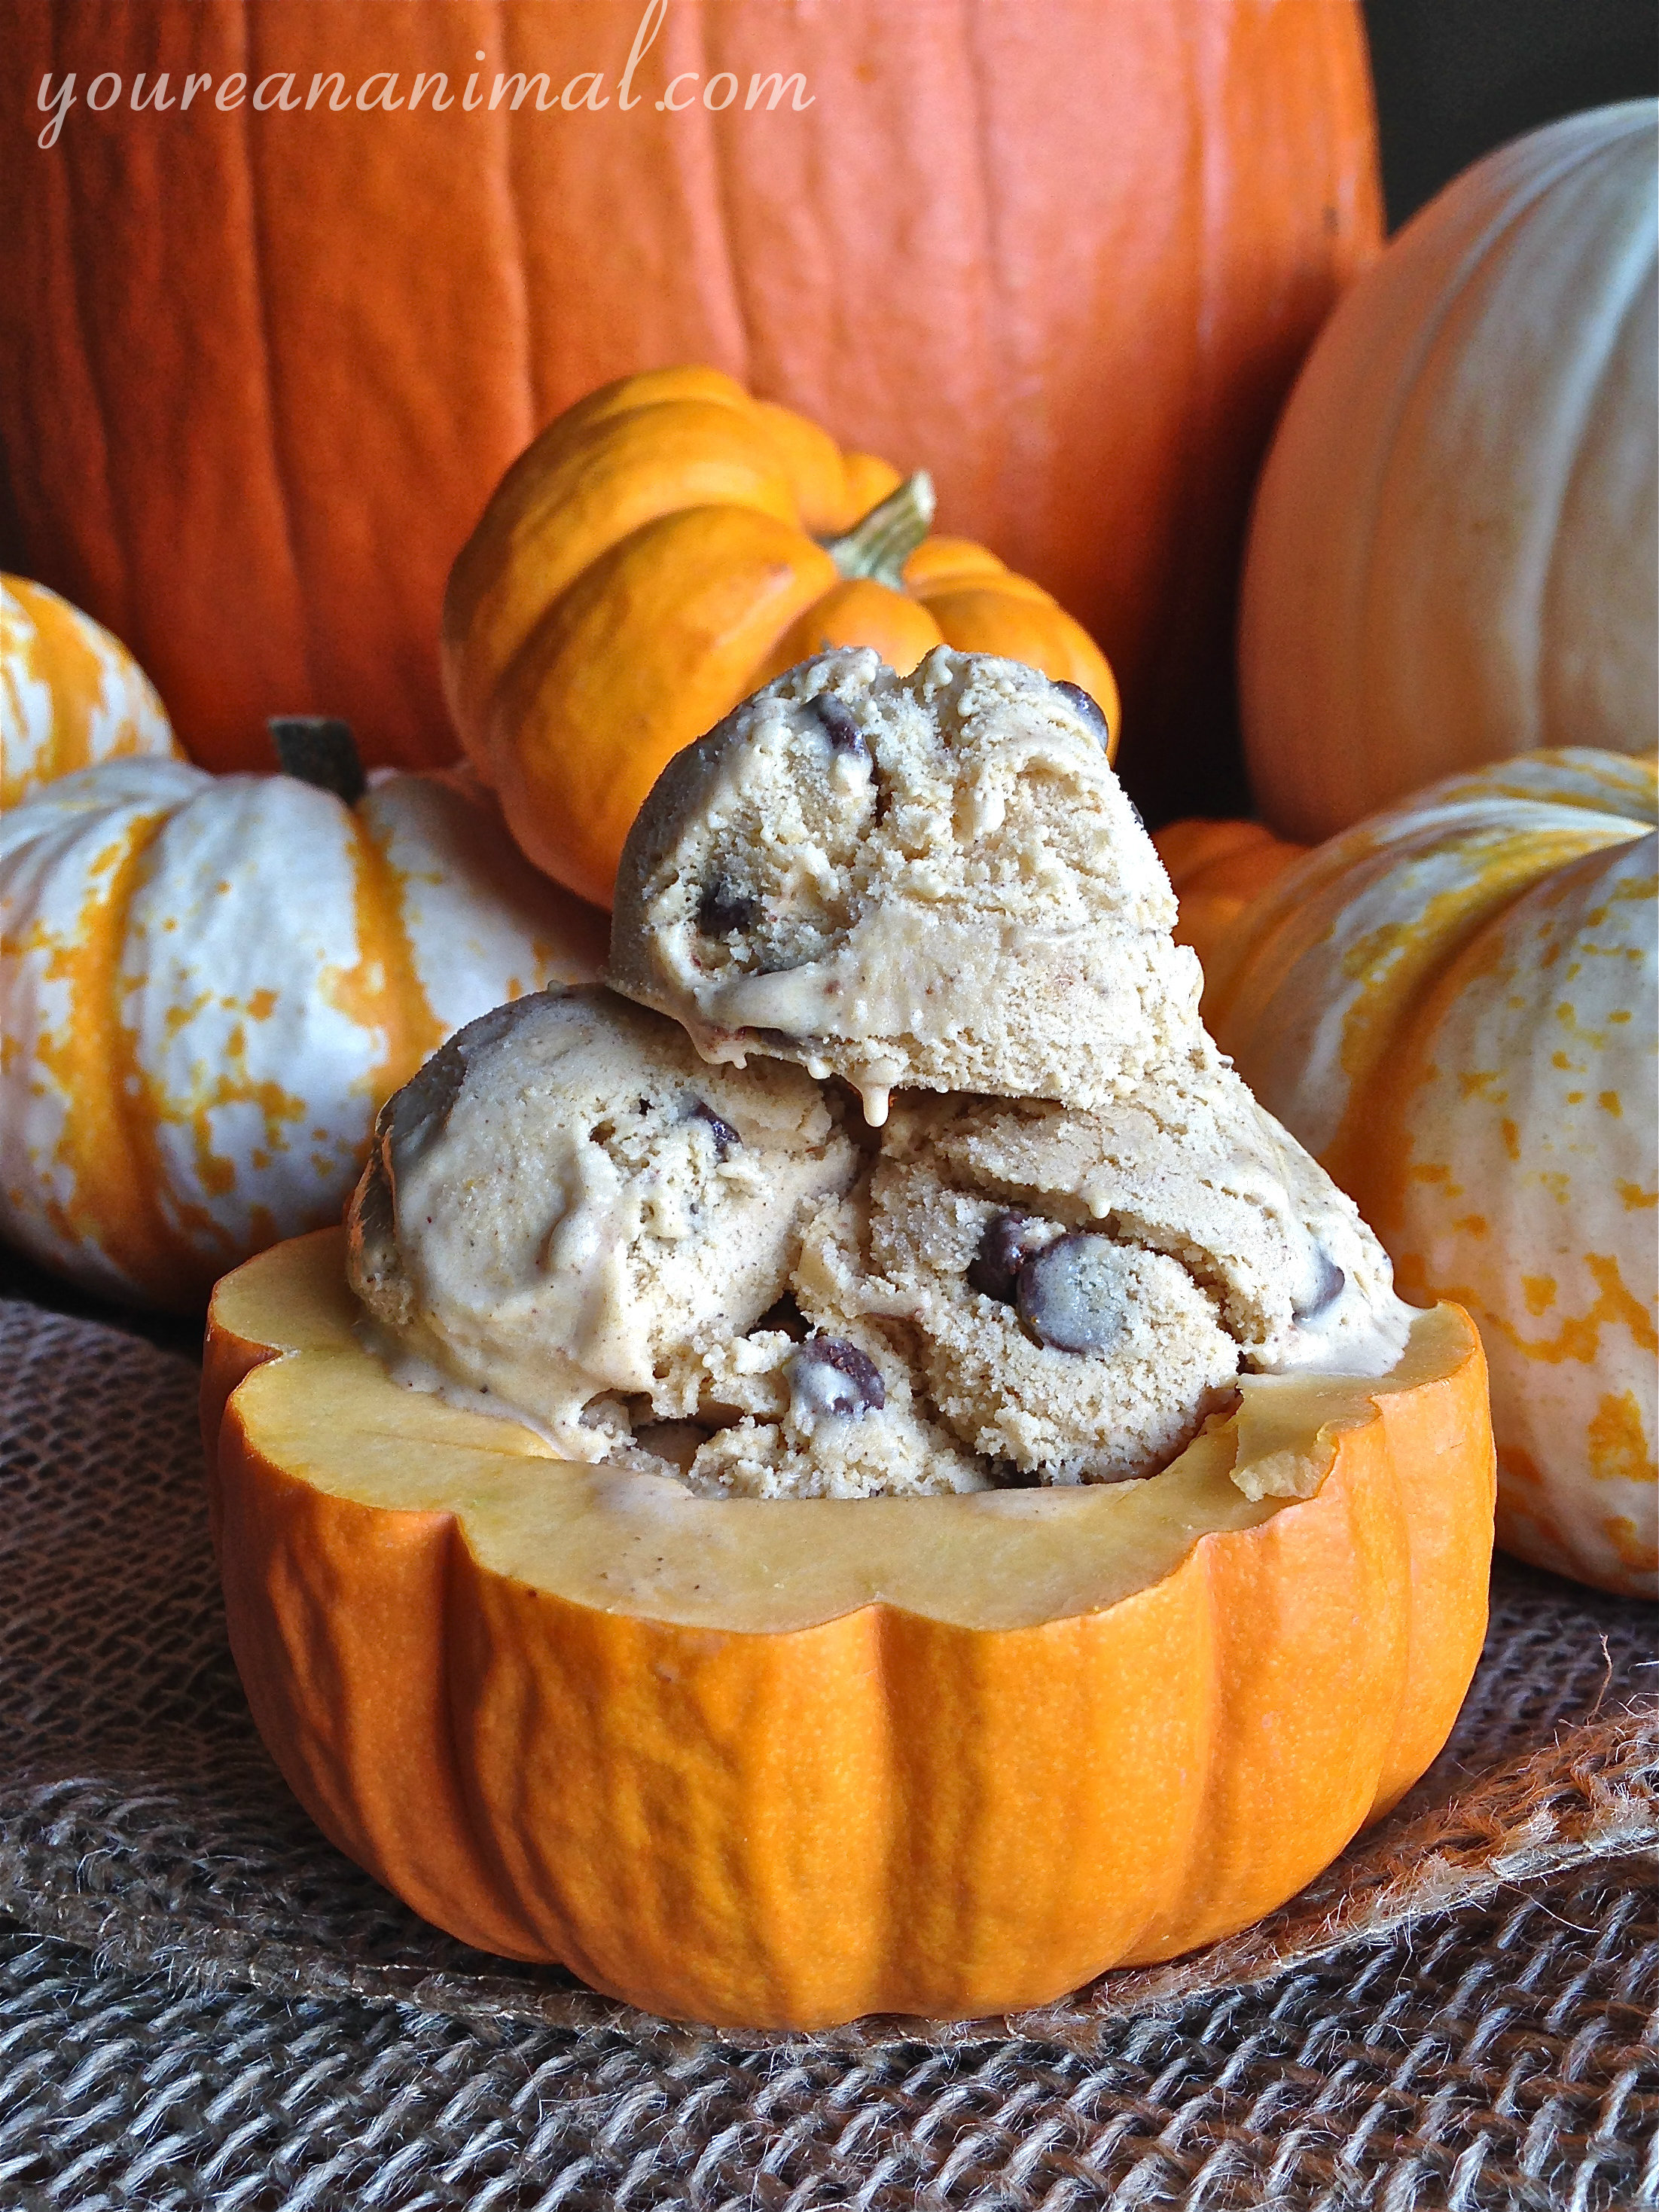
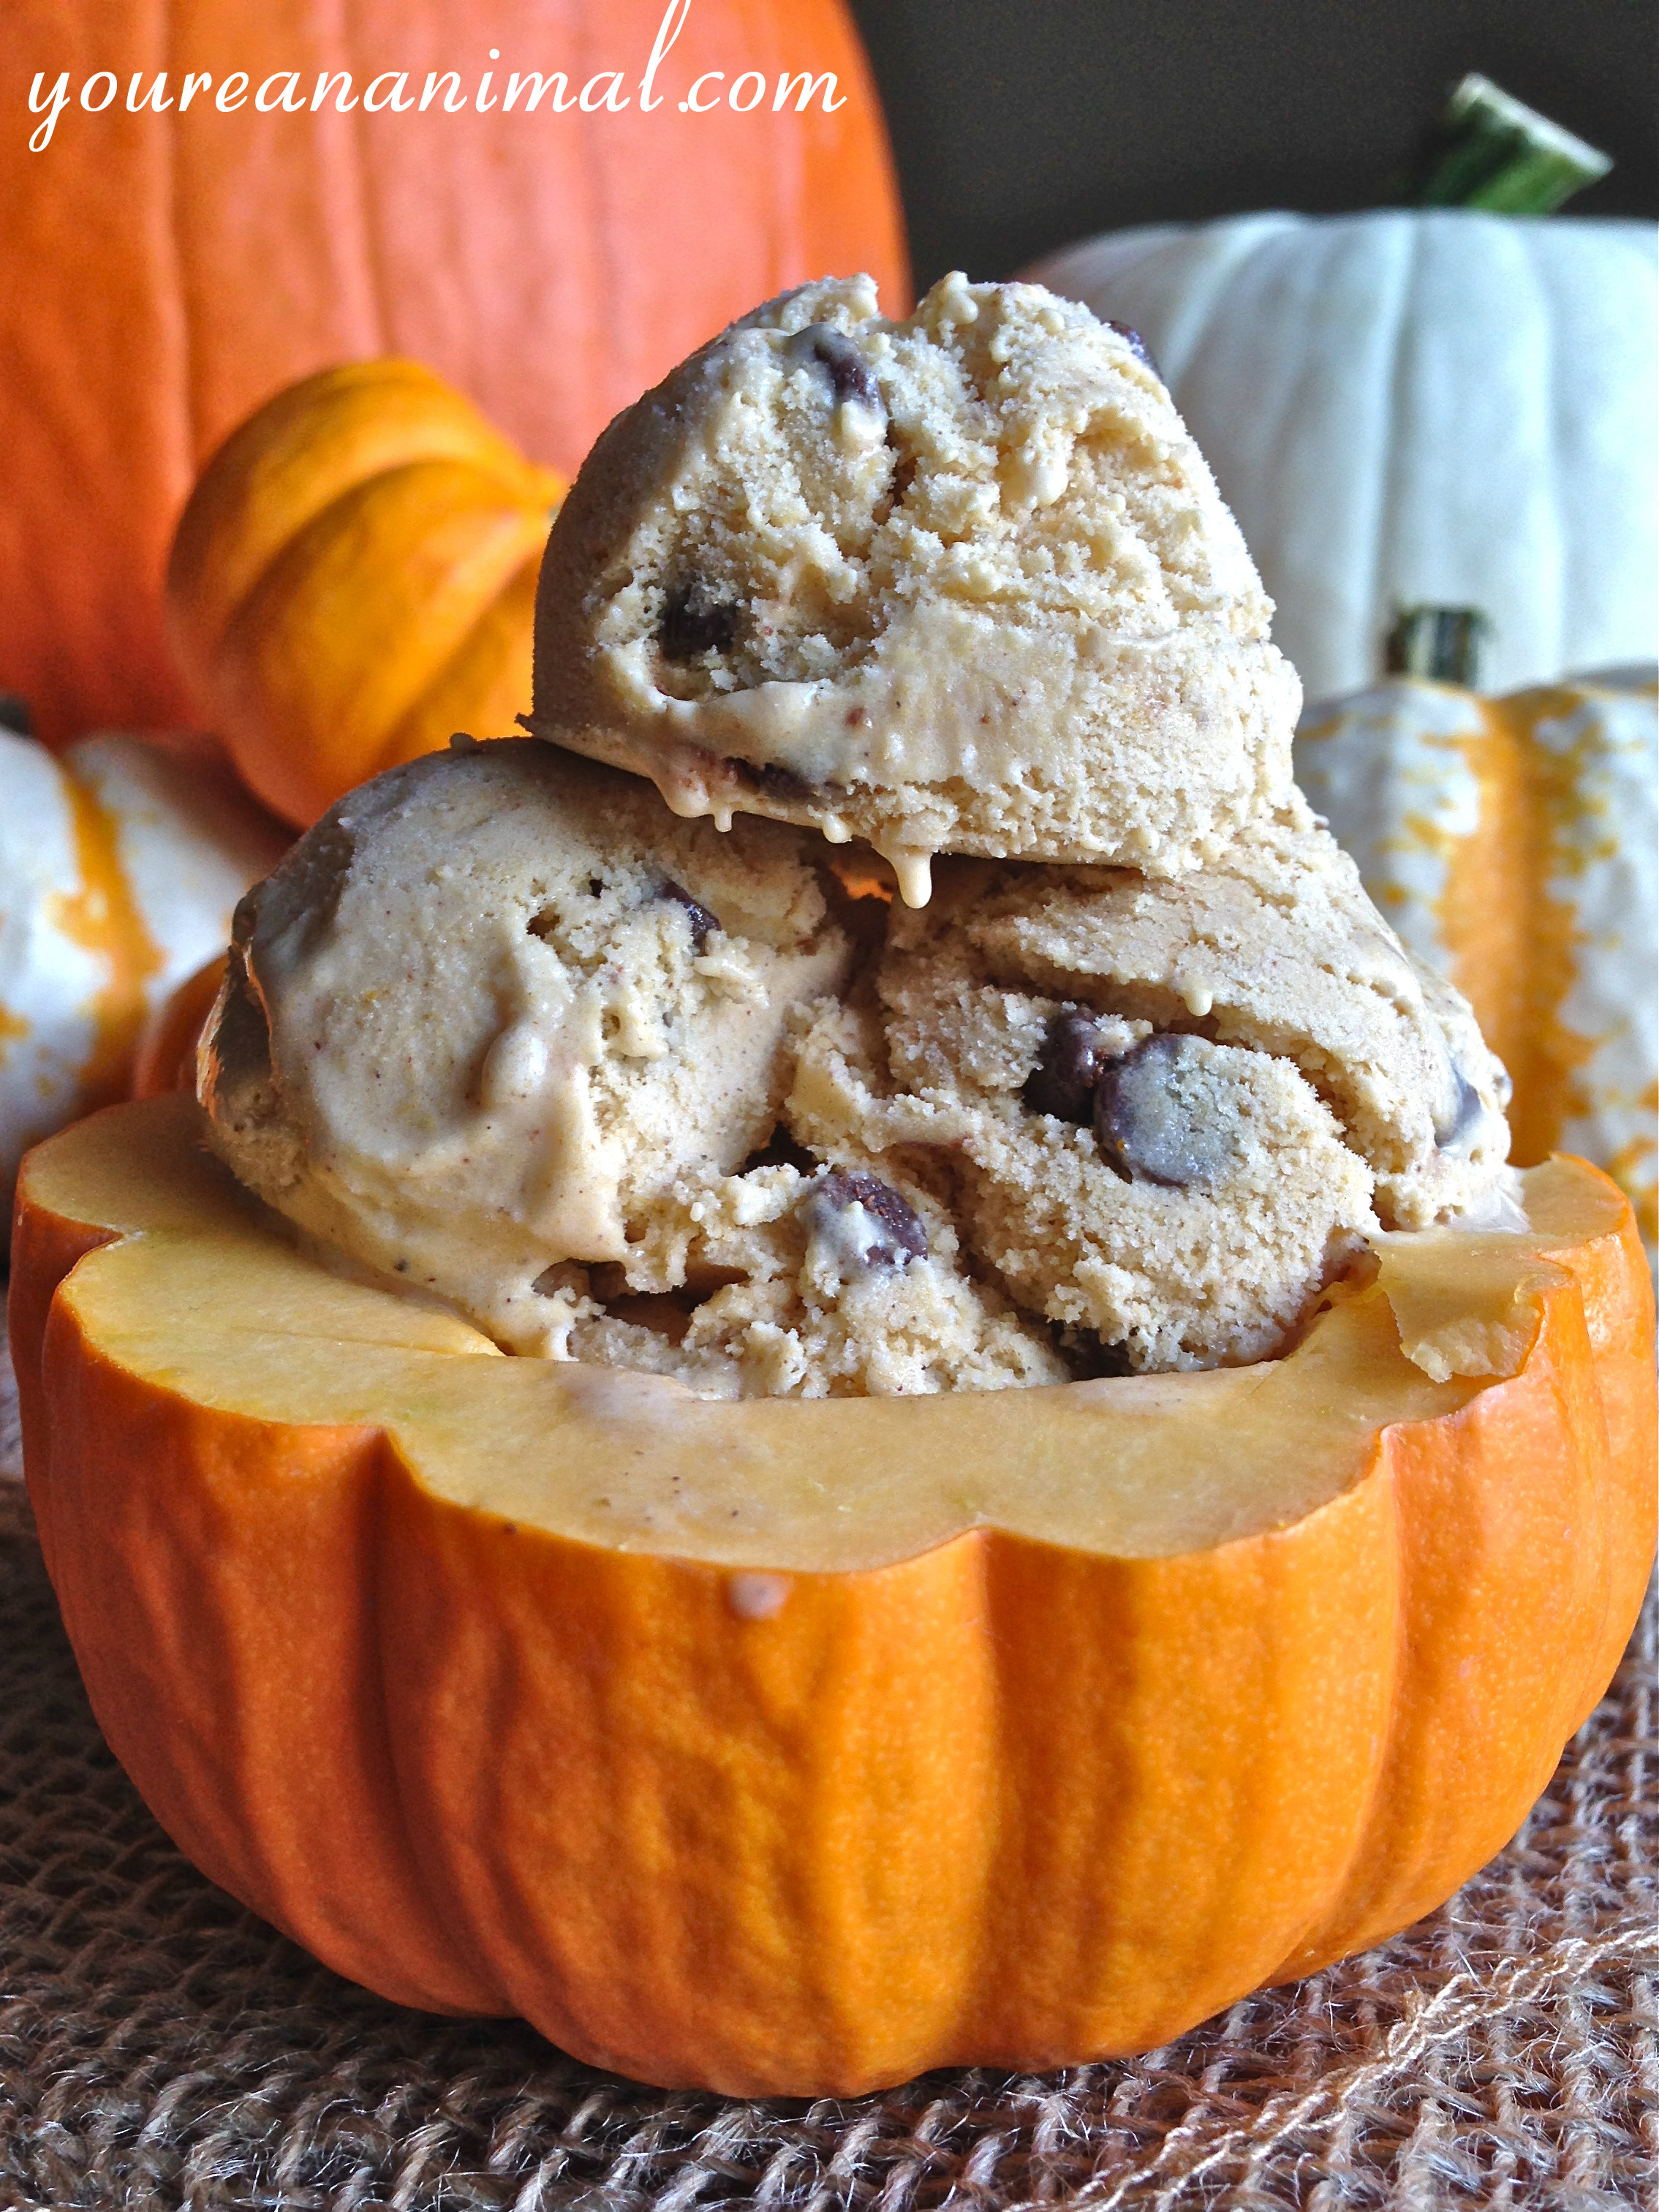
Dairy-Free Pumpkin Ice Cream (White Sugar-Free)

pumpkinicecream25

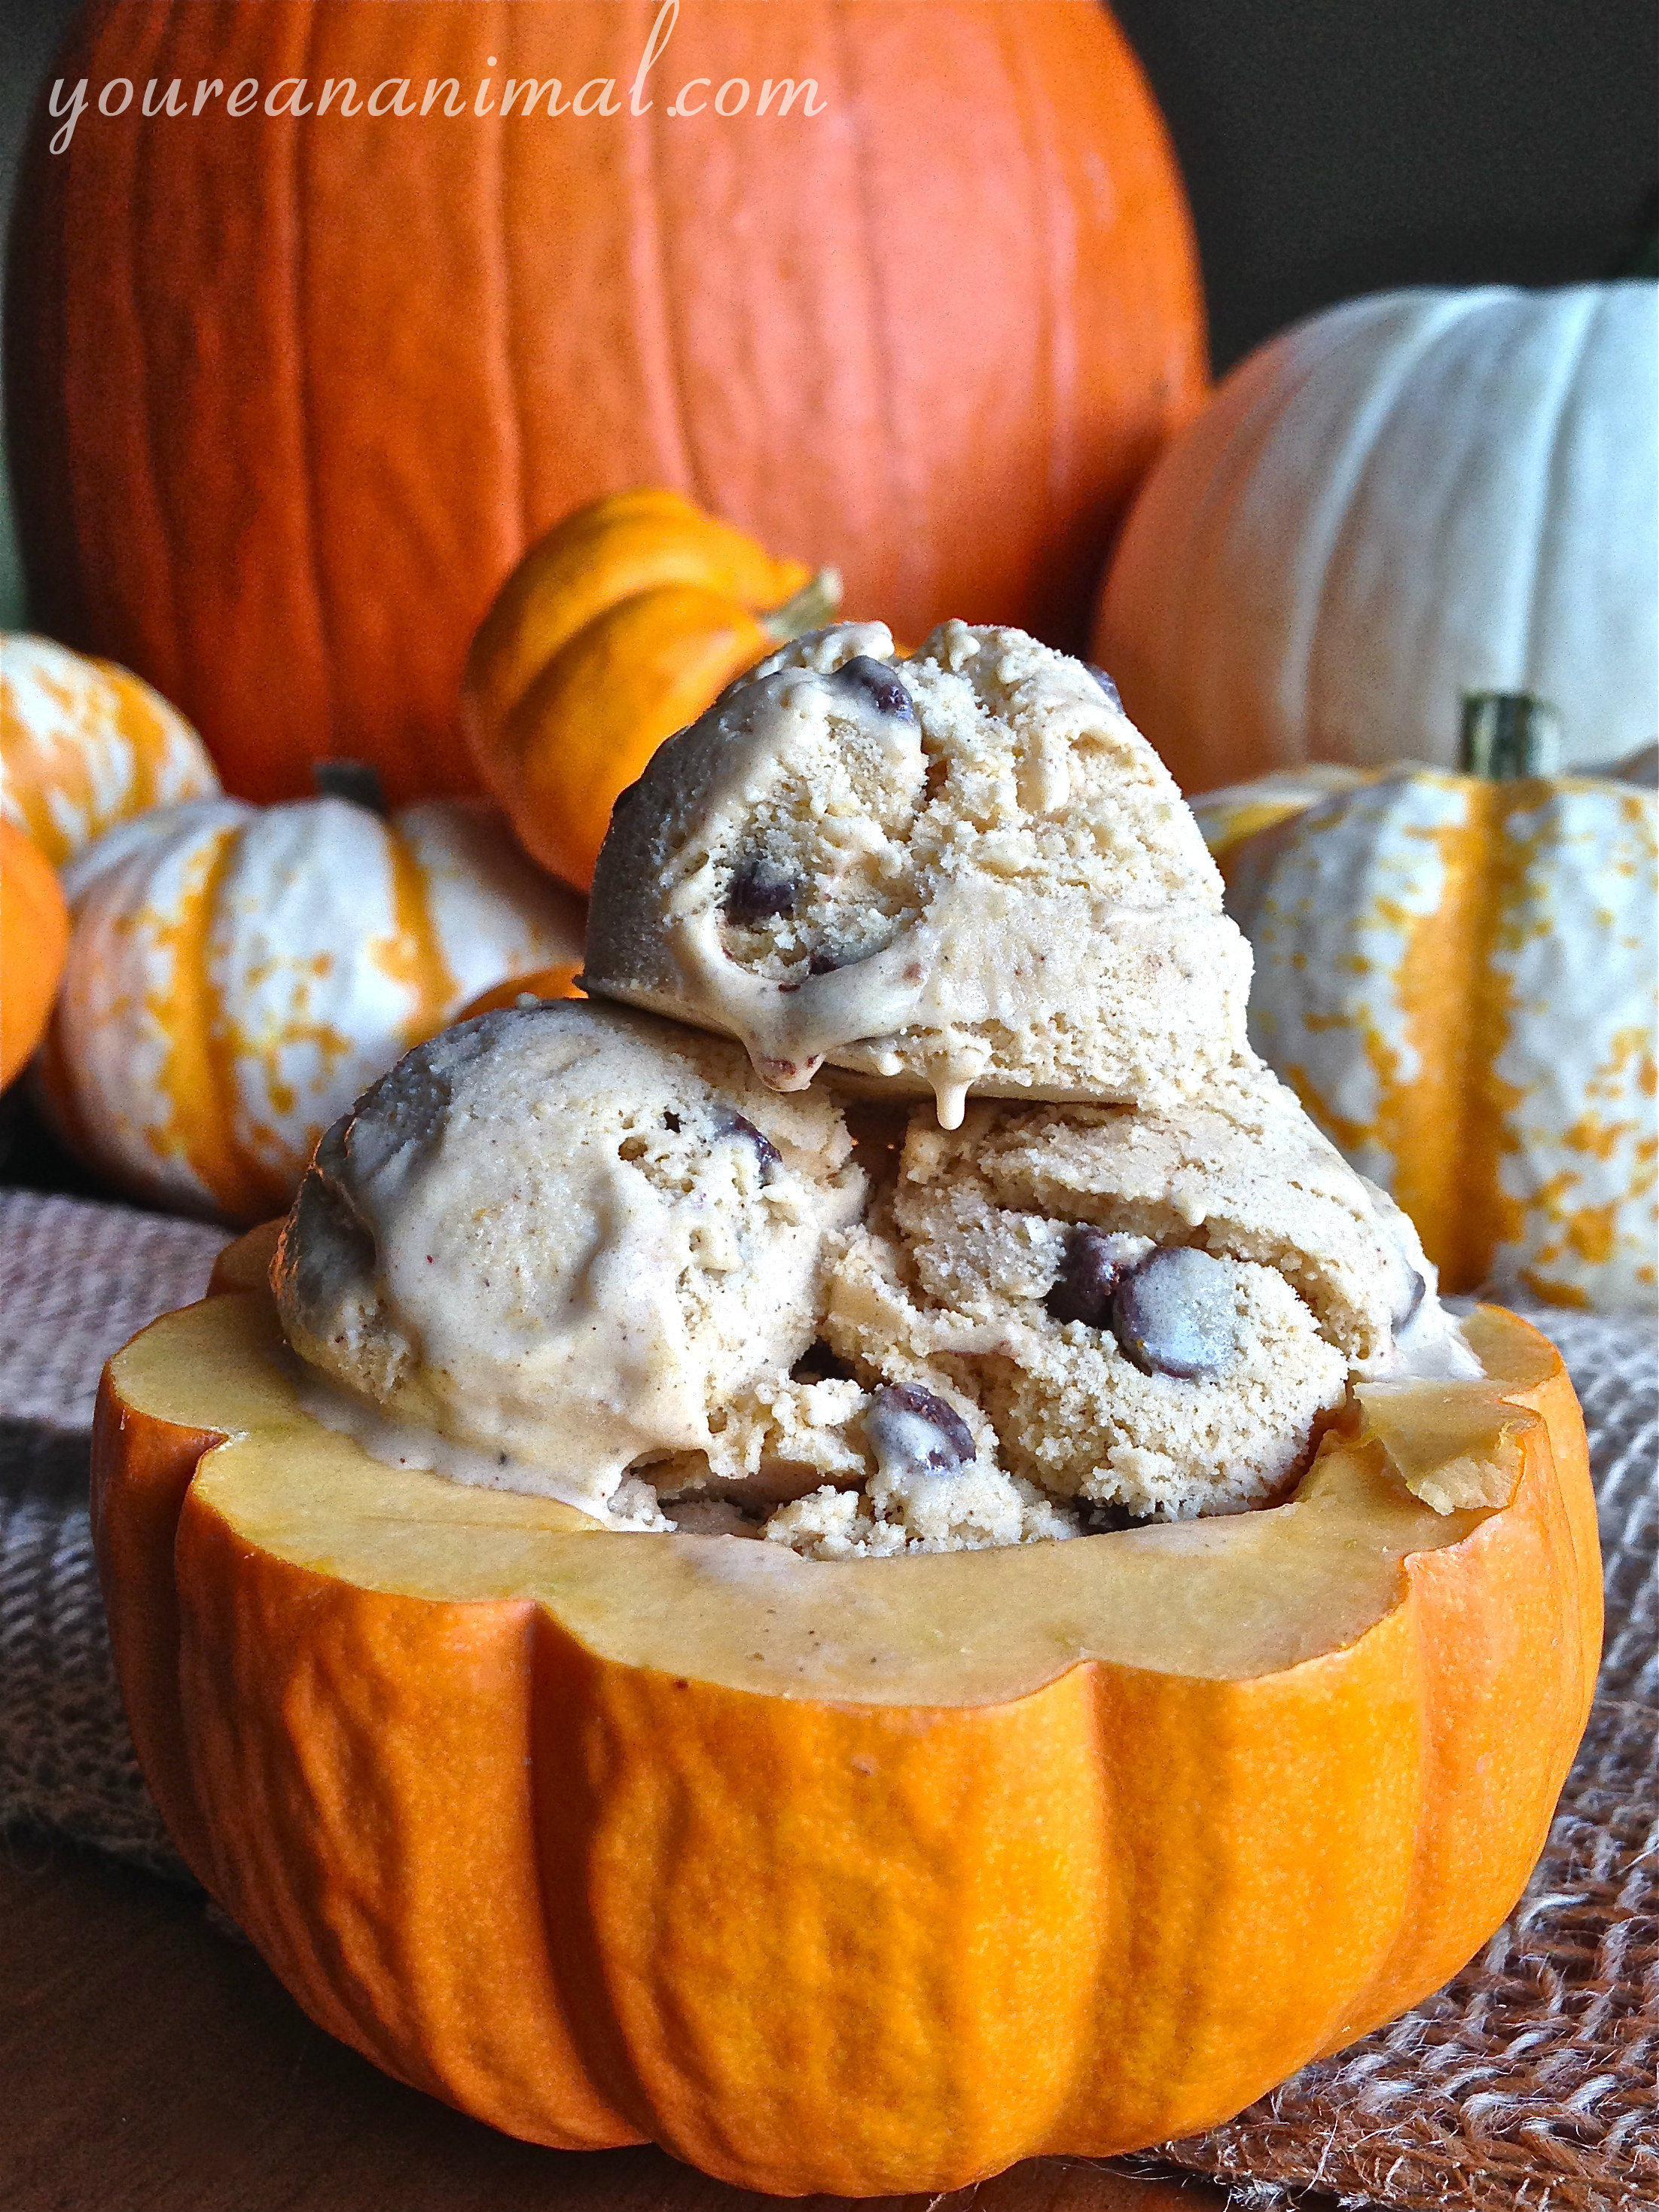
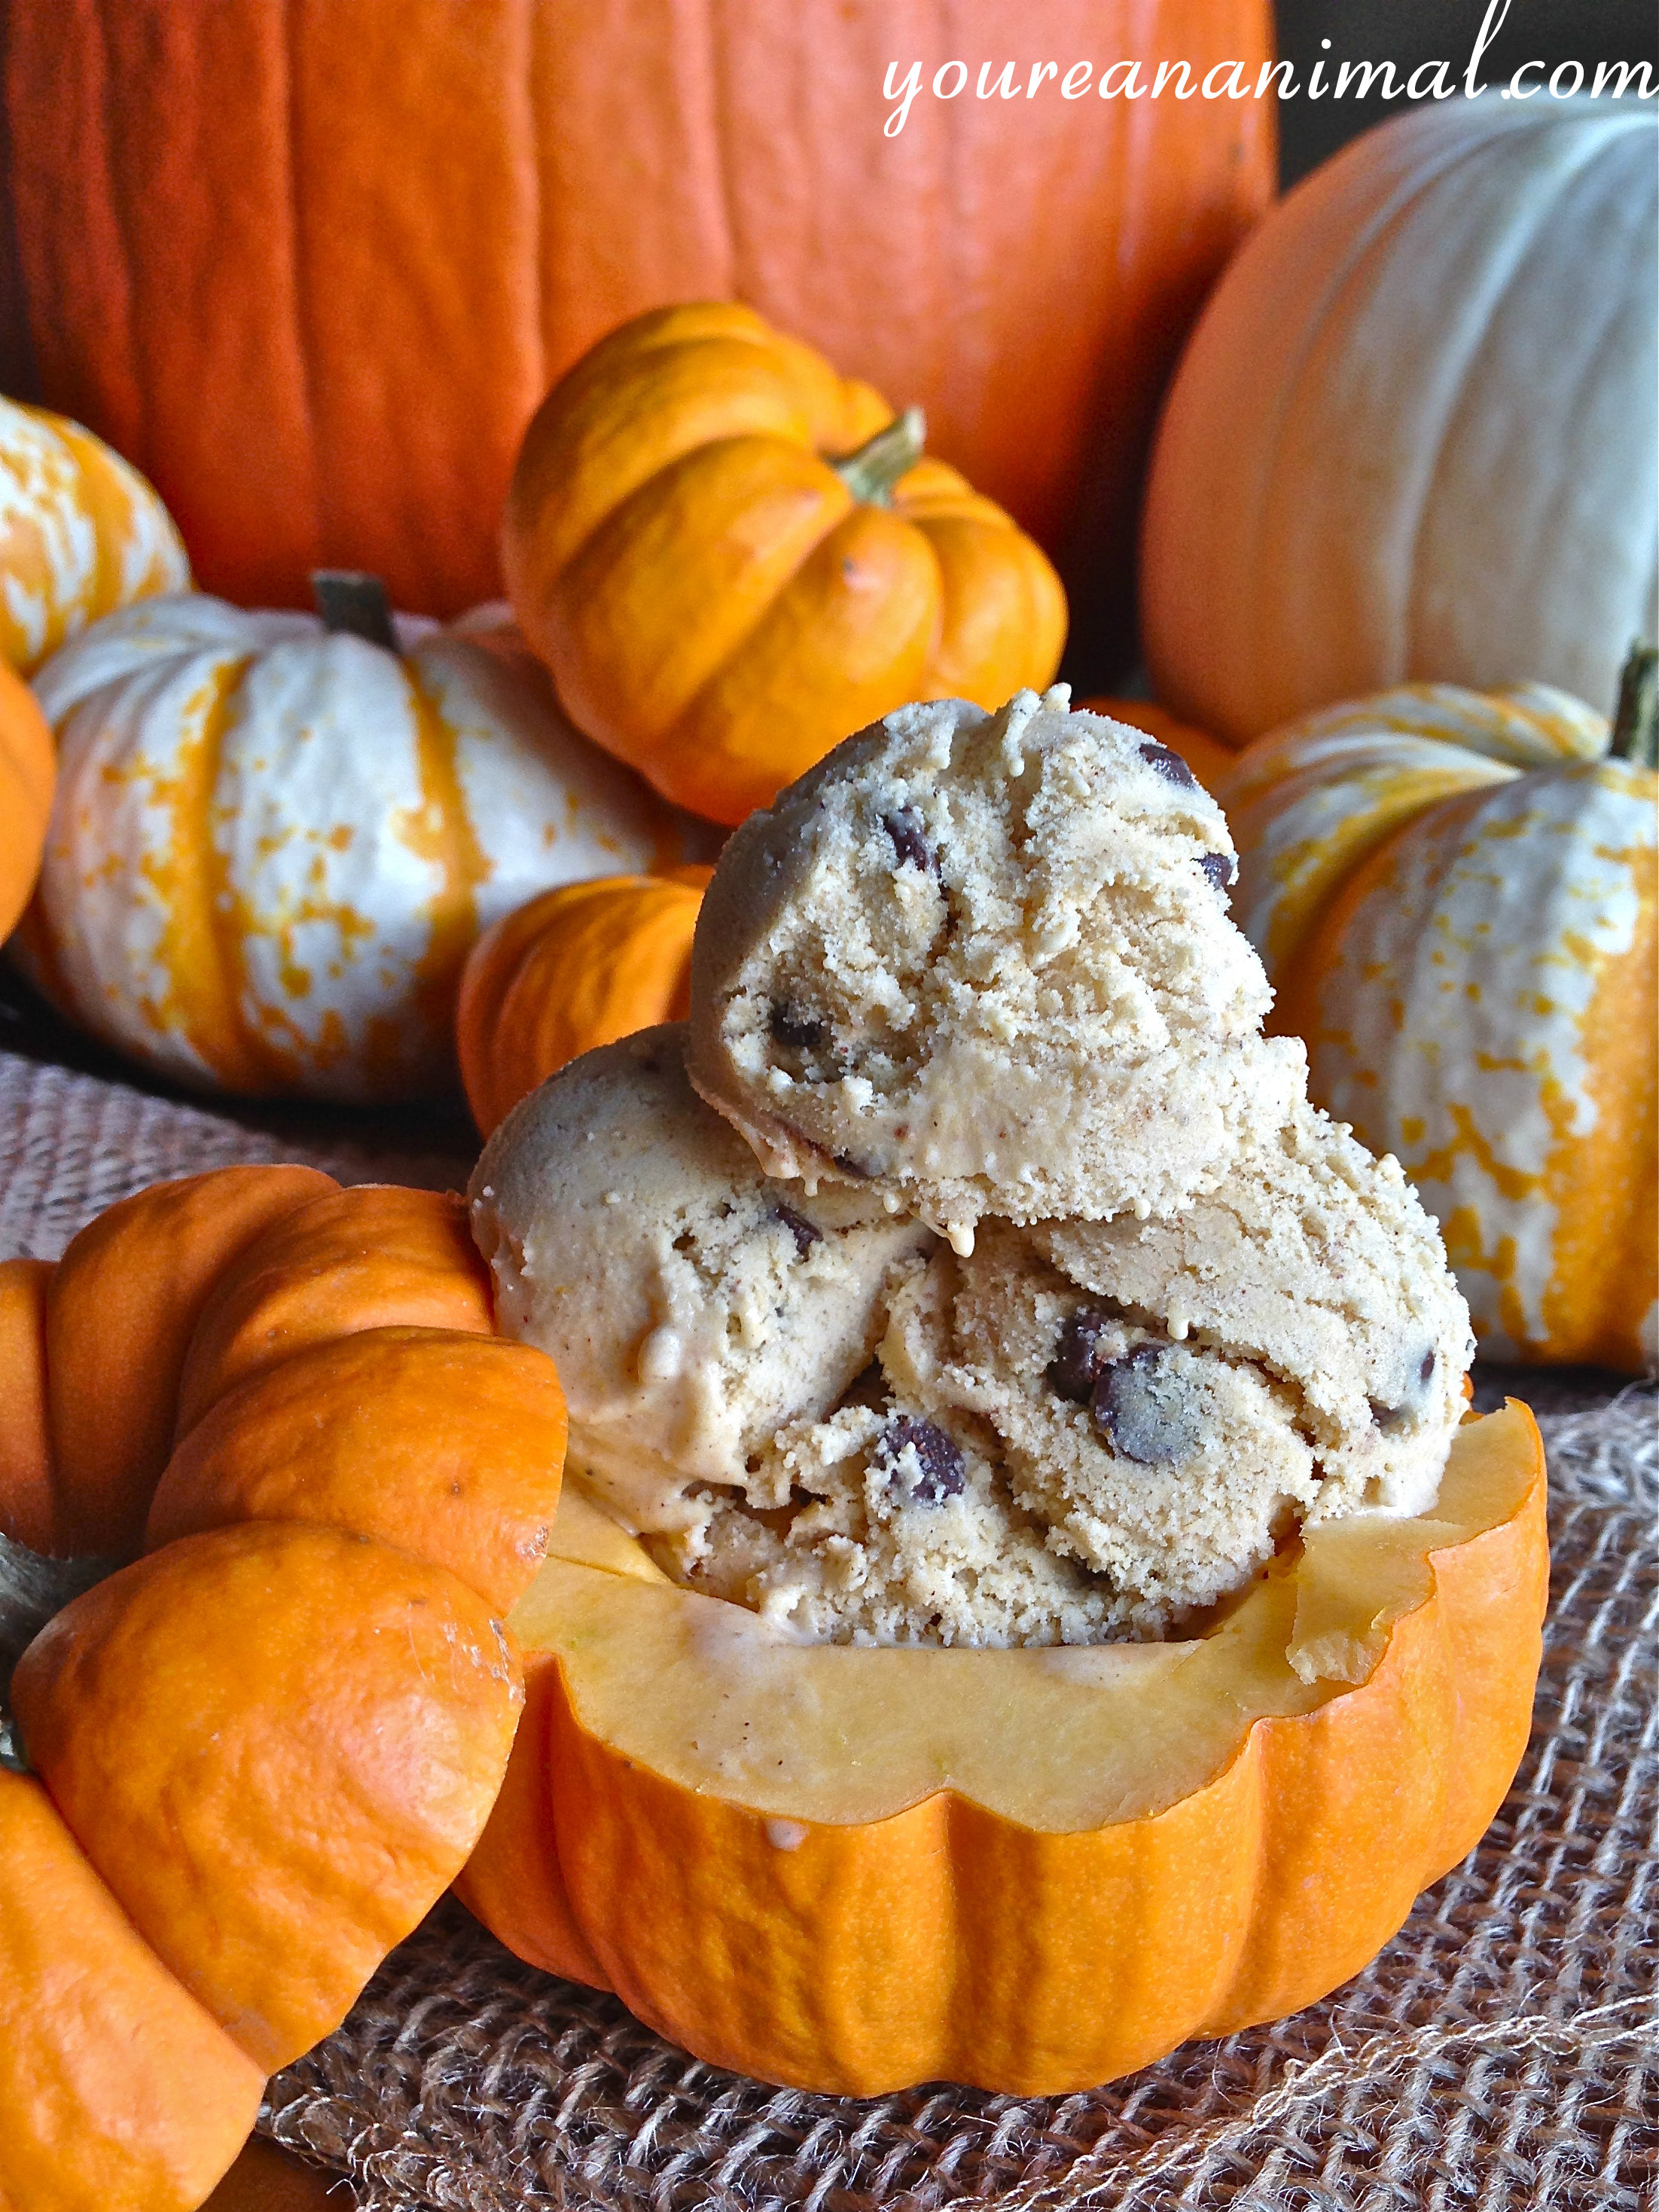
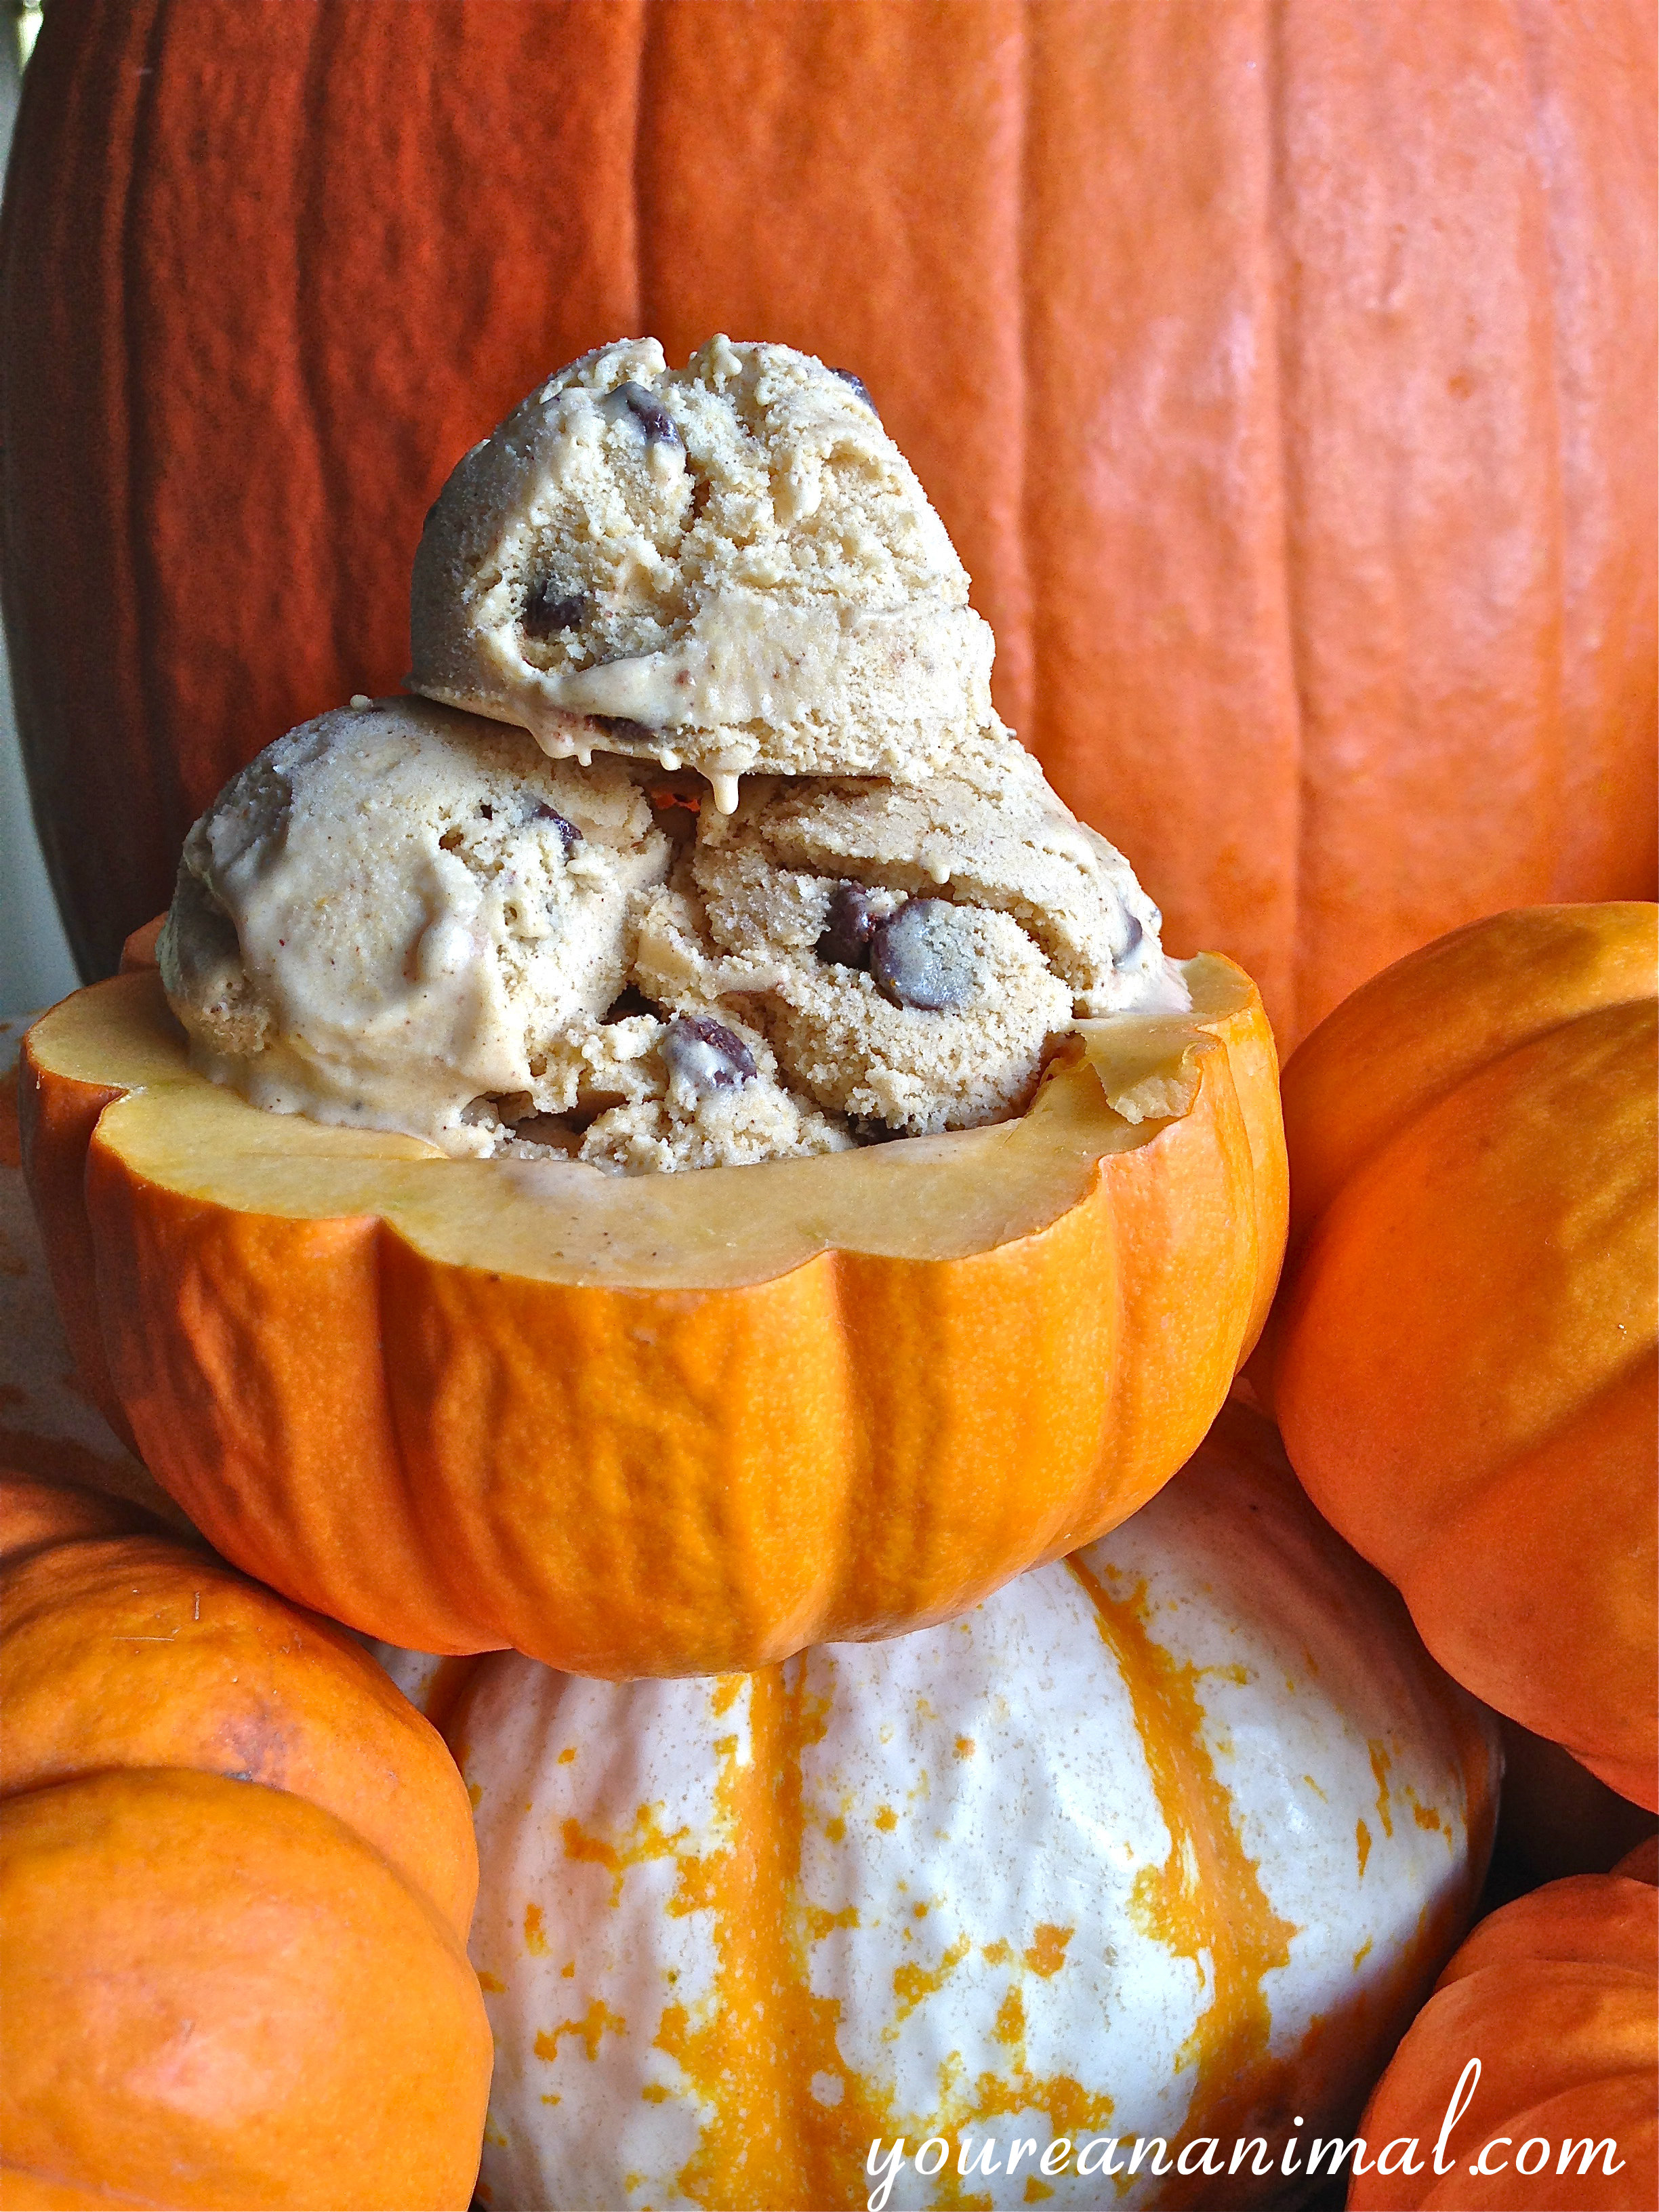
IT’S TIME FOR PUMPKIN EVERYTHING! This trend has grown more and more prevalent in the last couple of years, and I ain’t complainin’. I don’t know why we are all so obsessed with pumpkin season, but I know for me it’s the pumpkin spice combo. Cinnamon, in particular. I love me some cinny-mon. Cinnamon on everything pretty please! I can promise you that while this is the first pumpkin recipe I’ve posted, it most certainly won’t be the last. It’s here, people, it’s here.

Let’s talk about this ice cream. As I mentioned in my Dairy-Free Coconut Ice Cream with Salted Caramel and Chocolate Ganache post, we got this ice cream maker recently and I’m loving it. We haven’t been without ice cream since. I’m sadly (but not so sadly) completely serious. Obviously I had to make my pumpkin recipe debut somehow, and since it’s still currently almost 90 degrees here in VA, ice cream seemed like the way to go. Oh and it was the way to go, my friends, it definitely was. Not to mention allergies are running wild this week (again, darn you VA) so we needed something to sooth our poor wittle scratchy throats. Pumpkin ice cream to the rescue! This stuff is pretty much pumpkin bread in a cold, semi-liquid form. Perfect for those late summer/early fall days when it’s cool at night but still gets toasty during the day. Pumpkin latte for the chilly mornings, then pumpkin ice cream as the day heats up. Sounds like a plan to me! Annnnd it’s dairy-free, so my fellow lactose intolerant (or simply avoiding dairy) people can enjoy freely. And by “freely’ I mean eating the entire quart. Alone. In one sitting. No no, let’s not take it too far. Bring it back in. I know you all have stocked up on pumpkin by now, so go buy some cans of coconut milk while you’re at it, and continue your pumpkin exploration. It’s a lovely, spicy adventure!

pumpkinicecream6

pumpkinicecream29

pumpkinicecream32

Dairy-Free Pumpkin Ice Cream

  1. Combine all of the ingredients in a medium saucepan.
  2. Heat the mixture over medium heat, stirring frequently, until the mixture is hot but before it boils.
  3. Place the mixture in the fridge (I find it easiest to just put the saucepan directly in the fridge) and let chill for at least 1-2 hours, or longer.
  4. Once completely chilled, strain the mixture through a sieve to remove any lumps and ensure a smooth ice cream. I find it easiest to strain the mixture directly into the ice cream maker.
  5. Process the ice cream in your ice cream maker according to manufacturer directions. If adding the chocolate chips, add them in about 5 minutes before the ice cream is done. Transfer into your storage container. Enjoy!
pumpkinicecream19


Please note that some of the links in the above post are affiliate links that will take you to an Amazon.com page. If you choose to purchase a product featured in this post using an affiliate link, you will be directly supporting You’re An Animal. Thanks!


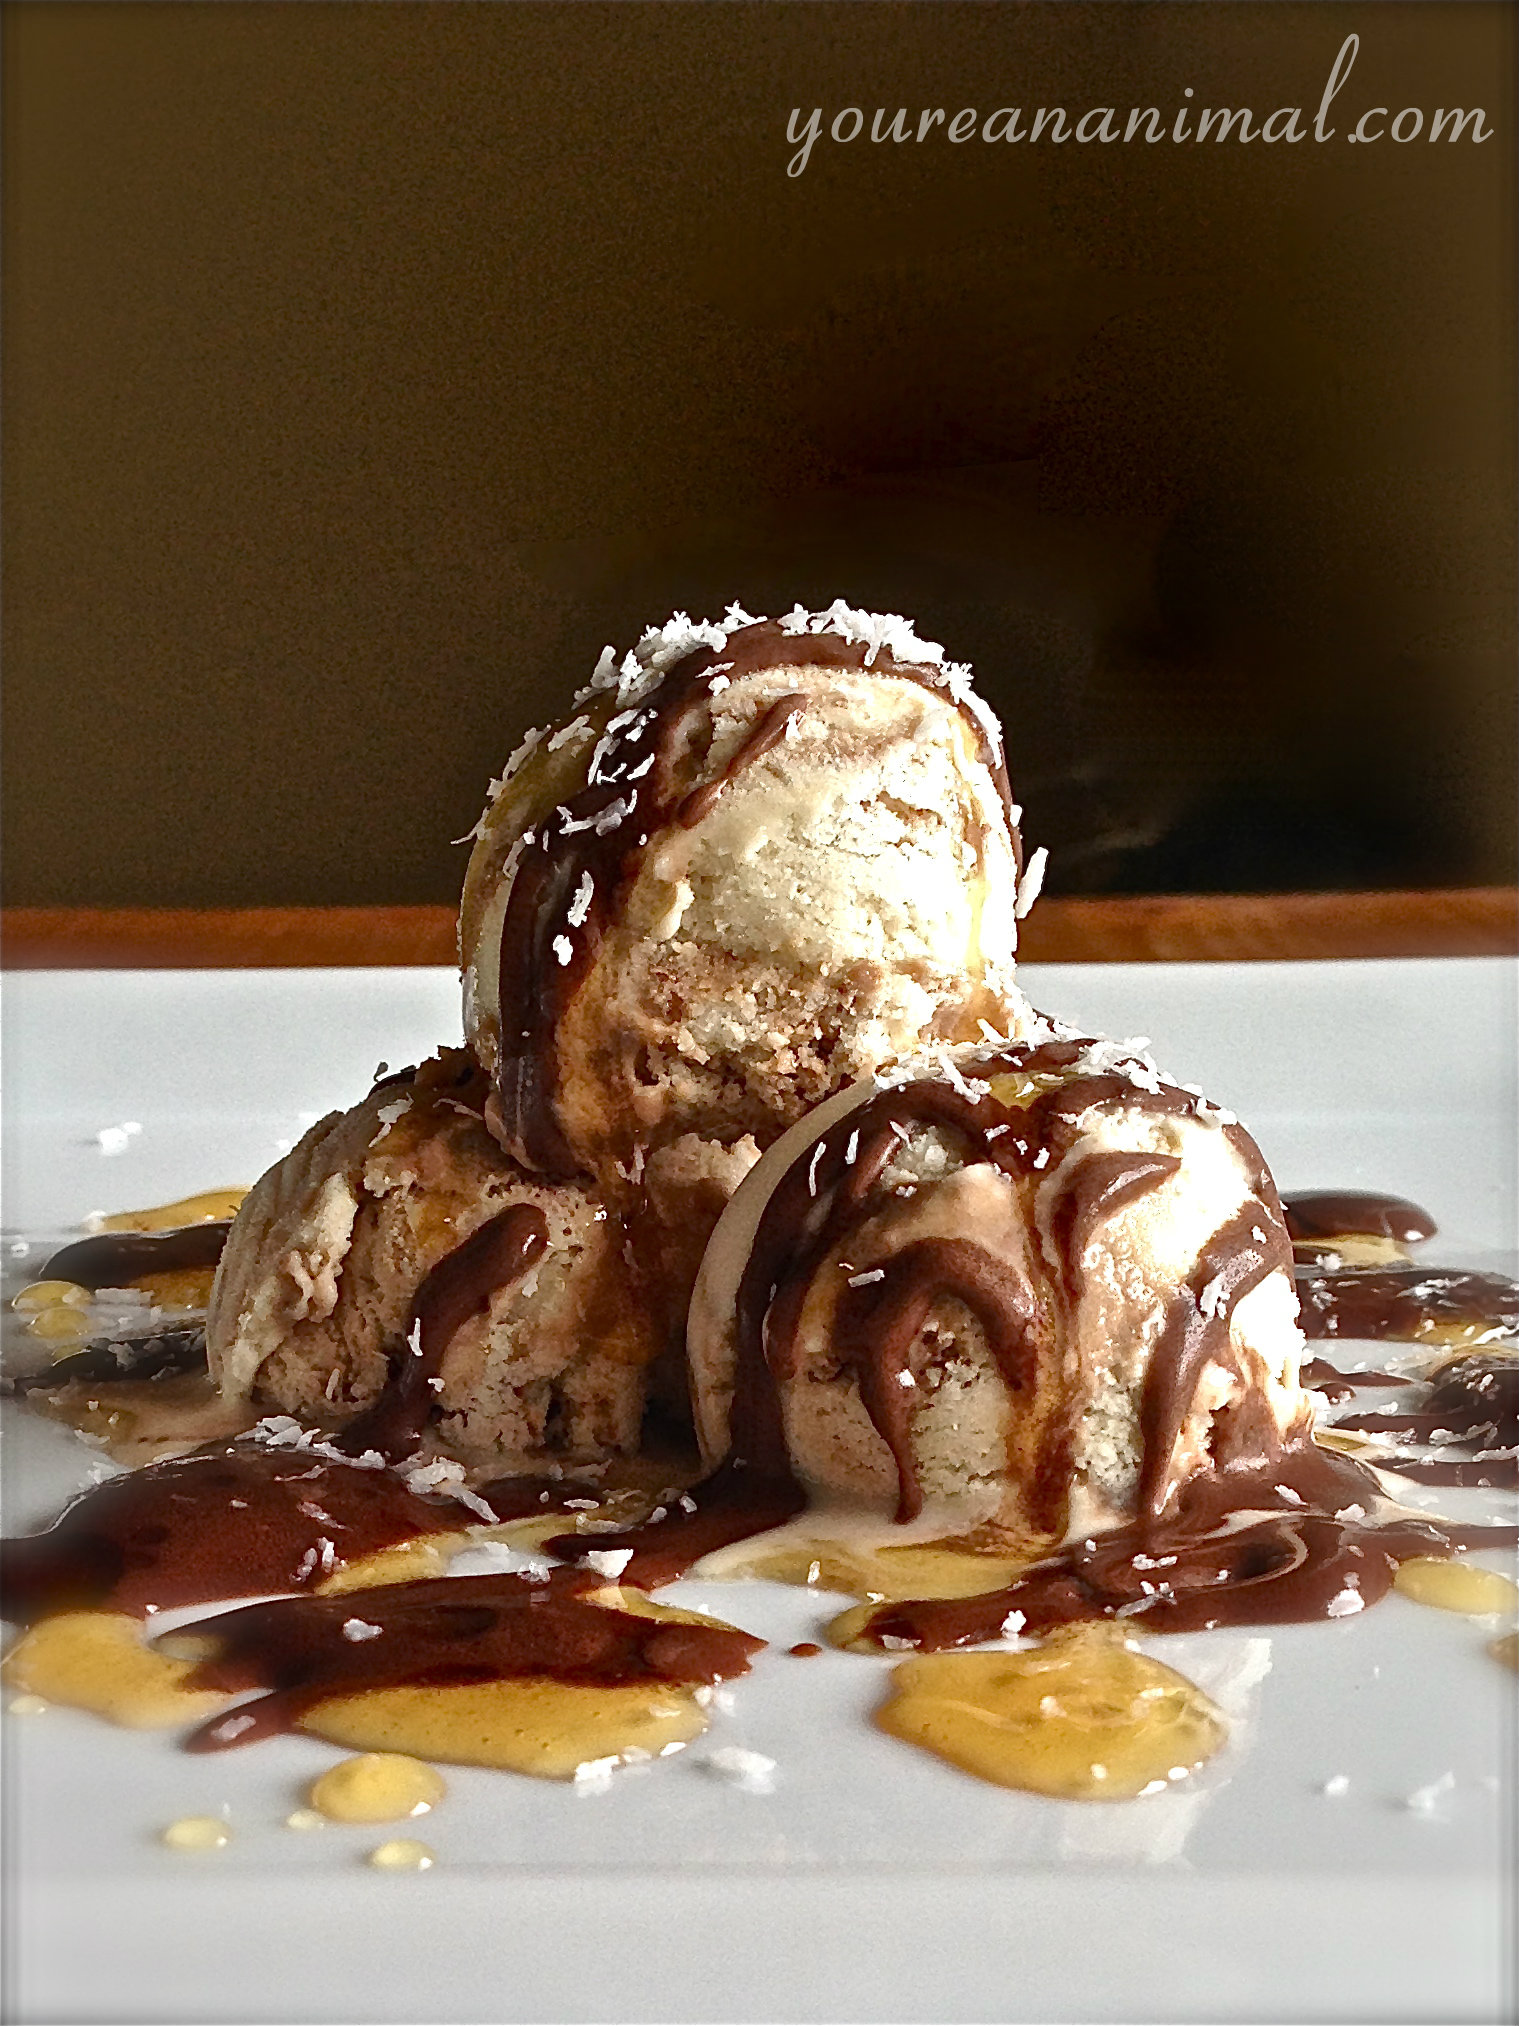
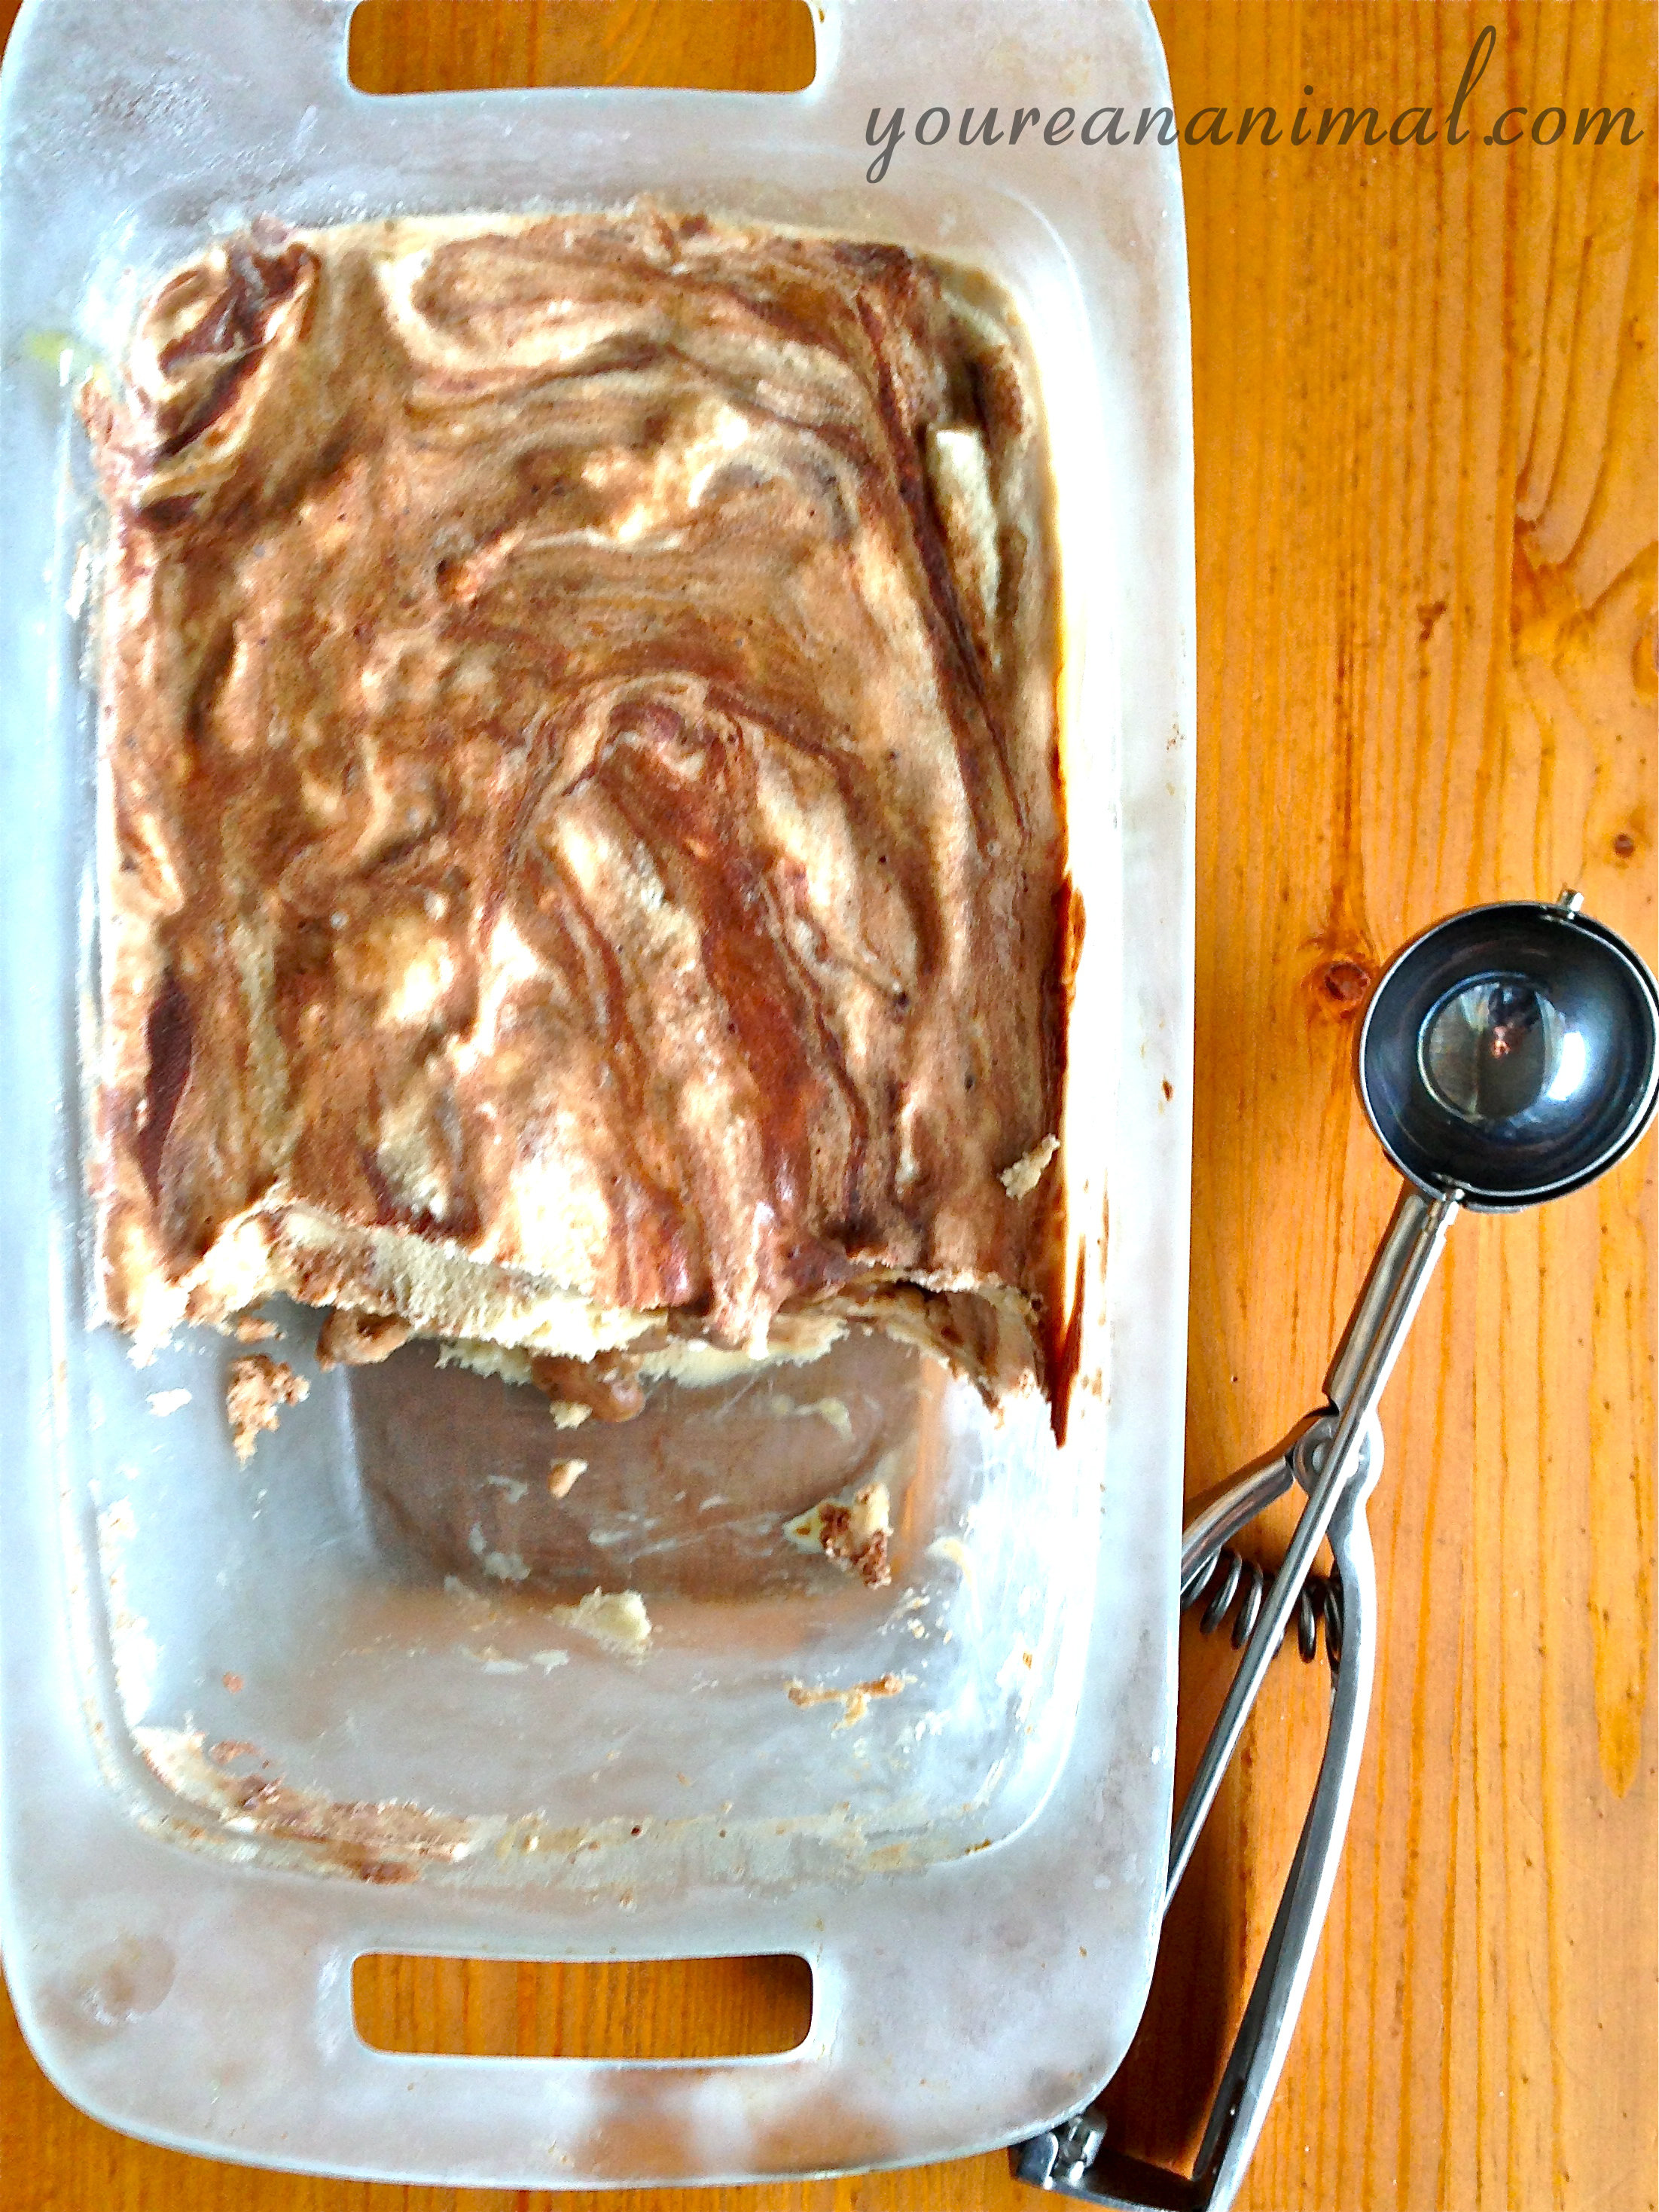
Dairy-Free Coconut Ice Cream with Salted Caramel and Chocolate Ganache Swirl (White Sugar-Free): Inspired by Salt & Straw

CCCicecream8

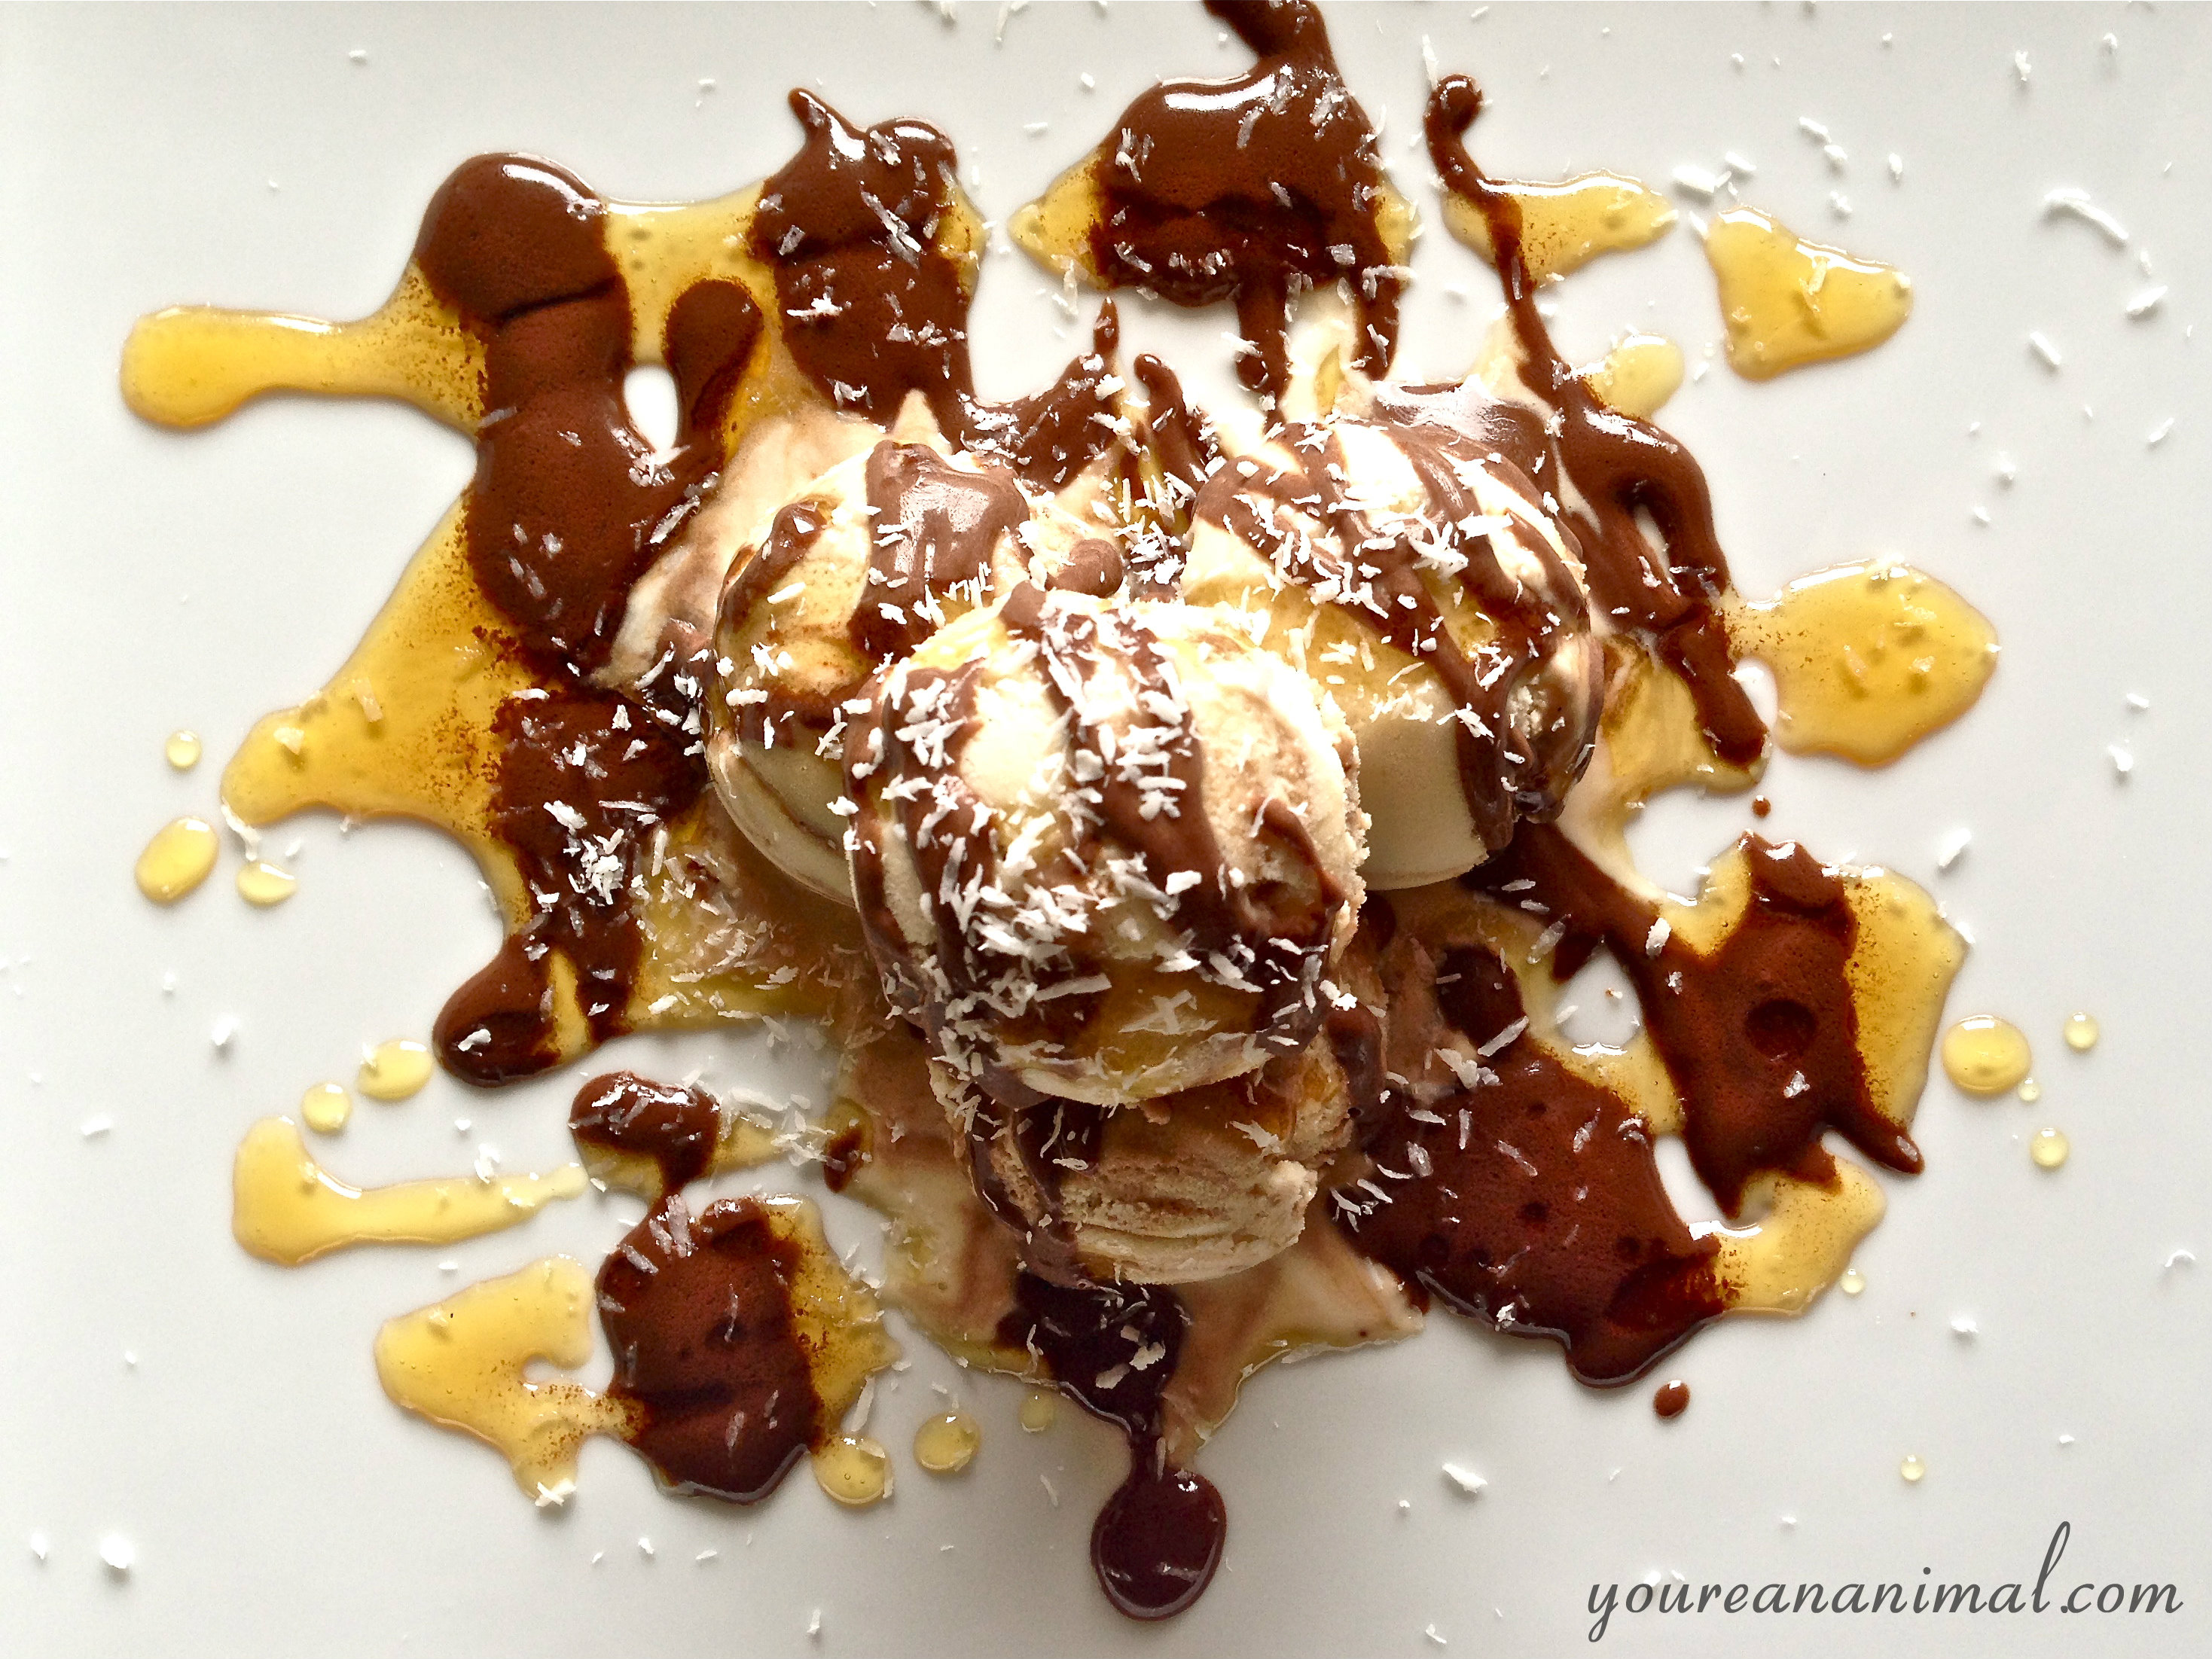
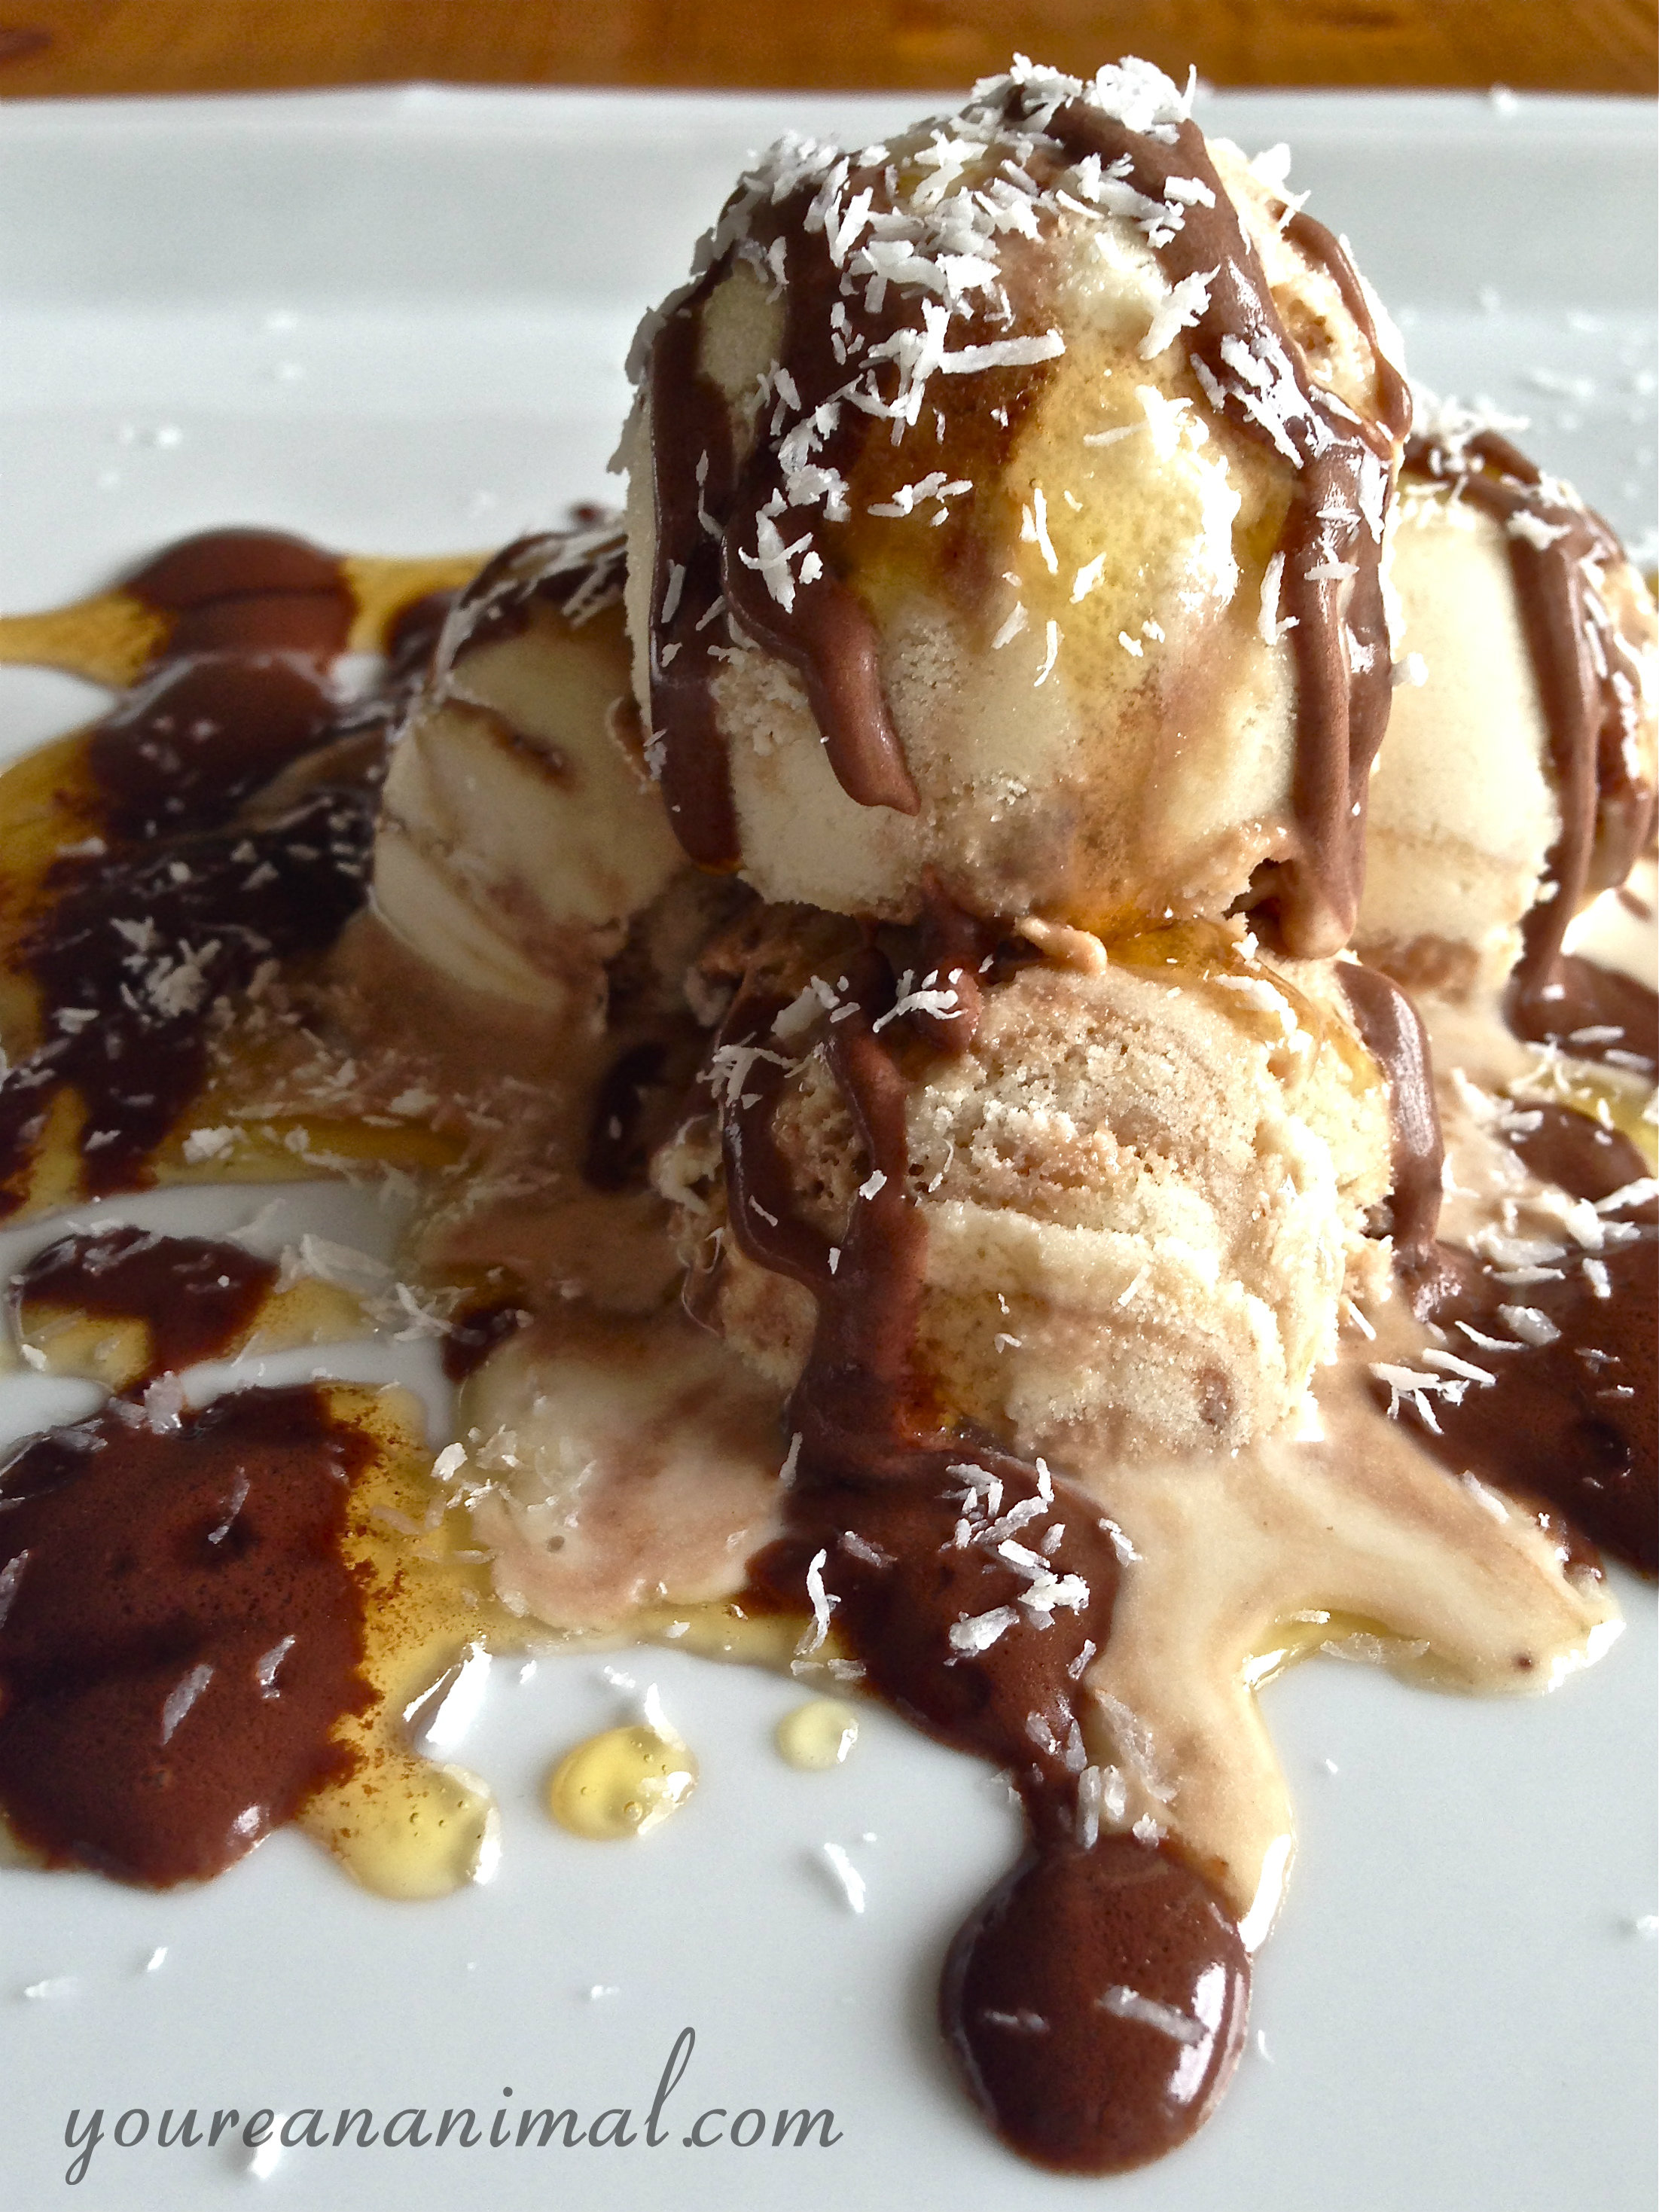
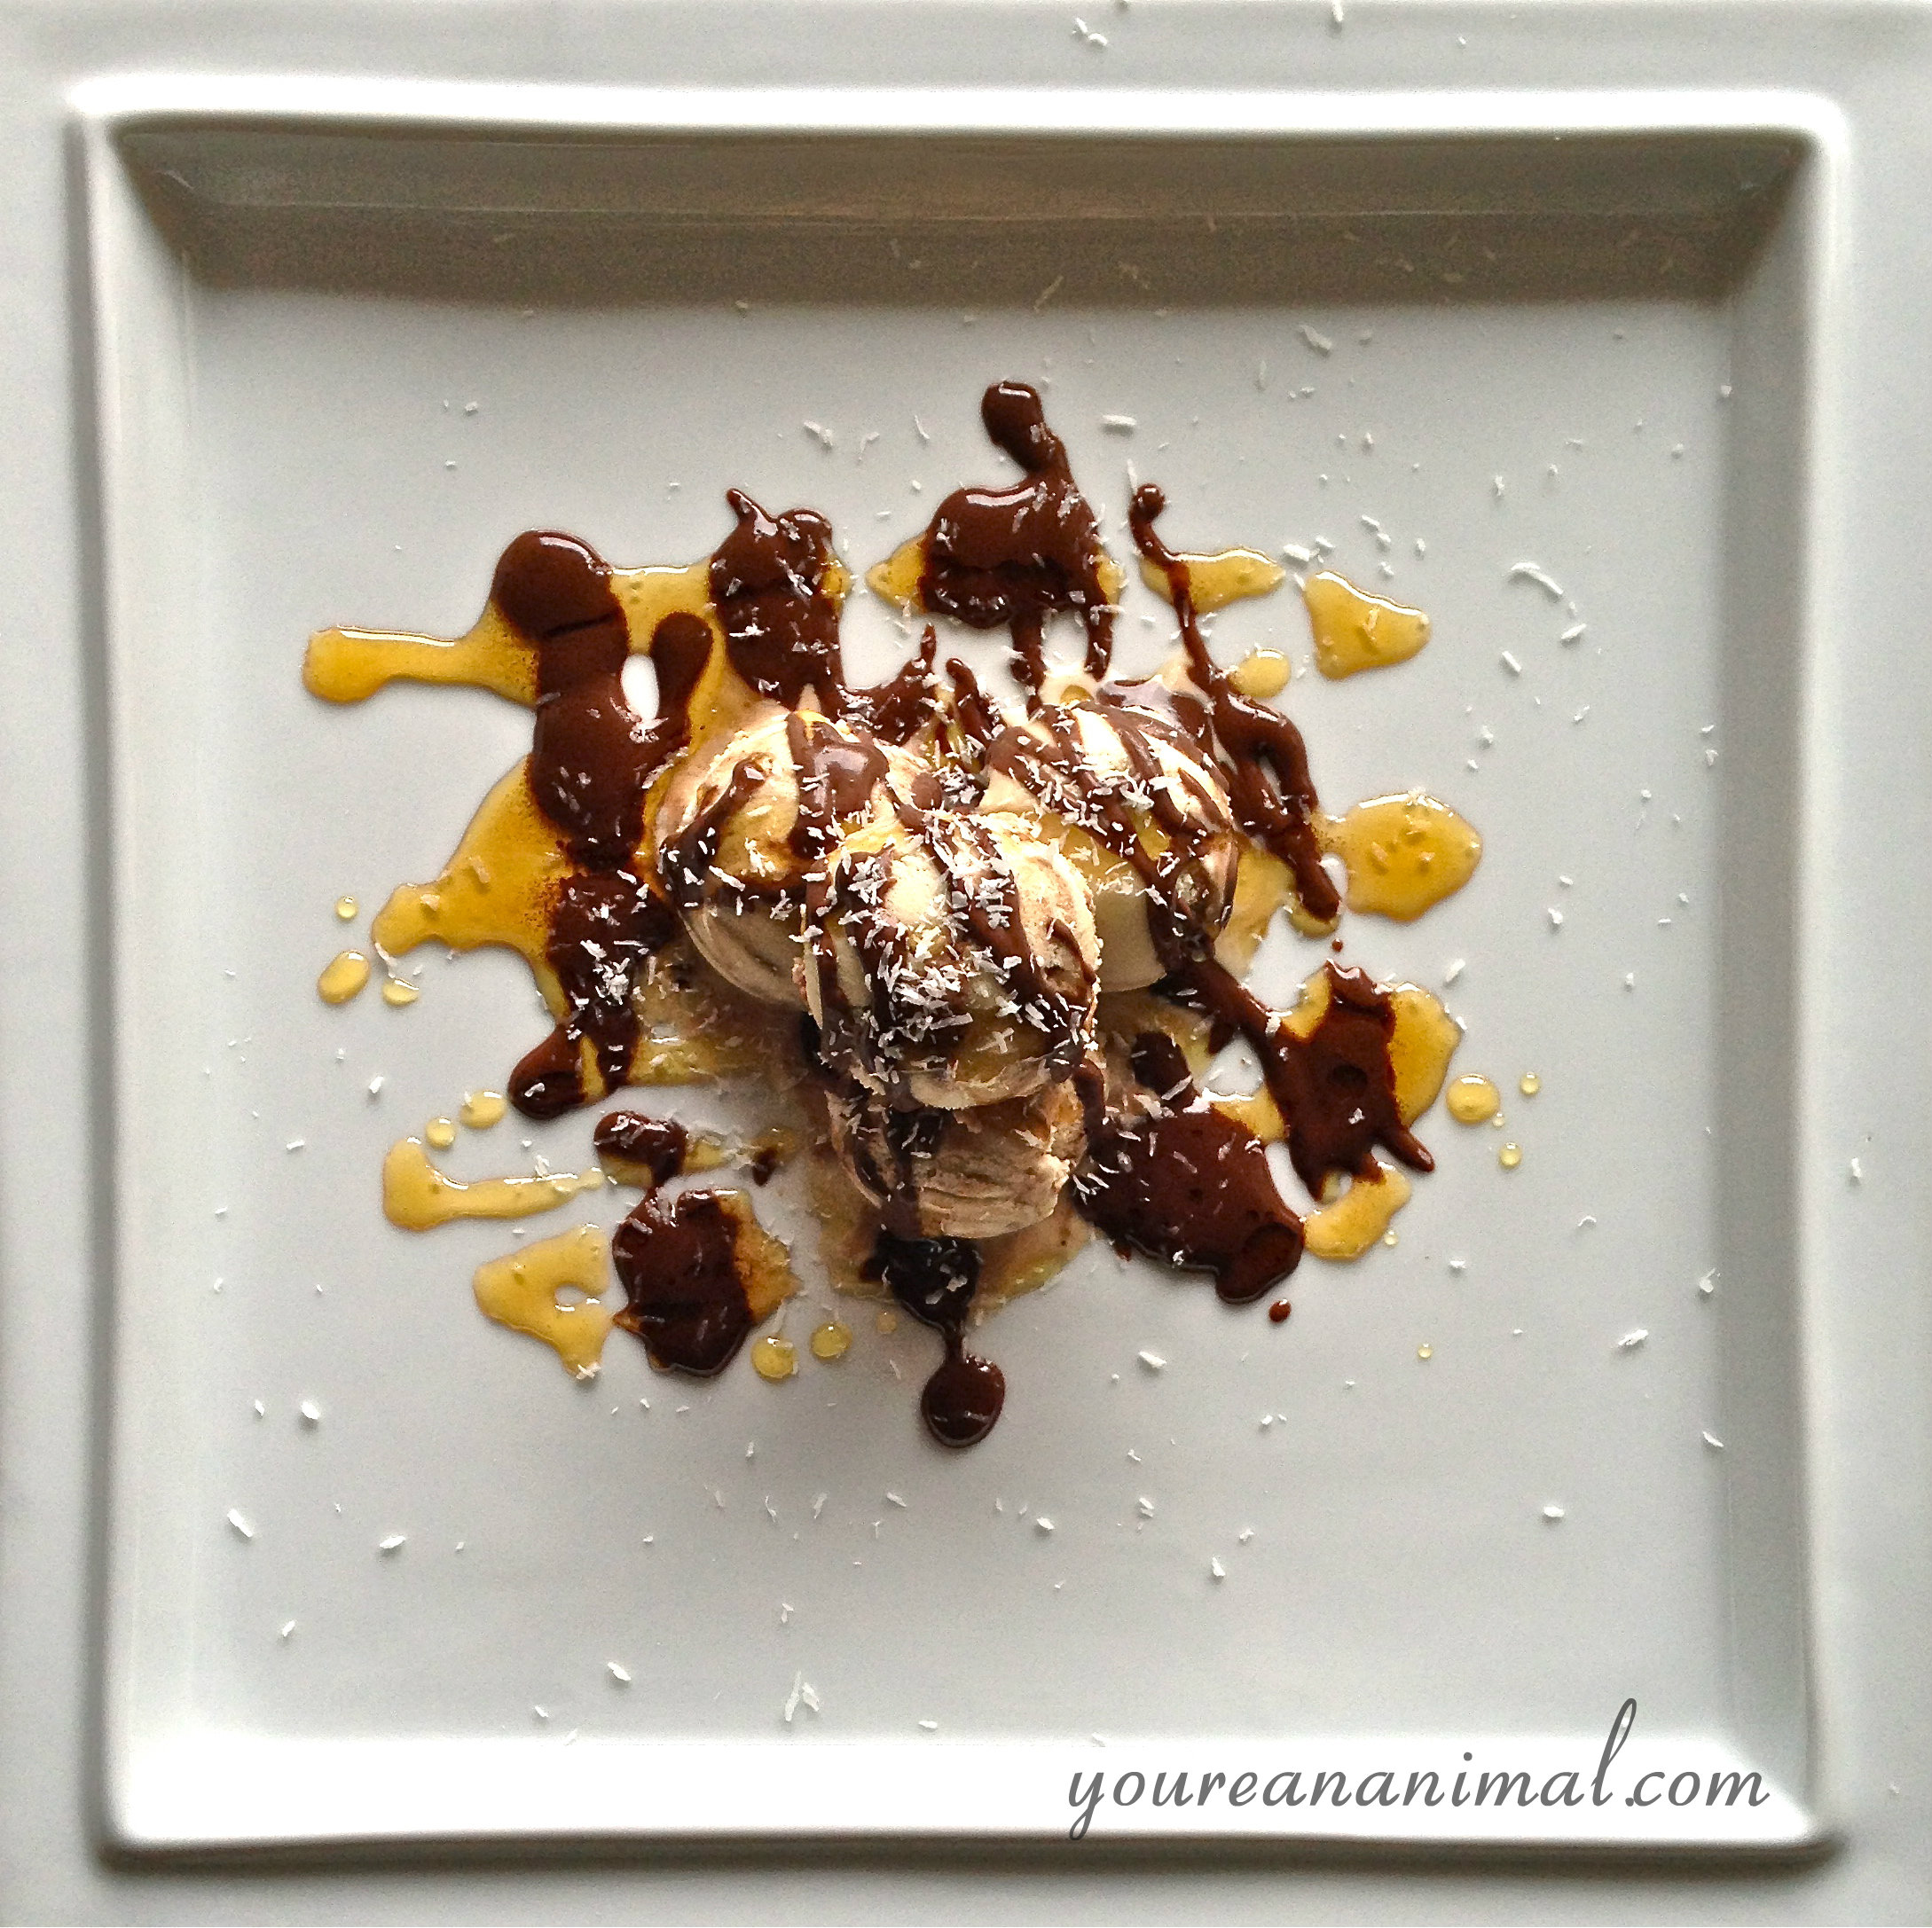
First of all, let me express my excitement about us purchasing an ice cream maker: EEEEHHEEEEEEYEAH! This is the one we got, and we love it! Ice cream is definitely, for sure, abso-posi-lutely my favorite dessert. I don’t know what it is, but I have always been an ice cream addict. Which is kind of odd for a lactose-intolerant girl, but I have found dairy-free heaven. Admittedly, my favorite flavor is mint chocolate chip (which, by the way, I have a recipe for that too… we’ve made it at least 5 times already. Stay tuned :)). But we just got back from our vacation in Portland, Oregon, and in my post about our trip I talked about Salt & Straw and how we both fell hopelessly in love with their dairy-free ice cream. So as soon as we got back, I started working on an ice cream flavor inspired by their Coconut with Petunia’s Salted Caramel Bars flavor. Their ice cream had pieces of a vegan/gluten-free caramel cookie, with ribbons of salted caramel and chocolate ganache. While I haven’t had the opportunity to explore the idea of a vegan/gluten-free caramel cookie, I was able to throw together a pretty awesomely delicious (toot toot) dairy-free, white sugar-free coconut ice cream with salted caramel and chocolate ganache swirled in ever so lovingly. And seriously, I can’t believe how good this stuff is. This is a situation where the whole is certainly greater than the sum of its parts (in my opinion). The ice cream, caramel, or chocolate each alone is good, but together they are fantastic. While I’ve never had a Samoa Girl Scout cookie (weird, I know… and I was even a Girl Scout. I have no excuses.) I imagine the flavor profile is the same. In fact, I almost named this “Dairy-Free Samoa Ice Cream,” except I think they’re called “Caramel Delights” now? All updated and modern… I can’t keep up. I can’t say enough about this ice cream (or its Salt & Straw inspiration), but I think I’m going to let the pictures speak for themselves…

CCCicecream1

CCCicecream16

CCCicecream12

Dairy-Free Coconut Ice Cream with Salted Caramel and Chocolate Ganache Swirl

  1. Start with making the ice cream base. In a medium-sized sauce pan, add 2 cans of the coconut milk, the arrowroot starch (this starch helps keep the ice cream creamy and scoopable, even after being in the freezer), the eggs, 1/4 cup of honey or maple syrup, and 1 Tbsp of vanilla extract. Stir to combine, trying to get as many lumps out as you can, and making sure the eggs are broken up and thoroughly mixed in.
  2. Heat this mixture on low, stirring continuously, until it is warm/hot to the touch, but not boiling (you do not want scrambled egg ice cream).
  3. Once the mixture is warm, put the mixture in the refrigerator (I usually just put the whole pot into the fridge so as to not dirty up another bowl) and allow the mixture to completely cool (at least 2-4 hours).
  4. While your ice cream base is chilling, make your caramel and chocolate ganache.
  5. Start with your caramel sauce. I got this caramel recipe from An Edible Mosaic, so if you have any issues, you can also refer to her post.
  6. In a small/medium saucepan, add 1/2 of a can of coconut milk, 2 Tbsp of honey/maple syrup and 2 Tbsp of coconut palm sugar. Bring this mixture to a boil, then reduce to a simmer, and stir frequently for about 15 minutes, or until the mixture thickens and turns a nice, deep amber brown. Remove the mixture from the heat, and add 1 Tbsp of grass-fed butter (or coconut oil for dairy-free), 1/2 tsp of sea salt, and 1/4 tsp of vanilla extract. Stir to incorporate, then pour your caramel into a separate bowl to allow it to cool.
  7. Next, make your chocolate ganache. Again, in a small/medium sauce pan, add the remaining 1/2 can of coconut milk, 1/4 cup of dark chocolate/chocolate chips, 2 Tbsp of coconut oil (this will help the ganache set up and become firm, but not crunchy, when frozen), and 2 Tbsp of cocoa powder. Heat this mixture over medium/medium-high heat to melt all of the ingredient together, and allow it to thicken. I let mine simmer, stirring constantly, until it was the consistency of a thick, hot fudge sauce. Once thickened, strain the sauce into a separate bowl to eliminate any lumps of cocoa powder, and to allow the sauce to cool.
  8. Once your ice cream base is completely cooled, add your base to your ice cream maker, straining it with a sieve as your pour the mixture in in order to eliminate all lumps of arrowroot and egg, and process according to manufacturer instructions.
  9. Scoop about 1/3 of your ice cream into the container you will be storing your ice cream in, and then drizzle about 1/3 each of your caramel sauce and chocolate ganache over your ice cream. Use a butter knife to swirl/fold the caramel and chocolate into your ice cream. Repeat this process two more times, with the rest of your ice cream, caramel, and chocolate. Allow your ice cream to harden in the freezer, and serve when ready! Or eat it as soft serve right away, if you’re like me and can’t resist :).
CCCicecream4

Items featured in this post:


Please note that some of the links in the above post are affiliate links that will take you to an Amazon.com page. If you choose to purchase a product featured in this post using an affiliate link, you will be directly supporting You’re An Animal. Thanks!

S’mores Bars (Gluten-Free, White Sugar-Free)

1

Happy official start to summer! What better way to get in the mood than with s’mores? Unfortunately the chemical-y, white sugar-y, gluten-y treats have started to sound more like a death trap than a happy summer evening. So why not make your own without the processed junk?! Okay so these are by no means the healthiest food on earth… they’ve got a ton of sugar, even if that sugar is much better quality than what you would buy in the store. So this is a once-every-so-often summertime treat made to share. By hey, I say if you’re going to do it, at least make it cleaner than it used to be! I can’t take too much credit for this recipe because I actually combined three different recipes from three different sources to create these sweet treats: Against All Grain, Lexi’s Clean Kitchen, and Urban Poser. The part that amazed me the most was being able to make my own marshmallow with honey. WHAAAT. And it came out perfectly. Until I caught it on fire. Yep, that actually happened. I put the bars under the broiler to get the marshmallow nice and toasty brown (I mean it’s a s’more, right?) and then got distracted by the World Cup annnnd there was a fire. Smoke detector went off. I had to peel off the top charred and maimed layer. And because of that, the marshmallow layer isn’t as thick as it started out. So when you make these, the marshmallow will probably be a little fluffier and taller. Just don’t make an oopsie like I did. BUT if you’re going to catch something on fire, marshmallow isn’t the worst thing because you can easily just remove it. That’s my story and I’m sticking to it. Happy summertime!

S’mores Bars

Graham Crust layer adapted from Against All Grain (original recipe here)

  • 1/4 cup almond flour
  • 1/2 cup plus 2 tablespoons coconut flour
  • 1/4 teaspoon salt
  • 1/4 teaspoon baking soda
  • 1 teaspoon cinnamon
  • 1/4 cup coconut oil, softened
  • 1/4 cup honey
  • 1 egg
  • 1 teaspoon vanilla

Chocolate Fudge Cake layer adapted from Lexi’s Clean Kitchen (original recipe here)

  • 6 oz. dark chocolate (I use Enjoy Life chocolate chips)
  • 1/4 cup unsweetened apple sauce
  • 1/4 cup coconut oil
  • 1/2 cup good quality unsweetened cocoa powder
  • 3 eggs
  • 1/2 cup raw honey
  • Pinch of himalayan sea salt
  • 1 tsp vanilla
  • 1/2 tsp cinnamon

Marshmallow Fluff layer adapted from Urban Poser (original recipe here)

1 cup filtered water (split into half cups)
2 1/2 U.S. tablespoons powdered gelatin. 225 bloom strength, same as Knox gelatin. ( I use Great Lakes brand (grass beef gelatin)
1 cup organic light colored honey, maple syrup or half of each
1 teaspoon vanilla extract

– See more at: http://urbanposer.blogspot.com/2012/11/rustic-homemade-marshmallows-whoney.html#sthash.Cj3toeYb.dpuf

  • 1/2 cup filtered water
  • 1 1/4 Tbsp gelatin (grass-fed if you can find it)
  • 1/2 cup raw honey (or grade B maple syrup)
  • 1 tsp vanilla
  1. Preheat the oven to 350 degrees F. Grease an 8×8 baking dish with coconut oil.
  2. Start with the graham layer. Combine all of the dry ingredients in a small bowl. Combine all of the wet ingredients and a separate bowl, using a mixer to blend. Slowly add your dry ingredients to the wet, using your mixer to combine until smooth. The dough should be in a moldable ball.
  3. Press your dough into the bottom of your baking dish in one even layer. No need to come up the sides. Use a fork to poke holes all over the dough to make sure it doesn’t rise.
  4. Par-bake the graham layer for 5 minutes, then remove from the oven and place in the freezer while you start making the chocolate layer.
  5. Start the chocolate fudge cake layer. Using a double boiler, melt the dark chocolate, honey and coconut oil, stirring frequently until combined and fully melted. Remove from heat.
  6. Add apple sauce and stir to combine. Add cocoa powder, cinnamon, salt and vanilla and mix thoroughly until there are no lumps. Making sure your mixture is cool enough, add the eggs. (If your mixture is too hot, it will start to cook the eggs and you will have scrambled eggs in your fudge… No good!)
  7. Remove your graham layer from the freezer, and pour your chocolate fudge layer on top of your graham layer in the baking dish. Bake for 25 minutes. I liked mine a little fudgey (read: undercooked), so when I took it out of the oven, the middle was still slightly liquidy. If you want yours to be fully cooked through, bake until the center is firm and an inserted toothpick comes out clean. I put mine in the fridge once cooked, and the center hardened right up anyway due to the chocolate and coconut oil solidifying in the cold temperature.
  8. Start your marshmallow fluff layer. Note: I used half the recipe indicated on Urban Poser’s blog. She does a much better job with the explanation and troubleshooting of this process than I ever could, so at this point I’m going to direct you to Urban Poser’s recipe (click here). Stop at step 5 and come back over here to finish up.
  9. Once you have made your fluff, immediately spread it over the top of your chocolate layer before it starts to set up. Make sure the sides of your baking dish are still greased well with coconut oil (you may need to re-grease). Allow the marshmallow time to set up before cutting or toasting (about 30 min to an hour at least). If you decide to toast and toast too soon, your marshmallow will not be as fluffy as it started out (mine deflated after toasting it).
  10. Store leftovers in the fridge.

12

4