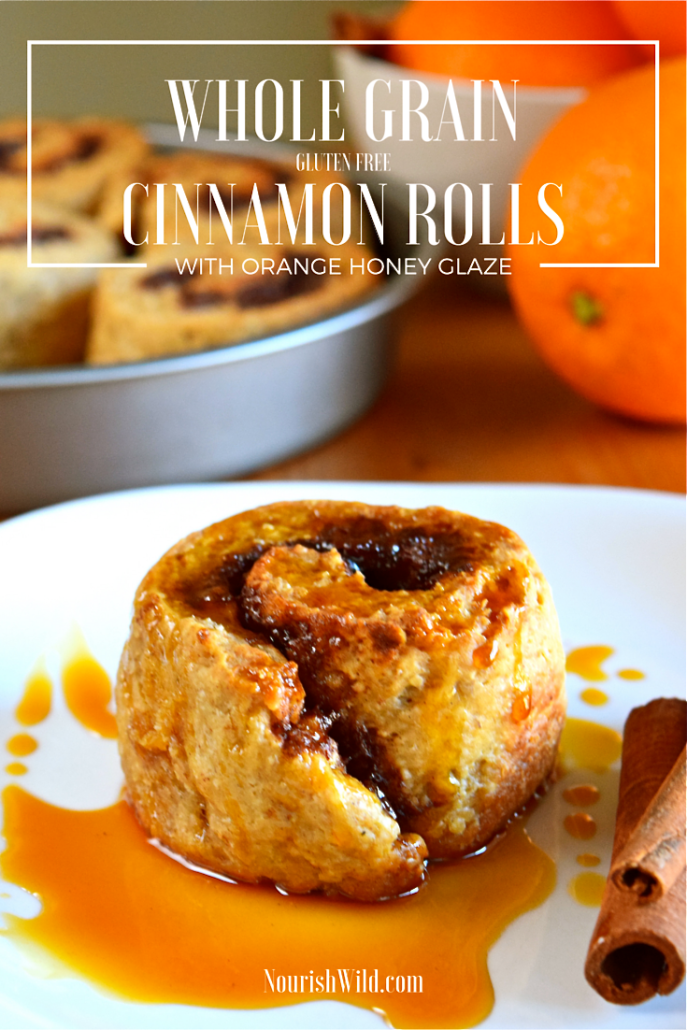
Whole Grain Cinnamon Rolls with Orange Honey Glaze (Gluten-Free)

Is your New Year resolution to get healthy, but you don’t want to give up life’s guilty pleasures? Try this healthier version of a cinnamon roll! Gluten-free and filled with whole grains, these rolls are made with brown rice and oat flours, and then topped with an orange honey glaze. These guilt-free cinnamon rolls will satisfy your fiber needs and your sweet tooth at the same time.

Whole Grain Cinnamon Rolls with Orange Honey Glaze (Gluten-Free) -- Nourish Wild

Happy 2016! It just feels like it’s going to be a good year, doesn’t it? I don’t know about you, but I absolutely love the beginning of a new year. Something about the freshness of it all. It’s like hitting the reset button. You can do and be anything!

Speaking of which, if you’re interested in hitting the reset button on your health, check out our Free 7 Day Challenge! It’s totally and completely free, and can be customized to any level of current health. With topics like real food, posture, hydration, sleep, meditation, screen time and more, you’re sure to learn something and get your health in check in the process. The next challenge starts on Monday, January 11th, and you can find out more and sign up here.

7 day challenge

Now, onto the goodness that is this delicious cinnamon roll. Cinnamon rolls are an interesting thing to take on at home. They aren’t exactly speedy, but they aren’t particularly difficult either. I would certainly start this process about 2 hours before you want to eat though, as they require an hour to rise in addition to putting them together and baking them. Or make the dough ahead of time, store in the fridge, then allow to rise in the morning before baking them.

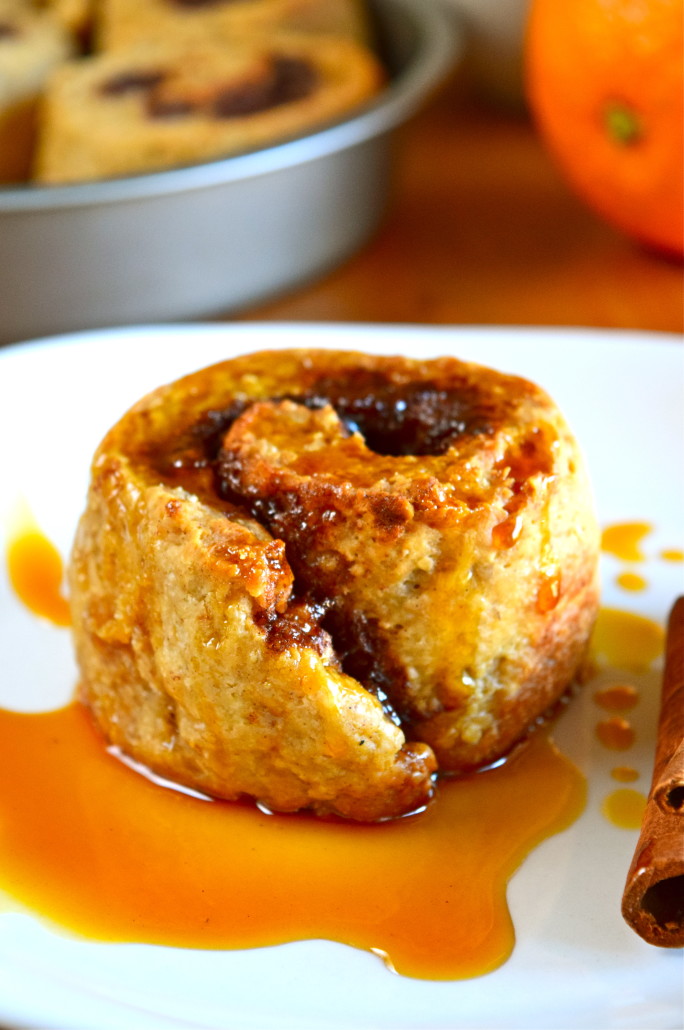
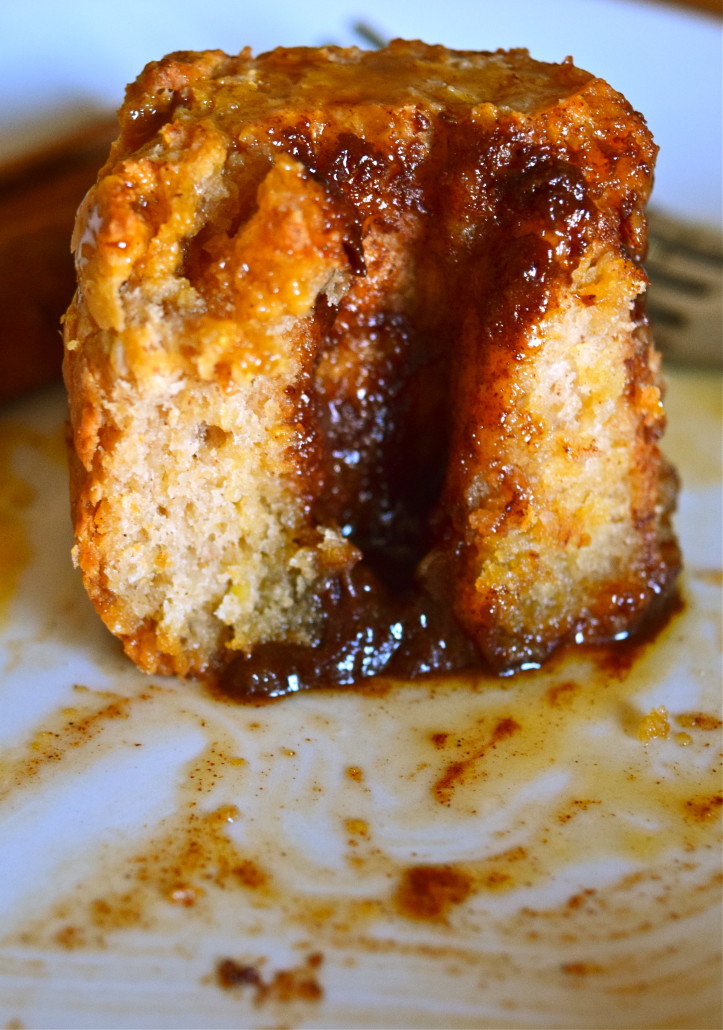
But can we talk about how they’re totally worth it? Because they are. Especially if you are trying to eat healthier, and find yourself drooling in front of Cinna-Bon. They are chewy, hold together perfectly, and have that cinnamon/butter goodness oozing out of the center like any self-respecting cinnamon roll should. However! They also have 2 types of whole grains, no white flour, no gluten, no white sugar, and noooo junk.

Oh yeah, we’re busting into 2016 (but not busting out of our jeans).

Whole Grain Cinnamon Rolls with Orange Honey Glaze (Gluten-Free) -- Nourish Wild

The dough of this roll has very little sugar in it, so the sweetness has to come from the cinnamon sugar center, and the orange honey glaze. Thankfully, the only types of sugar used are coconut palm sugar and honey, and the overall sugar content is significantly reduced from your standard cinnamon roll.

I mean, can we talk about the texture of these things? It’s really exactly what it should be:

Whole Grain Cinnamon Rolls with Orange Honey Glaze (Gluten-Free) -- Nourish Wild

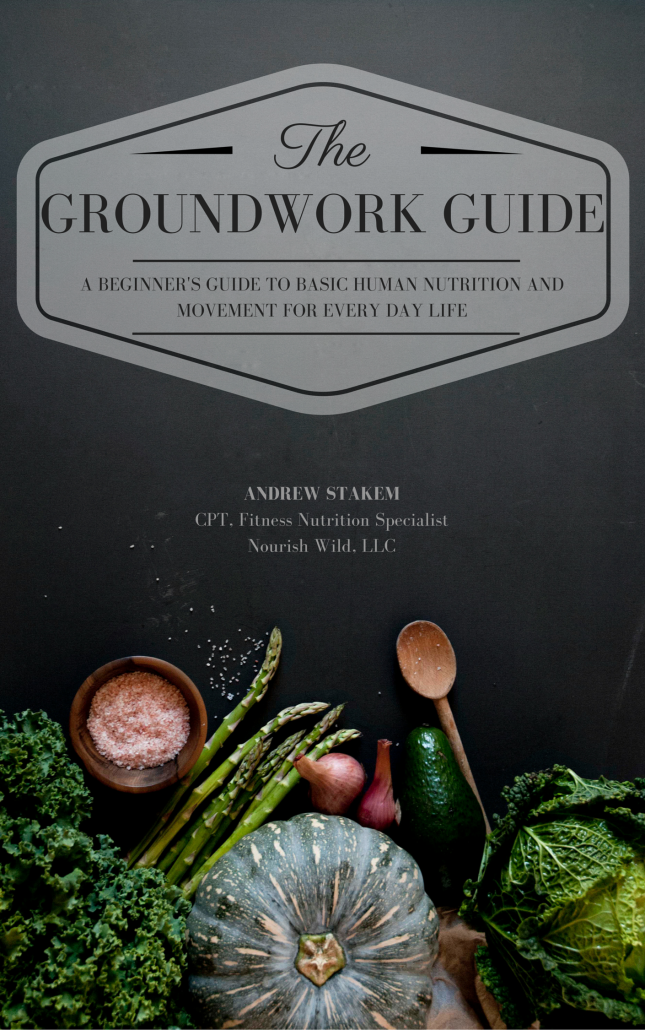
In other exciting news, Andrew wrote a book! Nourish Wild’s very first eBook in fact! The Groundwork Guide: A Beginner’s Guide To Basic Human Nutrition and Movement For Every Day Life. And it’s going to be released for sale right here on NourishWild.com in the next couple of weeks. Want to learn more about it? Click here to check it out.

Groundwork Guide Cover

Whole Grain Cinnamon Rolls with Orange Honey Glaze

Dough:

  • 1 2/3 cup tapioca starch
  • 1 cup oat flour (I grind rolled oats to make my own)
  • 1/2 cup brown rice flour
  • 3 Tbsp coconut palm sugar
  • 1 packet of yeast
  • 2 tsp baking powder
  • 1/4 tsp baking soda
  • 1 Tbsp xanthan gum
  • 1/4 cup warm water
  • 1/4 cup avocado oil
  • 1/4 cup coconut milk (from a can)
  • 2 eggs
  • 1 tsp honey
  • 1/4 tsp salt

Filling:

  • 6 Tbsp room temp softened grass-fed butter (I use Kerrygold)
  • 1/4 cup coconut palm sugar
  • 1 Tbsp ground cinnamon
  • pinch of salt

Orange Honey Glaze:

  • 1/4 cup honey
  • 2 Tbsp orange juice

Makes 8 cinnamon rolls

  1. Grease a 9″ round pan (I prefer coconut oil for greasing).
  2. In a large mixing bowl, dissolve the 1 tsp of honey in the 1/4 cup of warm water. Once dissolved, add the yeast packet to the mixture, and proof while putting together your other ingredients (the mixture should start to foam as the yeast activates).
  3. In a small mixing bowl combine your dry dough ingredients (tapioca starch, oat flour, brown rice flour, 3 Tbsp coconut sugar, baking powder, baking soda, xanthan gum, salt).
  4. In the large mixing bowl with the yeast mixture, add and mix together your remaining wet dough ingredients (avocado oil, coconut milk, eggs).
  5. Slowly add your dry ingredient mixture to the wet ingredient mixture, mixing constantly. Toward the end of adding the dry ingredients, the mixture will become very thick, and you may need to finish mixing/kneading with your hands. Once completely combined, the dough should hold together well and you should be able to form a big ball with your dough.
  6. Create your filling by mixing the softened butter, coconut sugar, cinnamon and salt in a small bowl.
  7. Using a rolling pin, roll out your dough ball between two pieces of parchment paper. You should roll the dough until it is in a long rectangle, about 14 inches long, 8 inches wide, and between 1/4″ and 1/2″ thick.
  8. Spread your filling mixture evenly over the rolled out dough.
  9. Using the bottom sheet of parchment paper, roll your dough into a tight log.
  10. Check out this video if you need more assistance with steps 7-9 (Rolling starts at the time 9:10 in the video)
  11. Cut the dough log into 8 equal pieces. Tip: I use a piece of sewing thread to cut the dough; it’s a much cleaner process than trying to use a knife!
  12. Distribute the 8 rolls into your greased round pan, with the swirl side facing up.
  13. Cover the pan with a cloth and place in a warm, dry area to rise.
  14. Allow the rolls to rise for 1 hour.
  15. Preheat the over to 375 degrees F. Once risen, bake the rolls for 18-22 min, until they no longer have any give, and are golden brown.
  16. While the rolls are baking, make the glaze by gently heating the 1/4 cup of honey with the 2 Tbsp of orange juice. Mix until combined.
  17. Let the rolls cool, then pour the honey glaze all over! Enjoy!

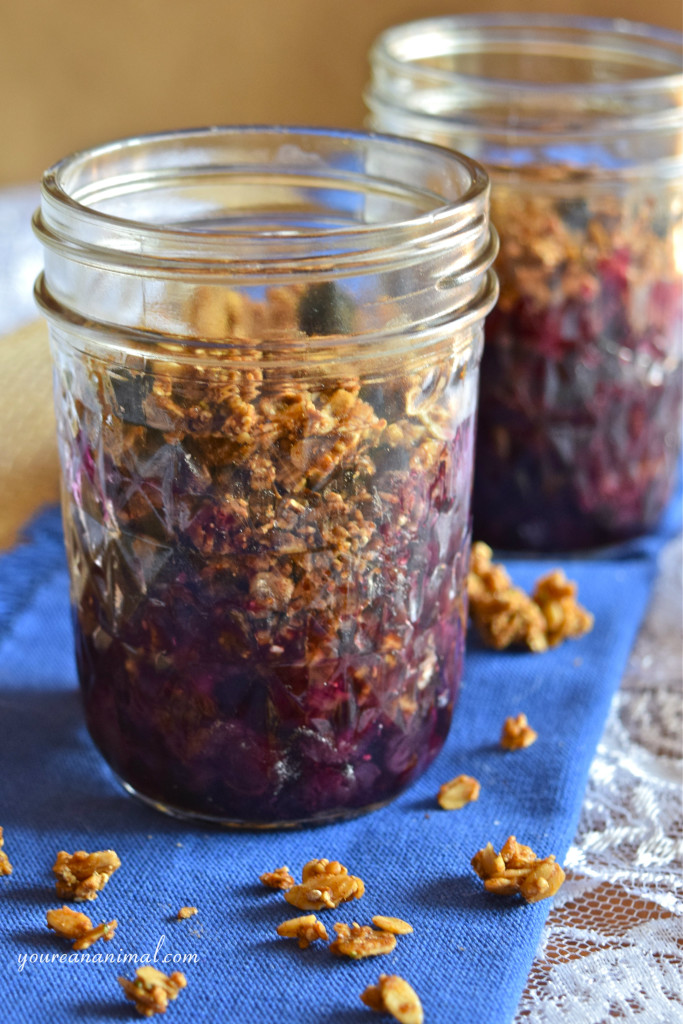
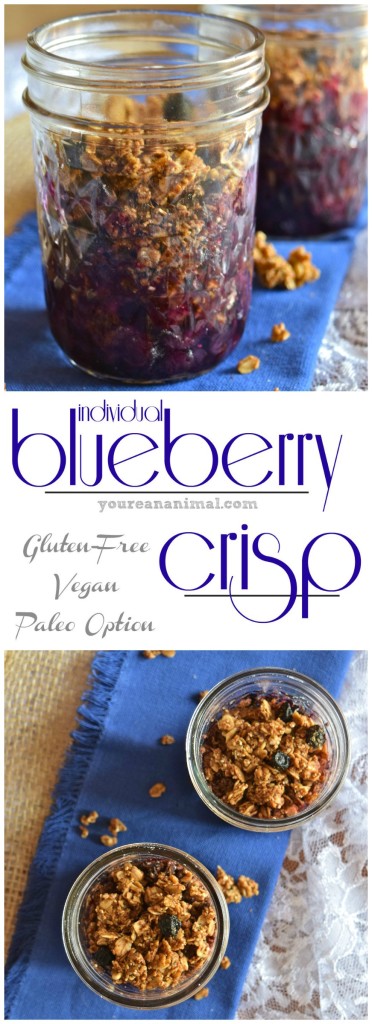
Individual Blueberry Crisp (Gluten-Free, Vegan, Paleo Option)

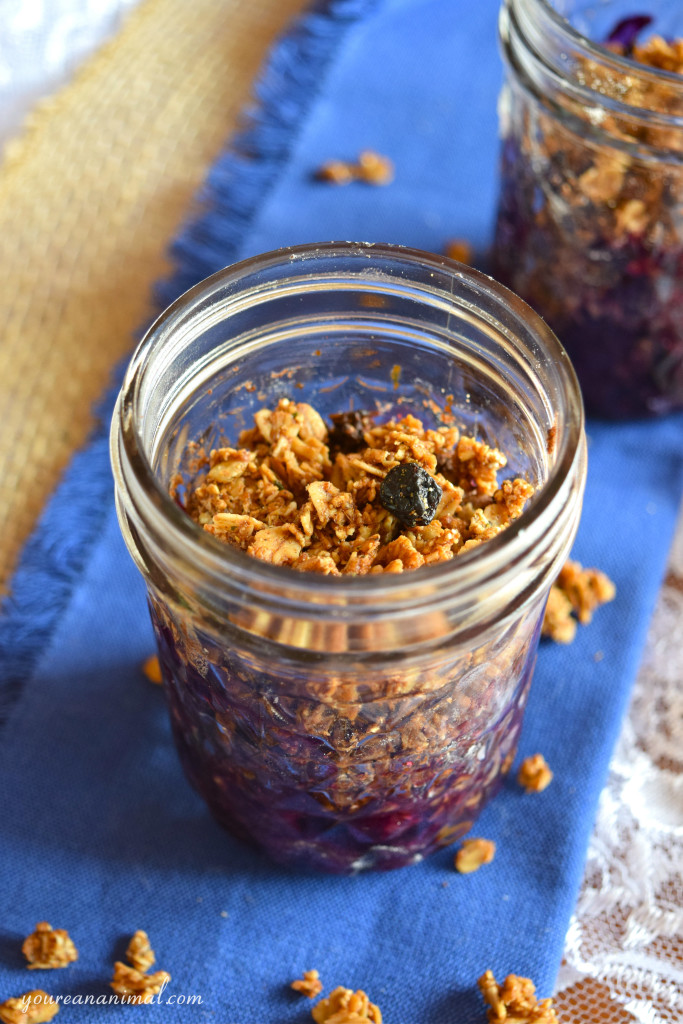
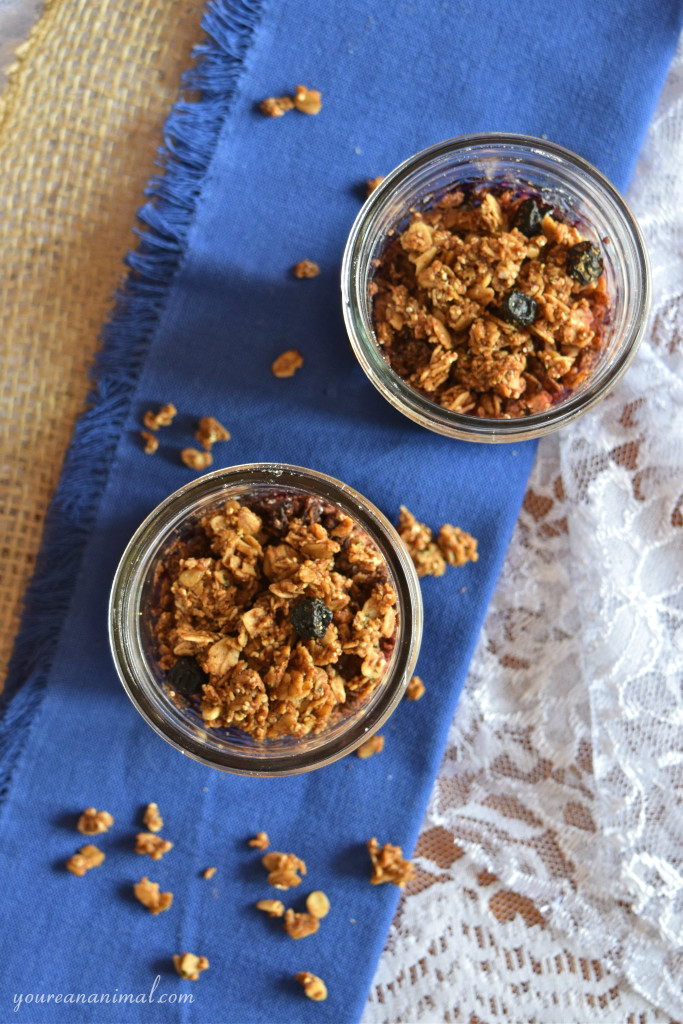
These individual blueberry crisps will transform your brunch or dessert into a comforting delight. Sweet blueberries reduce down into a thick, not-too-sinful sauce, while the granola becomes a warm oatmeal cookie waiting for you to dig in. Gluten-free, vegan, and with a paleo option, these treat jars will be a hit with everyone at the table!

I’ll be honest, I’m not much of a pie or cobbler kind of girl. It has to be something really very delectable to get me on board. So when I had my first fruit crisp at a bed and breakfast a couple years ago, I was hesitant. But it didn’t take long for me to fall in love. The juicy, sweet reduced berries that have become their own jelly-like sauce… the chewy, cookie-like topping made from the sweet oats and butter… I was hooked. But when I found out how much sugar usually goes into those things, I was turned off. Why does fruit need more sugar? Truth be told, it doesn’t. So I set out to make my own fruit crisp… one without the added sugar and typical dessert elements that are often used.

Gluten Free Vegan Paleo Individual Blueberry Crisp

Boy oh boy, do these babies deliver. The blueberries perfectly intertwined with the granola mixture, making them separate but one at the same time. On their own they are delicious, but together, they can take over the world. Or at least the world’s taste buds. Though these crisps are long gone (eaten in approximately 45 seconds), I can still smell the tantalizing simmering blueberries mingling mid-air with the cinnamon-infused granola. It’s making my mouth water all over again. I should have made more…

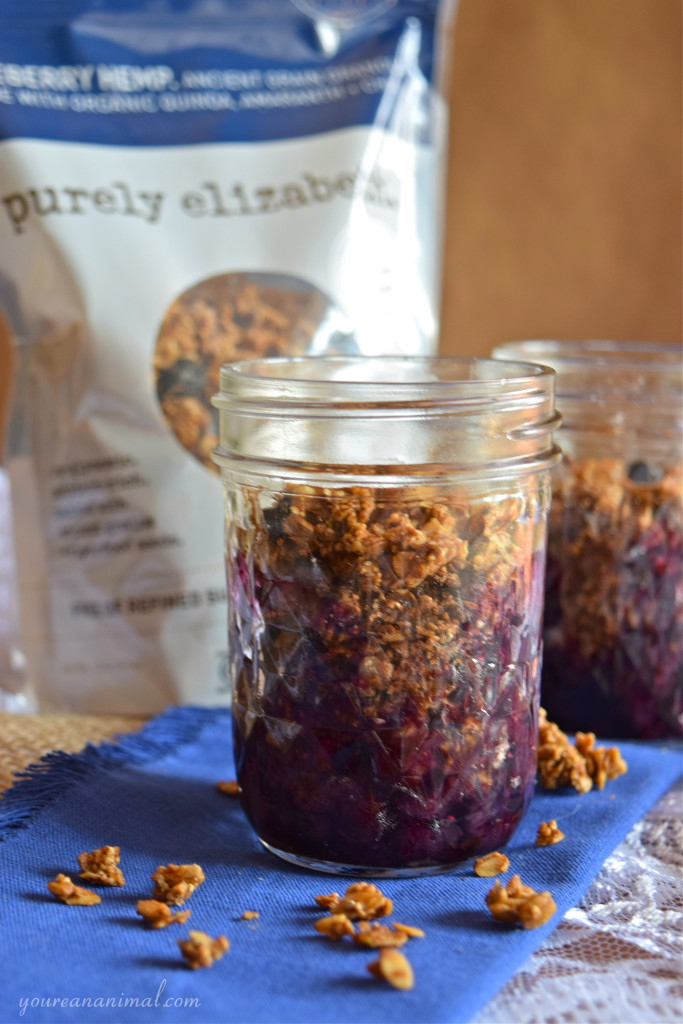
Gluten Free Vegan Paleo Individual Blueberry Crisp Purely Elizabeth Granola

Let’s talk about the ingredients. This comes together very quickly, as I use pre-made granola. There are a lot of good granola brands out there these days, but Purely Elizabeth is my favorite. No, they aren’t paying me to say that or to use their brand in a picture. I just really love it that much, and think it’s important to support companies that you agree with. Elizabeth’s granola (I get the Blueberry Hemp flavor) is gluten-free and vegan, and made with awesome ingredients like coconut oil, coconut sugar, chia seeds, hemp seeds, quinoa and amaranth. It also has dried blueberries mixed in, which are chewy and delicious. Have I sold you yet? Now, Elizabeth’s is a more “traditional” granola in that it uses oats as the base. However, for those of you looking for a Paleo option, you can use Paleo granola in this recipe. One brand that makes many different flavors and styles of Paleo granola is Steve’s PaleoGoods. Steve’s is true-blue paleo, with all junk-free ingredients and they also use part of their profits to support youth programs. Once again, I’m so excited that companies like Elizabeth’s and Steve’s exist, because they are the ones who will change our food culture for the better.

Gluten Free Vegan Paleo Individual Blueberry Crisp

Gluten Free Vegan Paleo Individual Blueberry Crisp

Individual Blueberry Crisp

  • 1 cup granola (pre-made, your choice, I prefer Elizabeth’s [vegan] or Steve’s [paleo])
  • 1 cup frozen blueberries
  • 1 Tbsp + 1 tsp tapioca starch
  • 1/2 Tbsp coconut flour
  • 1 Tbsp coconut oil (solid, not melted)
  • 1/4 tsp ground cinnamon
  • pinch of salt
  1. Preheat the oven to 375 degree F, and have two 8 oz mason jars (or one 16 oz mason jar) ready.
  2. In a small mixing bowl, combine the granola, 1 Tbsp tapioca, coconut flour, coconut oil, cinnamon and salt. You may need to use your fingers to thoroughly combine the coconut oil into the mixture.
  3. In a separate small mixing bowl, toss the frozen blueberries with the 1 tsp of tapioca. (This is going to make the blueberries gel a little bit when they reduce, so it’s not too liquidy of a sauce at the bottom of the jar.)
  4. Distribute your berries amongst the two jars, half cup in the bottom of one, half cup in the bottom of the other.
  5. Distribute your granola mixture amongst the two jars evenly, on top of the blueberries.
  6. Place the jars in the preheated oven (I like to put them on a cookie sheet so they’re easier to put in a take out).
  7. Bake for about 30 minutes, or until the berries have reduced and are simmering in their own juice.
  8. Note: if you’re using fresh berries instead of frozen, the bake time will likely be less.

Gluten Free Vegan Paleo Individual Blueberry Crisp

Cinnamon Crunch Flatbread (Gluten-Free, Grain-Free, Nut-Free)

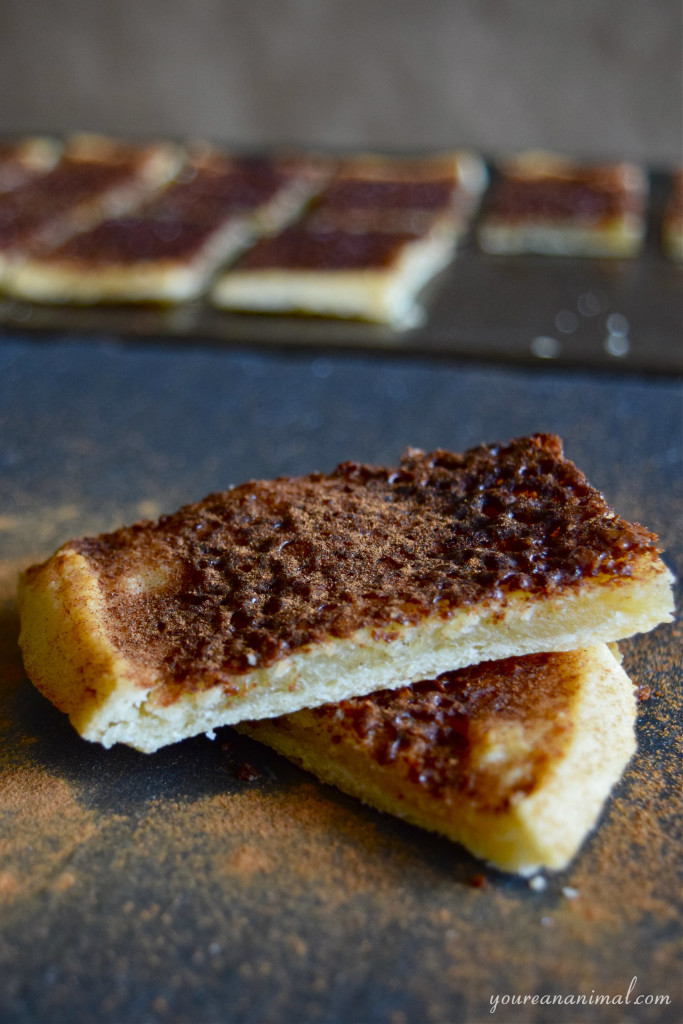
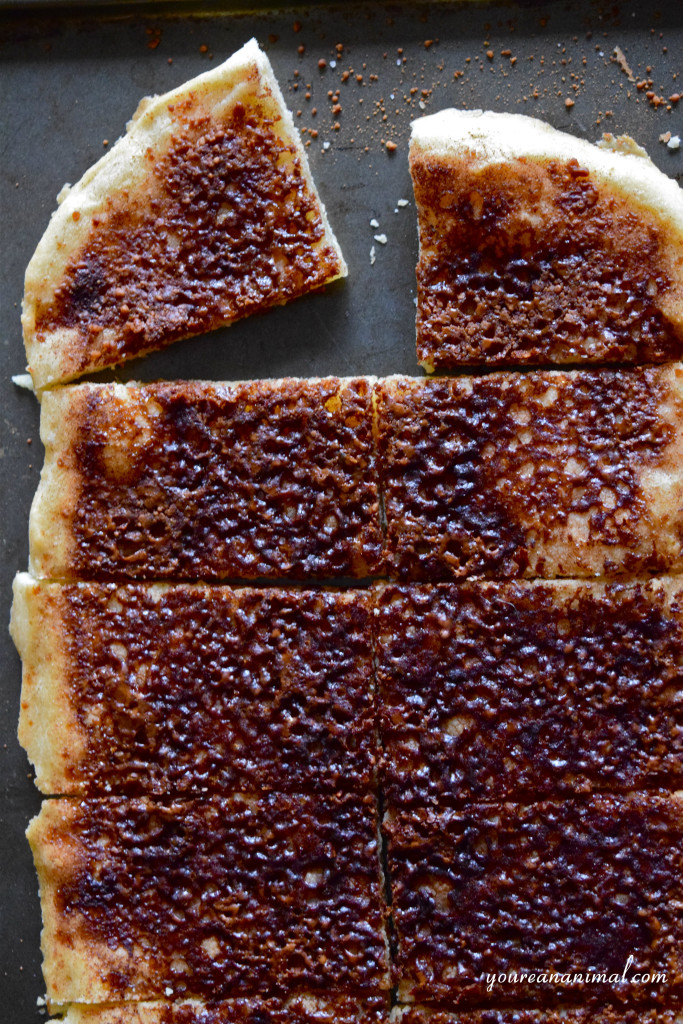
Panera’s Cinnamon Crunch Bagels were once one of my all-time favorite things. But these days, I prefer to make my own treats. This Cinnamon Crunch Flatbread is a perfect little morning or afternoon treat, and is gluten-free, grain-free, nut-free, and Paleo friendly. Plus it’s quick and easy to throw together!

It’s a gloomy, gloomy day here in the RVA. Luckily, I didn’t have to work today and Andrew didn’t have to work until the afternoon, so we were able to have a lazy morning. I woke up with an intense need for cinnamon rolls. The sticky, sweet, spicy and steamy combination was calling my name. Unfortunately, I had no time or patience for such process. You know how the best ideas come from necessity, right? Cinnamon Crunch Flatbread was born under such necessity. The necessity to recreate the cinnamon roll flavors, without the process.

Gluten Free Grain Free Nut Free Cinnamon Crunch Flatbread

That spicy cinnamon that tickles your nose, that crispy crunch of the caramelized sugar, that chewy, savory flatbread… If this doesn’t say, “Good morning, let’s enjoy our time together” I don’t know what does. The flatbread base is adapted from a recipe by Savory Lotus, and the cinnamon crunch is inspired by those so-darn-delicious Panera bagels. The flatbread comes together in about 2 minutes, and only takes 12 minutes in the oven. A couple minutes under the broiler to caramelize that cinnamon sugar combo, and that’s right folks… This could be in your hand in about 15 minutes.

Grain Free Gluten Free Nut Free Cinnamon Crunch Flatbread

Cinnamon Crunch Flatbread

  • 2/3 cup tapioca starch
  • 1/3 cup potato starch
  • 1/4 cup coconut flour
  • 1/2 cup avocado oil
  • 1/4 cup water
  • 1 (cage-free) egg
  • 2 tsp ground cinnamon
  • 2 Tbsp coconut palm sugar
  • 1/4 tsp sea salt
  • 1 Tbsp (grass-fed) butter, softened
  1. Preheat the oven to 425 degrees F, and line a rectangular cookie sheet with parchment paper.
  2. In a small bowl, combine the cinnamon, coconut palm sugar, and salt. Set aside.
  3. In a large mixing bowl and using a fork to stir, combine the avocado oil, water, and egg.
  4. Sift in the tapioca starch, potato starch, and coconut flour, adding them to your wet ingredient mixture. Combine the wet and dry ingredients thoroughly with your fork. This mixture should be sticky and hold some shape.
  5. Spread this mixture onto the parchment-lined cookie sheet, evenly distributing the dough and forming a long, flat rectangular, flatbread shape. Note that this dough is super sticky, so I find it easiest to wet my hands and spread and shape the dough by hand. If the dough starts sticking to your hands, re-wet your hands.
  6. Once the dough is shaped into the rectangular shape and about 1/4″ thick, place in the preheated oven for 12 minutes.
  7. After 12 minutes, remove from the oven. Slide the flatbread off of the parchment, and straight onto the cookie sheet (I’ve found that if it gets left on the parchment paper, the bottom of the flatbread tends to get soggy. Take out the parchment and the bottom will get crispy.)
  8. Coat the top of the warm flatbread with the softened butter. Then evenly sprinkle the cinnamon sugar mixture over top of the buttered flatbread.
  9. Place under your oven’s broiler (High, if your oven has the option) for a couple of minutes. Watch your flatbread the whole time! This can turn ugly quickly. Let the cinnamon sugar start to bubble all over. Once the sugar is bubbling over the entire flatbread, remove from the oven and let it cool and set. Enjoy!
Cinnamon Crunch Flatbread Collage

Freezer Meal: Breakfast Burritos (Gluten-Free, Grain-Free)

These powerhouse breakfast burritos are perfect for Sunday Meal Prep! Stick them in the freezer, and heat them up in the morning when you’re ready. With both veggies and protein, they are an easy way to get yourself going on those hectic weekday mornings.

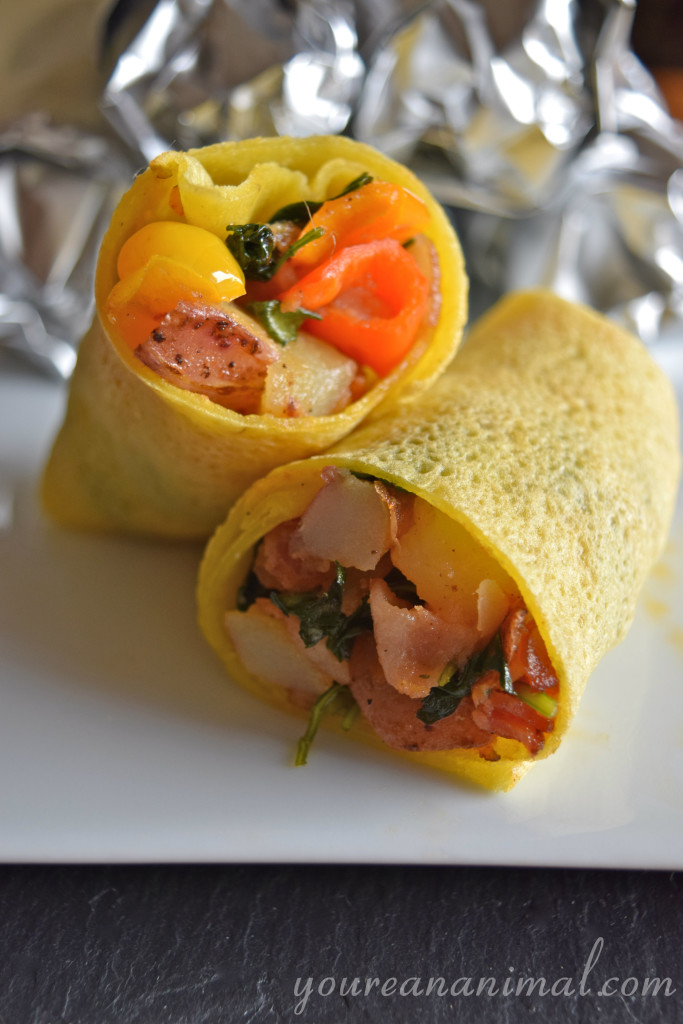
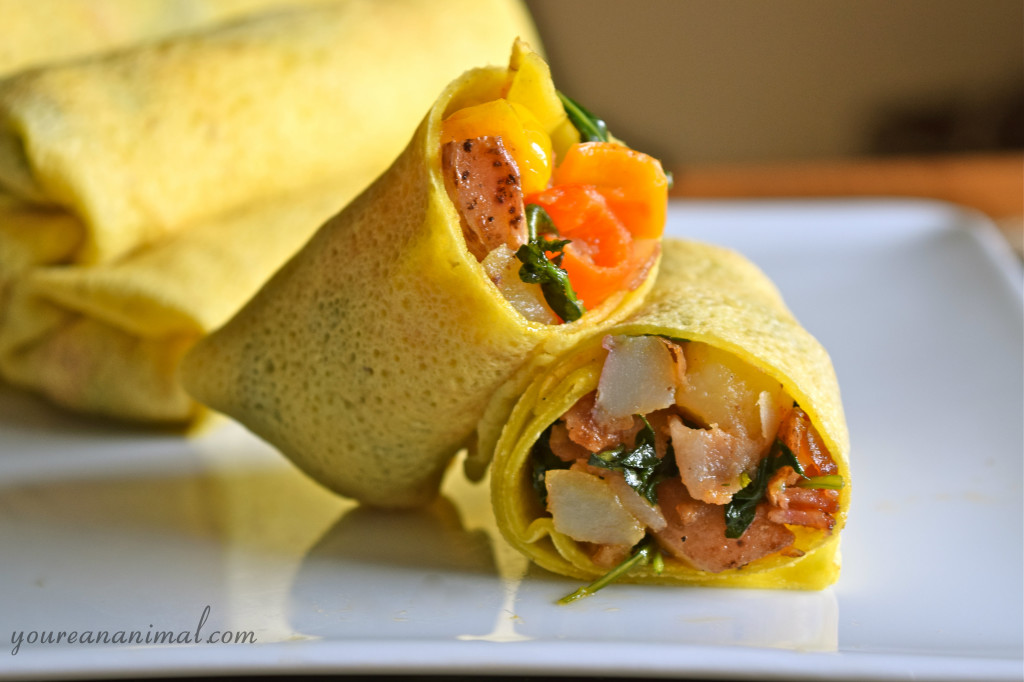
Freezer Meal Breakfast Burritos. Perfect for Sunday Meal Prep! Grain-free, gluten-free

You know those mornings when you get to sit down and have a wonderful, elaborate, healthy breakfast before work or school? No? Me neither. If you’re like me, on the mornings you need to get out the door, you’re scrounging for something that takes little-to-no effort, or can be taken on the go. Oh and yeah… it’s supposed to actually nourish my body for the start of the day. Let me introduce your mornings’ new best friend: the Freezer Breakfast Burrito. If you have about 30 minutes to spare on your Sunday afternoon, you can get yourself ready for every morning of the week mindlessly and painlessly.

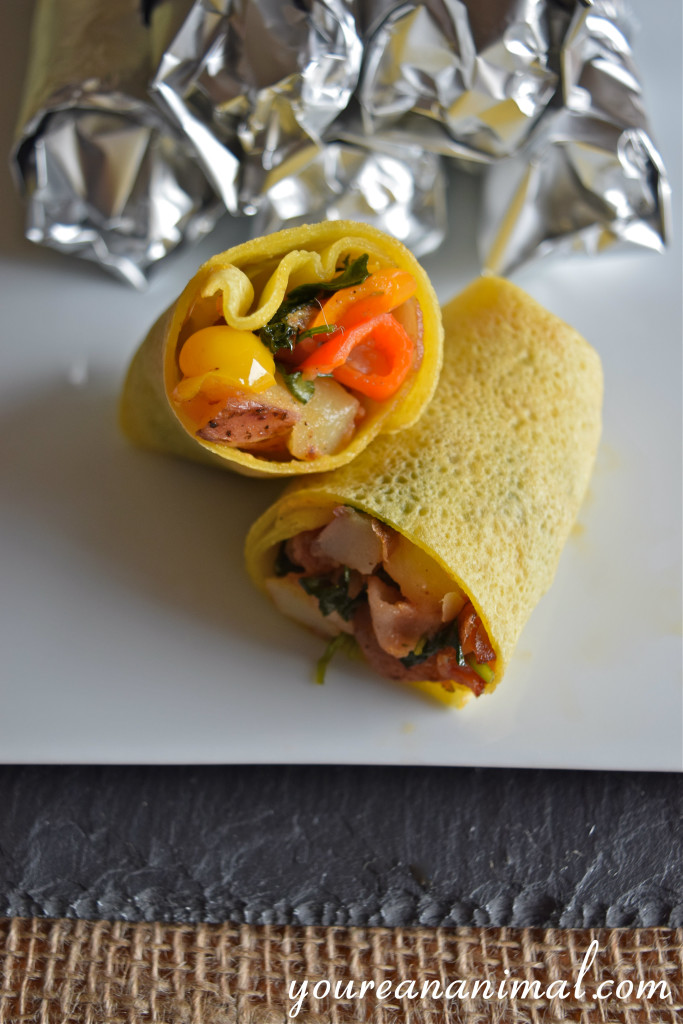
Freezer Meal Breakfast Burritos. Perfect for Sunday Meal Prep! Grain-free, gluten-free

Wrap these guys up in foil, stick them in the freezer, and then the night before you want to eat one (or two), put it in the fridge overnight to thaw. This will save you precious reheat time in the morning. Ten minutes of reheat time before you head out the door (or if you’re like me, once you get to work) and voila, you’re good to go to start your day!

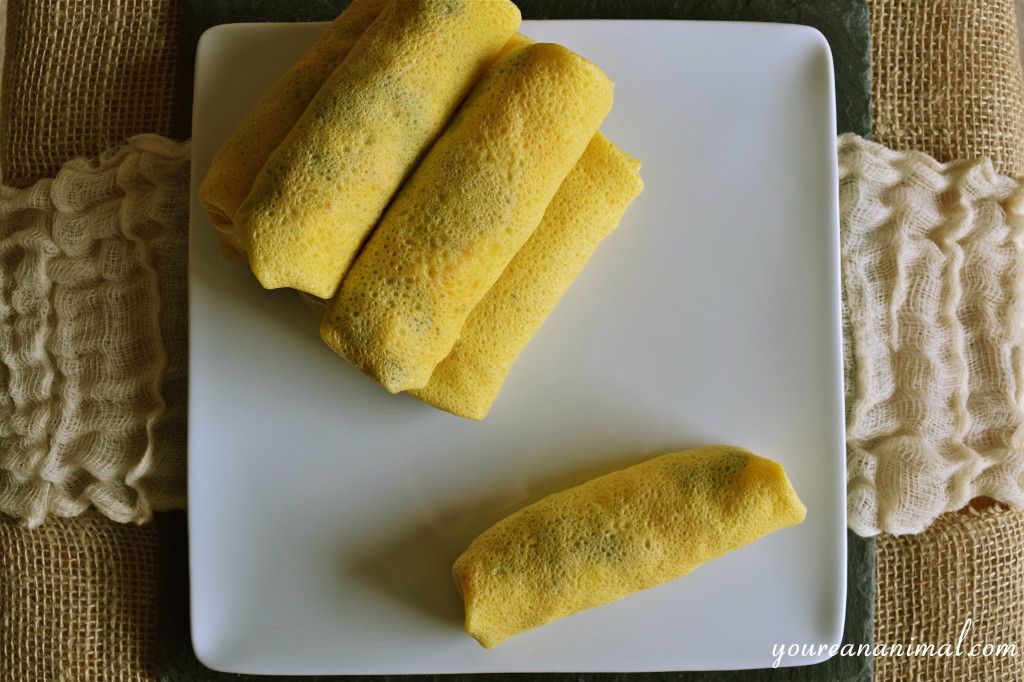
Freezer Meal Breakfast Burritos. Perfect for Sunday Meal Prep! Grain-free, gluten-free

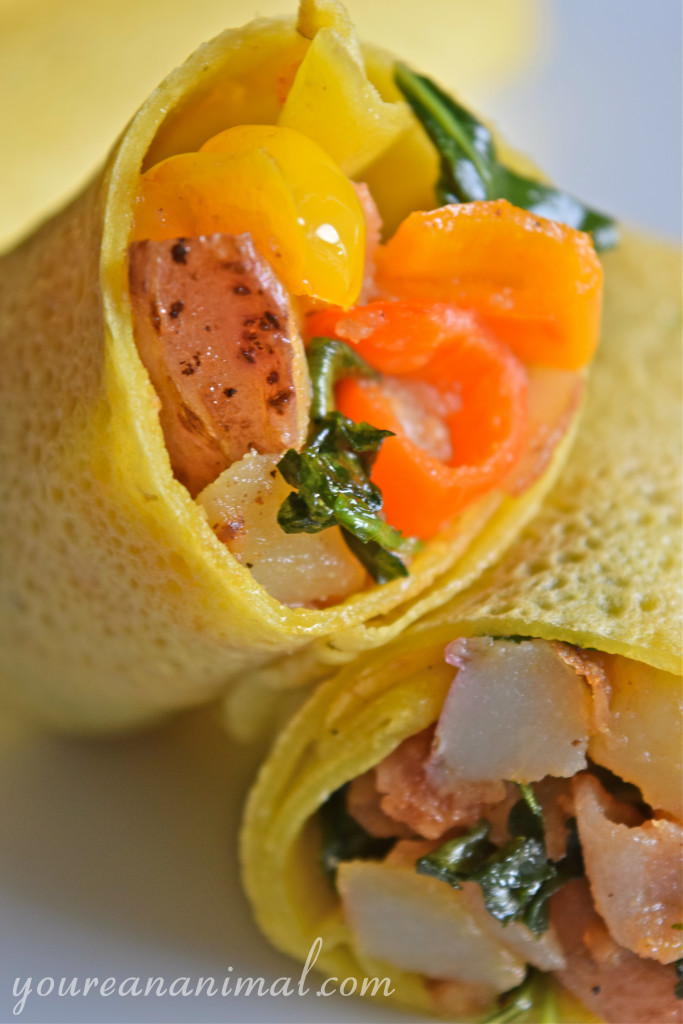
Tell me that doesn’t look like something you want to eat in the morning sun. Peppers, bacon (!), potatoes, and kale all wrapped up in the grain-free, egg-based tortilla. I think that’s also spelled b-r-e-a-k-f-a-s-t.

Freezer Meal Breakfast Burritos. Perfect for Sunday Meal Prep! Grain-free, gluten-free

Breakfast Burritos

  • Grain-Free Tortillas (from Stupid Easy Paleo):
    • 4 eggs
    • 1/2 cup of your choice of starch (arrowroot, tapioca or potato… I use potato because it has a mild flavor)
    • 2 tsp of coconut flour
    • 3 Tbsp water
    • 1 Tbsp olive oil
    • 1/4 tsp each of garlic powder, onion powder, salt, and black pepper
  • 2 cups of diced white potatoes (diced into about 1/2 inch chunks)
  • 6 slices of nitrate-free bacon (sliced into about 1/2 inch pieces)
  • 6 mini sweet peppers sliced into 1/4-1/2 inch pieces (or 1 large green, yellow, orange, or red bell pepper)
  • 2 handfuls of baby kale
  • hot sauce to taste (I used about 2 tsp) (I use Frank’s Hot Sauce)
  • 1/4 tsp each garlic powder, onion powder, salt, and black pepper
  • Avocado oil or olive oil to coat pan
  1. Heat a large skillet with your avocado or olive oil over medium-high heat. Add your diced potatoes to the skillet, and allow them to start to cook.
  2. Next, work on the tortillas. In a large mixing bowl, combine all of your tortilla ingredients. Use an electric mixer to combine the ingredients, in order to most effectively eliminate the lumps from your mixture, until very smooth but not to the point of frothing the eggs.
  3. Use a 10-inch, non-stick skillet to make the tortillas. Heat the skillet on medium heat. Once heated, pour about 1/4 cup of the tortilla batter onto the skillet, and roll the batter around in the skillet so it is evenly coated (like making a french crepe). Cook about 1 minute on each side, until lightly browned. The edges will curl away from the pan. If you have any issues with this process, you can refer to the original recipe and instructions for these tortillas here. This will make 6 tortillas.
  4. As you are working on the tortillas, check on the potatoes. As they are starting to brown and soften slightly (about 5-10 minutes into the cooking process), add your sliced peppers and sliced bacon. Allow these to cook, letting the peppers soften and the bacon crisp, stirring occasionally.
  5. Once your potatoes, peppers, and bacon have cooked to desired texture, add the hot sauce, garlic powder, onion powder, salt, pepper, and kale to your mixture. Stir to combine, until the kale wilts into your mixture.
  6. Evenly divide your potato/pepper/bacon/kale mixture onto your tortillas. Roll into burritos (they will be relatively small in size).
  7. To make it a freezer meal: Wrap your burritos in tin foil, and store in the freezer. The night before you want to eat one, place your burrito in the refrigerator and allow to thaw overnight. In the morning, set your oven or toaster oven to 400 degrees F. Place your foil-wrapped burrito in the oven for 10 minutes. Now run off to whatever you’re (almost) late for!

Makes 6 burritos

Freezer Breakfast Burritos. Perfect for Sunday Meal Prep! Grain-free, gluten-free


Fluffy Banana Pancakes (Grain-Free, Nut/Seed-Free)

DSC_0020

Sunday morning meant a pancake breakfast for my entire childhood. My dad was up every Sunday, making pancakes for the whole family, even if it was before a soccer tournament or family event. So now, although I don’t do it every week, I often will make a Sunday pancake brunch. It’s been quite a journey over the past year or so, trying to cut out grains and then also realizing I needed to cut out nuts and eventually seeds as well. I have one recipe, my 3 Ingredient Protein Pancakes, which was good for a while and is still a great recipe for those who can eat nuts or seeds. But unfortunately for us, it just isn’t a good choice anymore. Even using Sunbutter got to be too much for us, and Andrew was having a reaction on his tongue when he would eat too much. We think it was due to the high levels of phytic acid in sunflower seeds. But we still craved a pancake brunch, so I decided to go another direction that uses coconut flour and arrowroot starch instead.

DSC_0006

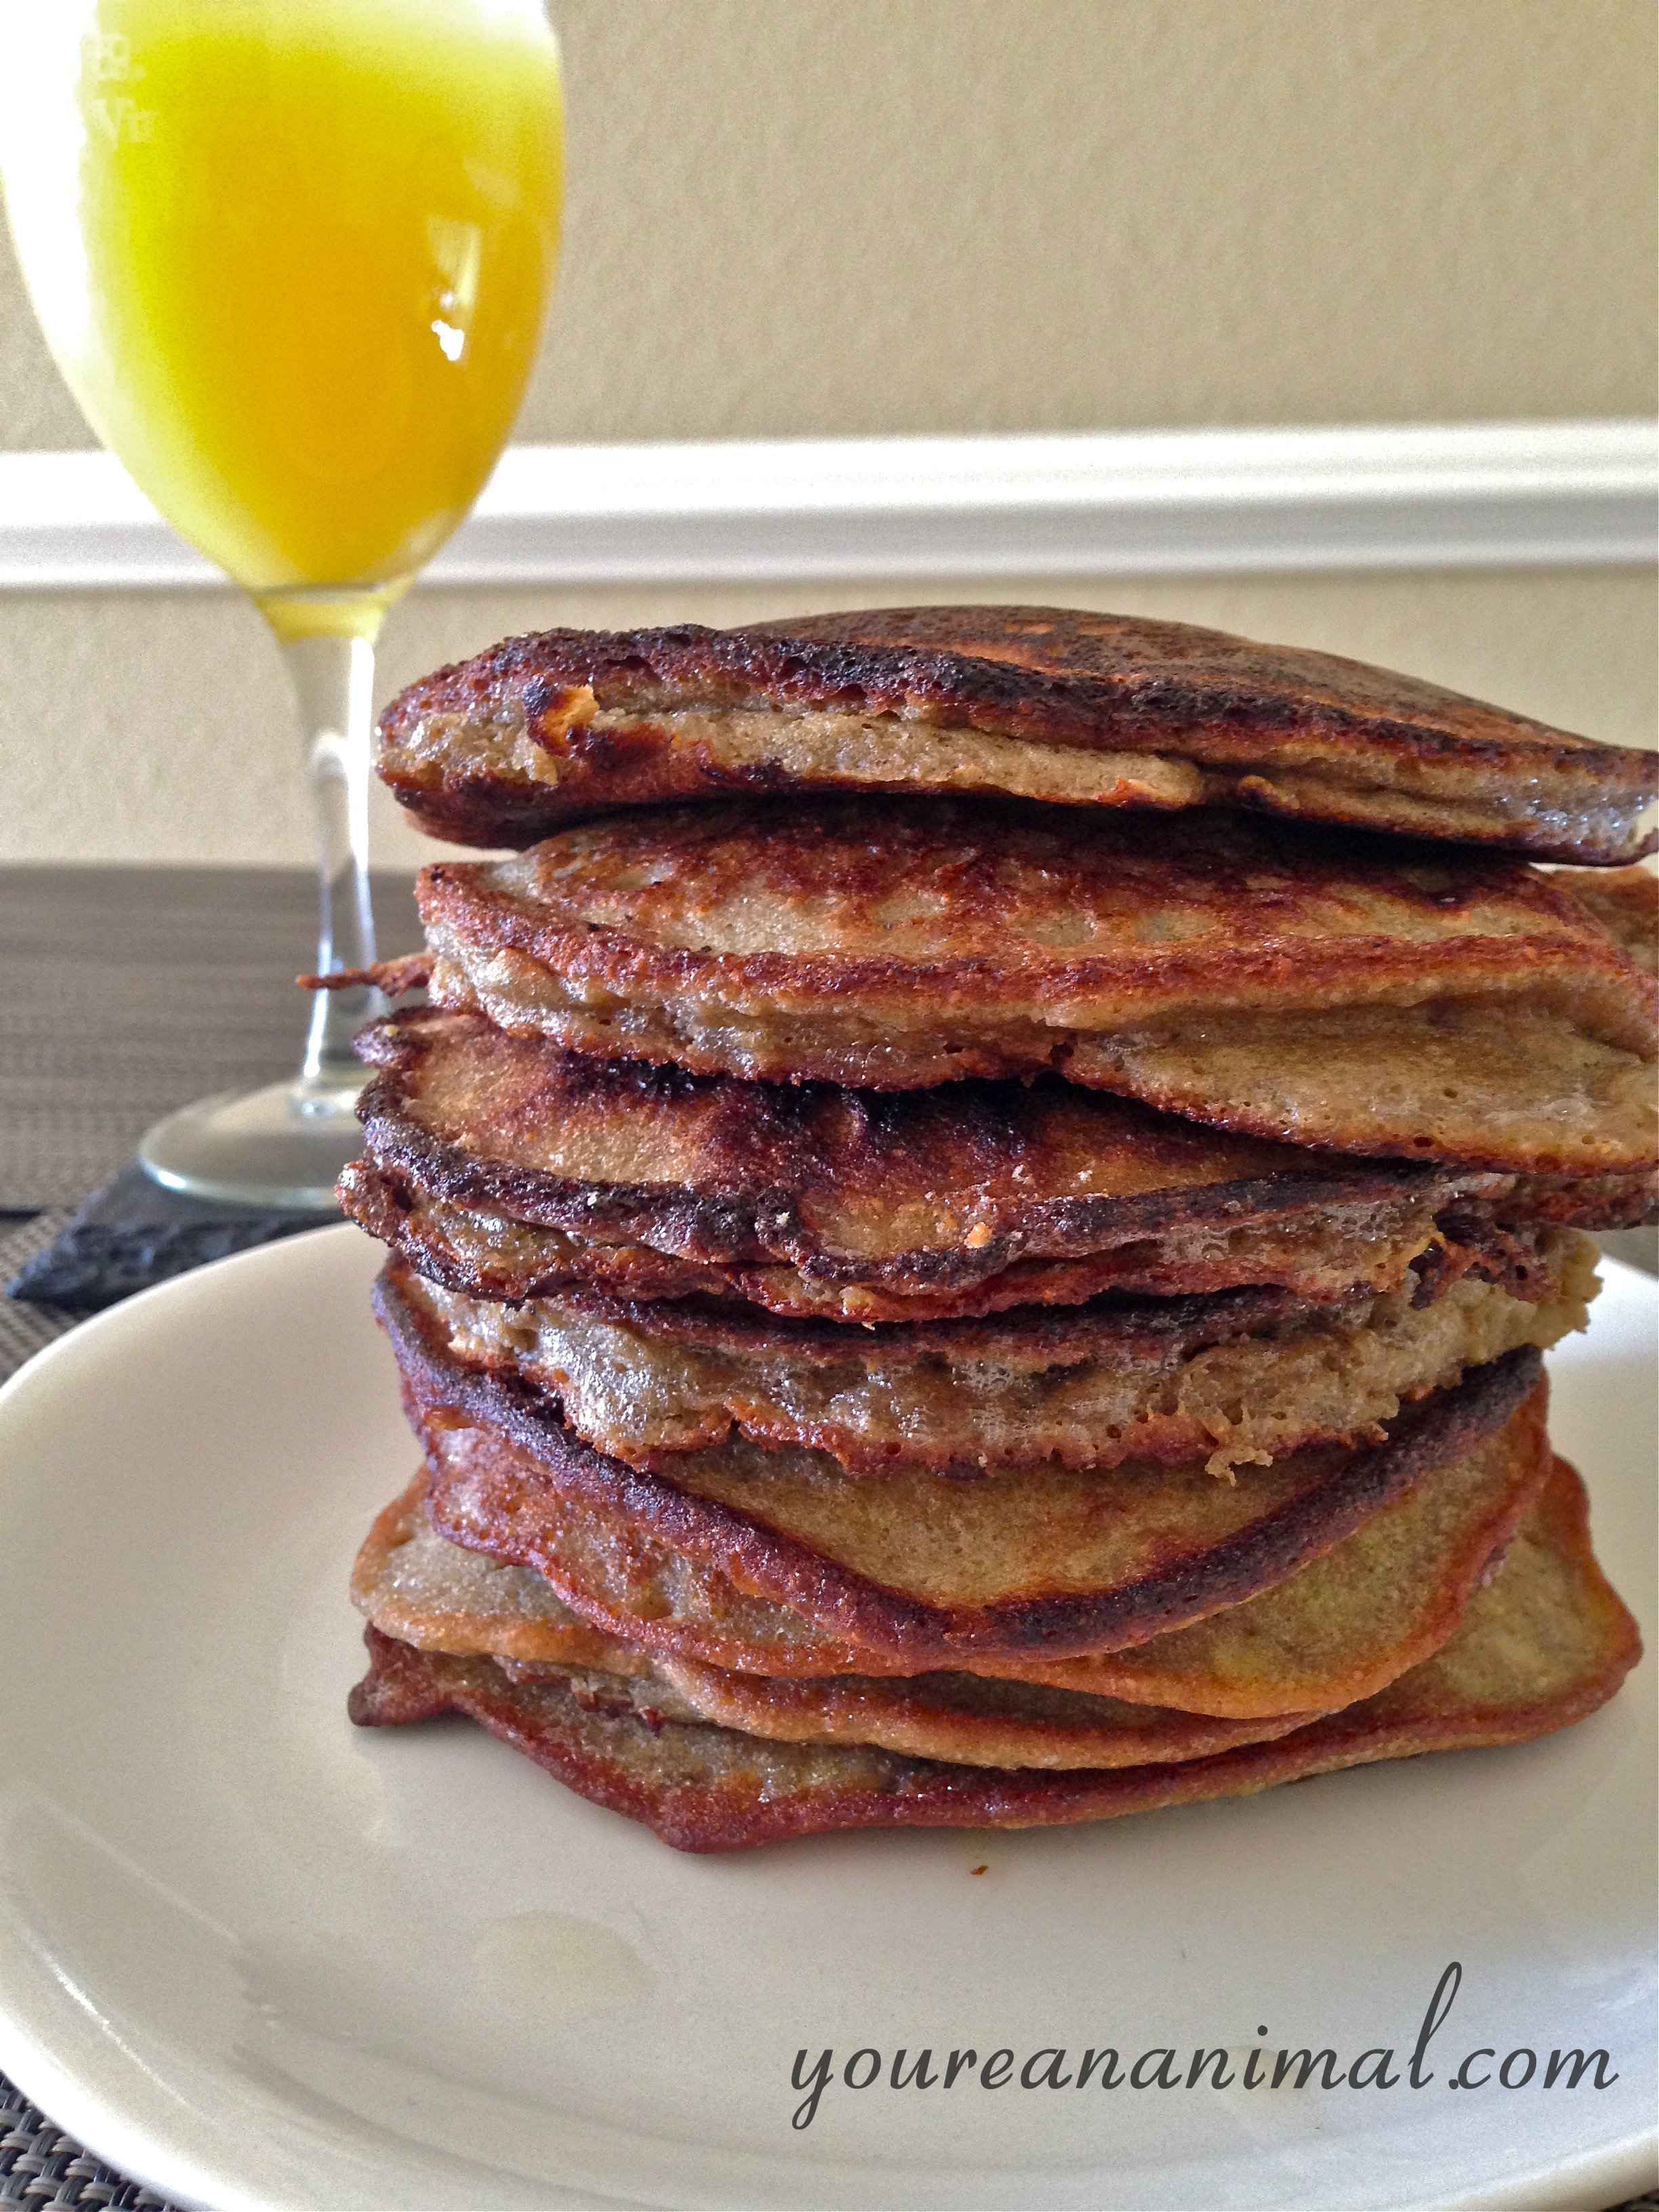
I know that some people still can’t have coconut, but for us it’s been okay– at least much better than almond flour or sunbutter. These pancakes did not disappoint! Fluffy, yet dense at the same time, these pancakes are filling and satisfy that brunch craving perfectly. I like to add cinnamon, chocolate chips, and a little pure maple syrup… I think it’s the perfect complement to the banana flavor. You know what else would go great with these though? Mimosas, that’s what.

DSC_0010

These also would make a great Christmas morning treat. Since I can’t stop thinking about Christmas. Falalala. Don’t you just want to demolish that stack?

DSC_0033

Fluffy Banana Pancakes

  • 4 pasture-raised eggs
  • 2 medium bananas
  • 3 Tbsp Coconut Flour
  • 1 Tbsp Arrowroot Starch
  • 1 tsp baking powder (Note that baking powder often has cornstarch in it. If this is an issue for you, use baking soda instead.)
  • pinch of salt
  • pinch of cinnamon
  • grass-fed (Kerrygold) butter to grease skillet
  1. Add all of the ingredients (except the butter) to a large mixing bowl. Mash the bananas roughly with a fork. Then use an electric hand mixer to thoroughly combine your ingredients into a smooth batter. The batter should be about the consistency of a muffin batter. You may have a few chunks of banana.
  2. Heat a small non-stick skillet over medium-low heat. Add a small slice of butter to your heated skillet, and allow it to melt.
  3. Once the butter is melted, add about 1/4 cup of batter to your skillet.
  4. Cook the first side of your pancake until the edges become dry looking, and the underside is golden brown. Flip with a spatula, and repeat on the second side until both sides are golden brown.
  5. Remove your first pancake and place on a plate to rest. In between pancakes, I like to wipe the skillet down so the excess butter will not burn, and remove the skillet from the eye to let the pan cool down for just a few seconds. This helps to not burn the next pancake.
  6. Repeat the process until the batter is gone. Add more butter with each new pancake.
  7. Top with your choice of add ons, and enjoy!
Makes 6-7, 5″ pancakes

DSC_0032


Please note that some of the links in the above post are affiliate links that will take you to an Amazon.com page. If you choose to purchase a product featured in this post using an affiliate link, you will be directly supporting You’re An Animal. Thanks!


Superfood Green Smoothie (Dairy-Free)

smoothie9

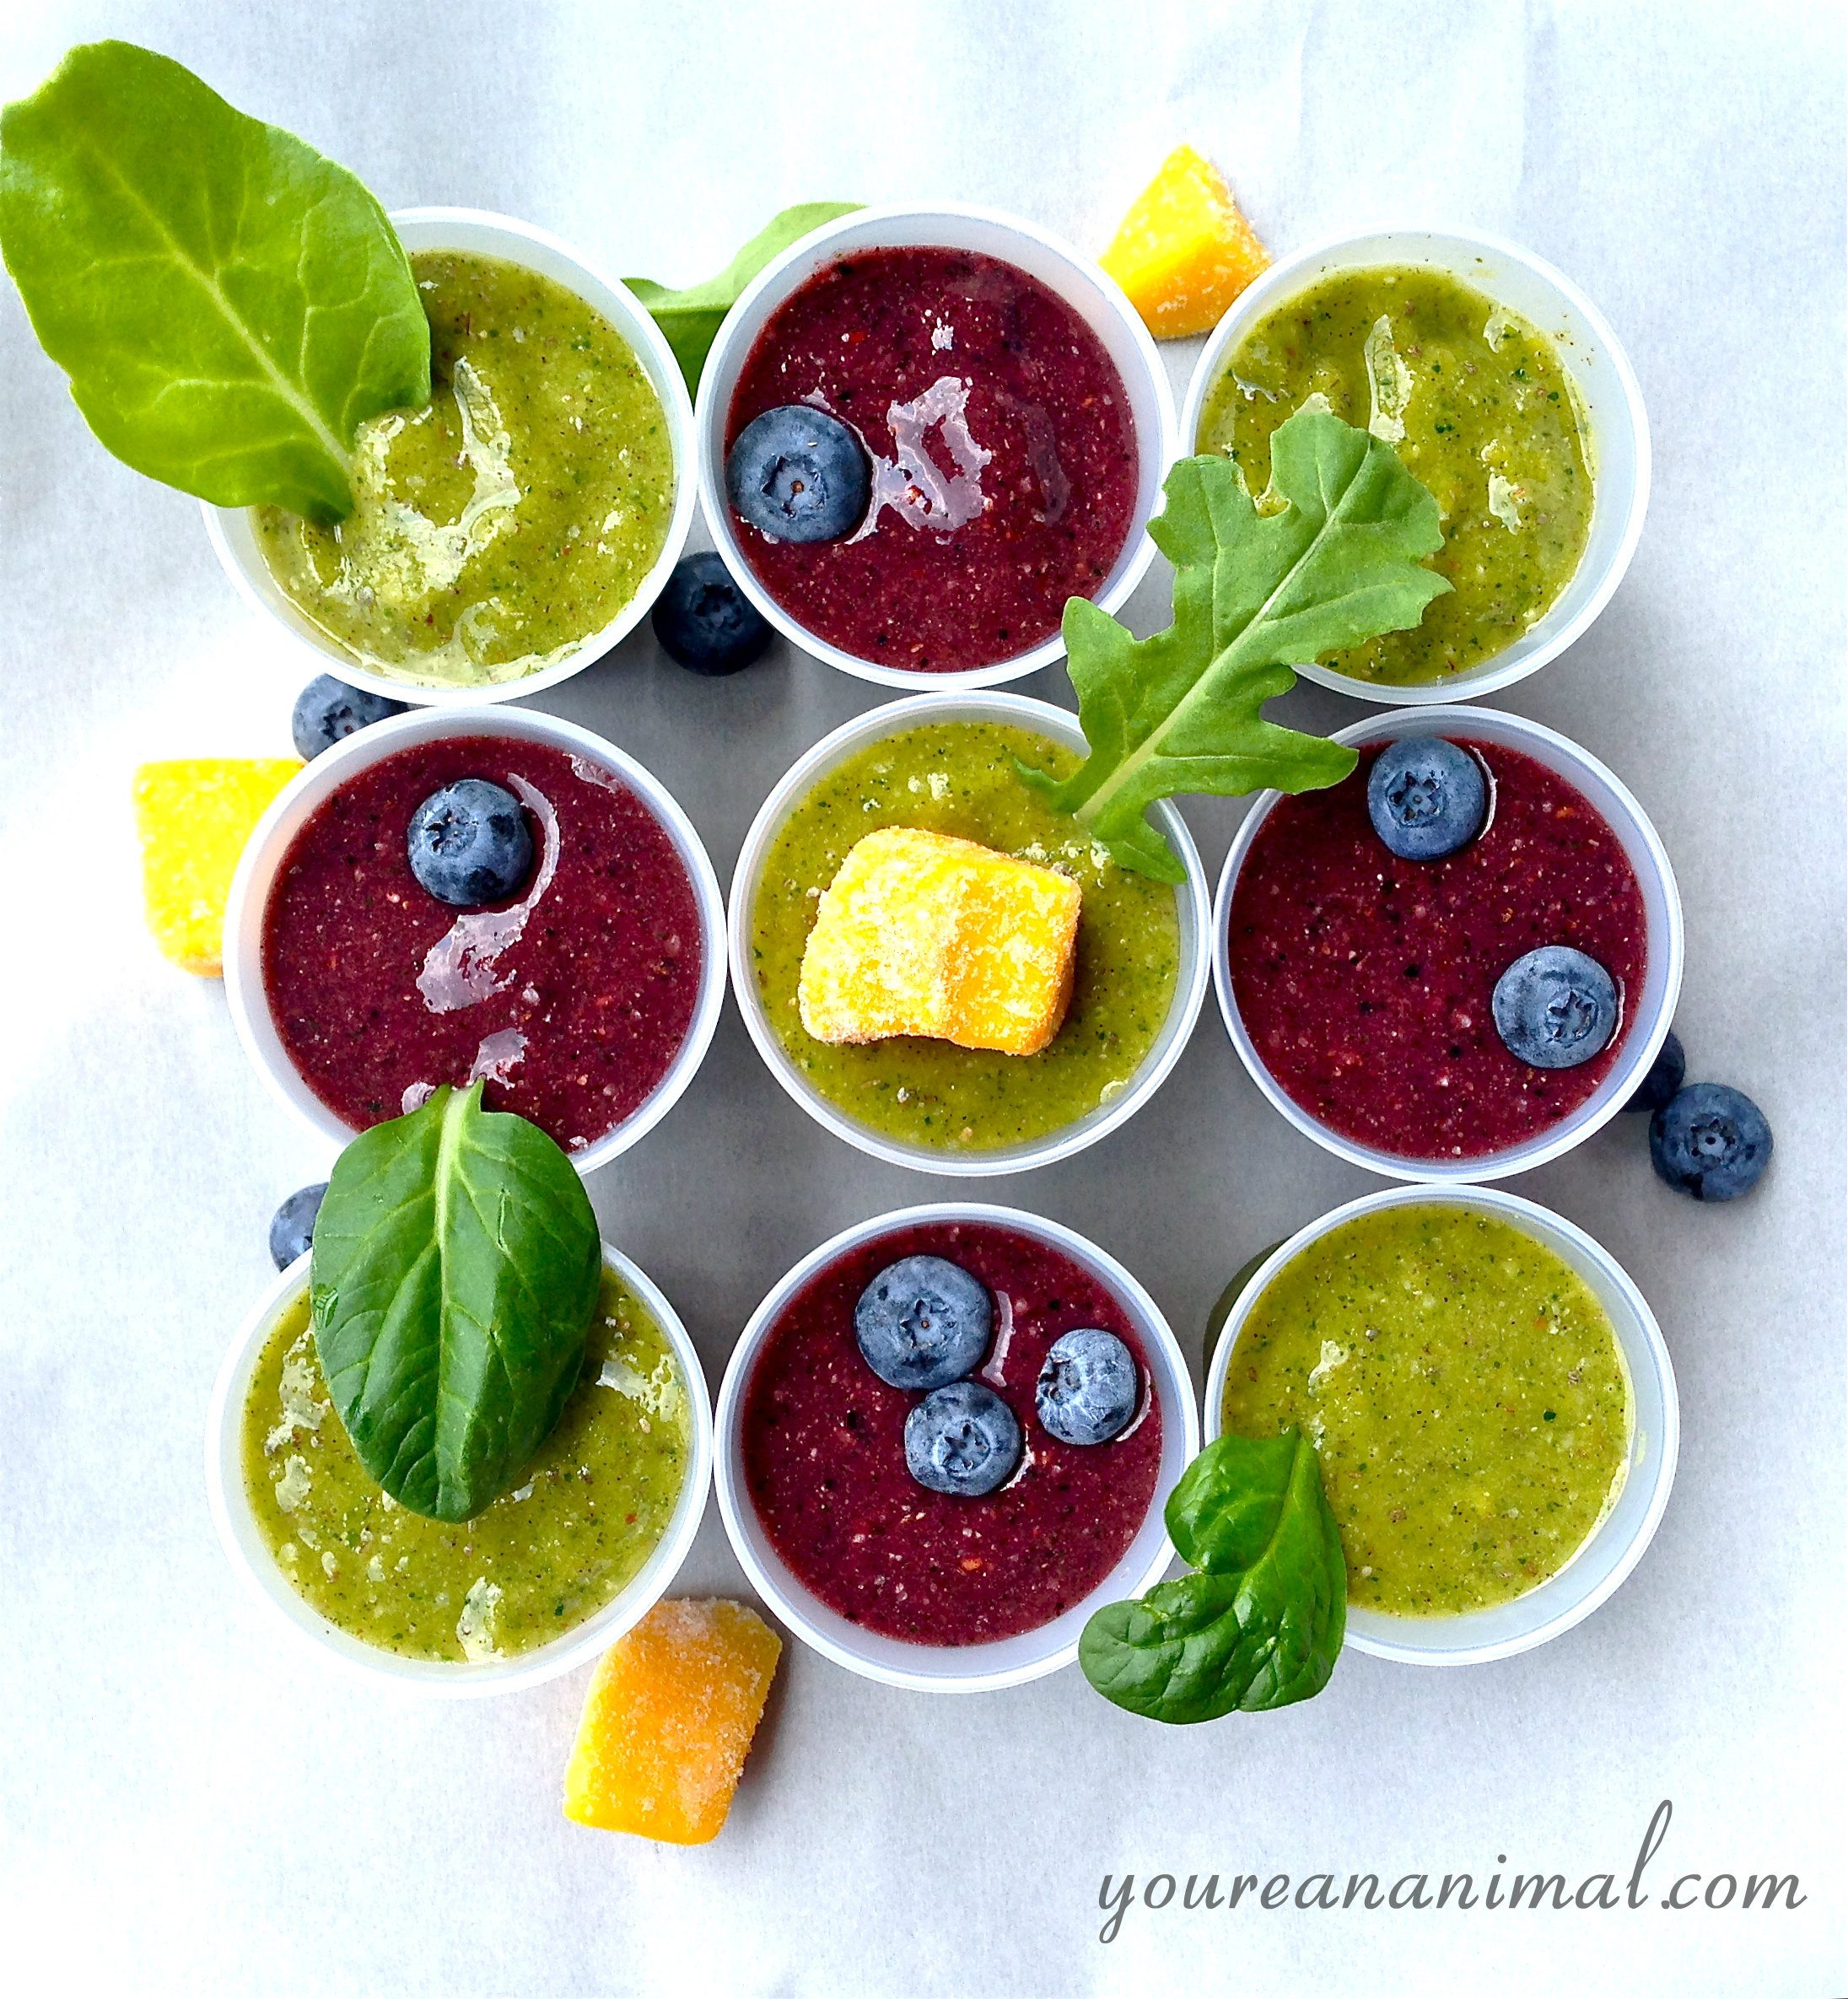
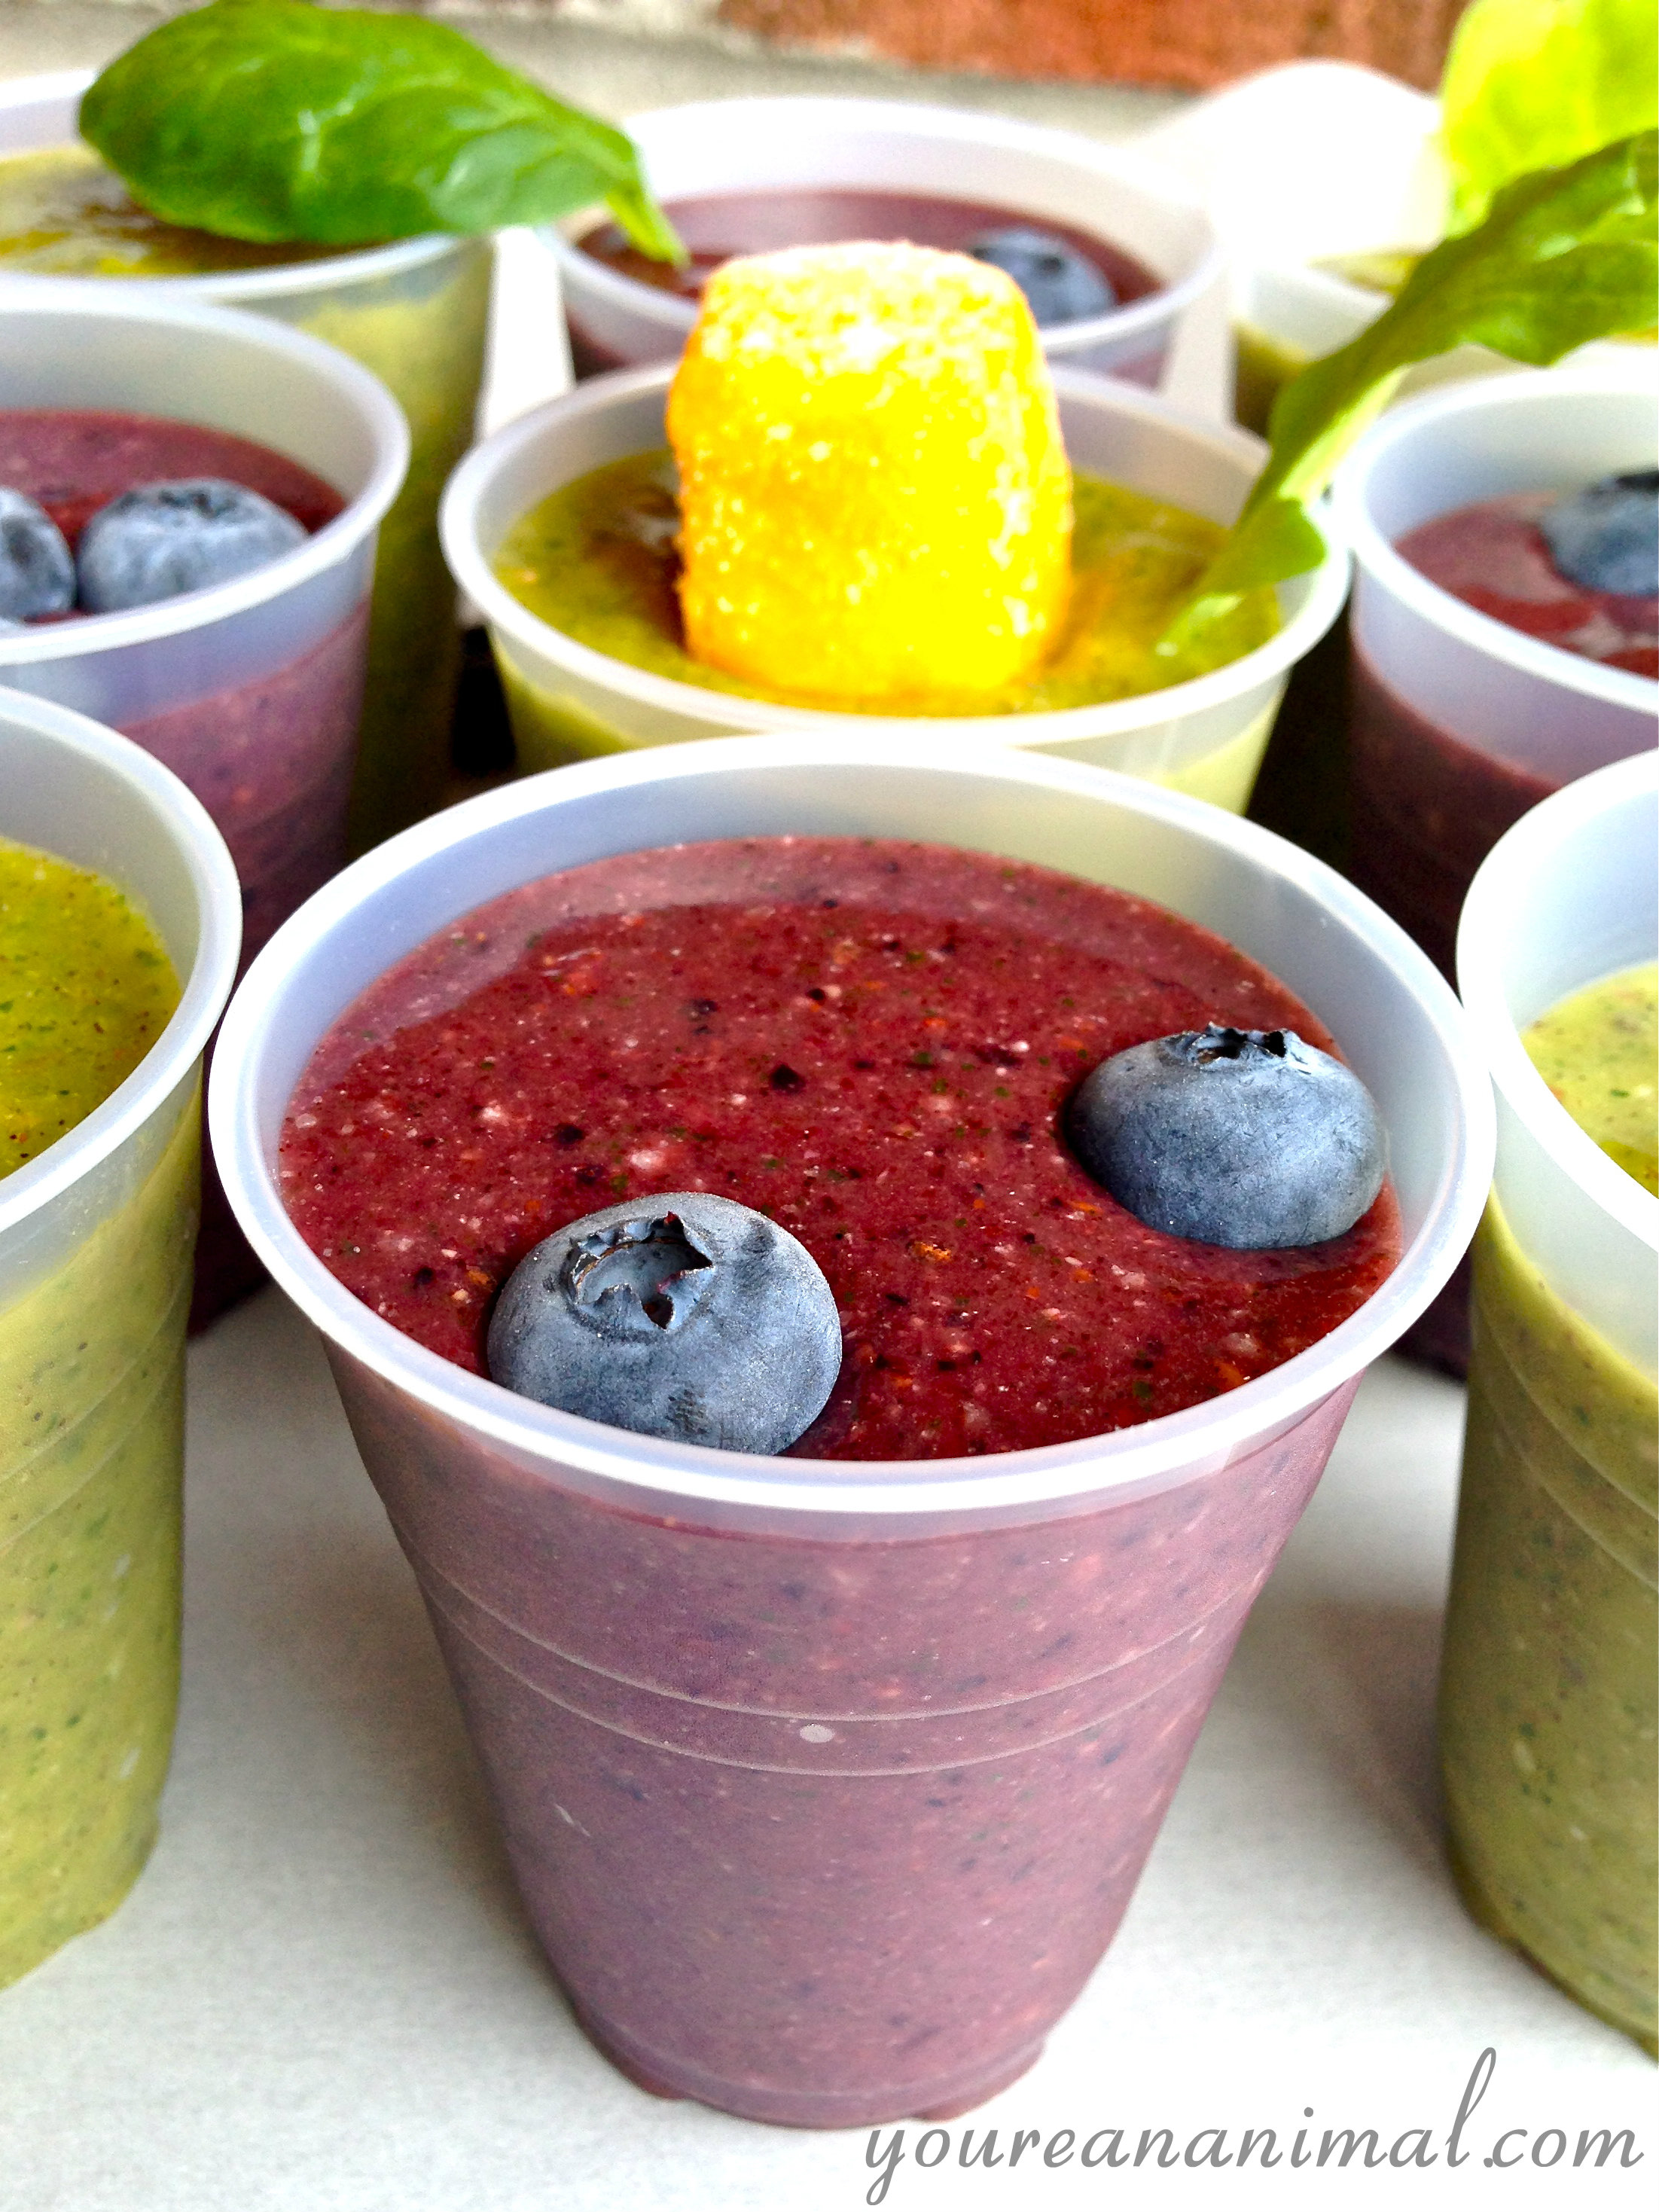
Ah the Green Smoothie. Something that healthfoodies swear by, yet is still so misunderstood. Yes, it looks gross. I get it. But I can promise you, it will surprise you. And luckily, if you use berries it’s not even green in color. HA! No excuses anymore, people! So I’ve been making these for a while, and in fact try to make one almost every day. This is usually my breakfast, so that’s why I’m putting it under the category of “Breakfast.” (See how that works? Organization master right hurr.) On the days that I have to be at work super early (6 a.m., welcome to the life of a fitness trainer) I make this the night before and leave in the fridge so I can grab and go. But of course, this can be eaten any time, anywhere, any day. You all are smoothie champs in the making, I see it now. The beauty of this smoothie is that I’ve given you a base formula, but the flavor is really up to you depending on which fruit you want to use. Again, no excuses! My two favorite flavors, which are pictured above, are mixed berry (purple), and pineapple mango (green).

This smoothie features flax meal for added fiber, chia seeds for the anti-inflammatory omega-3 fatty acids, coconut water for the electrolytes, coconut oil for some good fat to help the solubility and absorption of the vitamins and nutrients in this smoothie, plus protein to keep you full and not to mention the green leaves and fruit (we all know the benefits of these by now). Oh and if you haven’t heard, I’m slightly obsessed with my blender. If you’re in the market for a new one, I would definitely recommend this Ninja. Now, go on and make your own superfood smoothie!

Superfood Green Smoothie

  1. Combine the coconut water, protein powder, flax meal, chia seeds, coconut oil, and green in a blender and pulse until the greens are slightly chopped and don’t take up as much space in the blender.
  2. Add the frozen fruit. Blend until smooth.

This recipe makes two 16oz smoothies. You can share with someone else, or store the second in the fridge covered with plastic wrap. Or halve the recipe to make one at a time.

smoothie3

Please note that some of the links in the above post are affiliate links that will take you to an Amazon.com page. If you choose to purchase a product featured in this post using an affiliate link, you will be directly supporting You’re An Animal. Thanks!

Products Featured In This Post:

Three Ingredient Protein Pancakes (Grain-Free, Nut-Free)

pancakes4

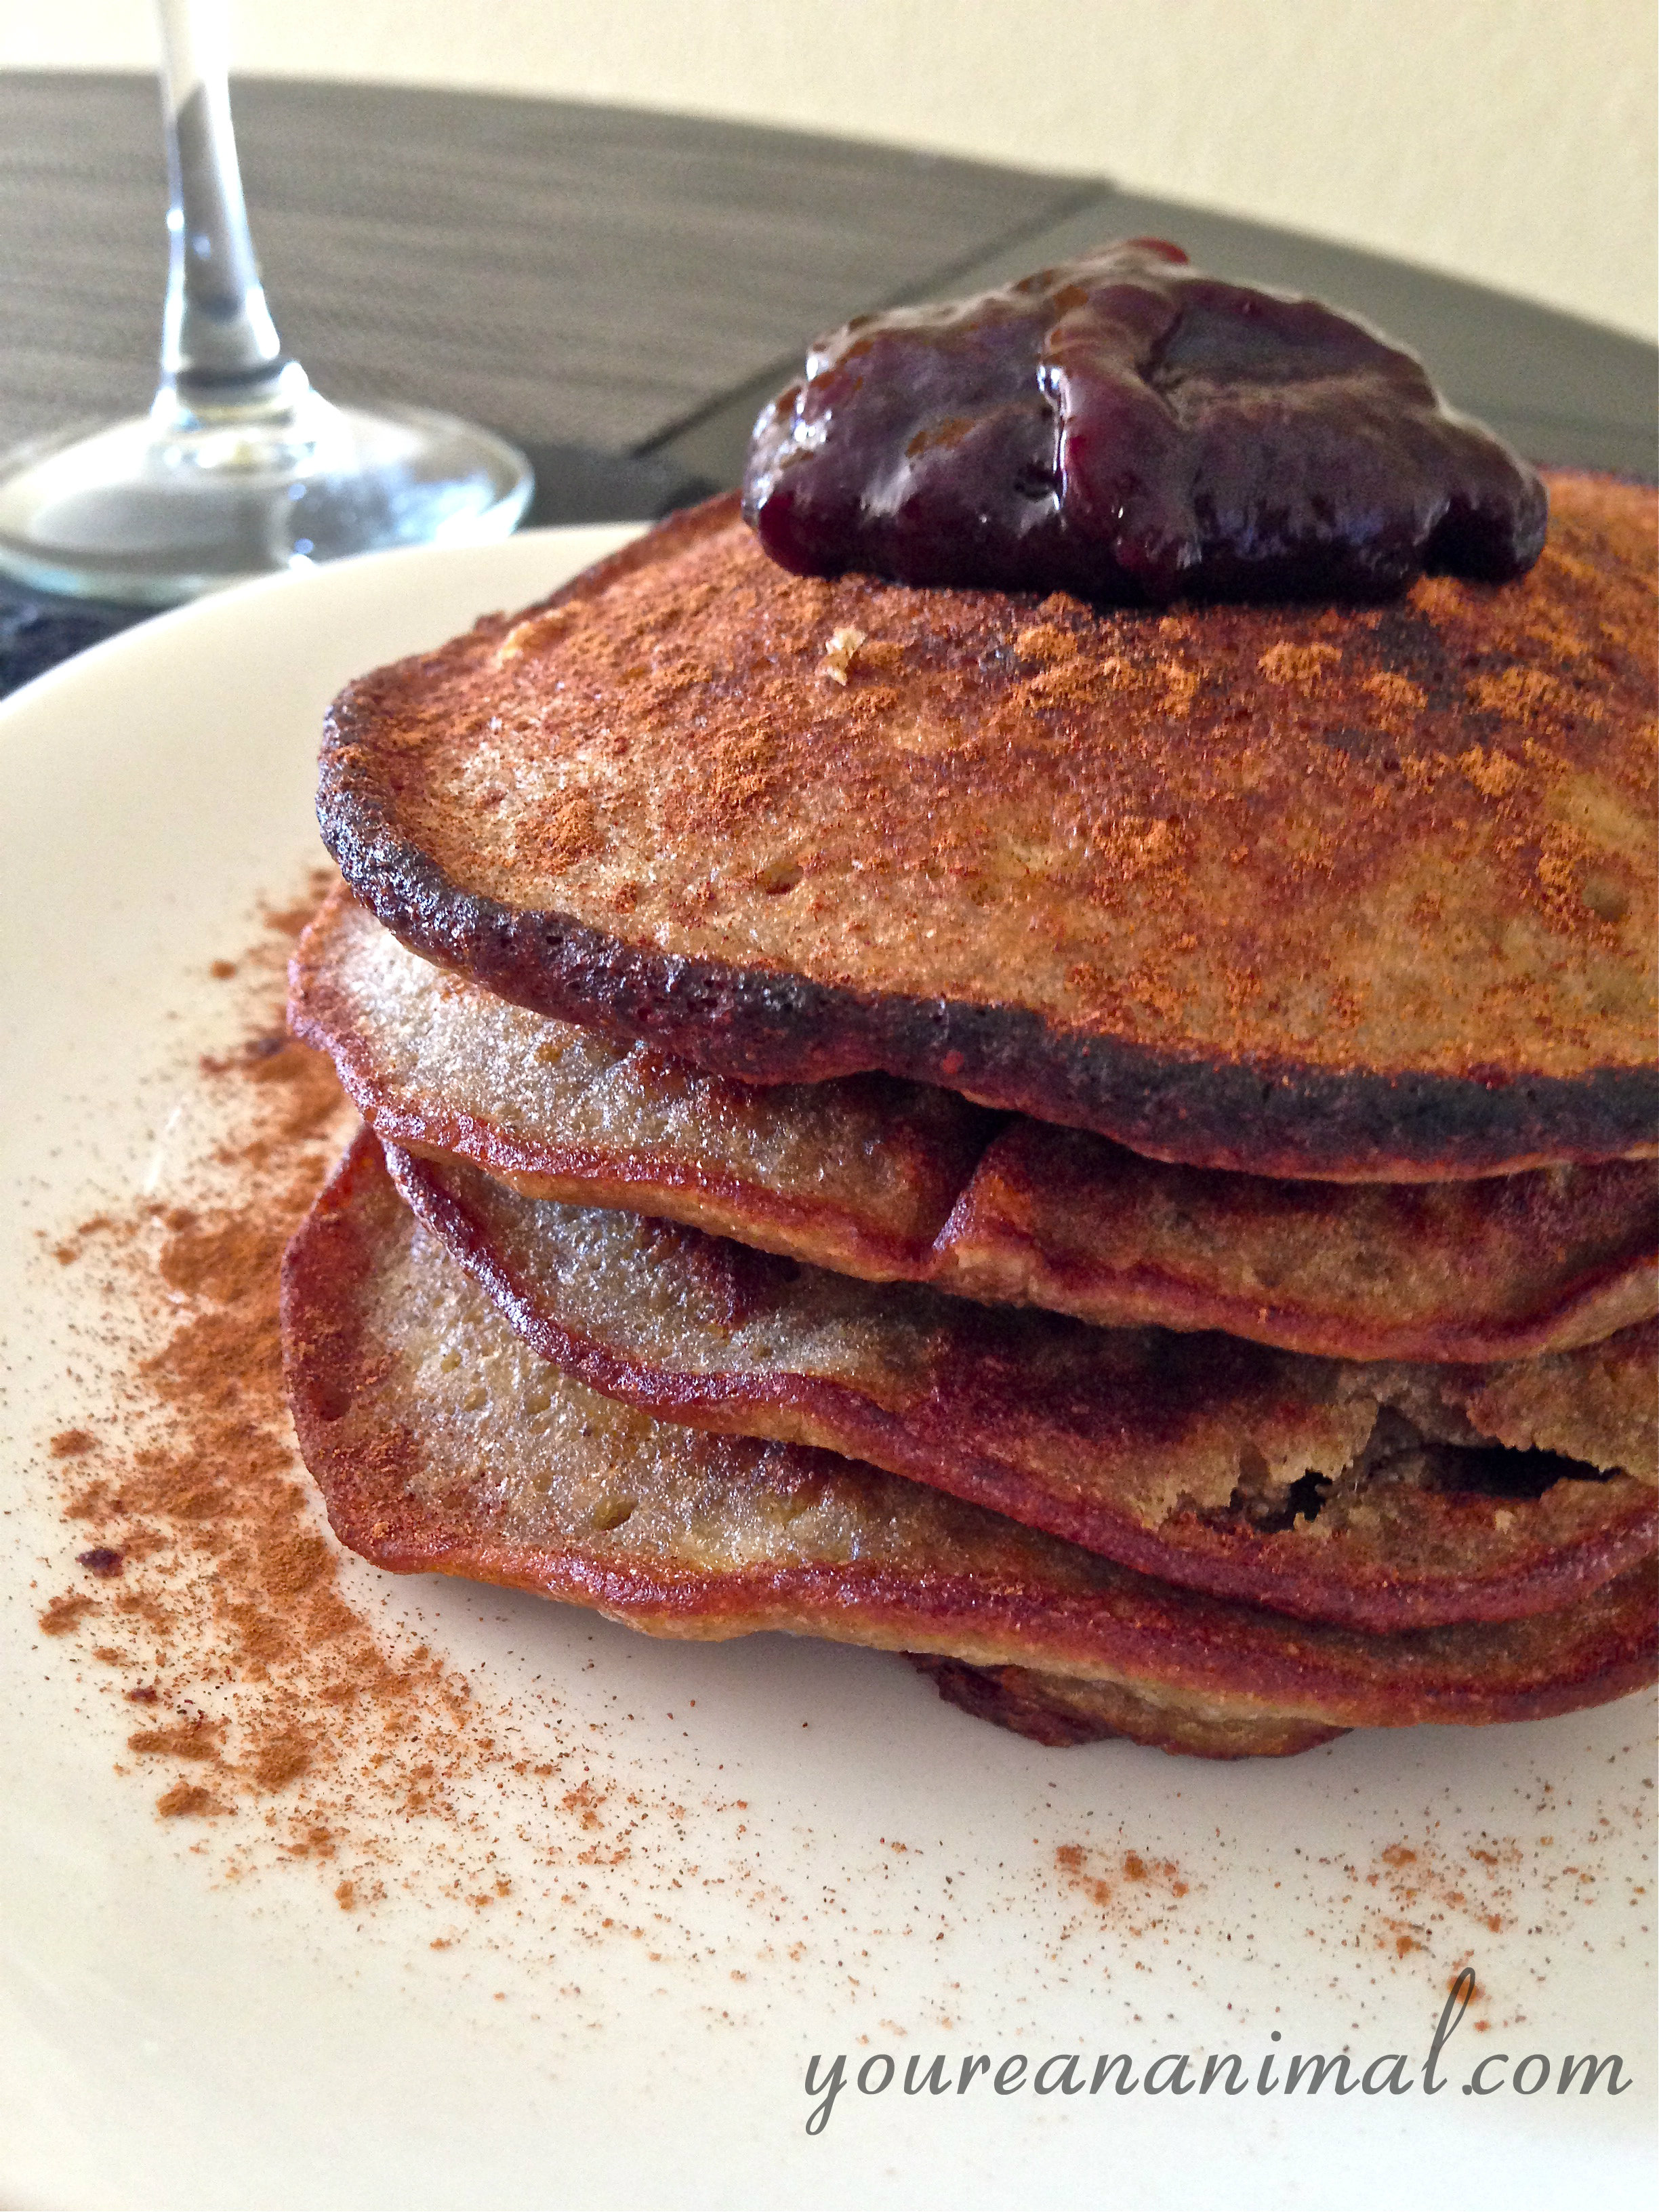
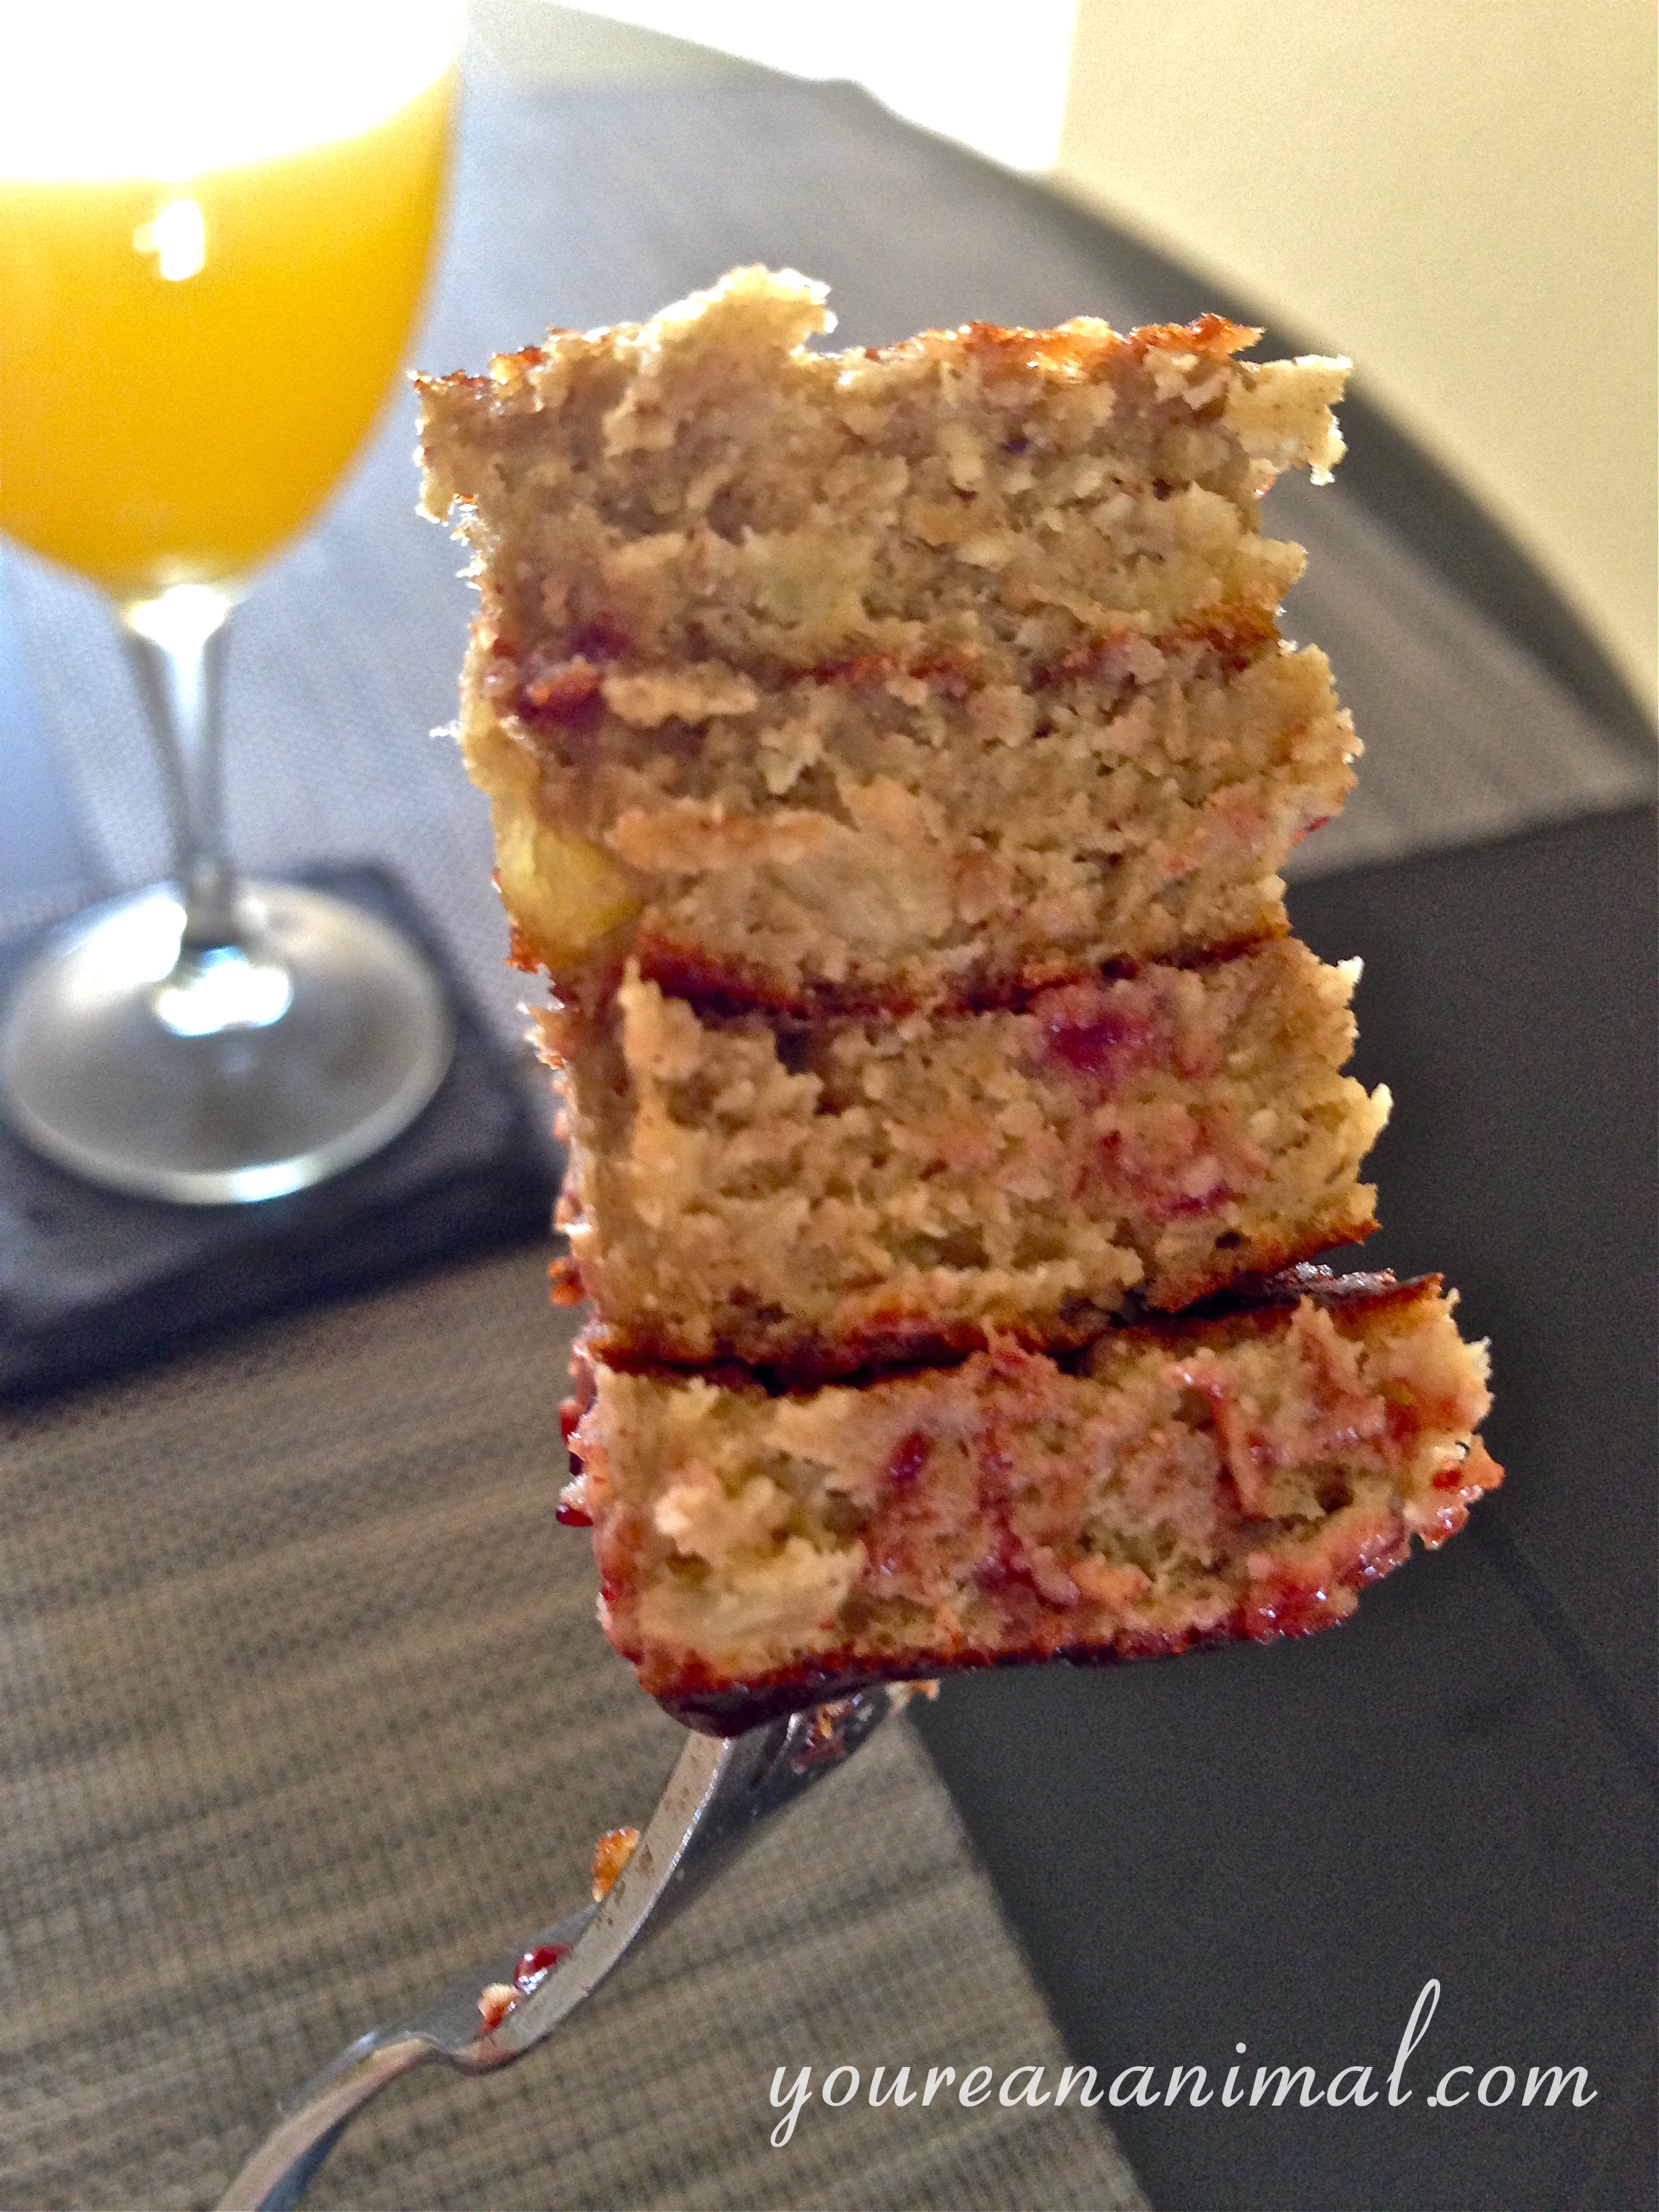
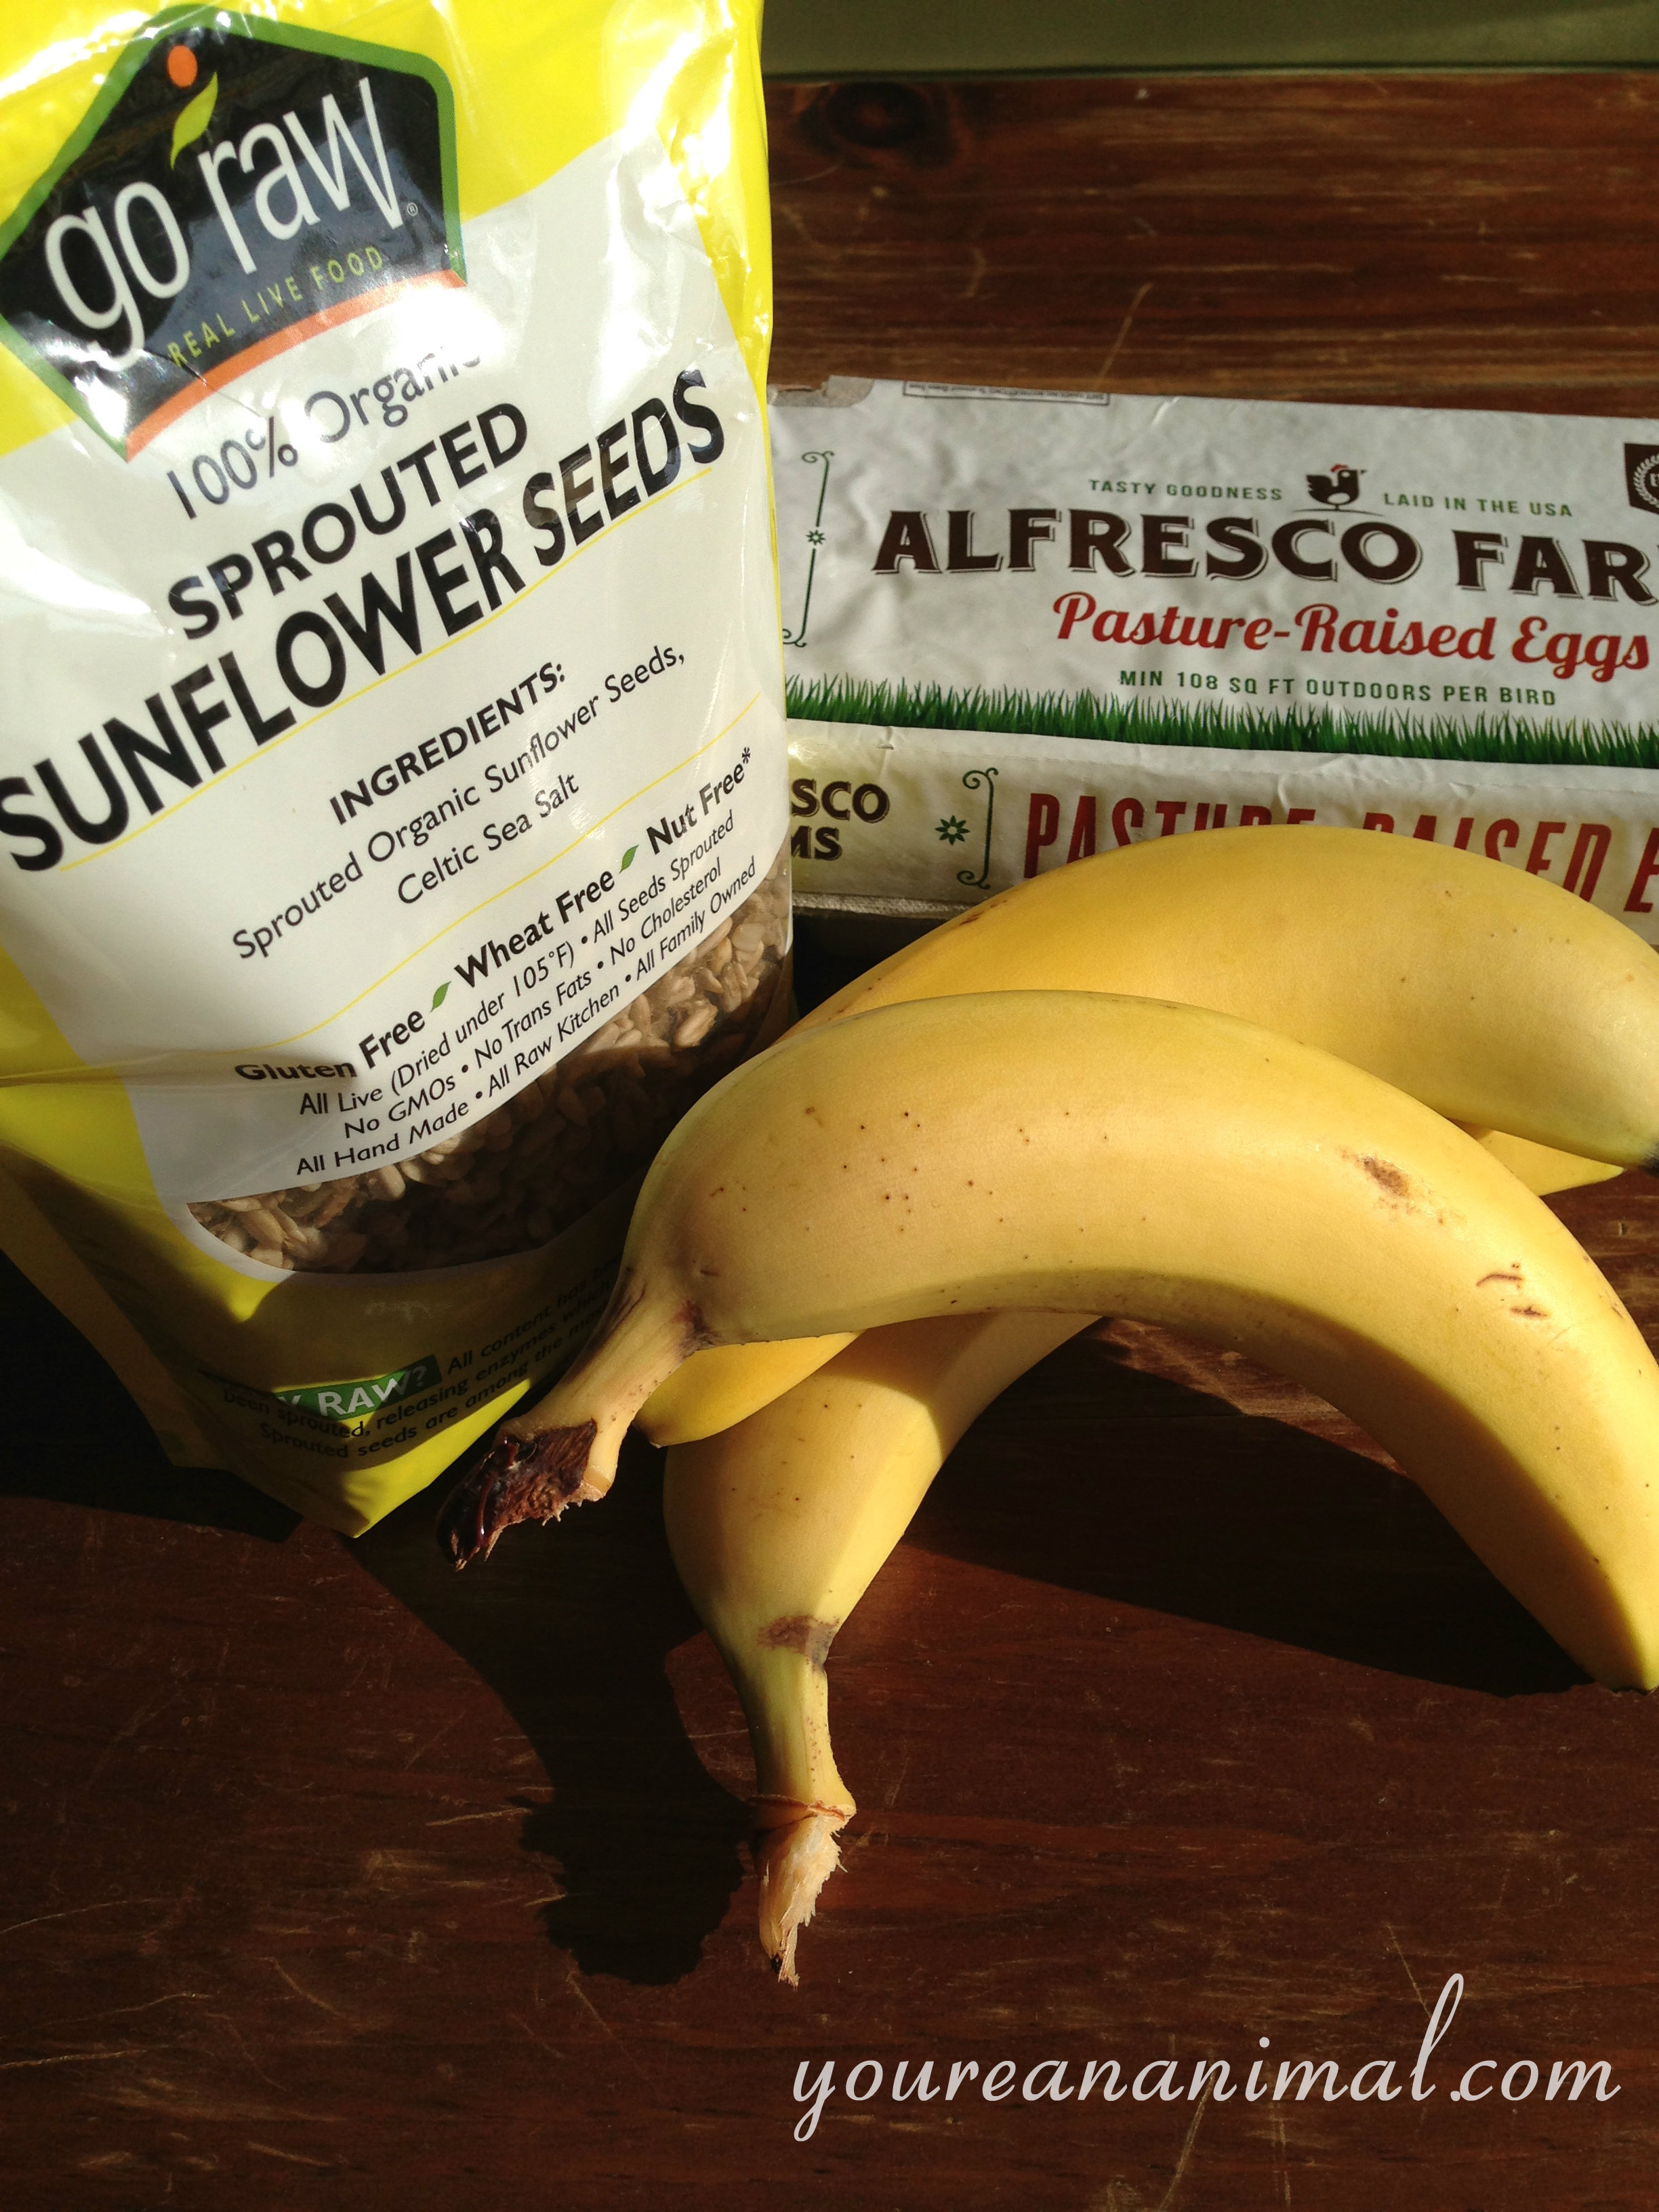
Today is our anniversary, so I made a favorite around these parts: pancakes! But these are no ordinary pancakes, no sir. With only 3 main ingredients and 21 grams of protein per serving (4 pancakes, yessss) these little guys will leave you full and happy without the sugar coma and hunger pangs an hour later. And can we mention the importance of potassium and the positives of sunflower seeds? Plus they’re simple to whip up! I mean, that’s a given with only having 3 ingredients, right? Bananas, sunbutter and eggs. I use green-tipped bananas (less sugar development), pasture-raised eggs, and I made my own sunbutter using sprouted sunflower seeds. Sprouted seeds are much easier to digest, and are more nutrient rich than regular old hulled seeds. Plus I actually much prefer the taste of freshly made sunbutter to the jarred stuff! Annnnd it takes about 3 minutes to make. This recipe calls for 1/2 cup of sunbutter, so to make this I used 1 cup of the sprouted sunflower seeds, and processed them in a small food processor until it was a consistency of damp sand. Then I added about 1 Tbsp of avocado oil and processed again. I scraped down the sides, added one more Tbsp of avocado oil, then let the processor run until it was a creamy, sunbuttery texture. Yes, sunbuttery. Fast-forward to that golden stack of deliciousness, and I’d say this anniversary was off to a good start!

Three Ingredient Protein Pancakes (Grain-Free, Nut-Free)

  • 1/2 cup of sunbutter (jarred or make your own as stated above) (can sub other nut butter)
  • 3 green-tipped bananas
  • 3 pastured-raised eggs
  • Coconut oil or avocado oil to grease the pan
  • Optional ingredients: vanilla extract, cinnamon, nutmeg, chocolate chips, blueberries etc!
  1. Mash your bananas into an almost smooth pulp.
  2. Add your eggs and sunbutter to the mashed bananas. Add vanilla or spices if desired.
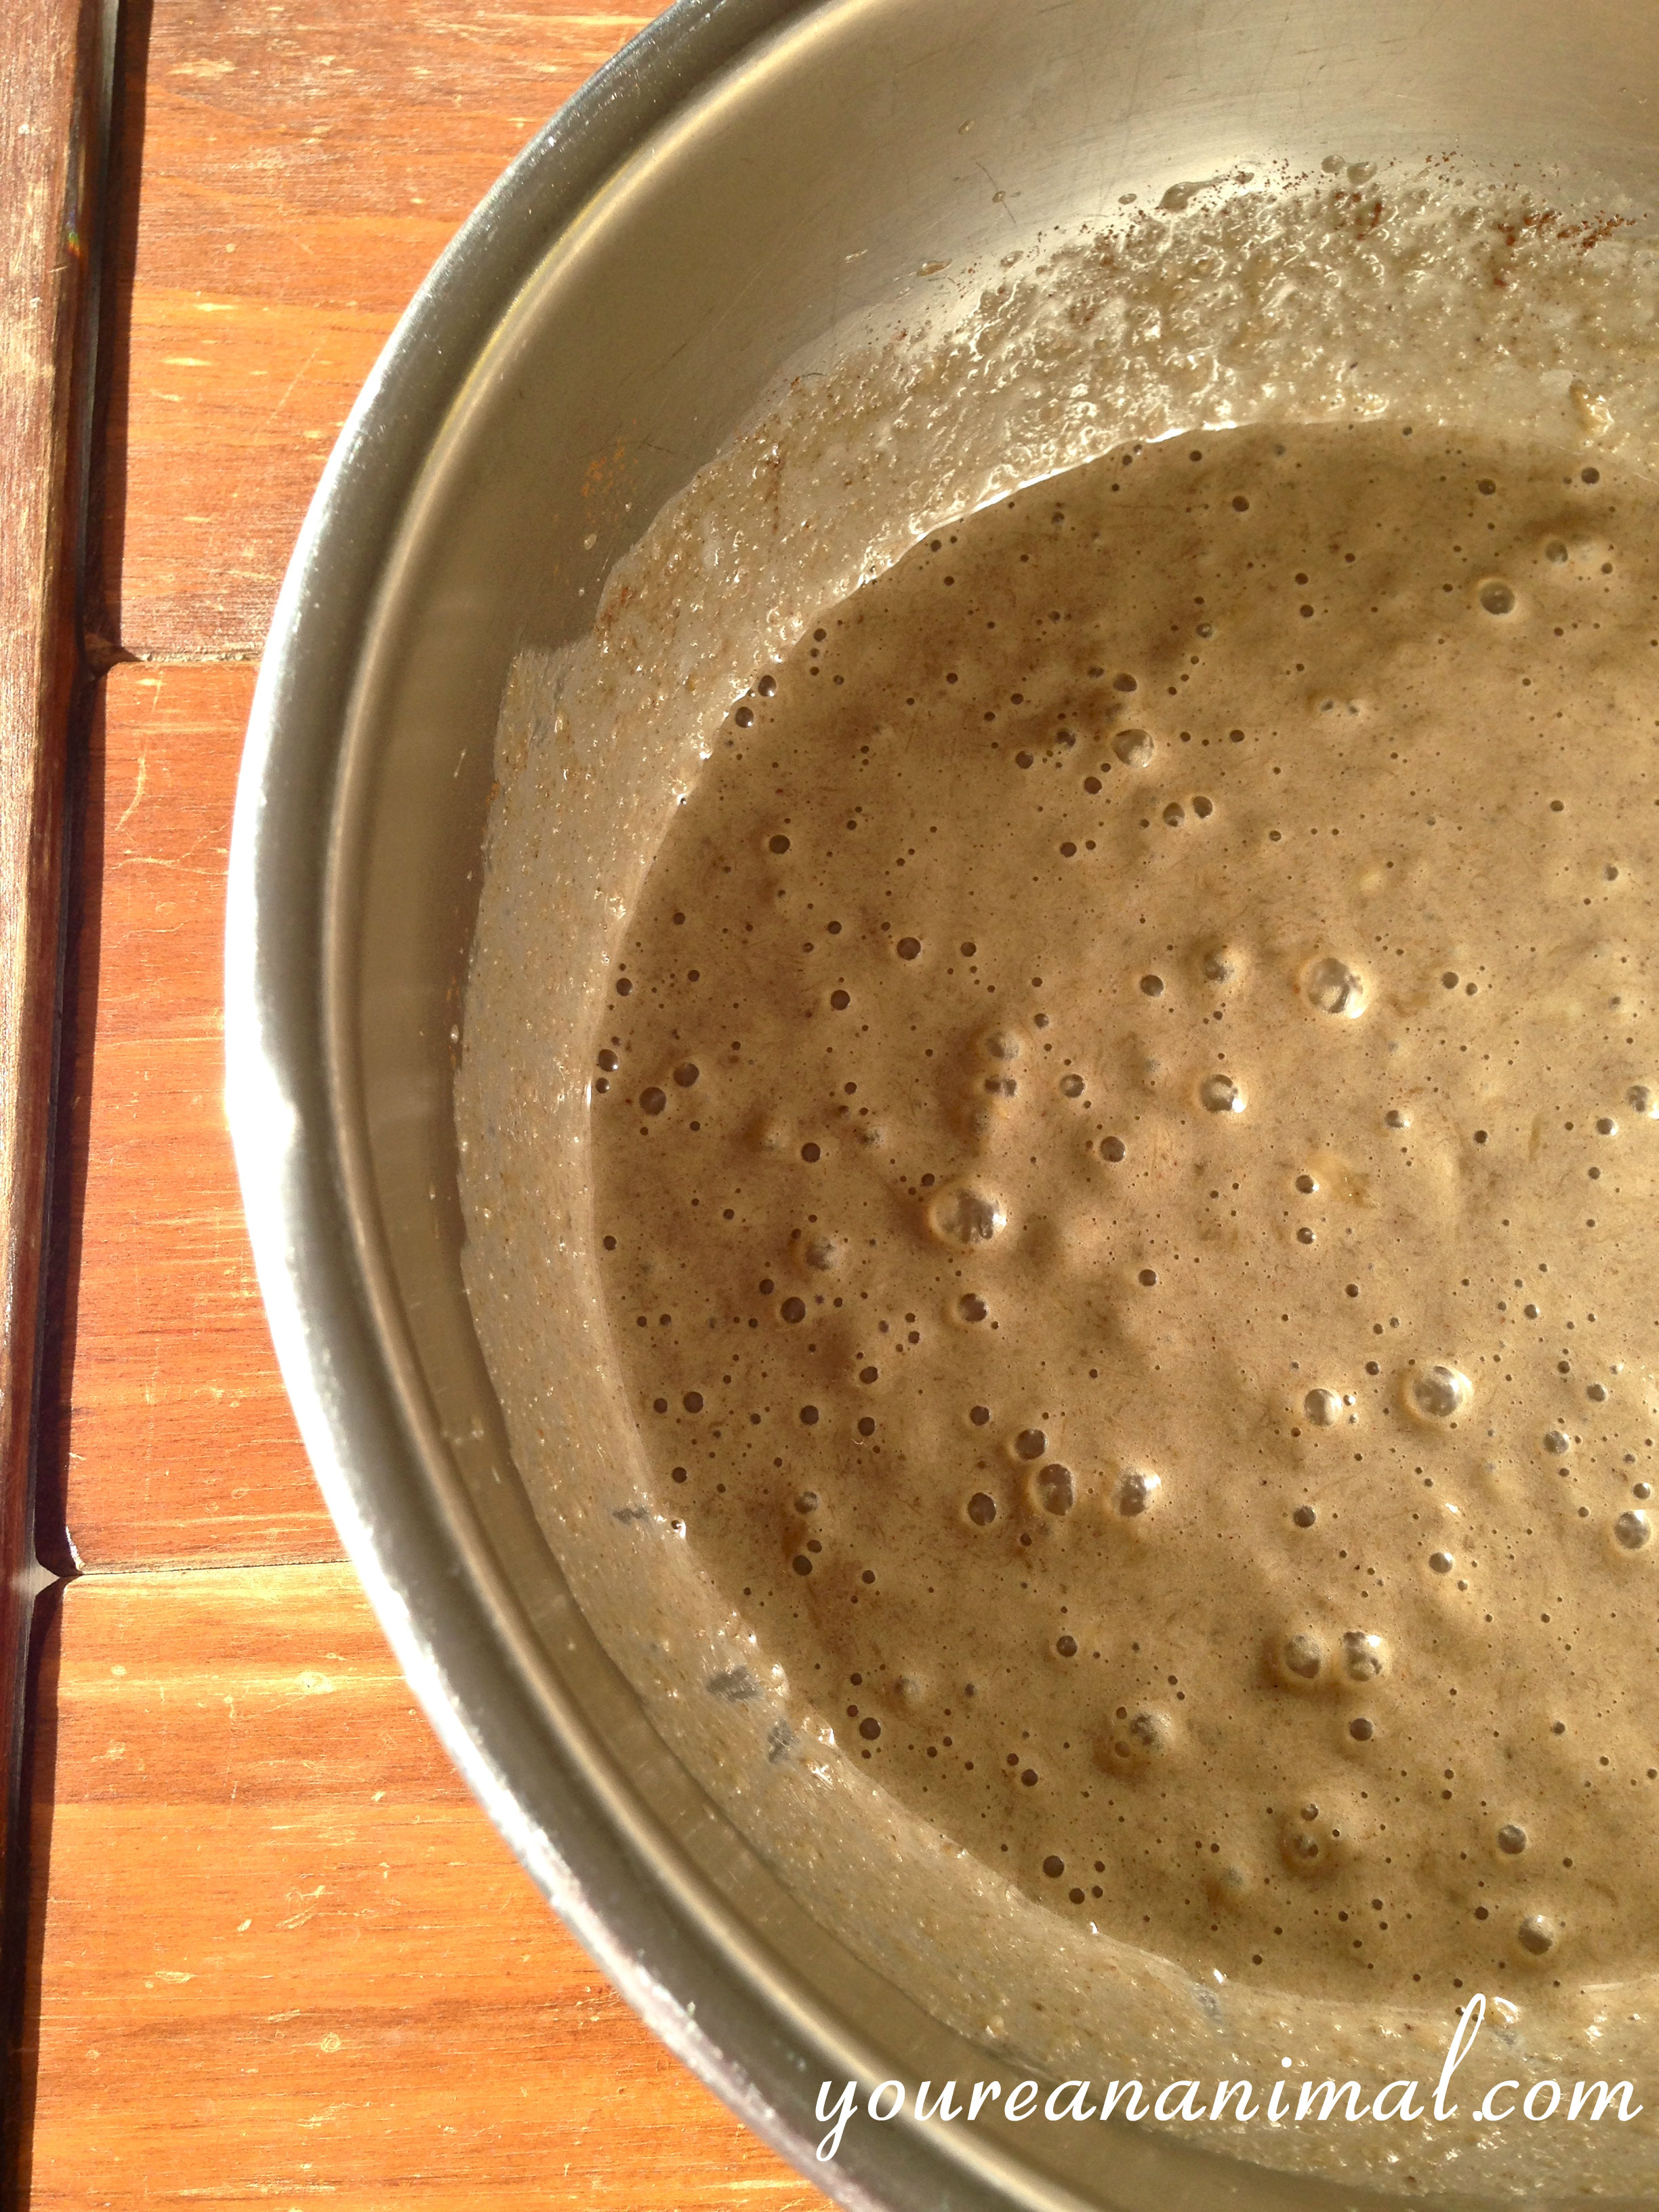
  3. Using a hand mixer, mix at high speed until fully combined and mostly smooth (may have a few banana chunks).
  4. Add oil to a skillet, and turn to medium heat.
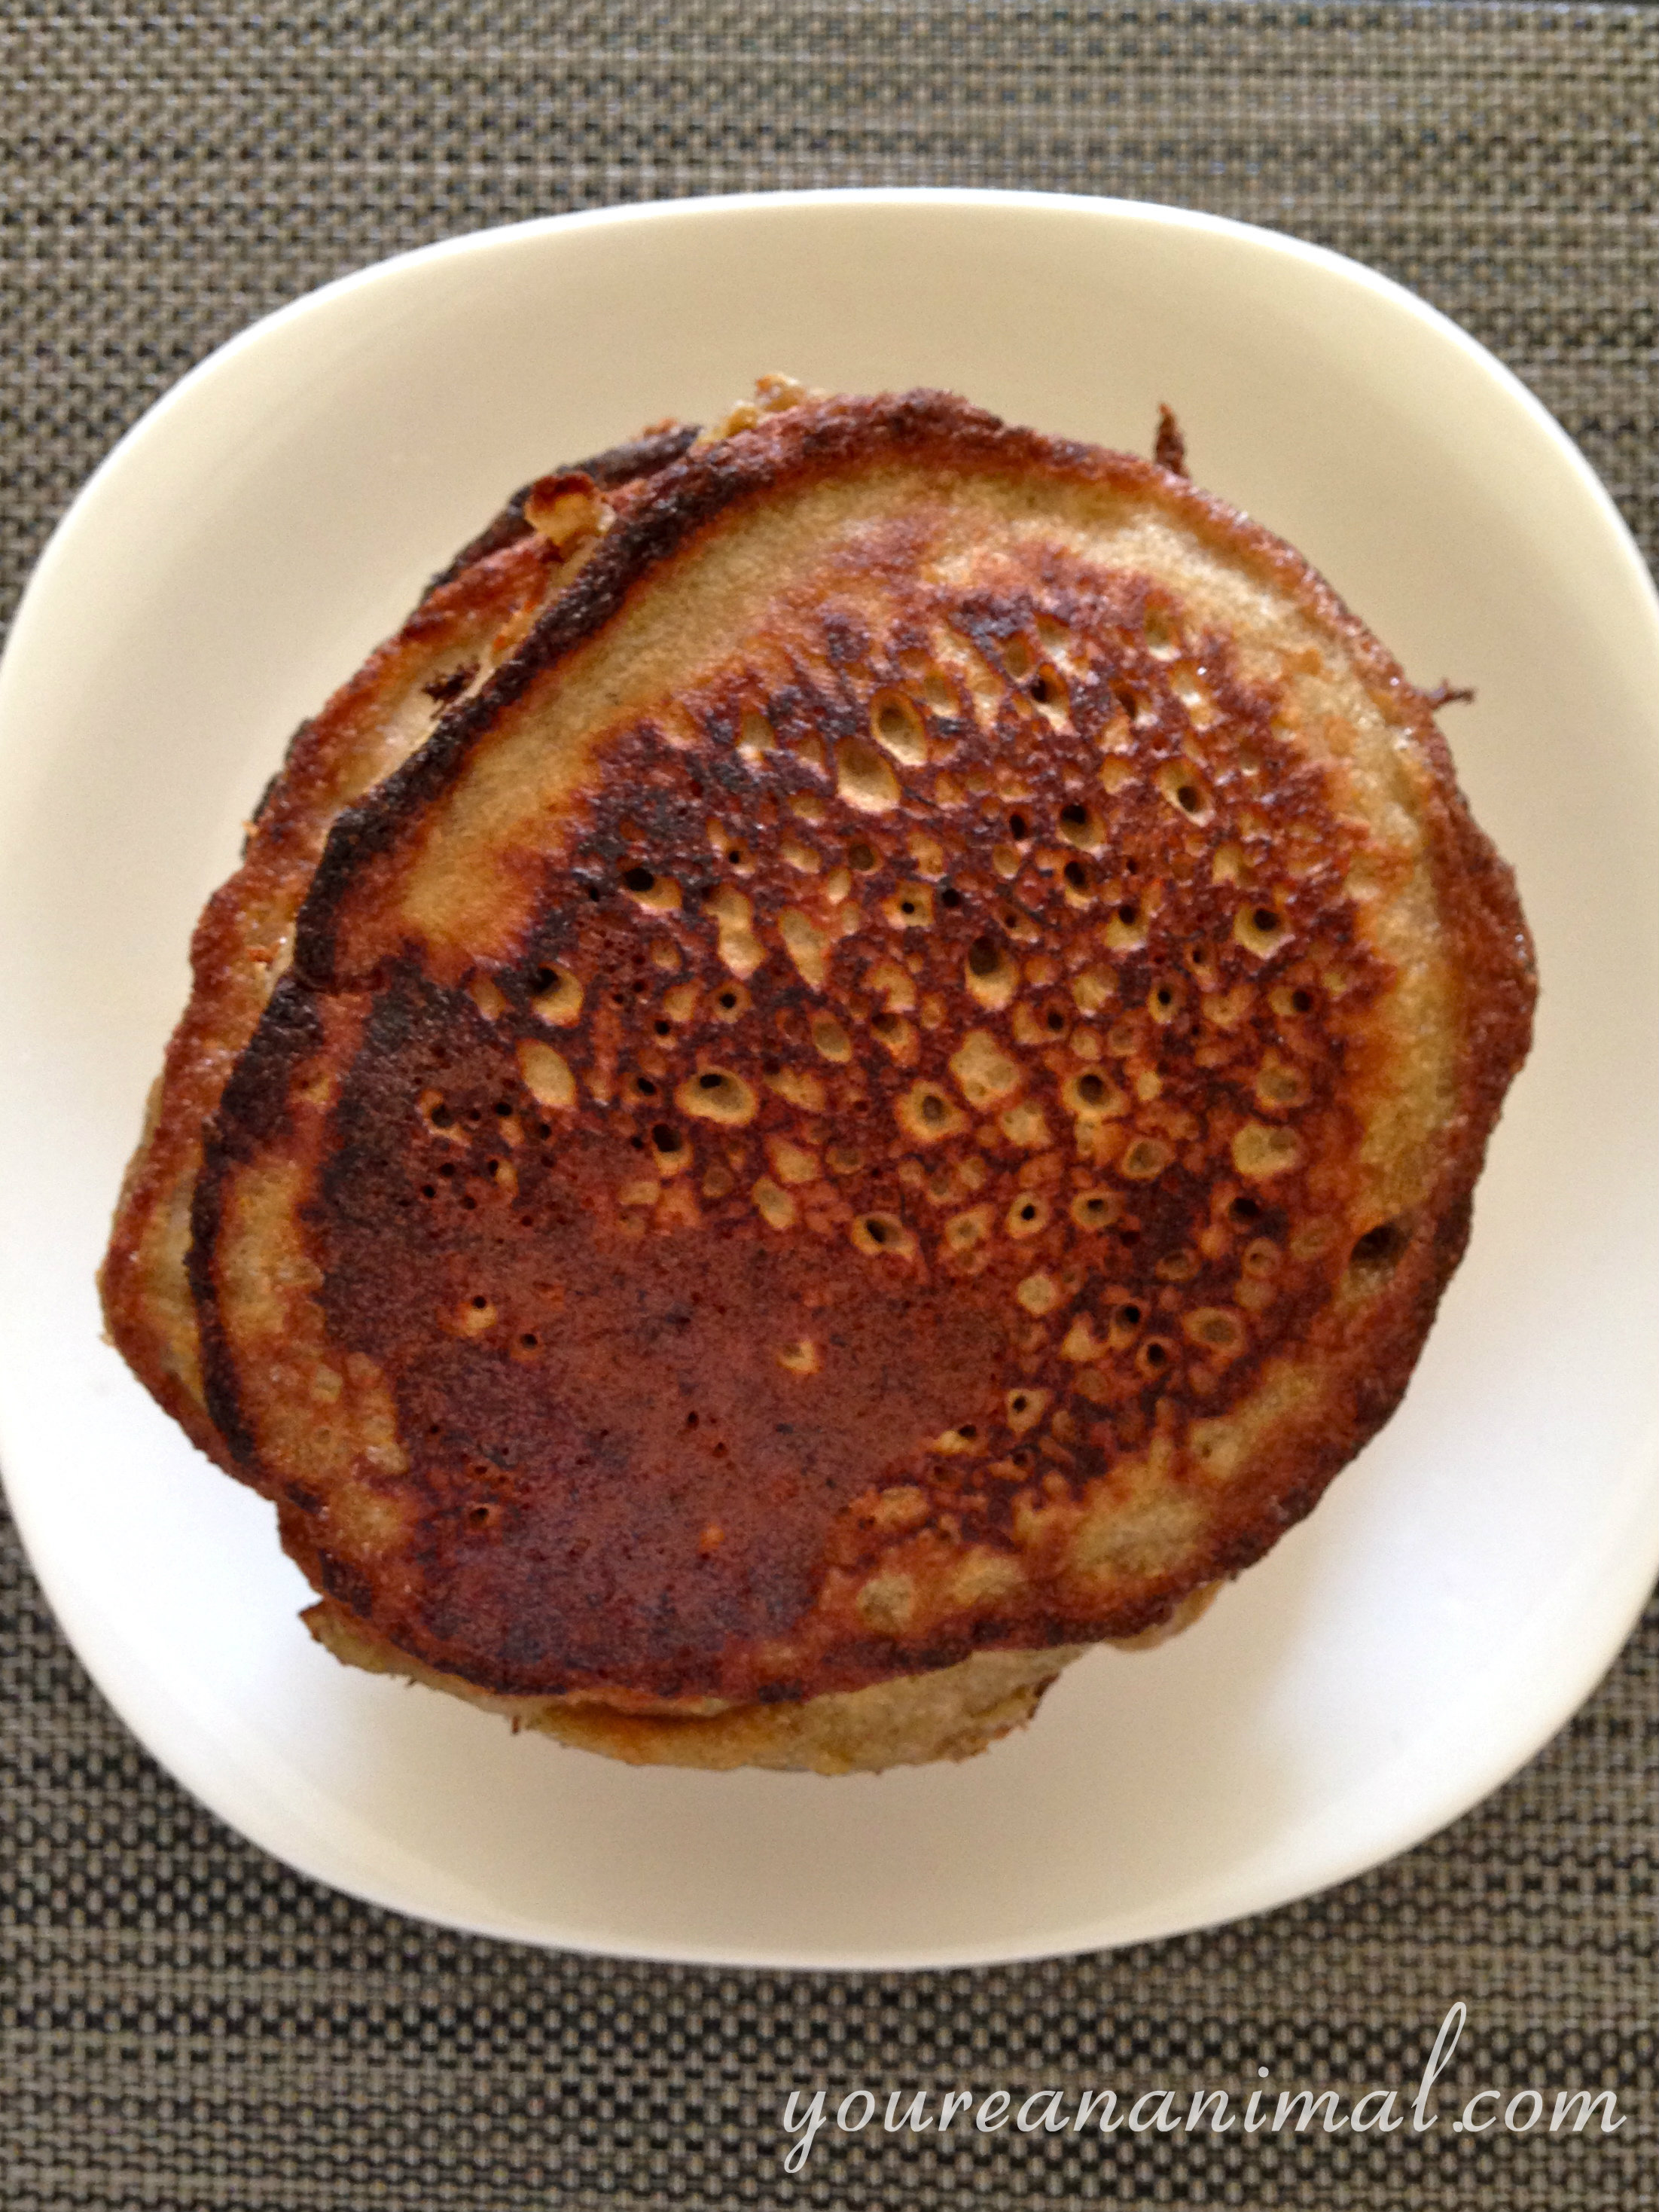
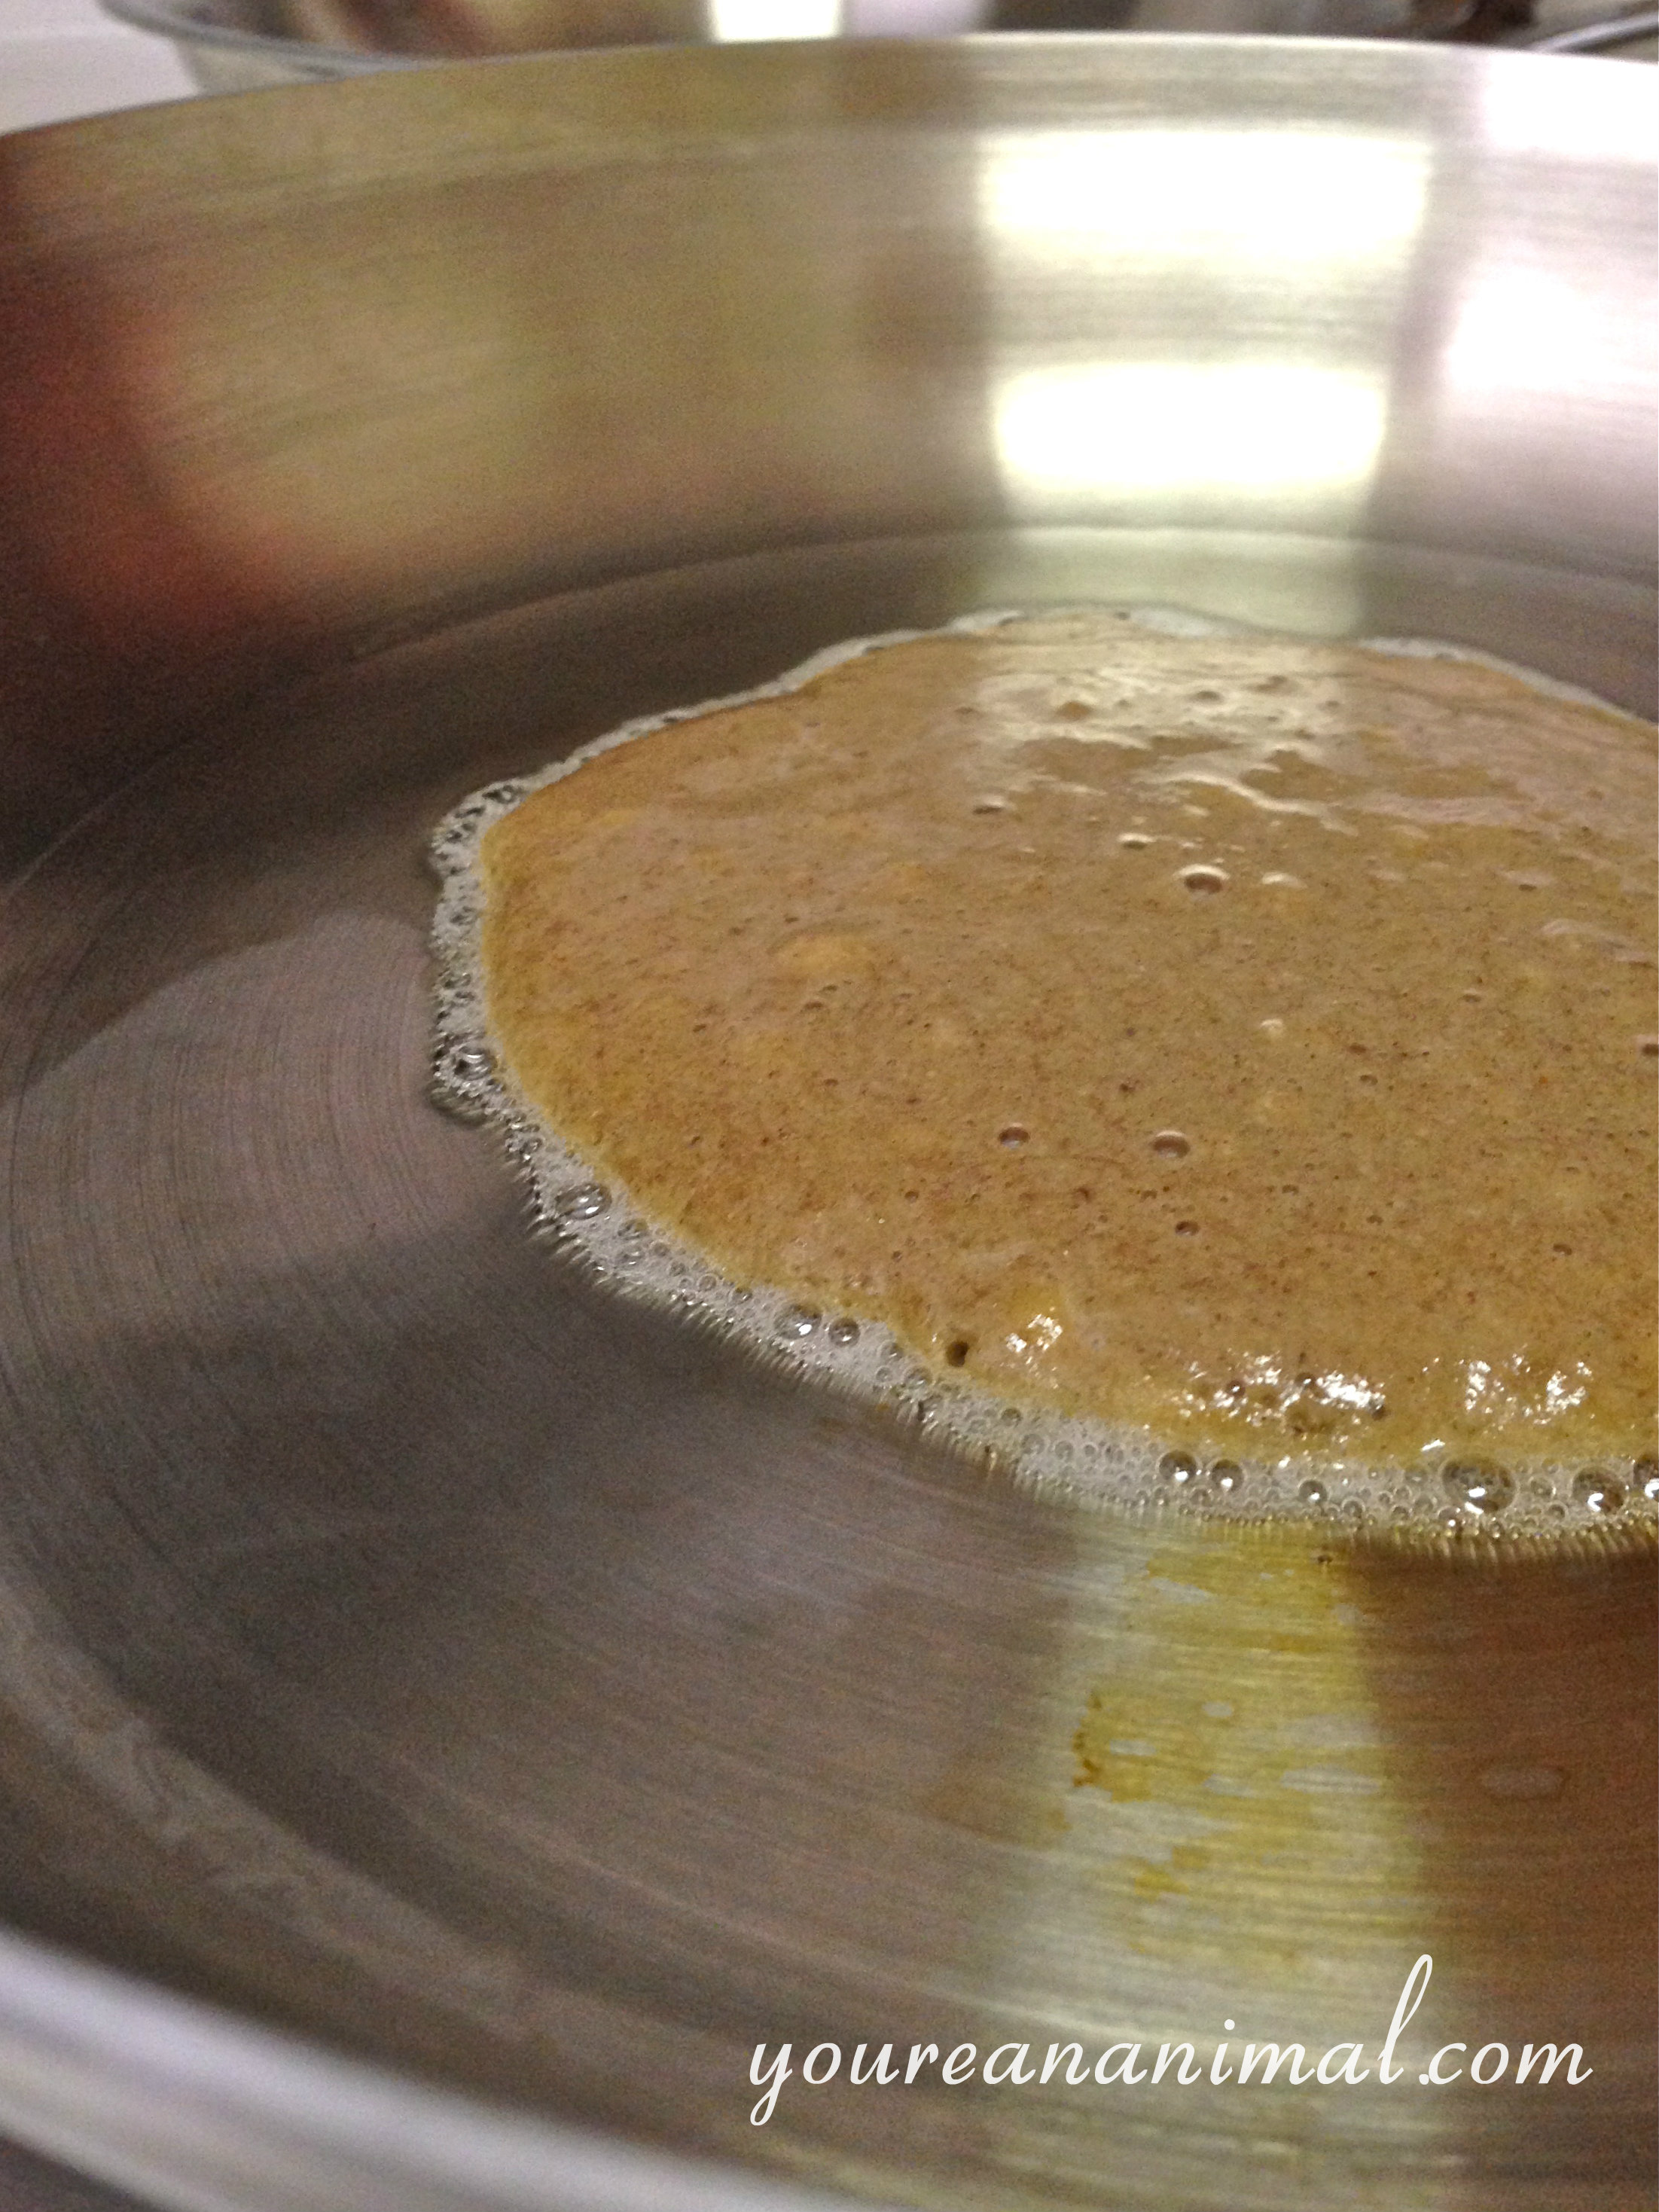
  5. Once the pan is heated, add 1/4 cup of batter. Cook like normal pancakes, flipping once the edges turn golden brown and bubbles have started to form on the top of your pancake. Cook until both sides are gold brown.
  6. Repeat with the rest of your batter, and serve with any topping you choose! (I like cinnamon and wild berry jam… and mimosas.)

Makes 2 servings of 4 pancakes.

pancakes16

pancakes17

pancakes18

pancakes9

pancakes10

pancakes5

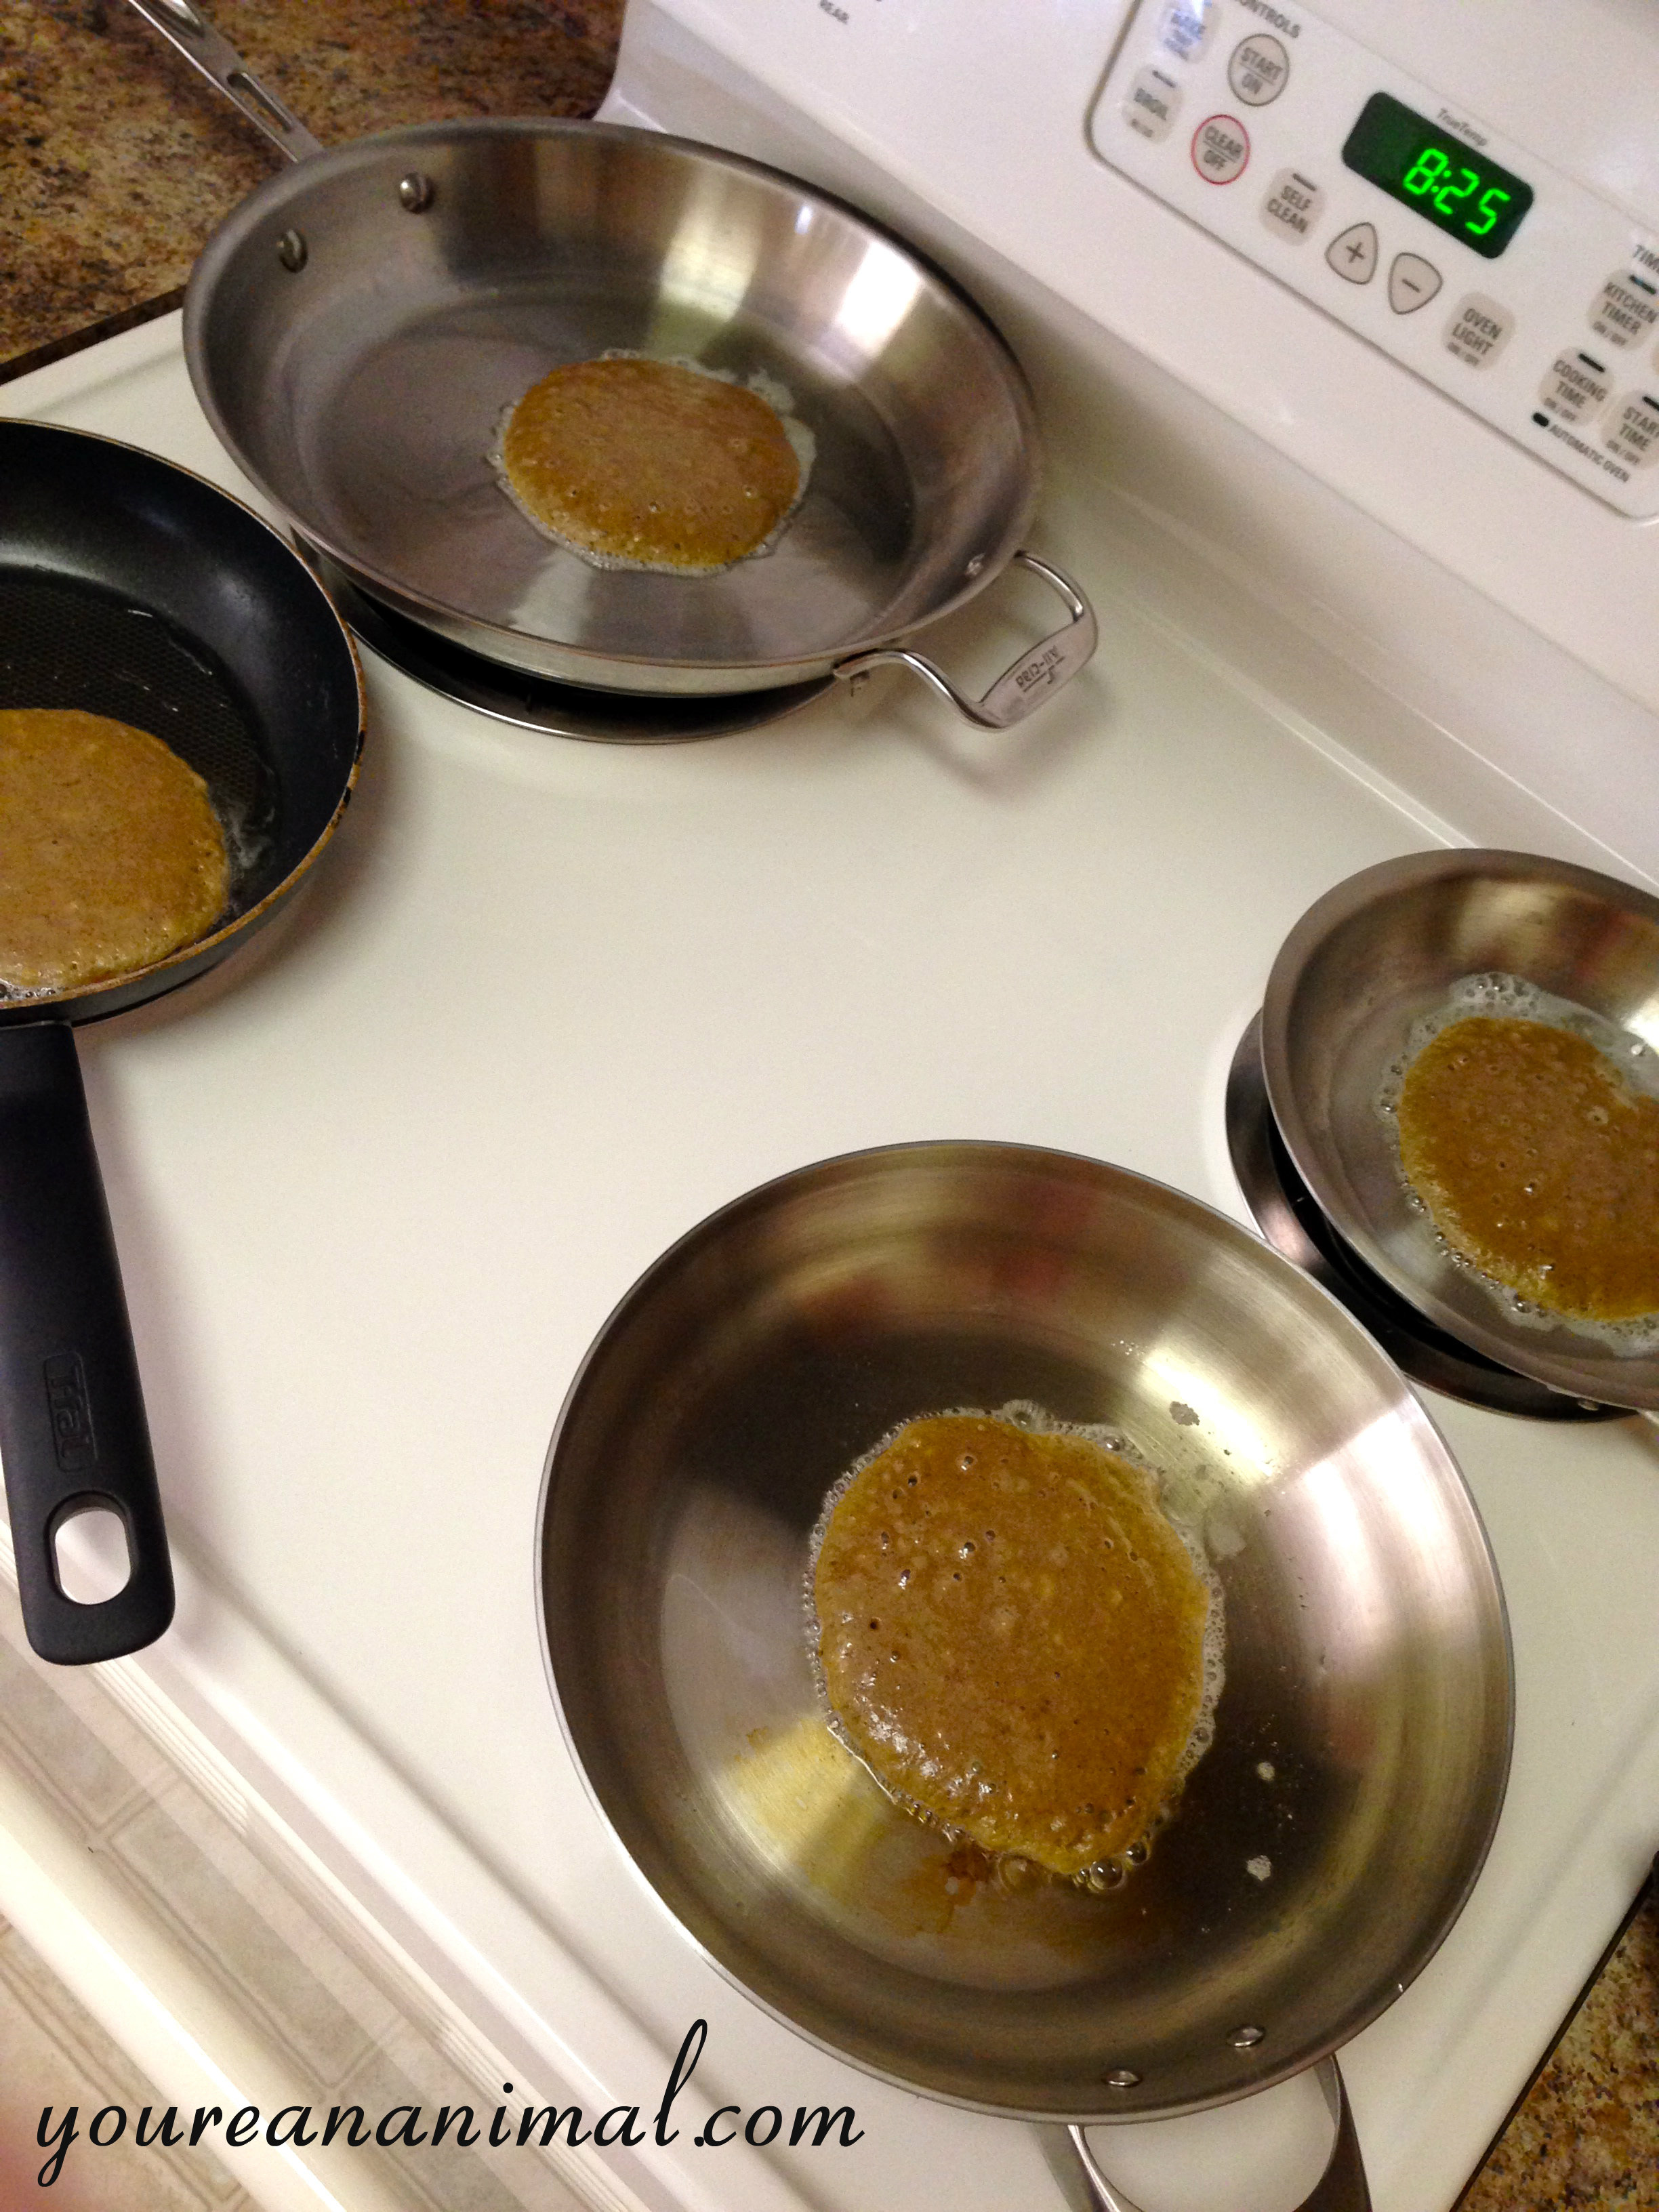
In case you were wondering, yes, yes I was taking pictures of my food throughout our anniversary breakfast. So romantic. Not sure if he knew what he was signing up for, but hey, at least he’s getting fed.

Also, a behind-the-scenes shot at how I cooked these dudes. More clean up, but less time before food is in my belly…

pancakes20