Grain-Free Drop Biscuits: Thanksgiving Cleaned Up Part 4
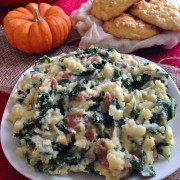
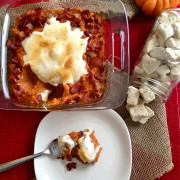
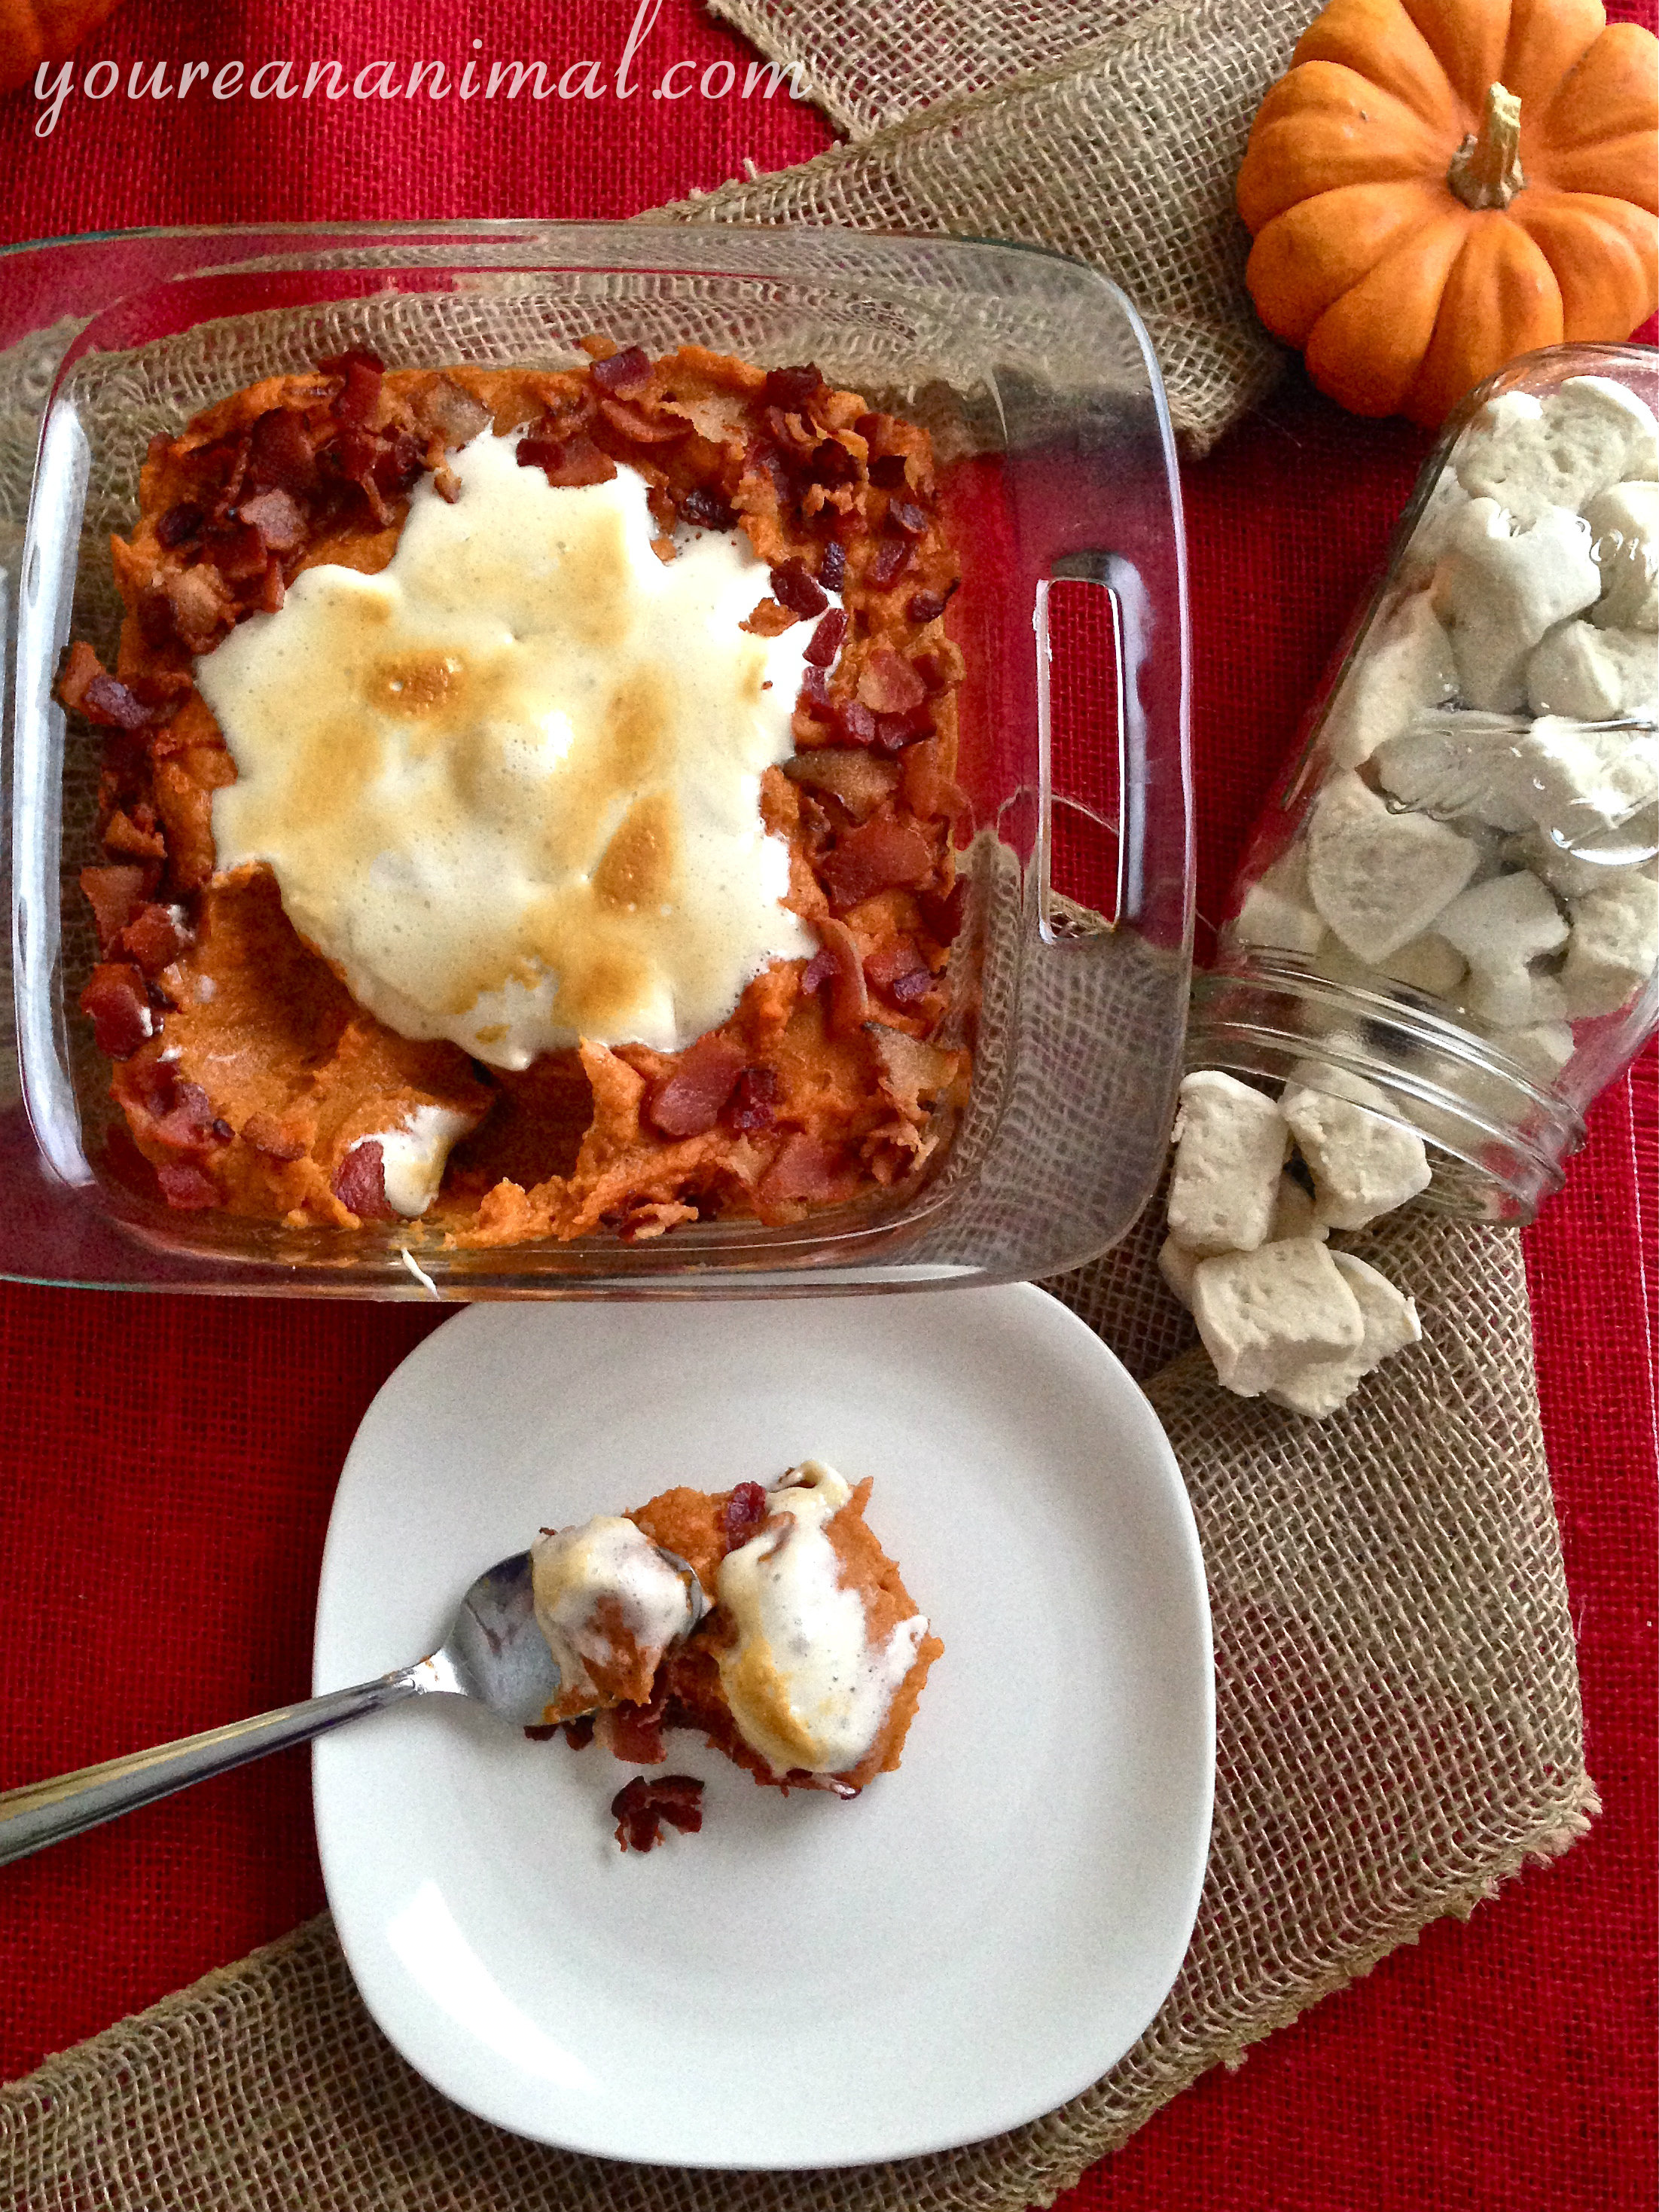
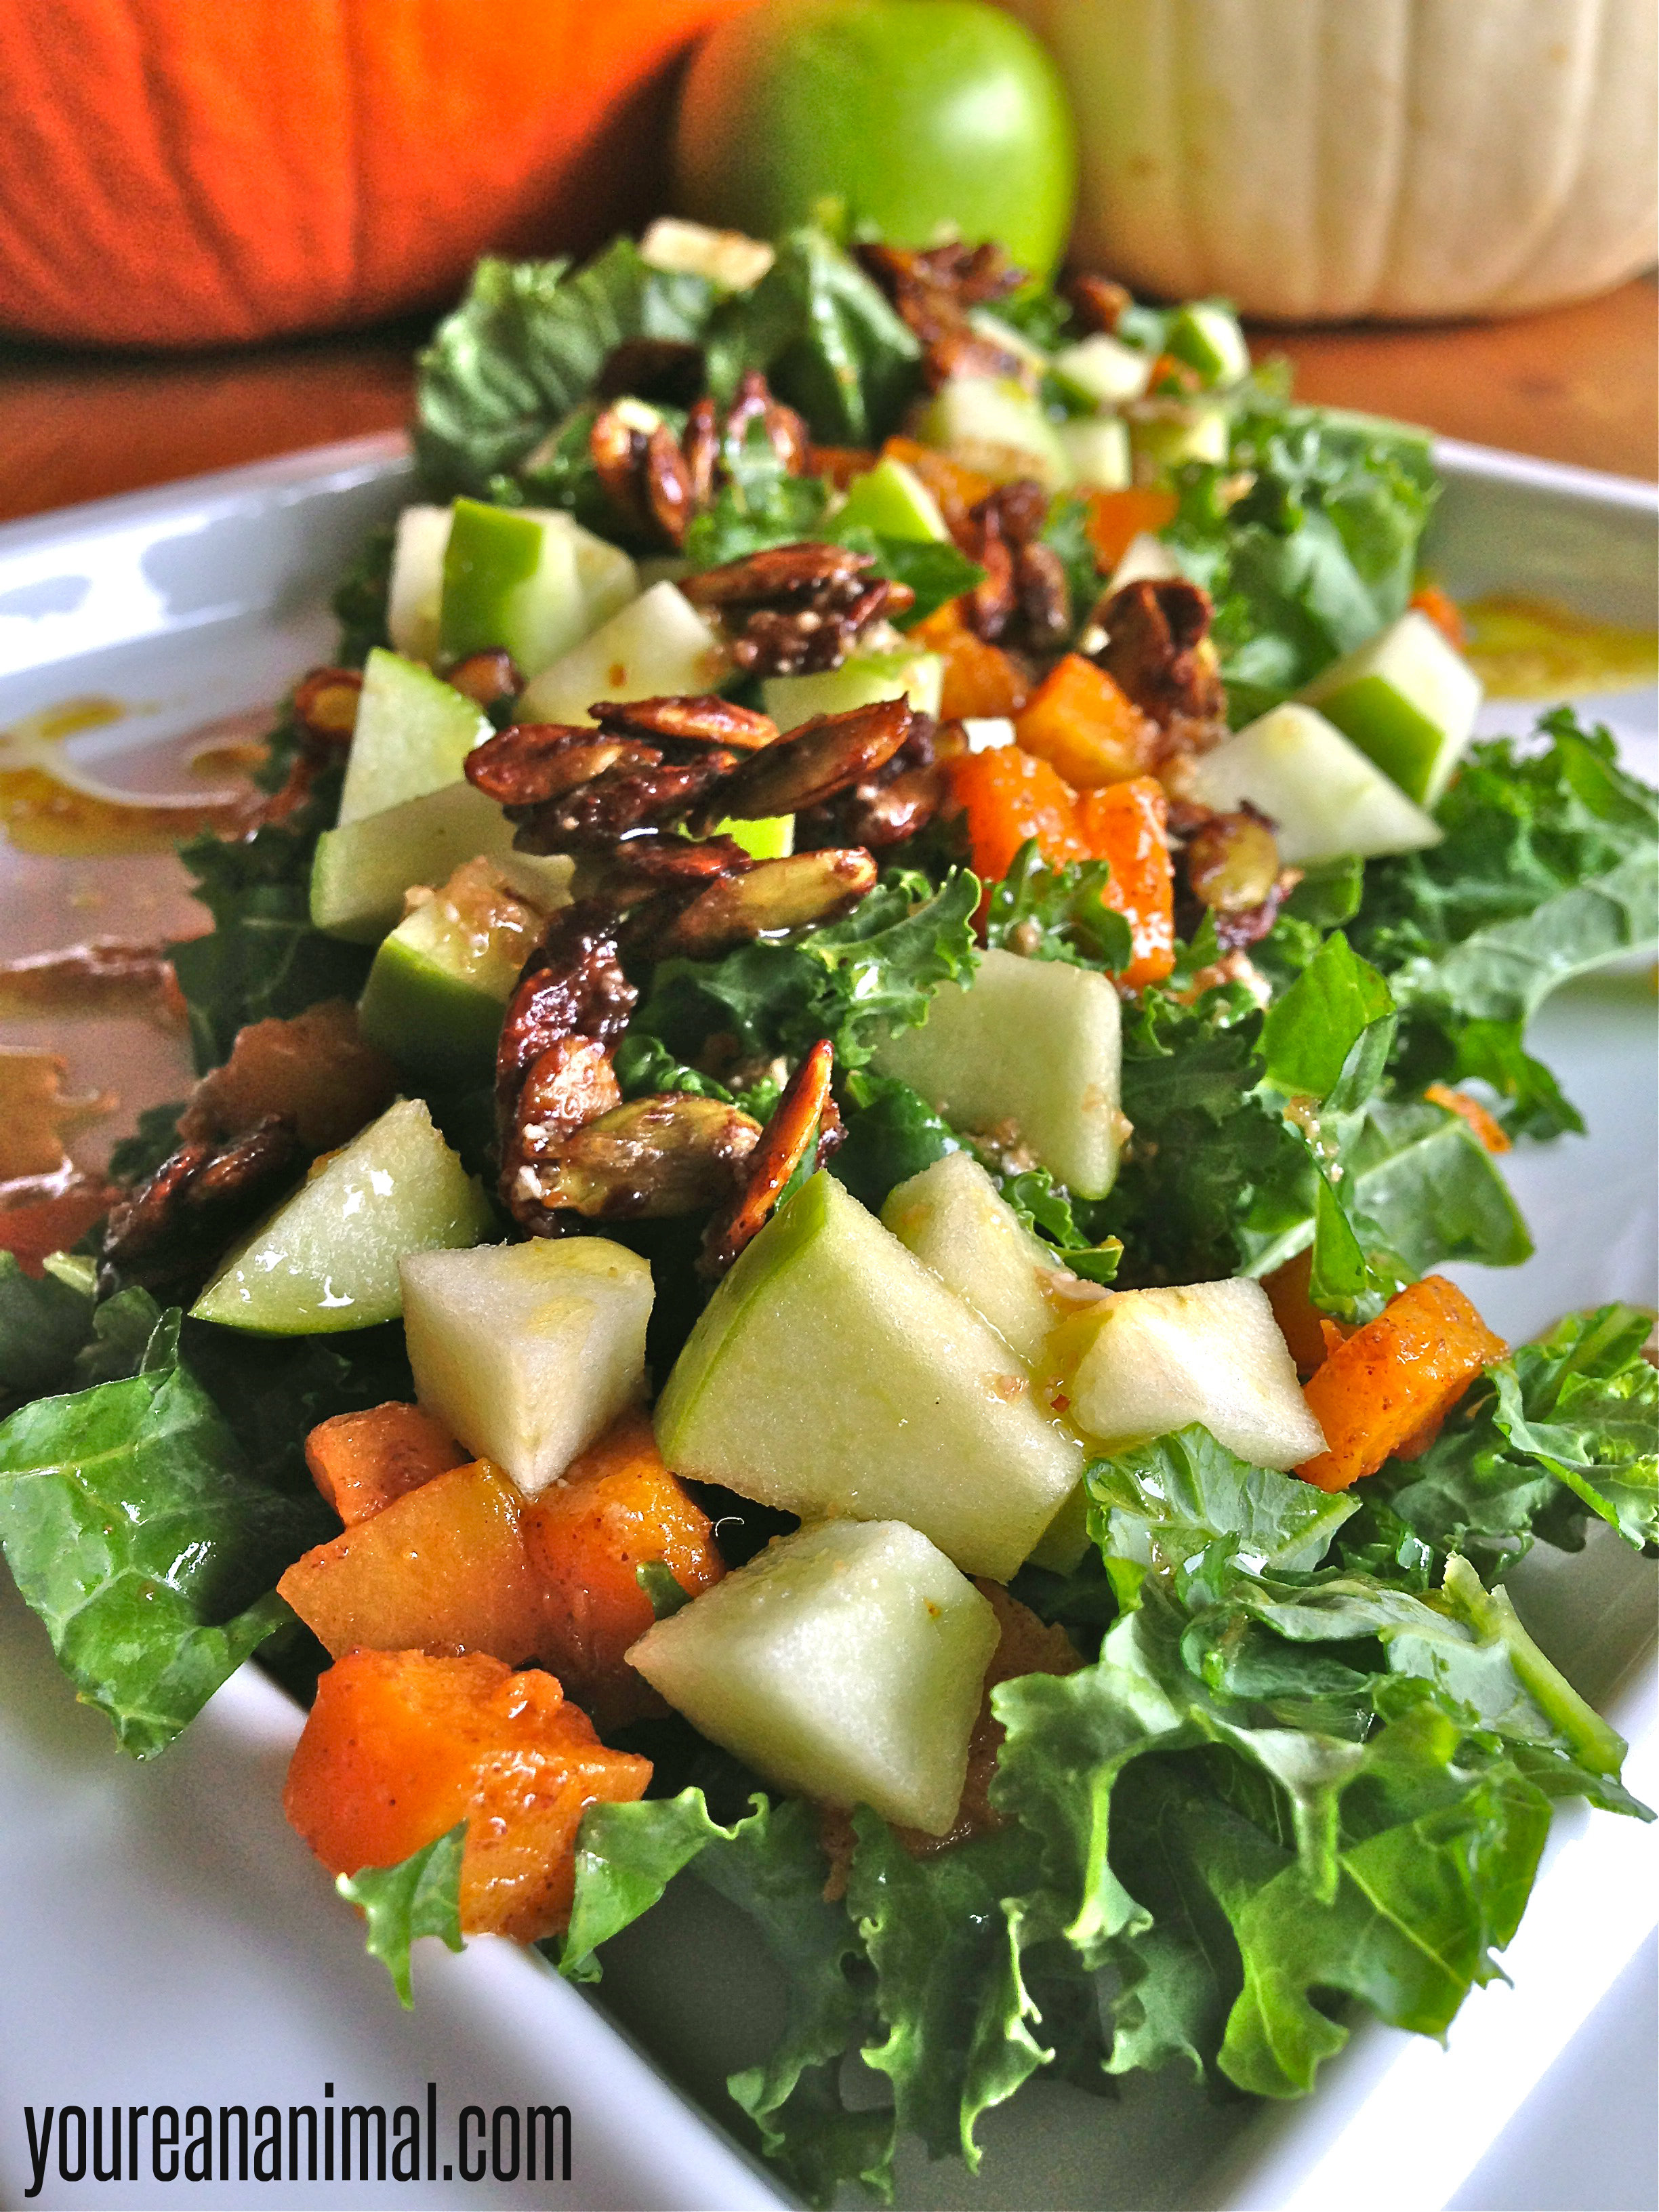
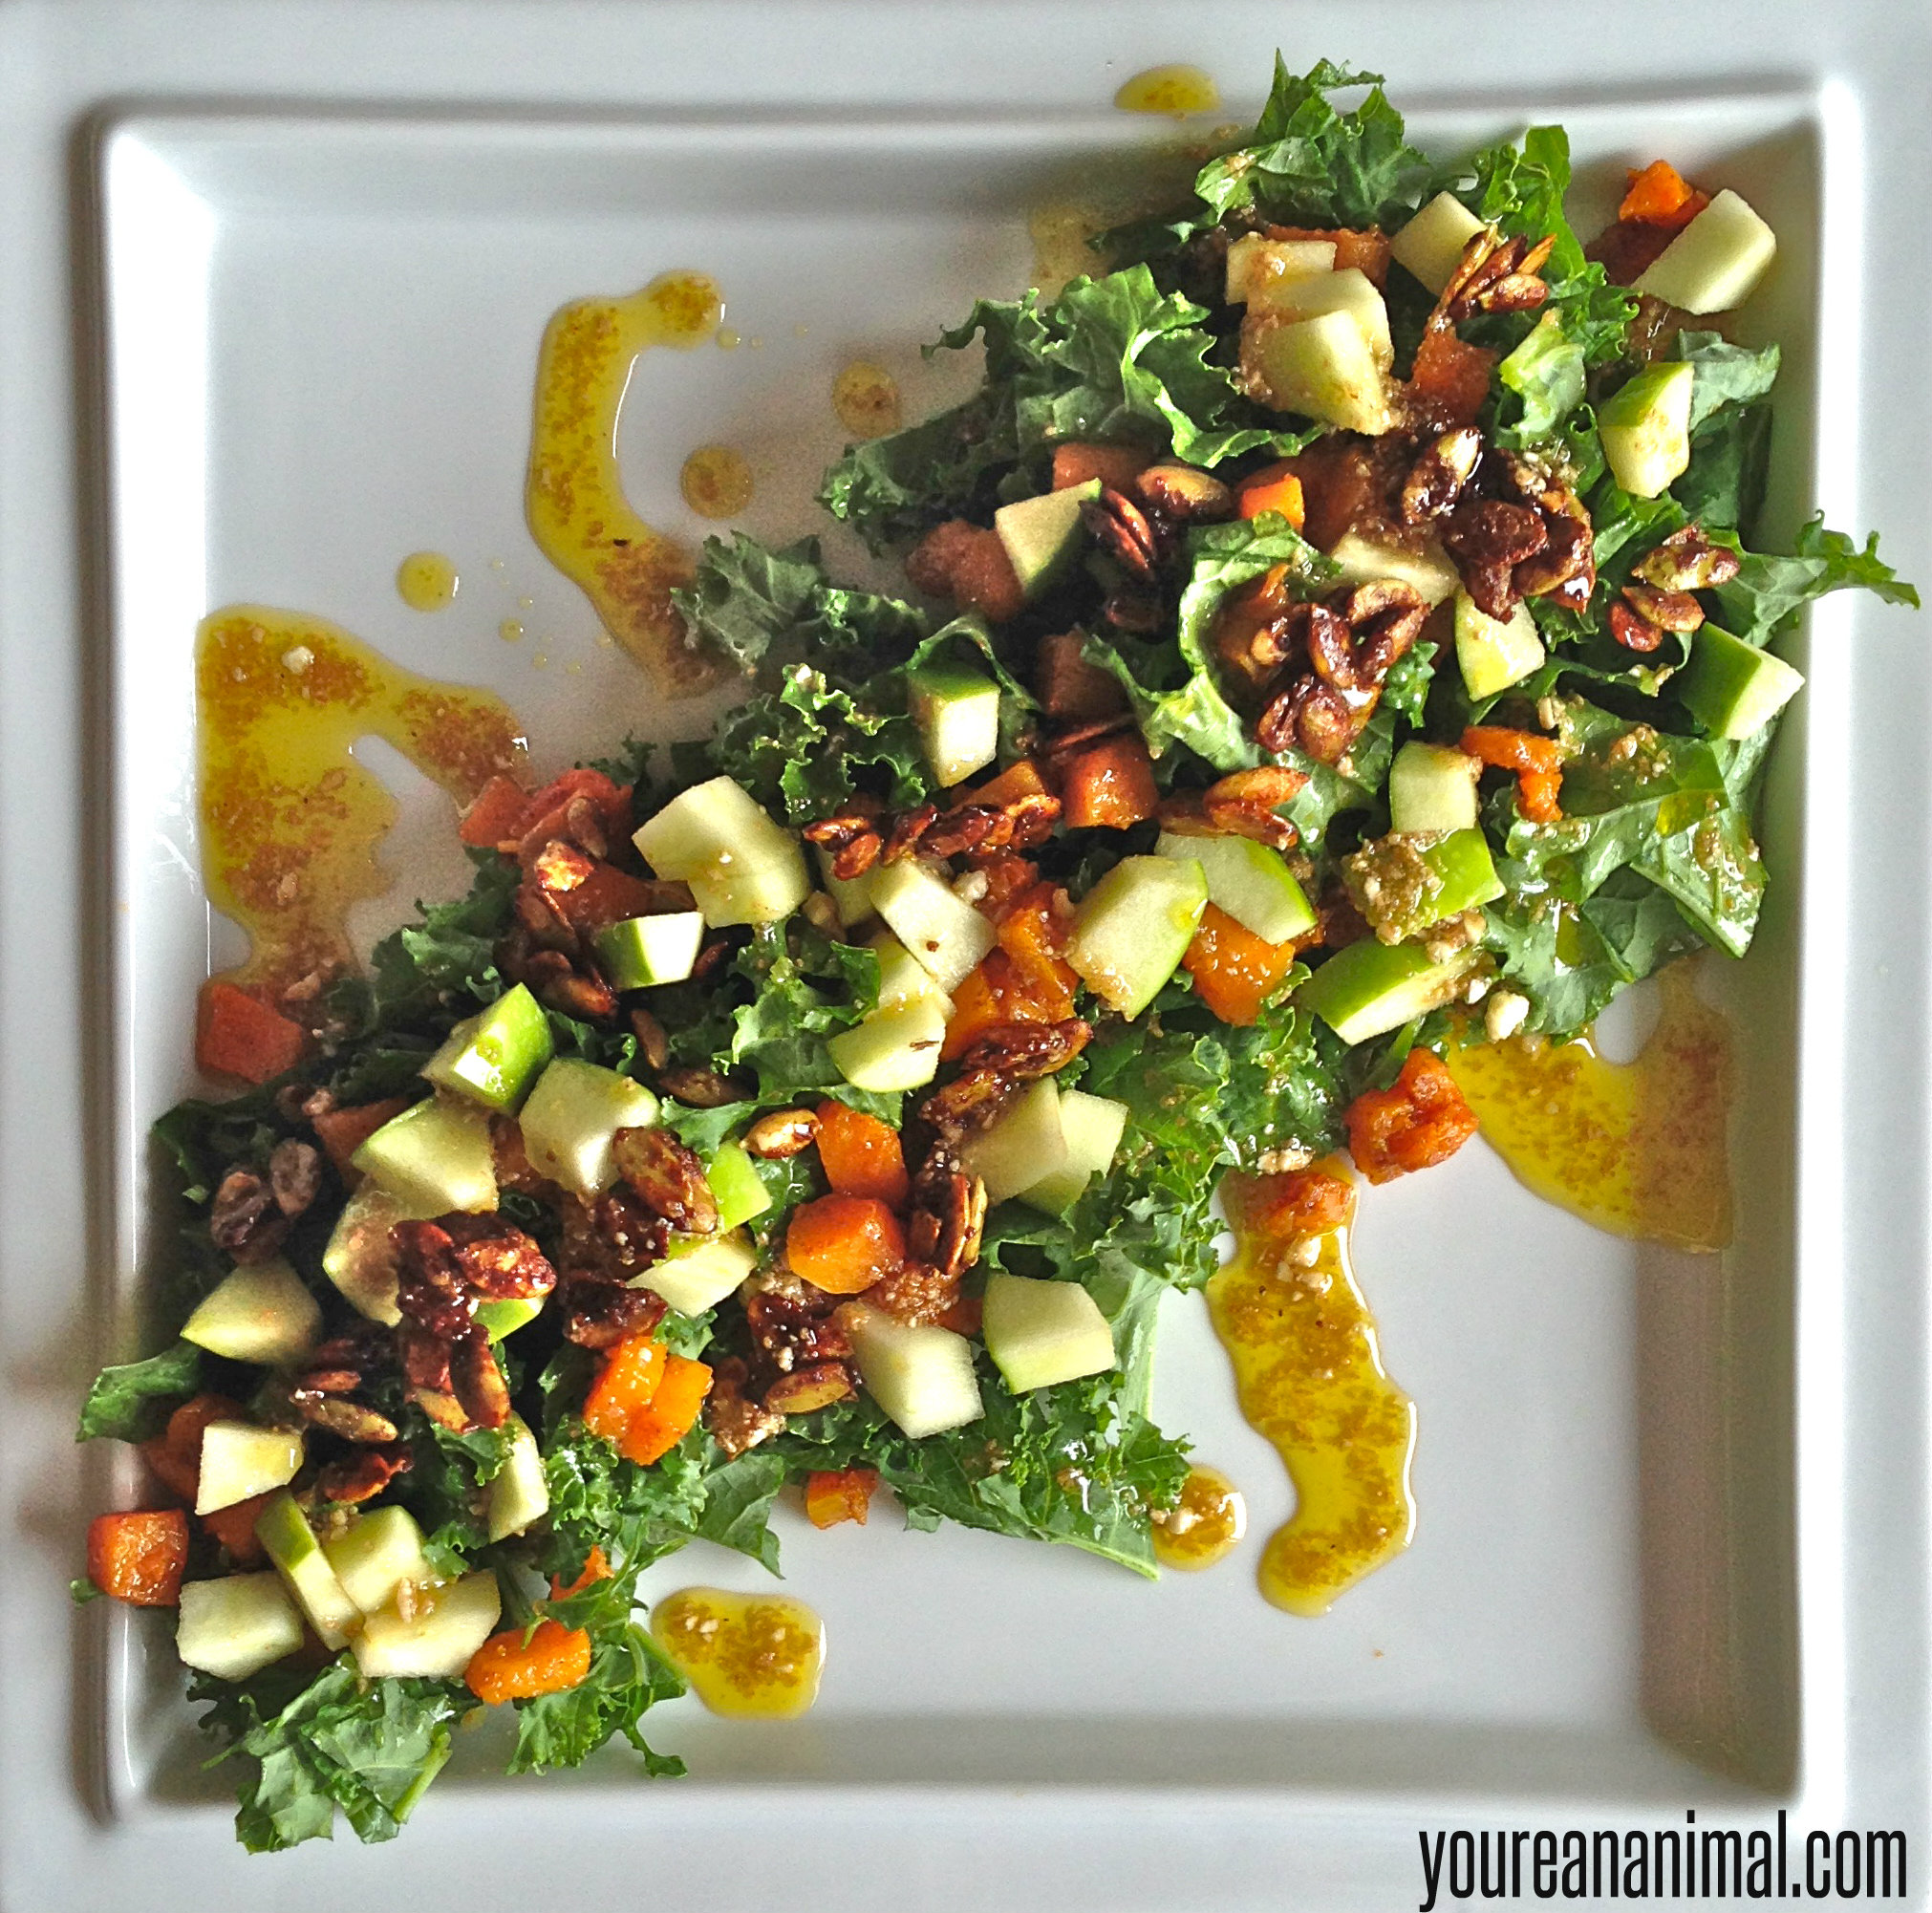
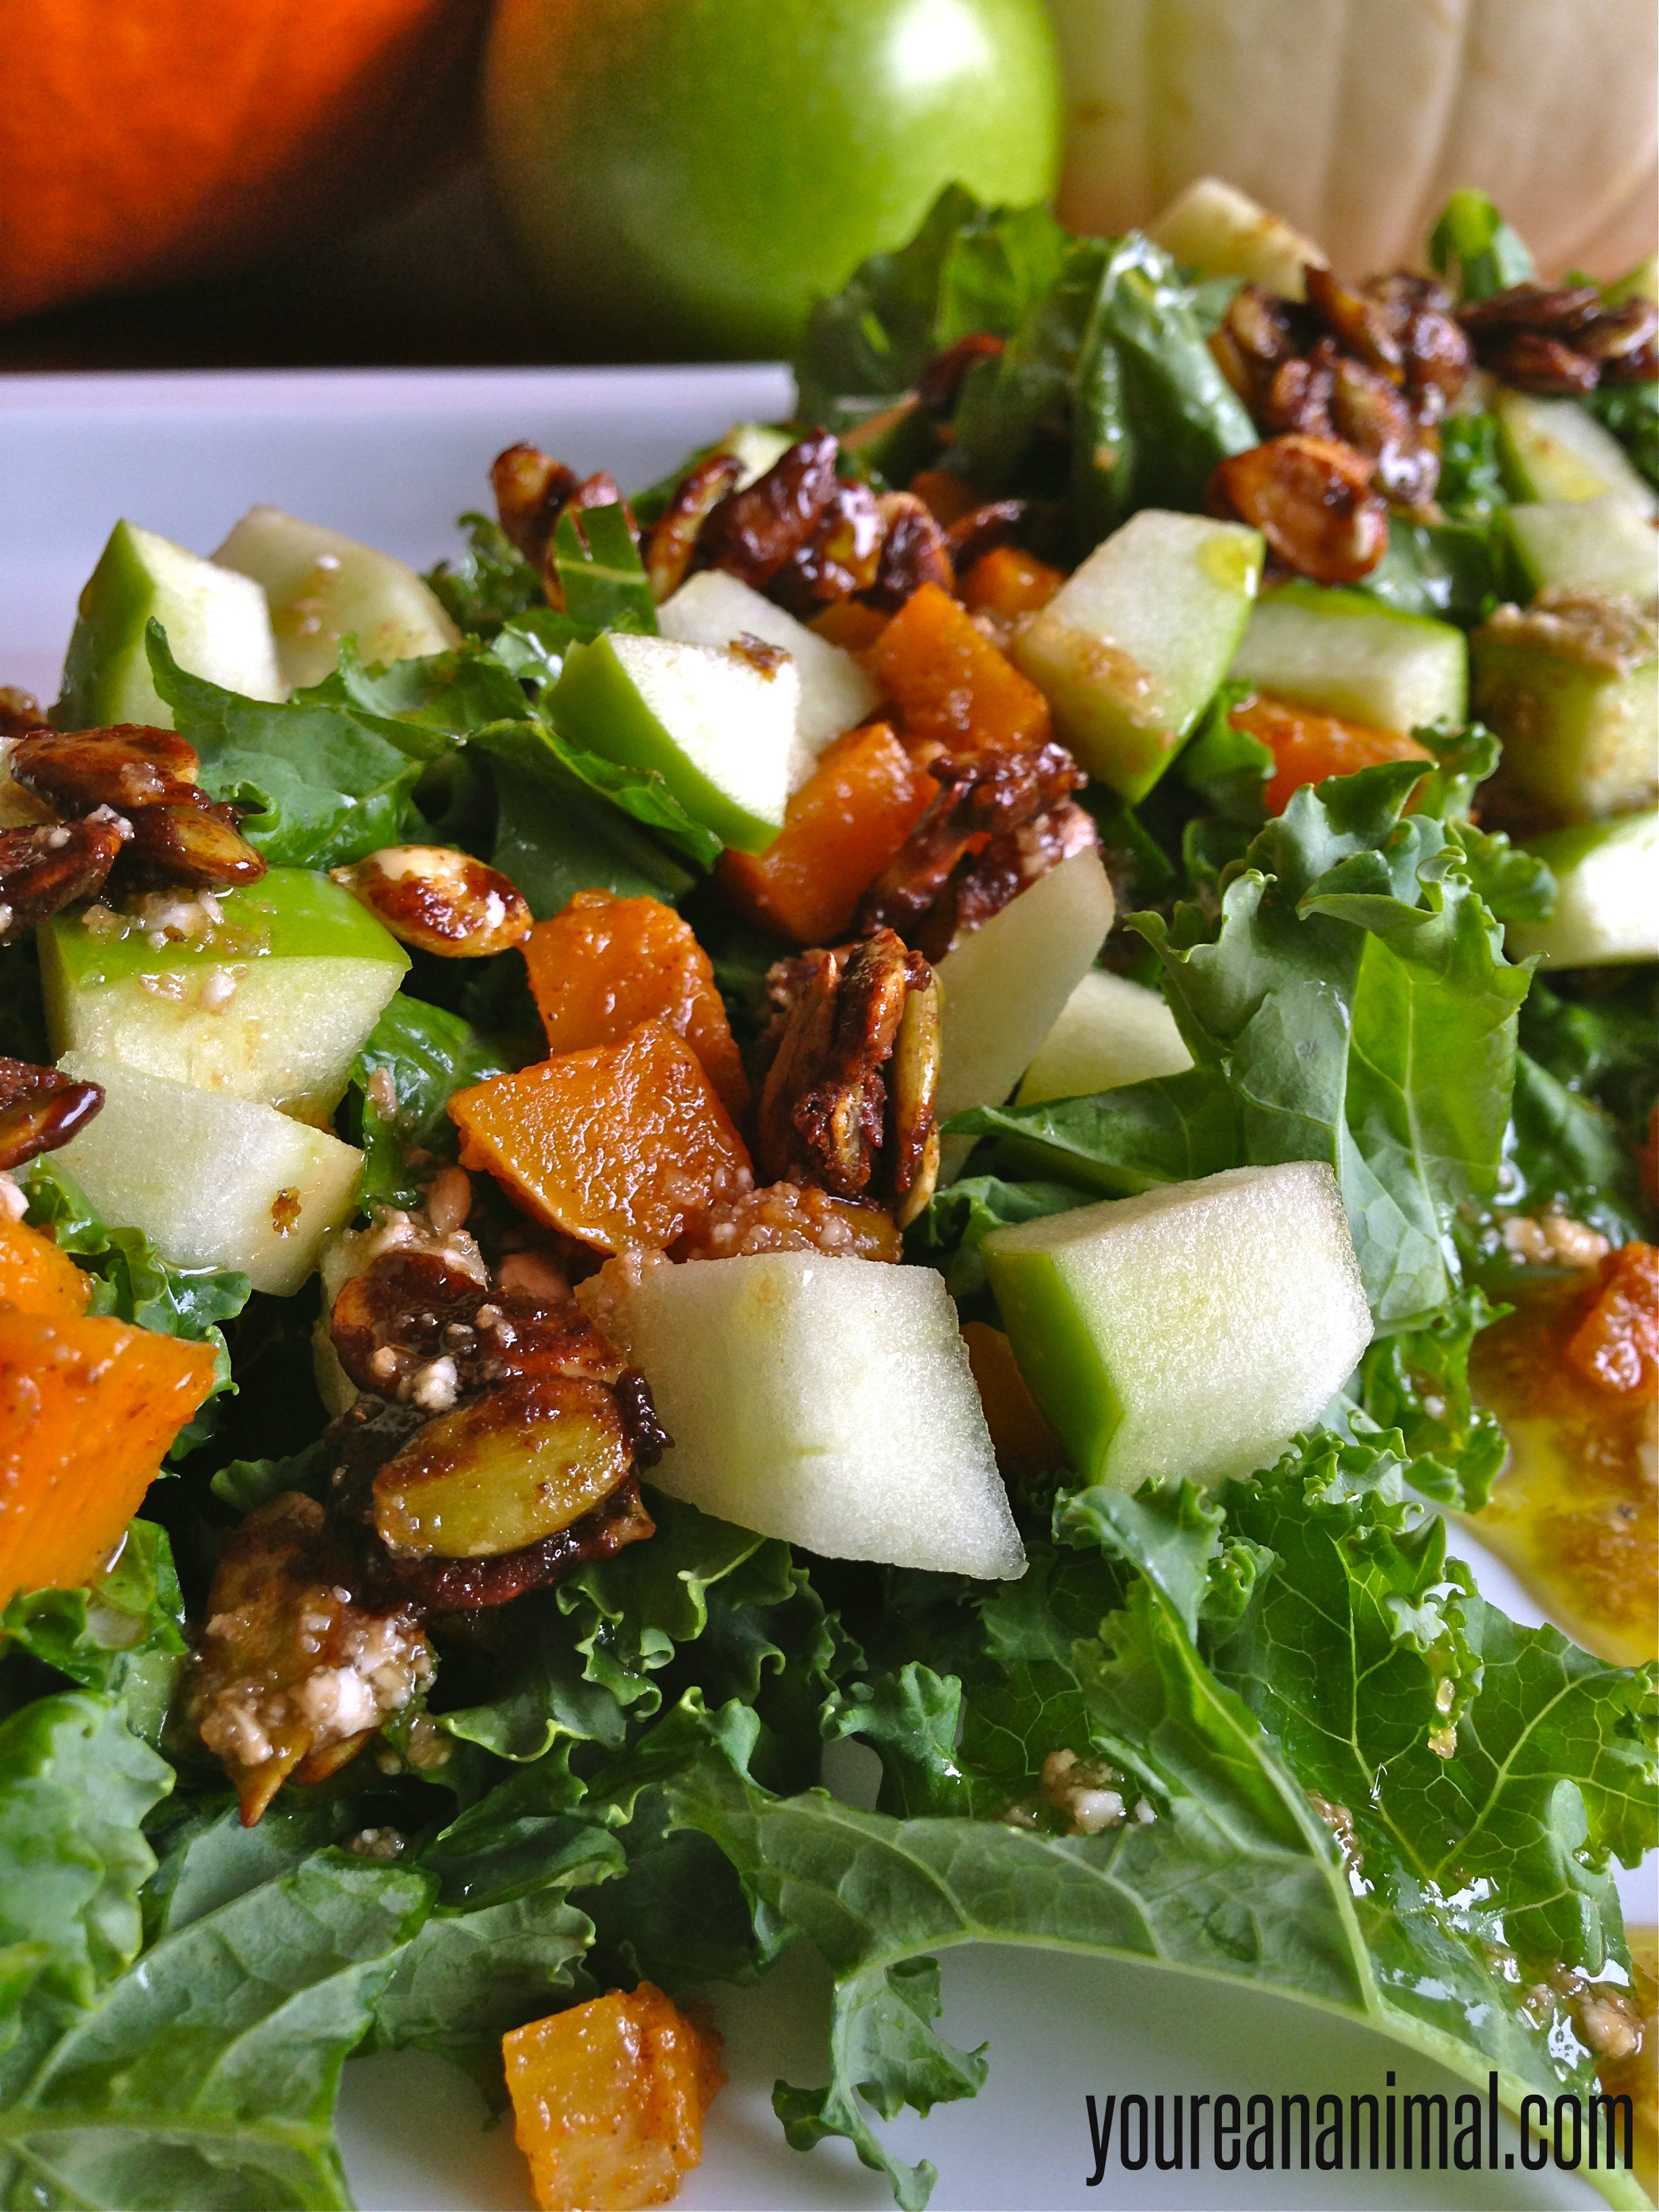
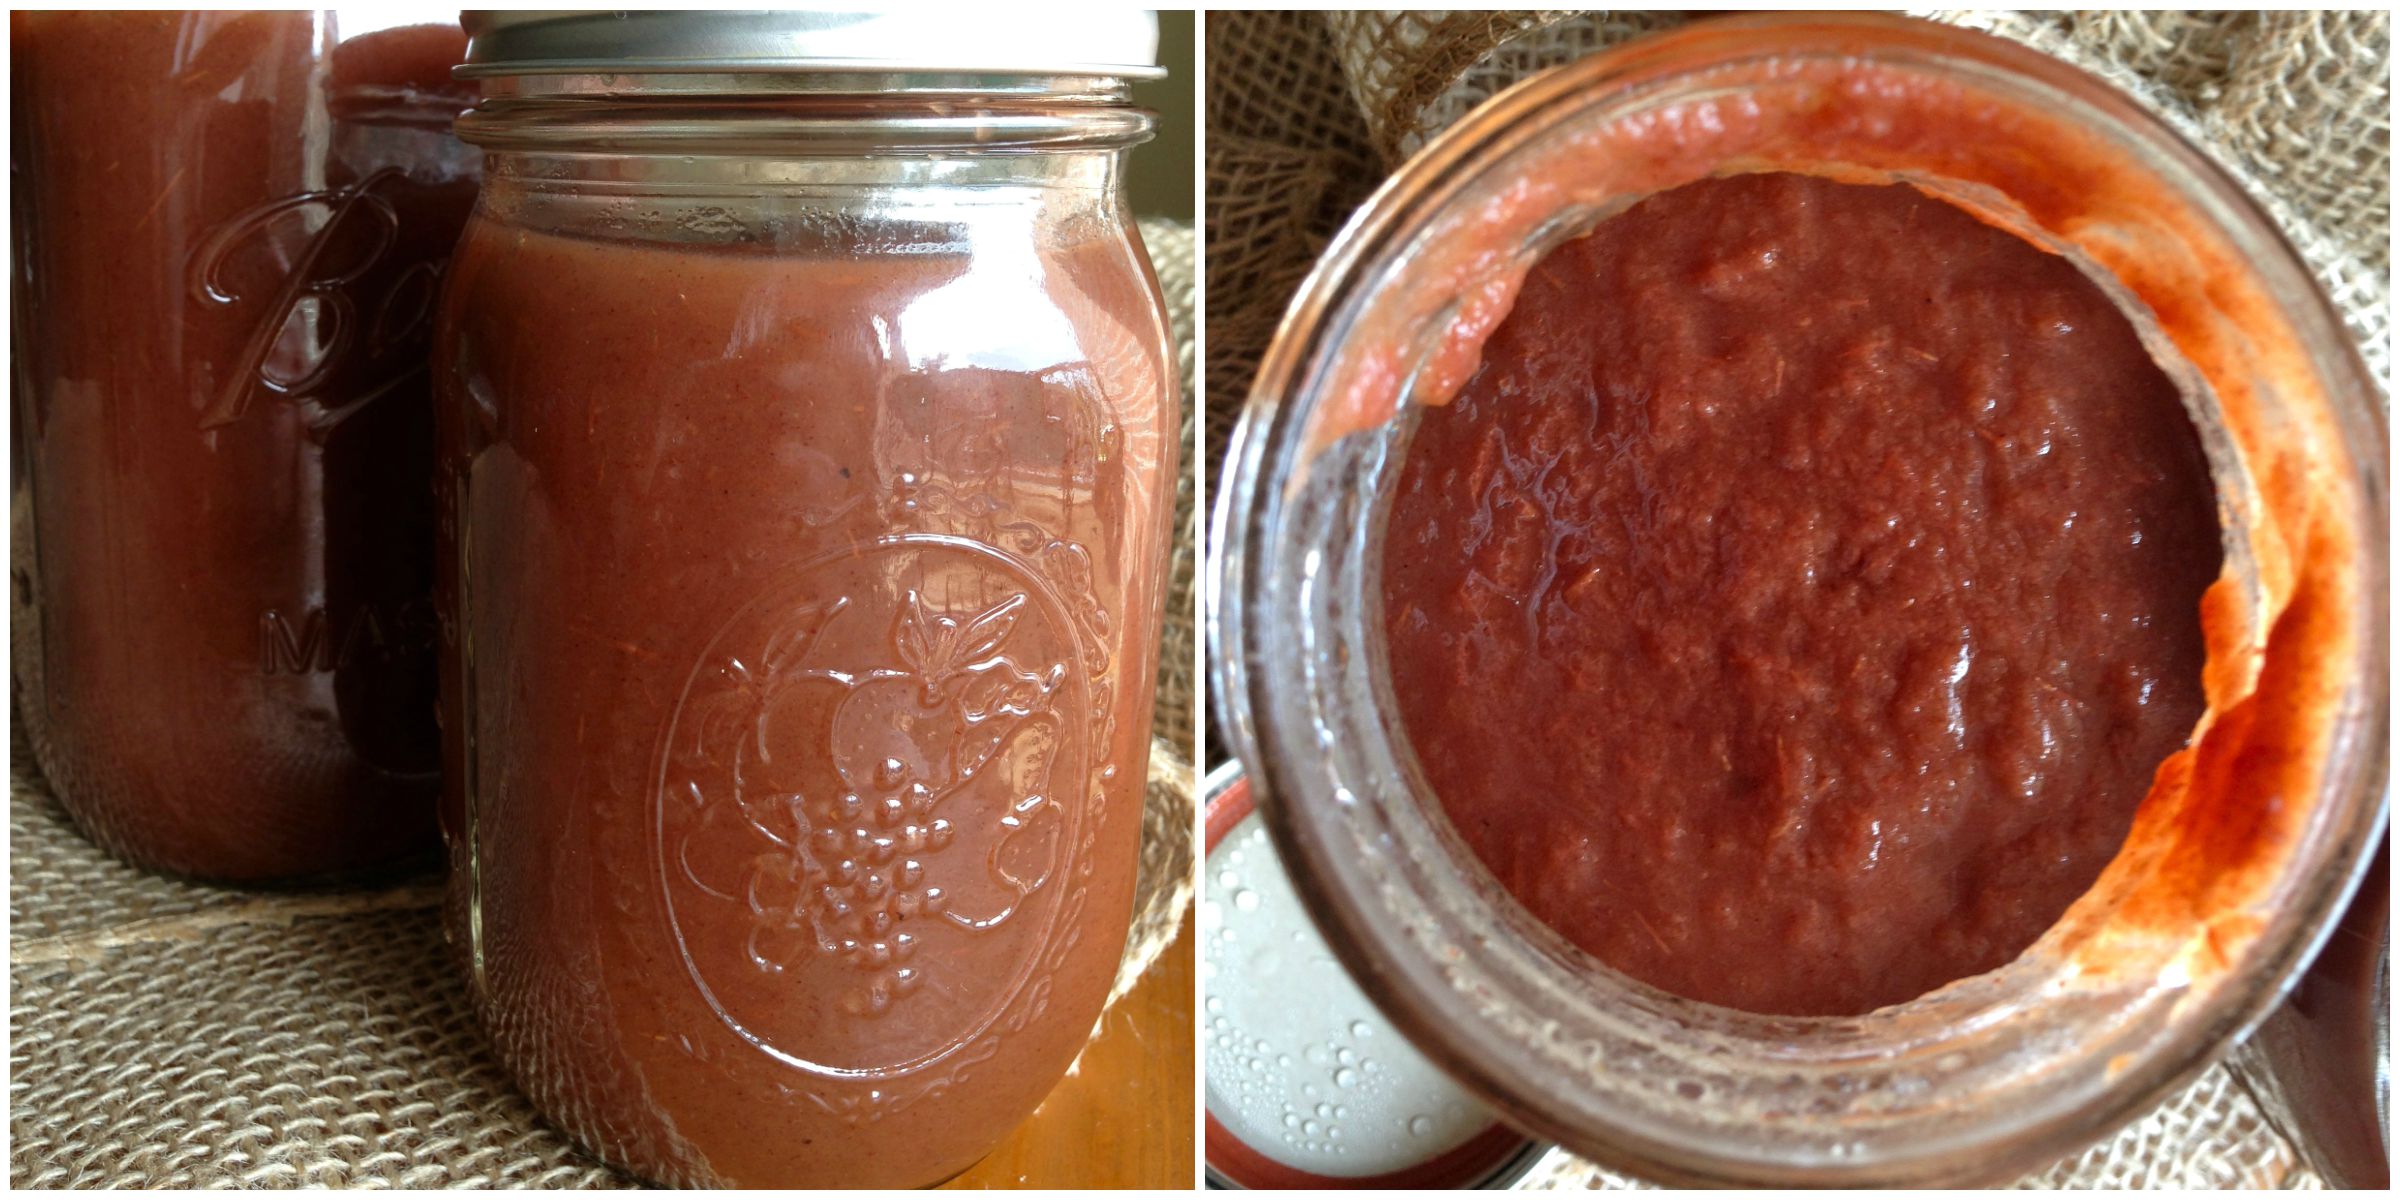
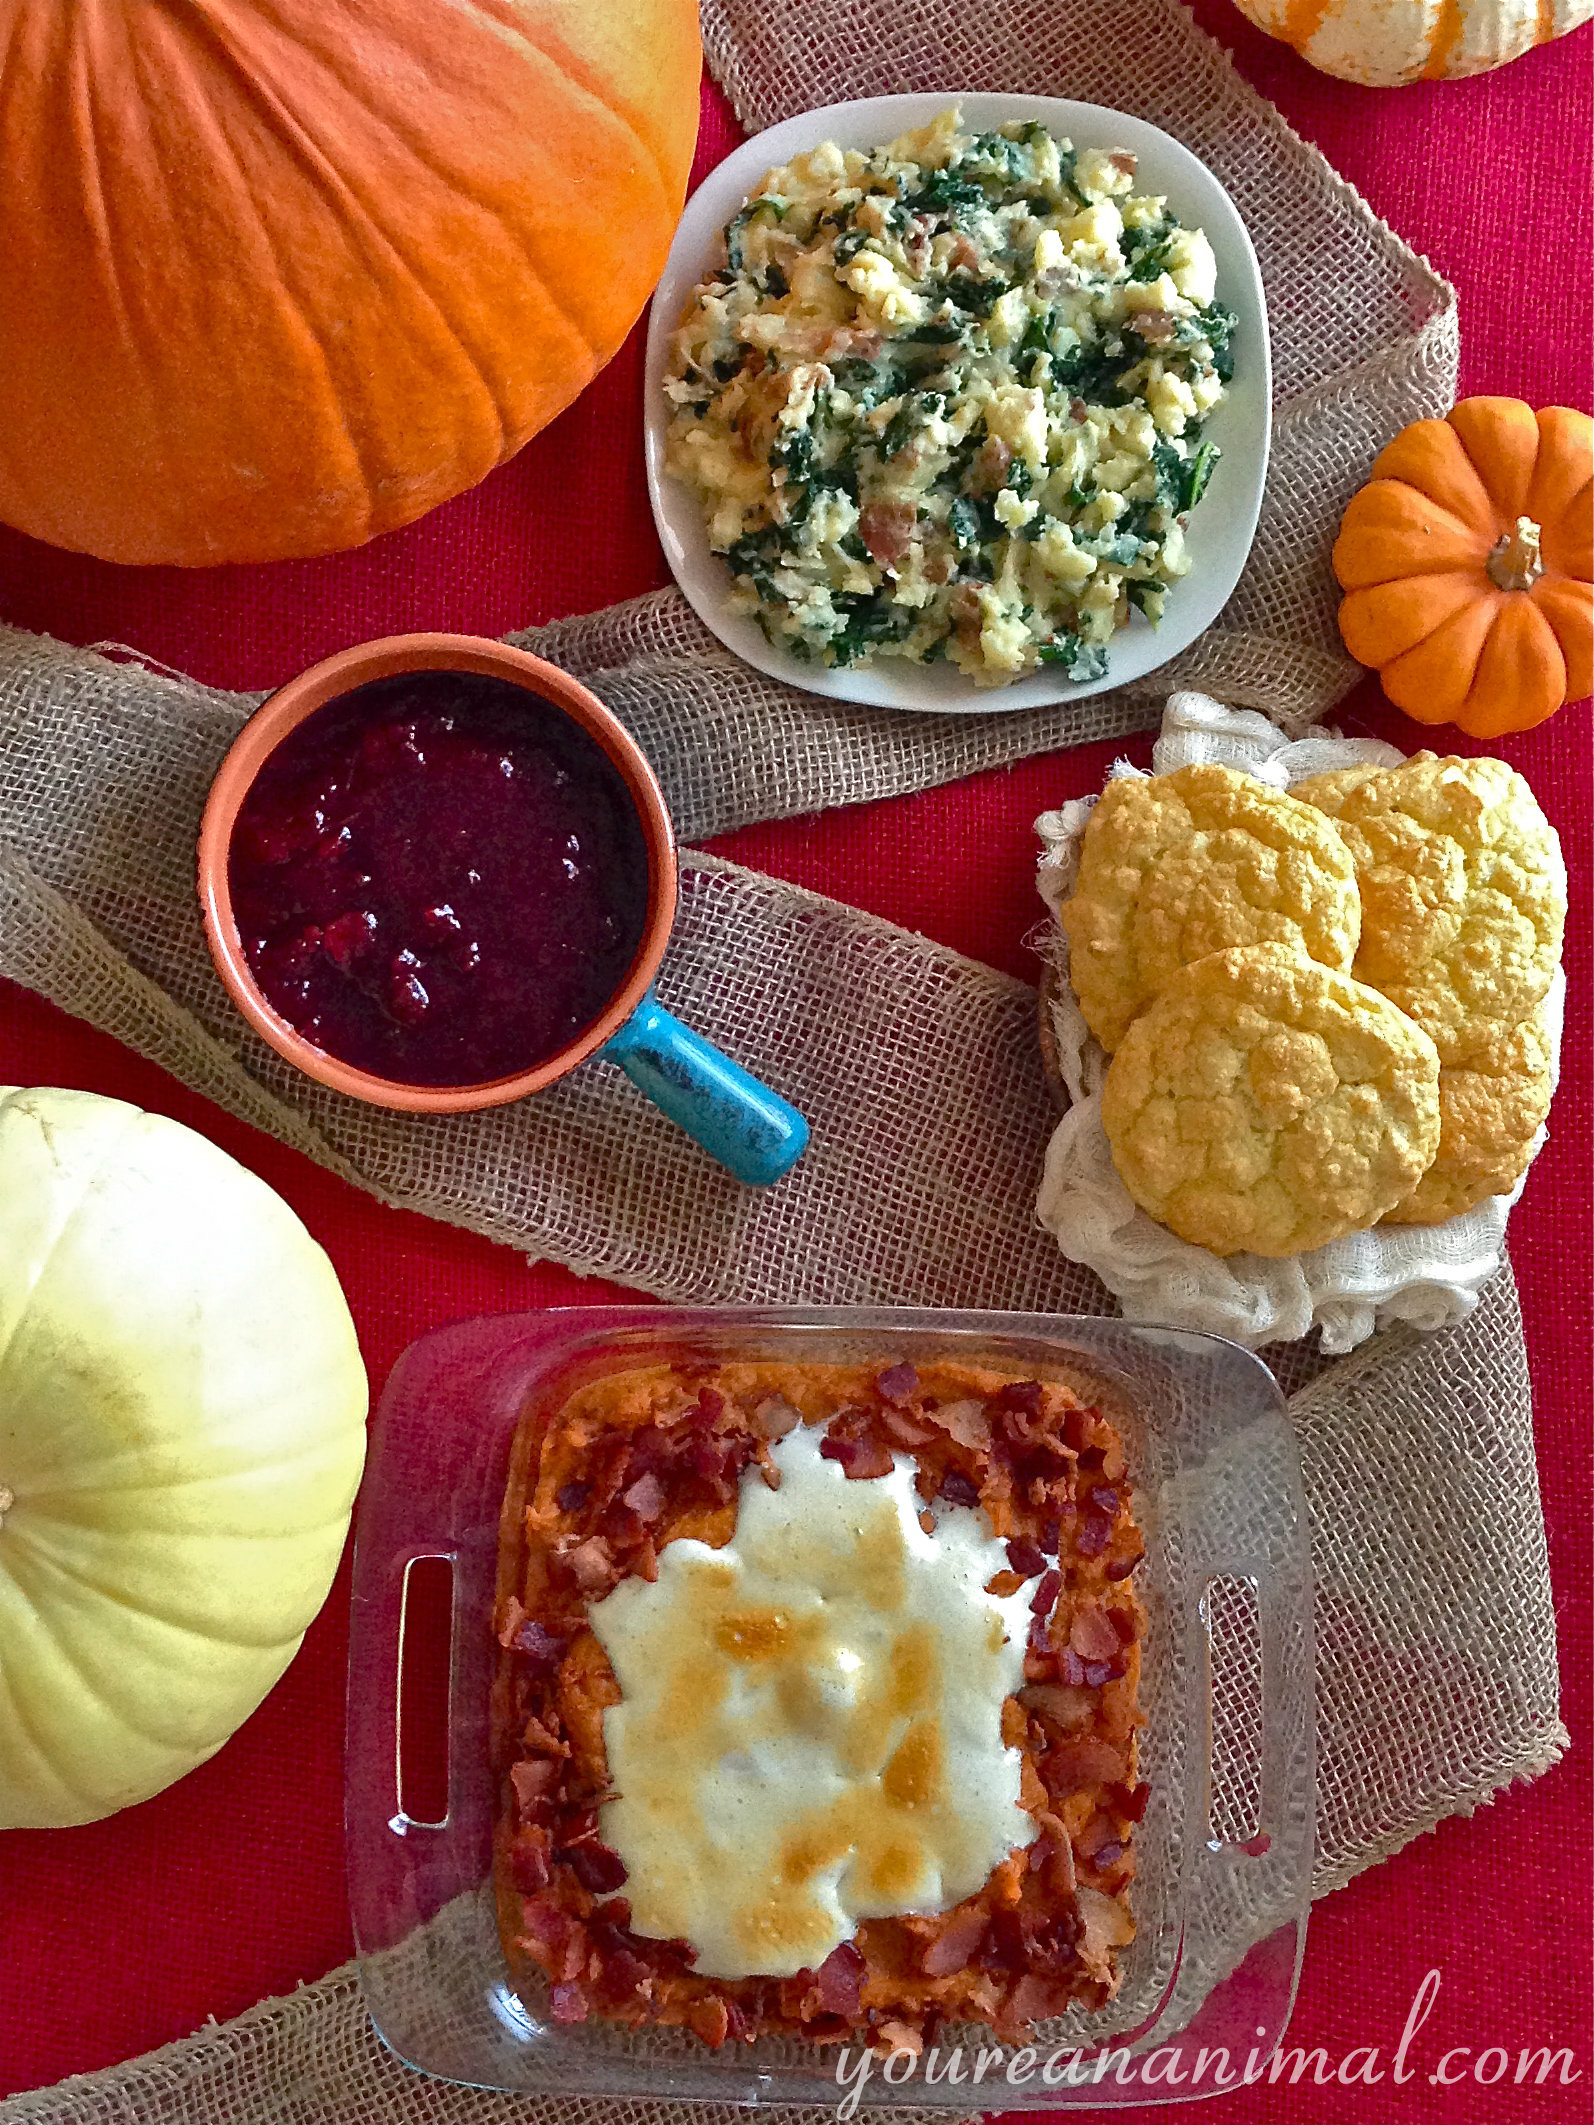
Thanksgiving is such a wonderful day. No presents, no pressure, just an abundance of food and family. But Thanksgiving can be a minefield of gluten-filled carbs, and sugar-overload. So in this series of “Thanksgiving Cleaned Up,” I’ve taken some classic Thanksgiving staple foods and made them a little bit less detrimental. You can check out my other posts, Sweet Potato Casserole, Garlic Kale Mashed Potatoes, and Pinot Noir Cranberry Sauce and have yourself a slightly less guilty, but certain not less hearty, Thanksgiving feast! Wonderful additions to this series would be my Autumn Salad and my Grain-Free Pumpkin Bread!
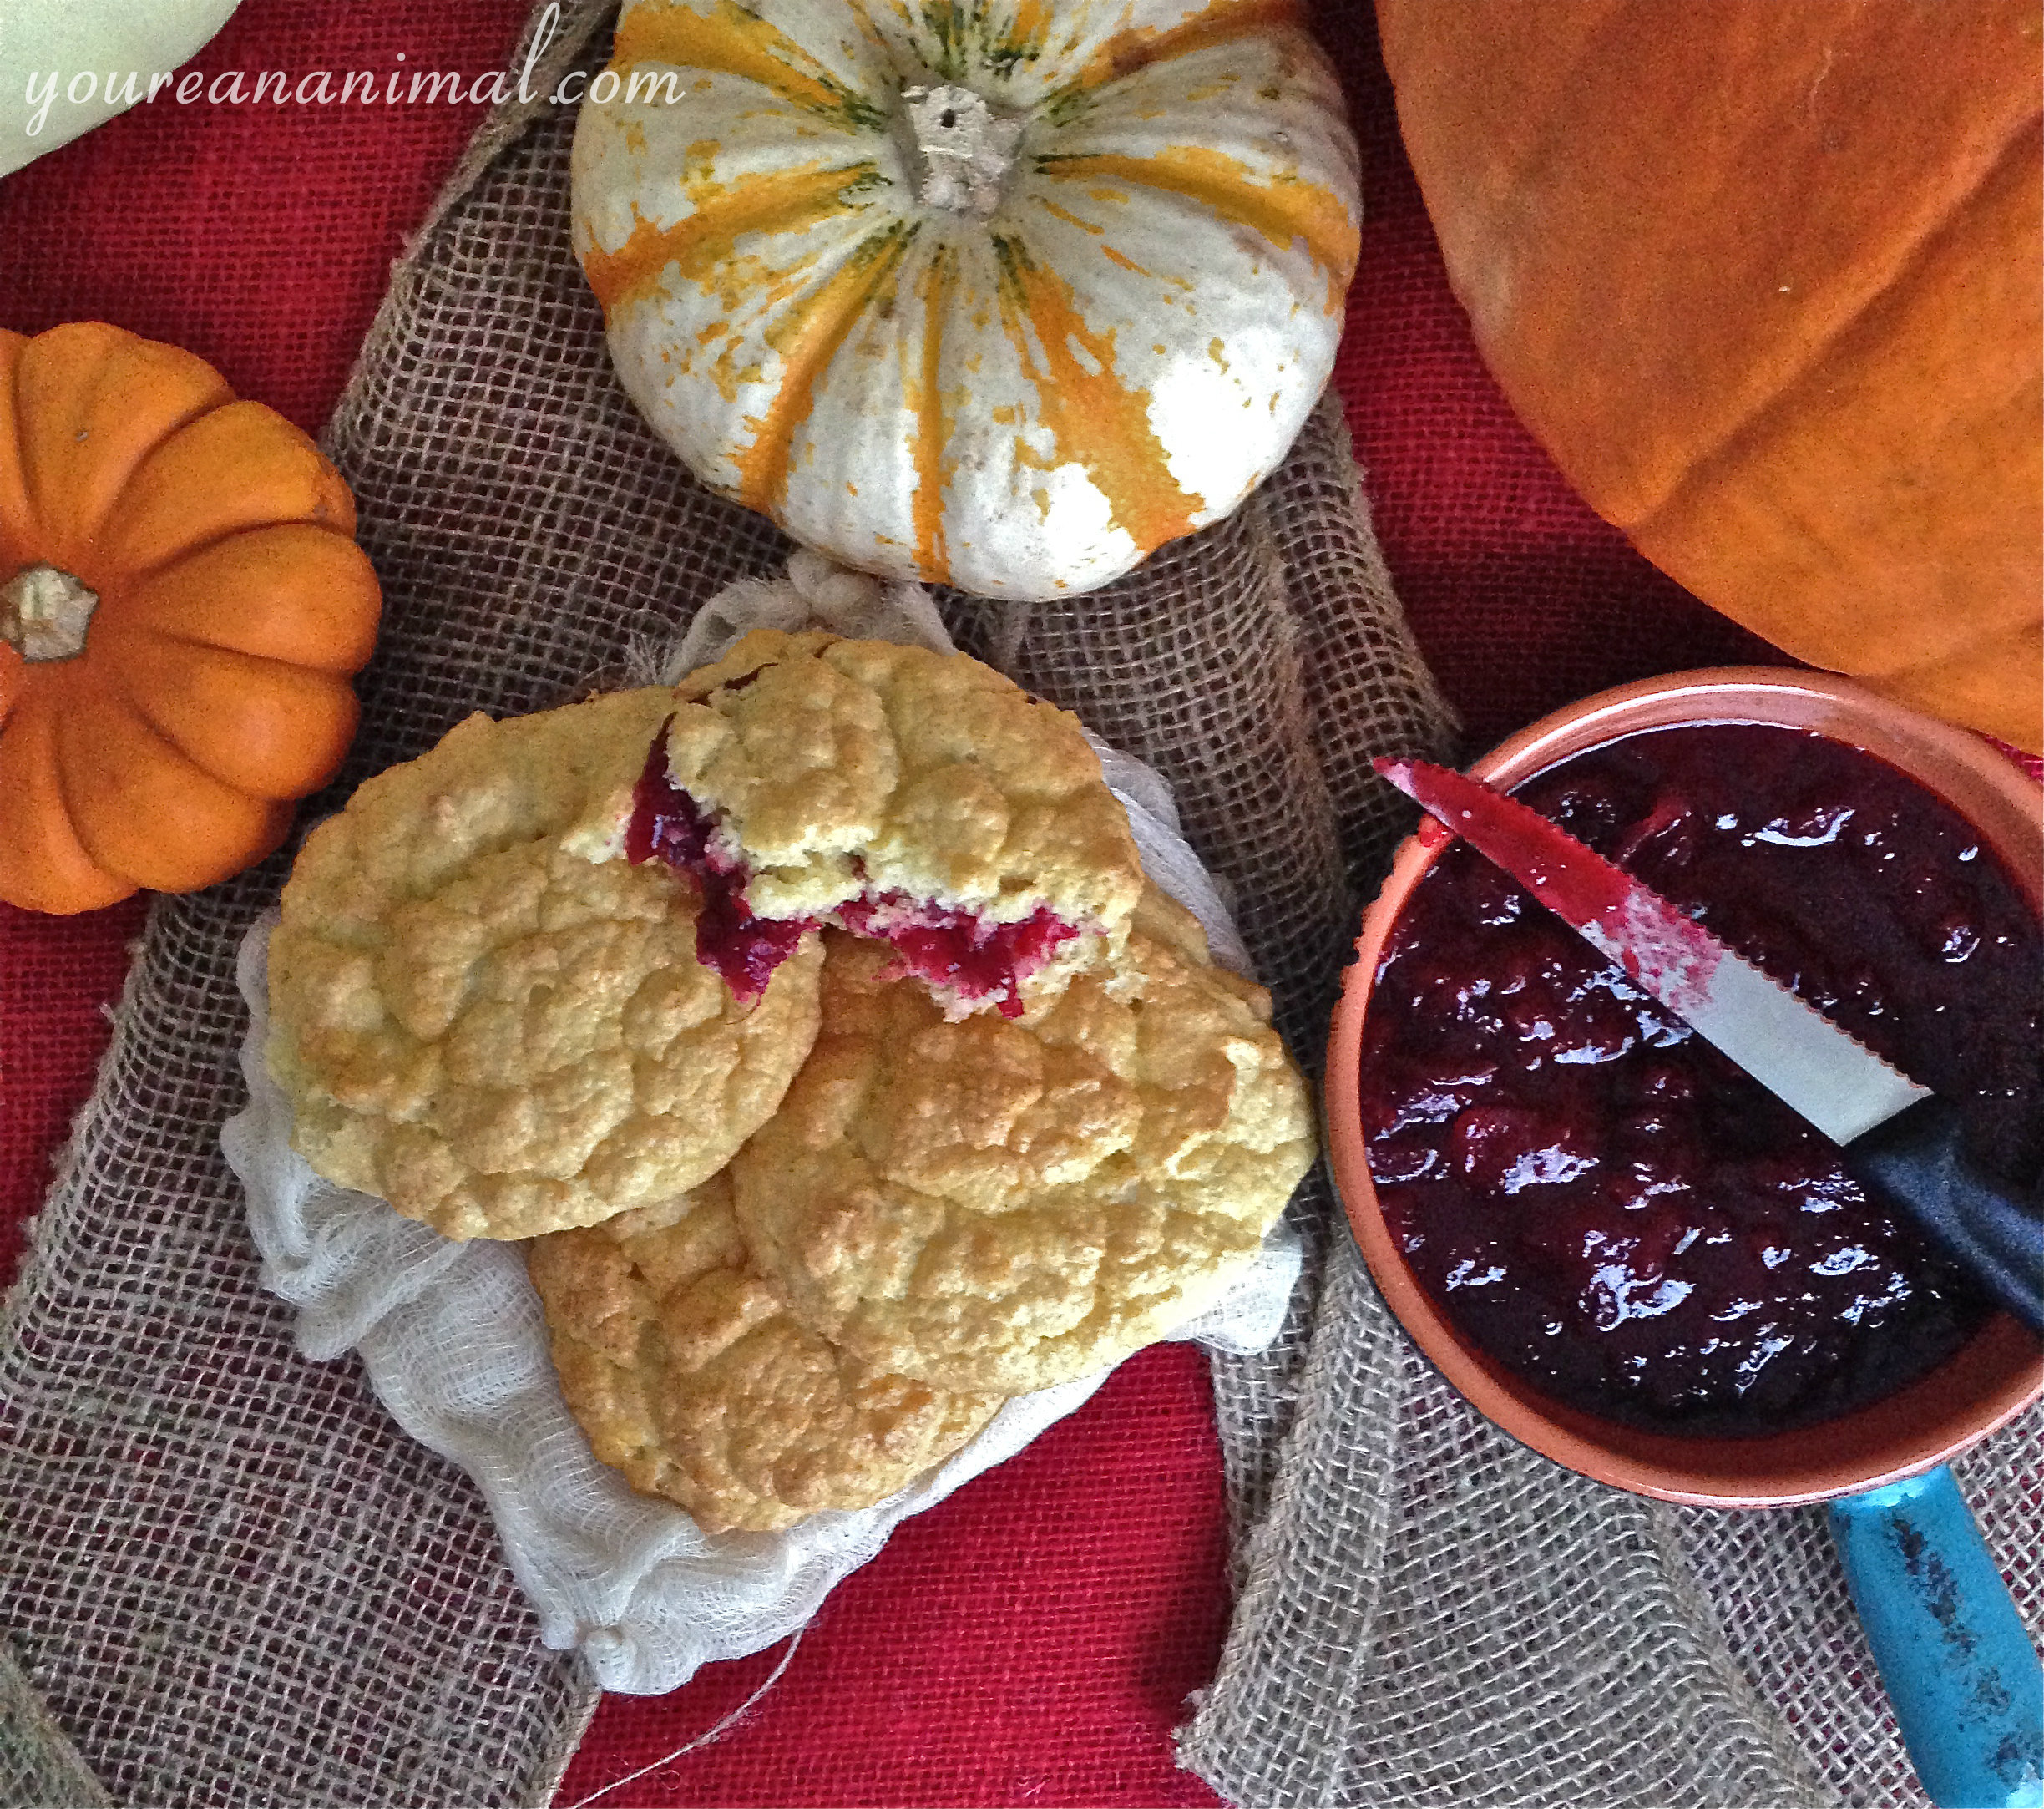
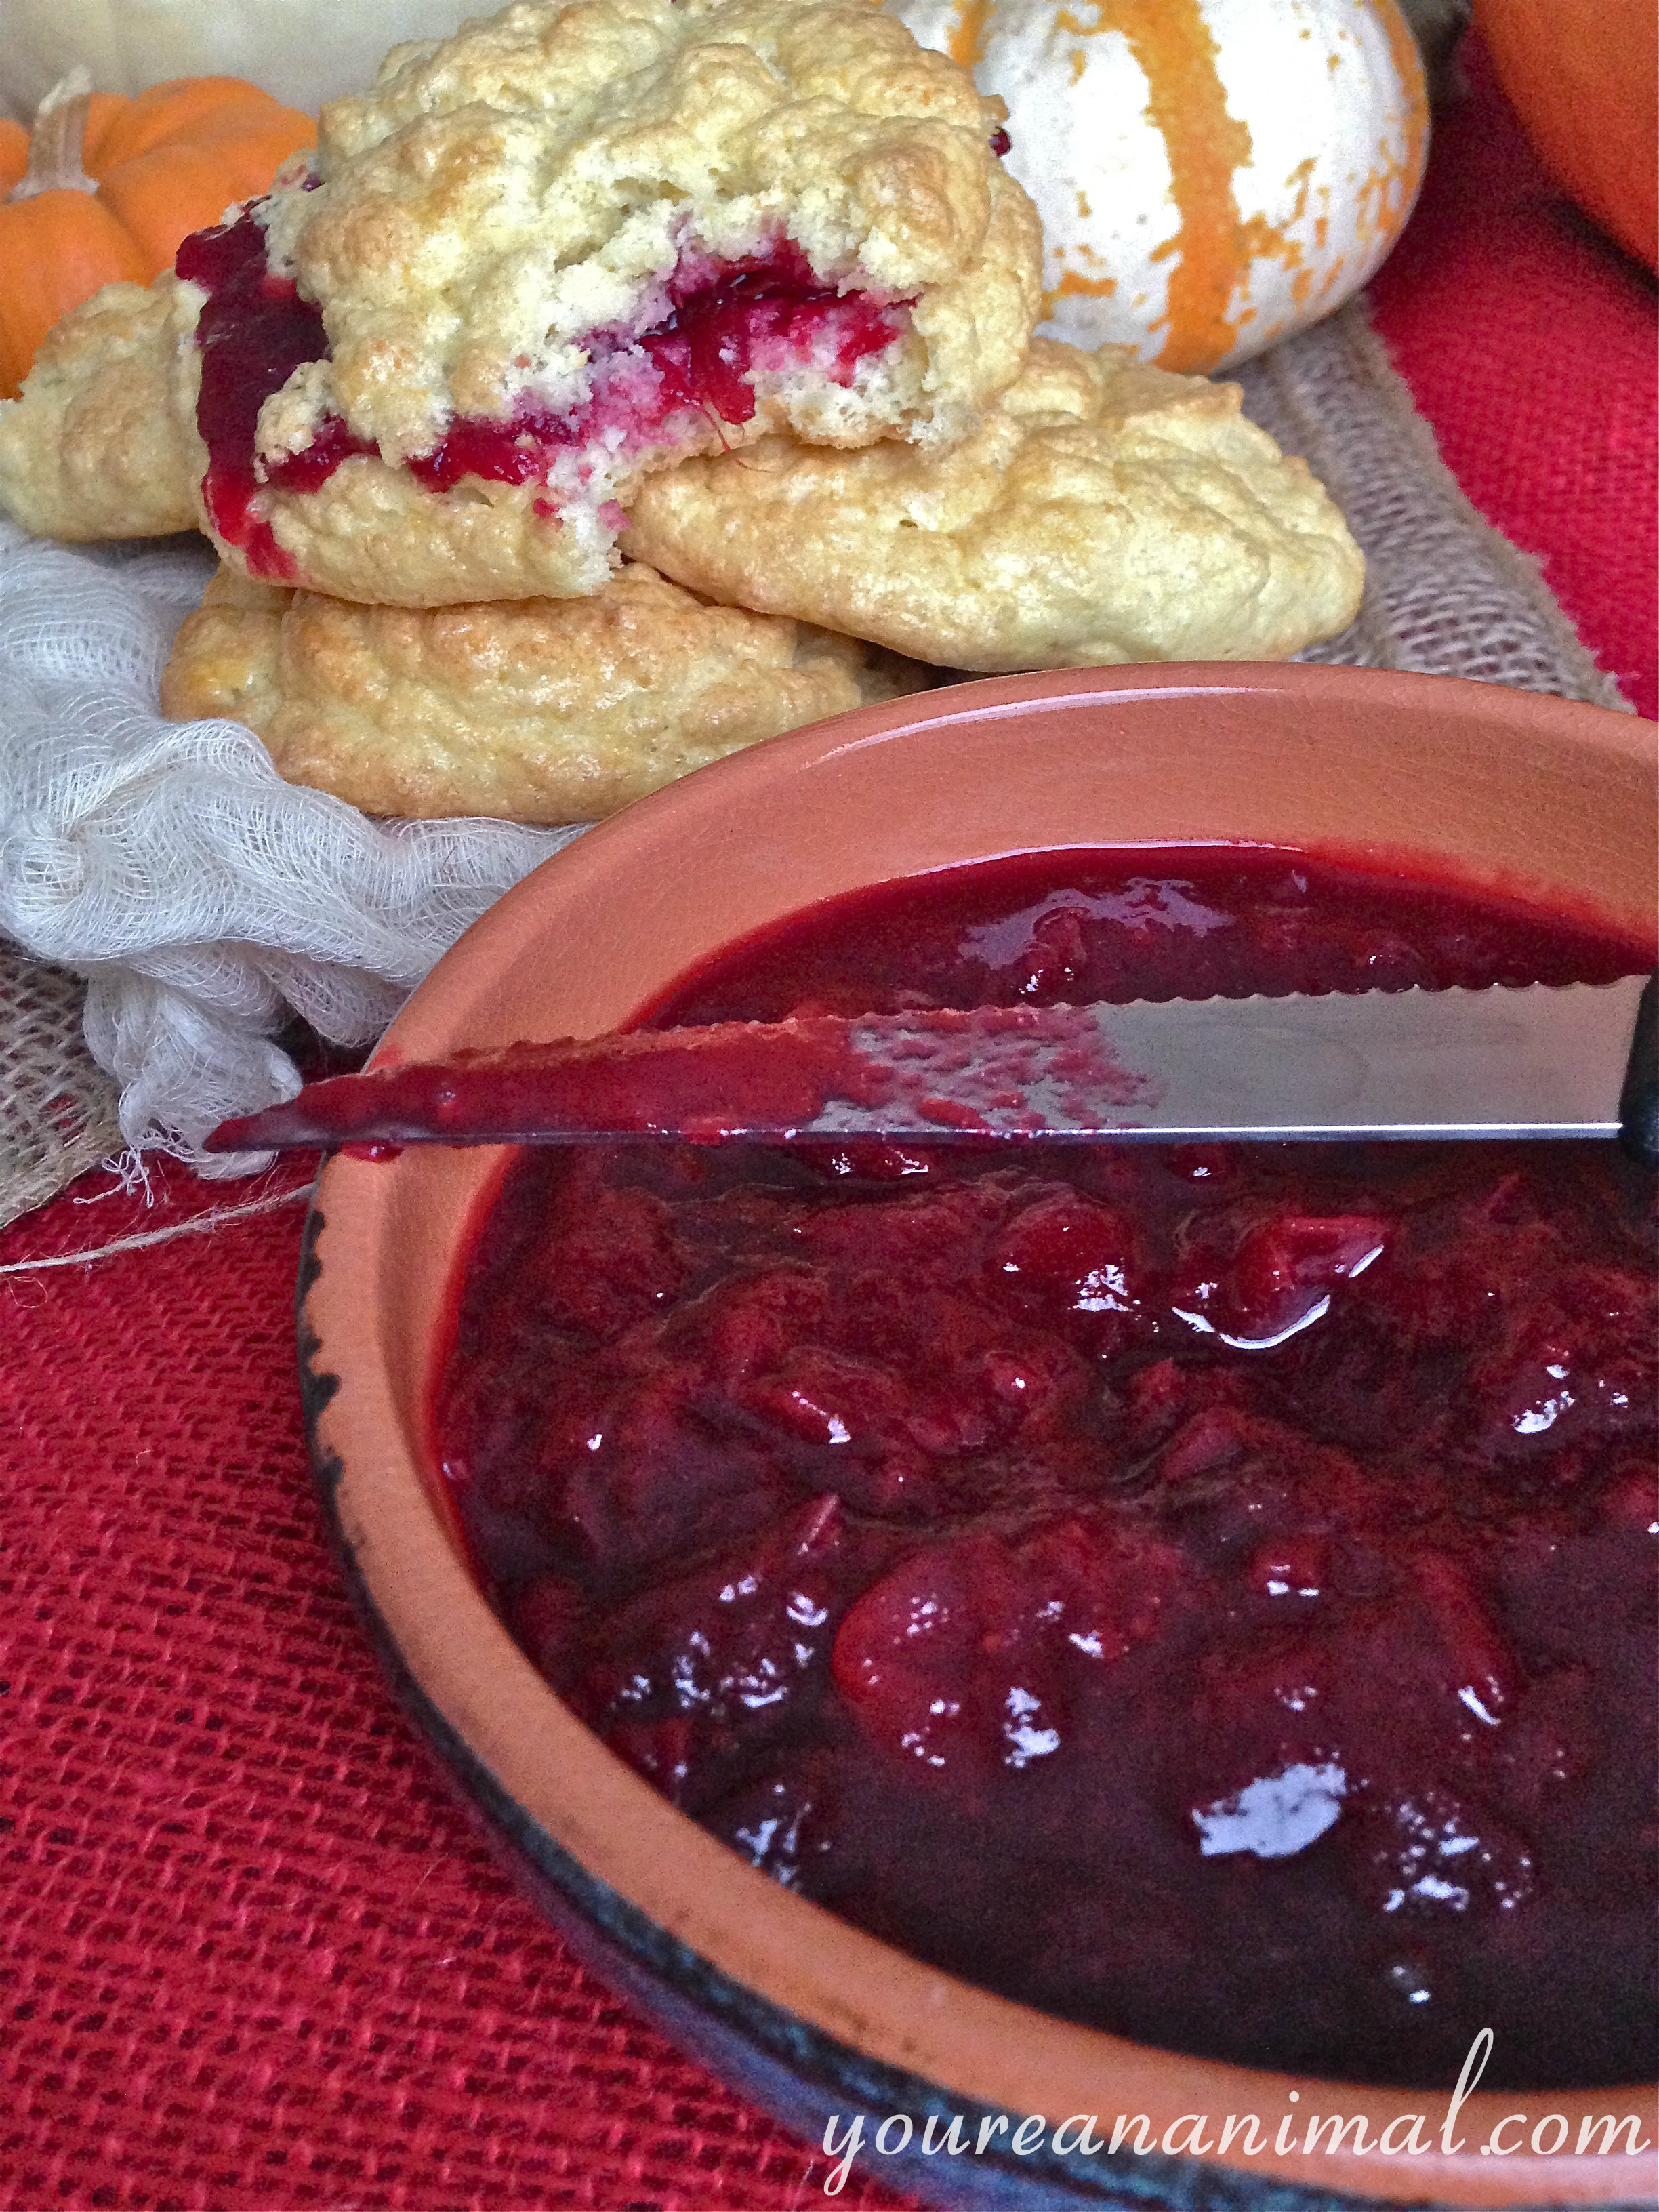
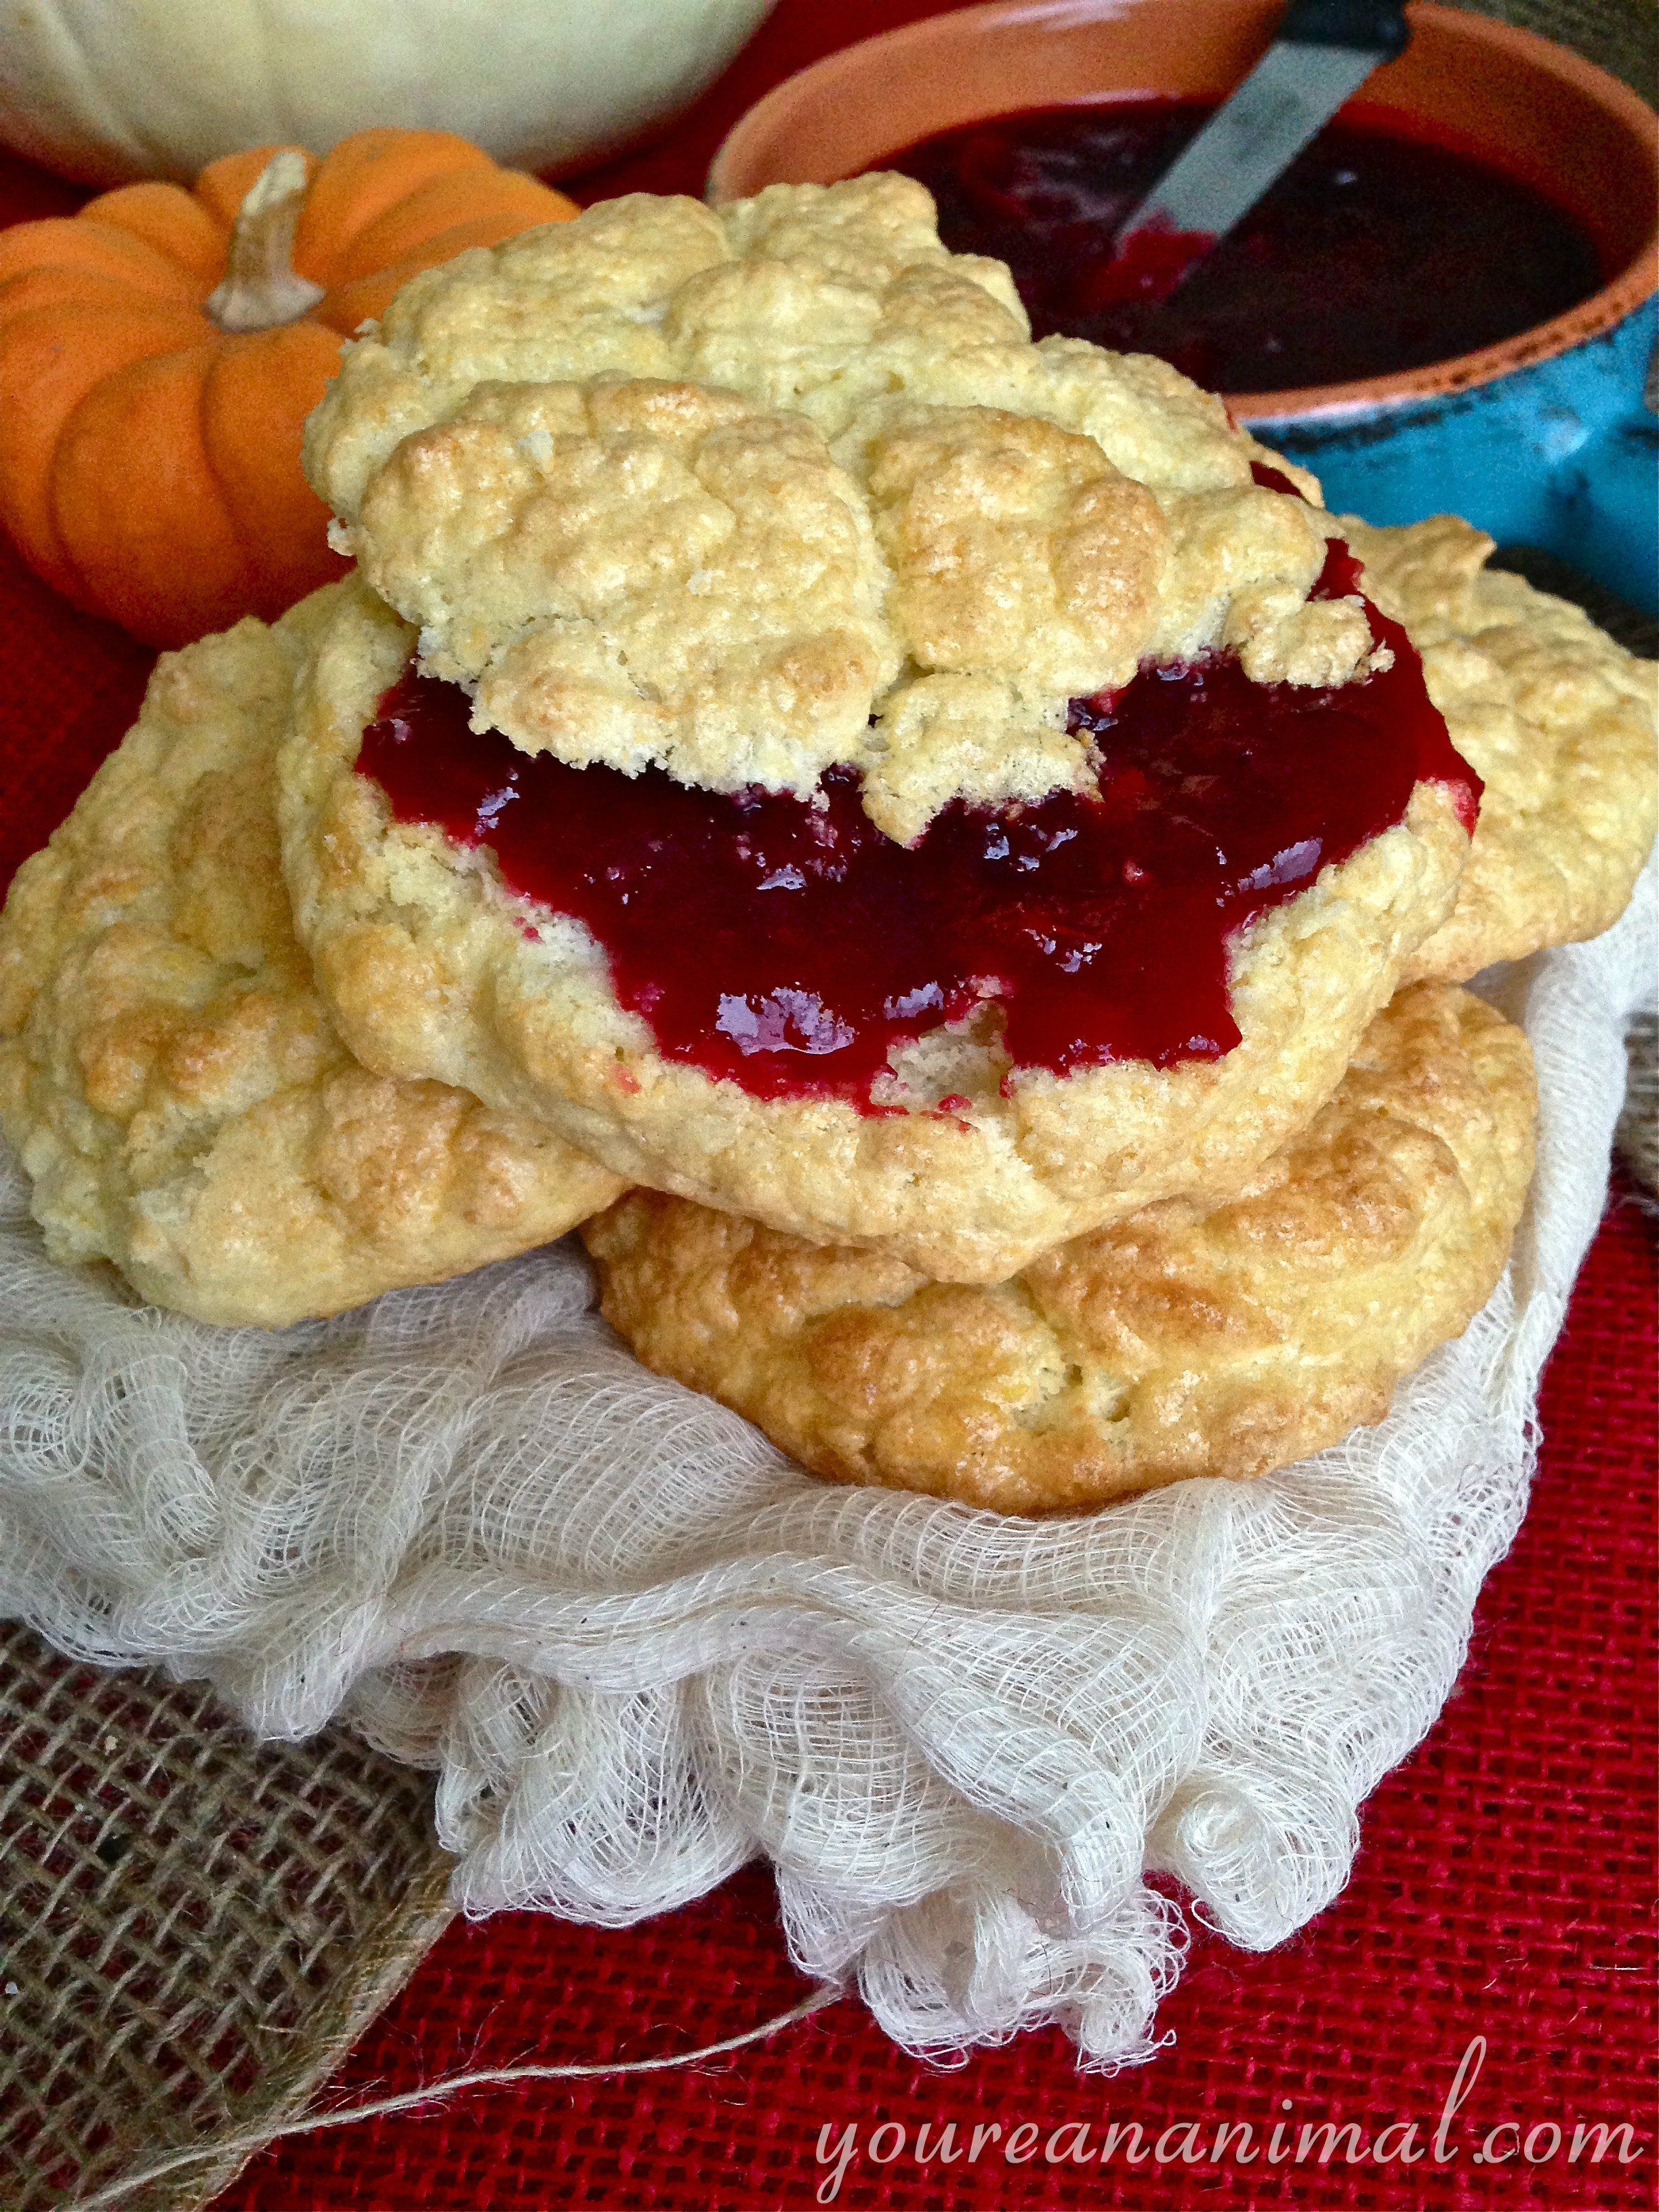
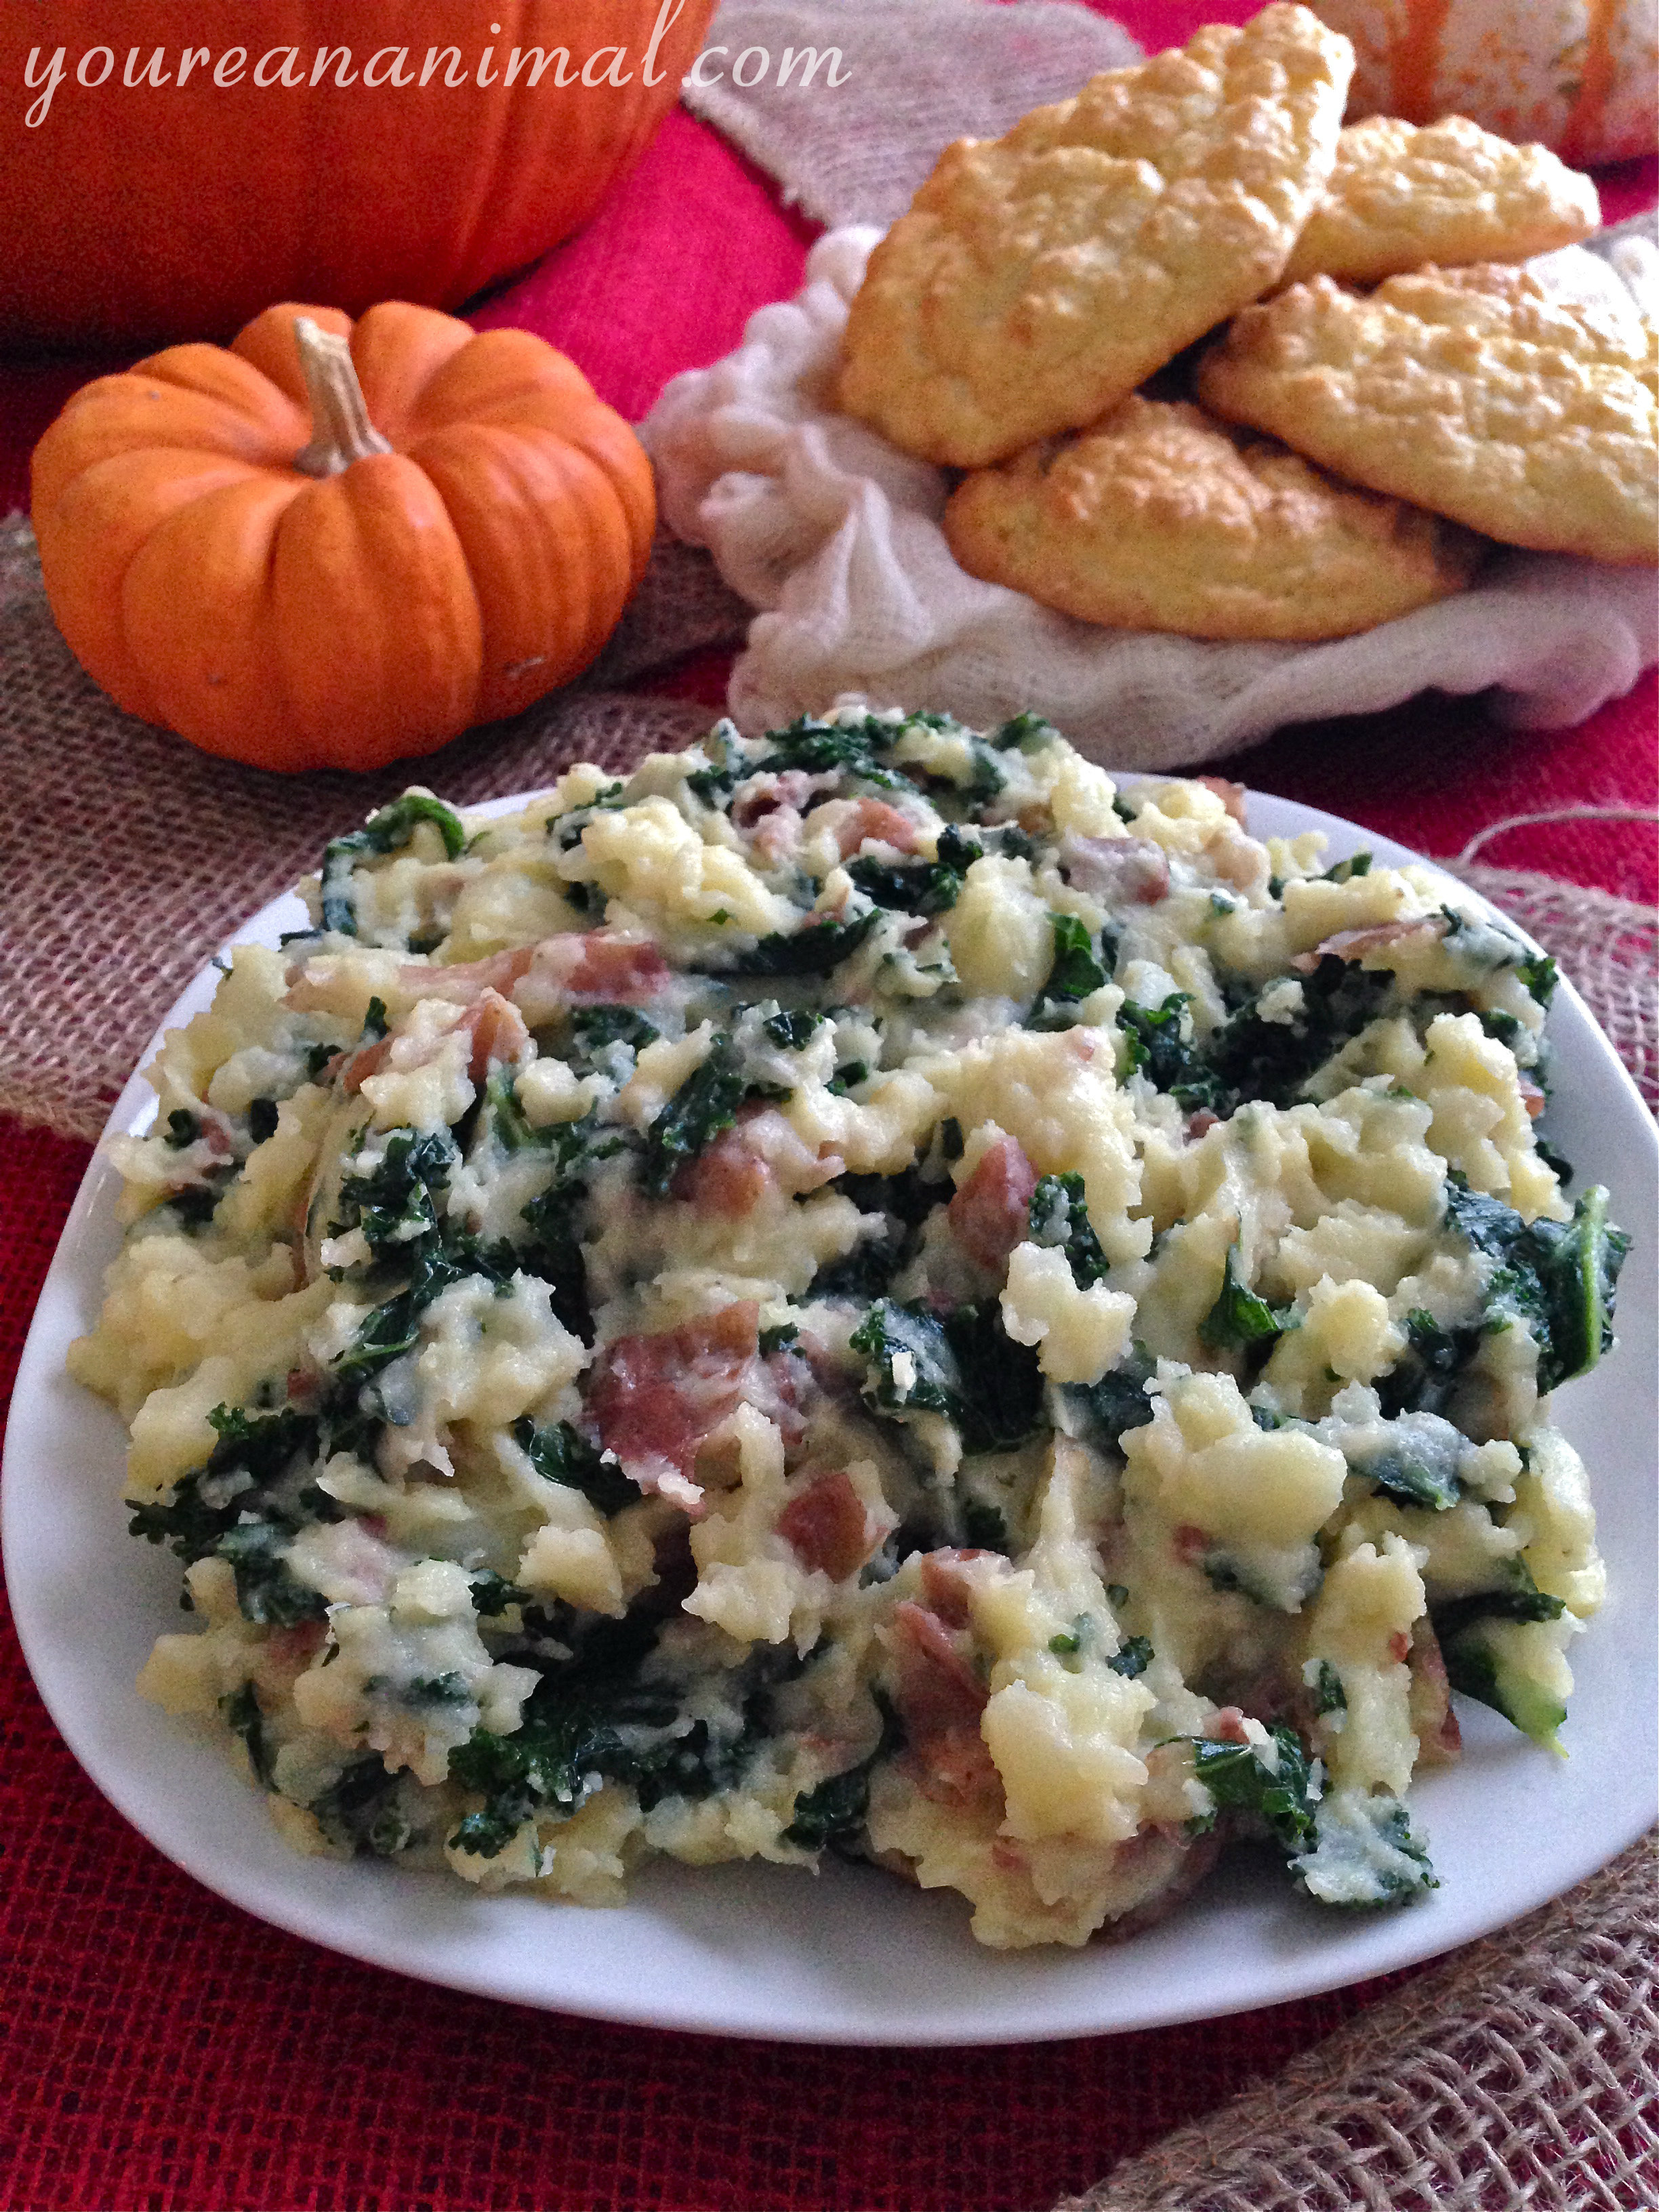
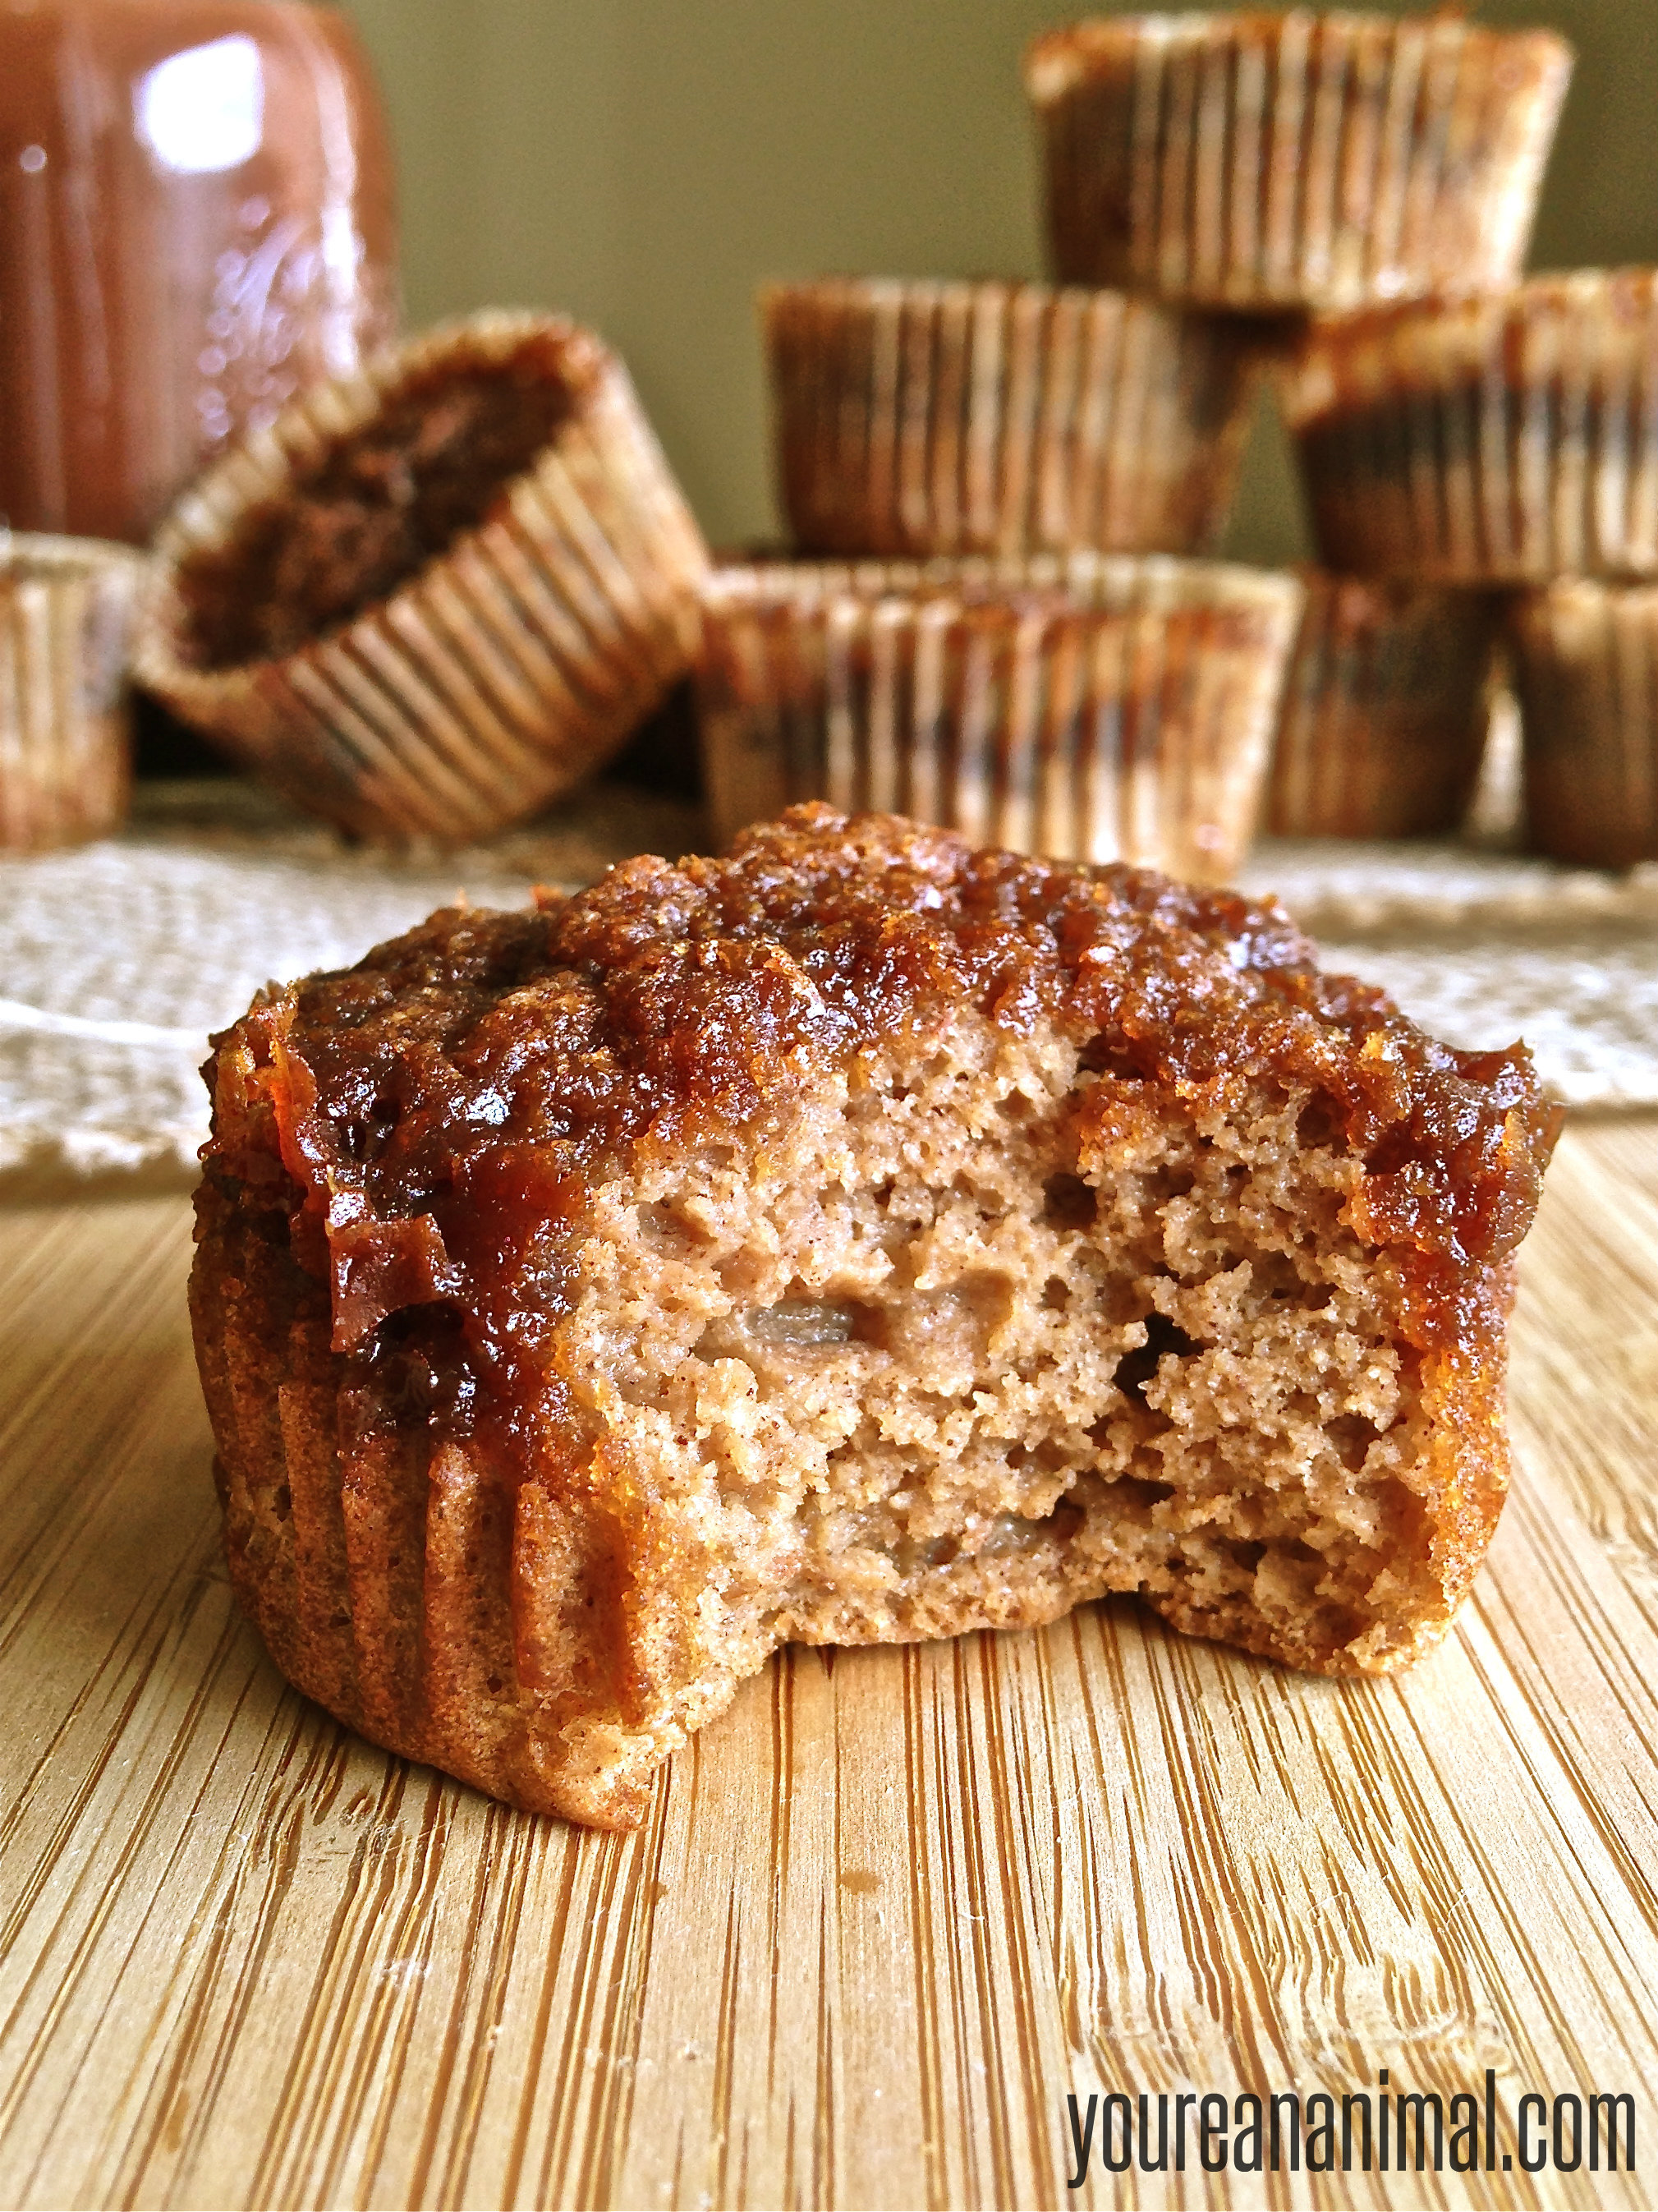
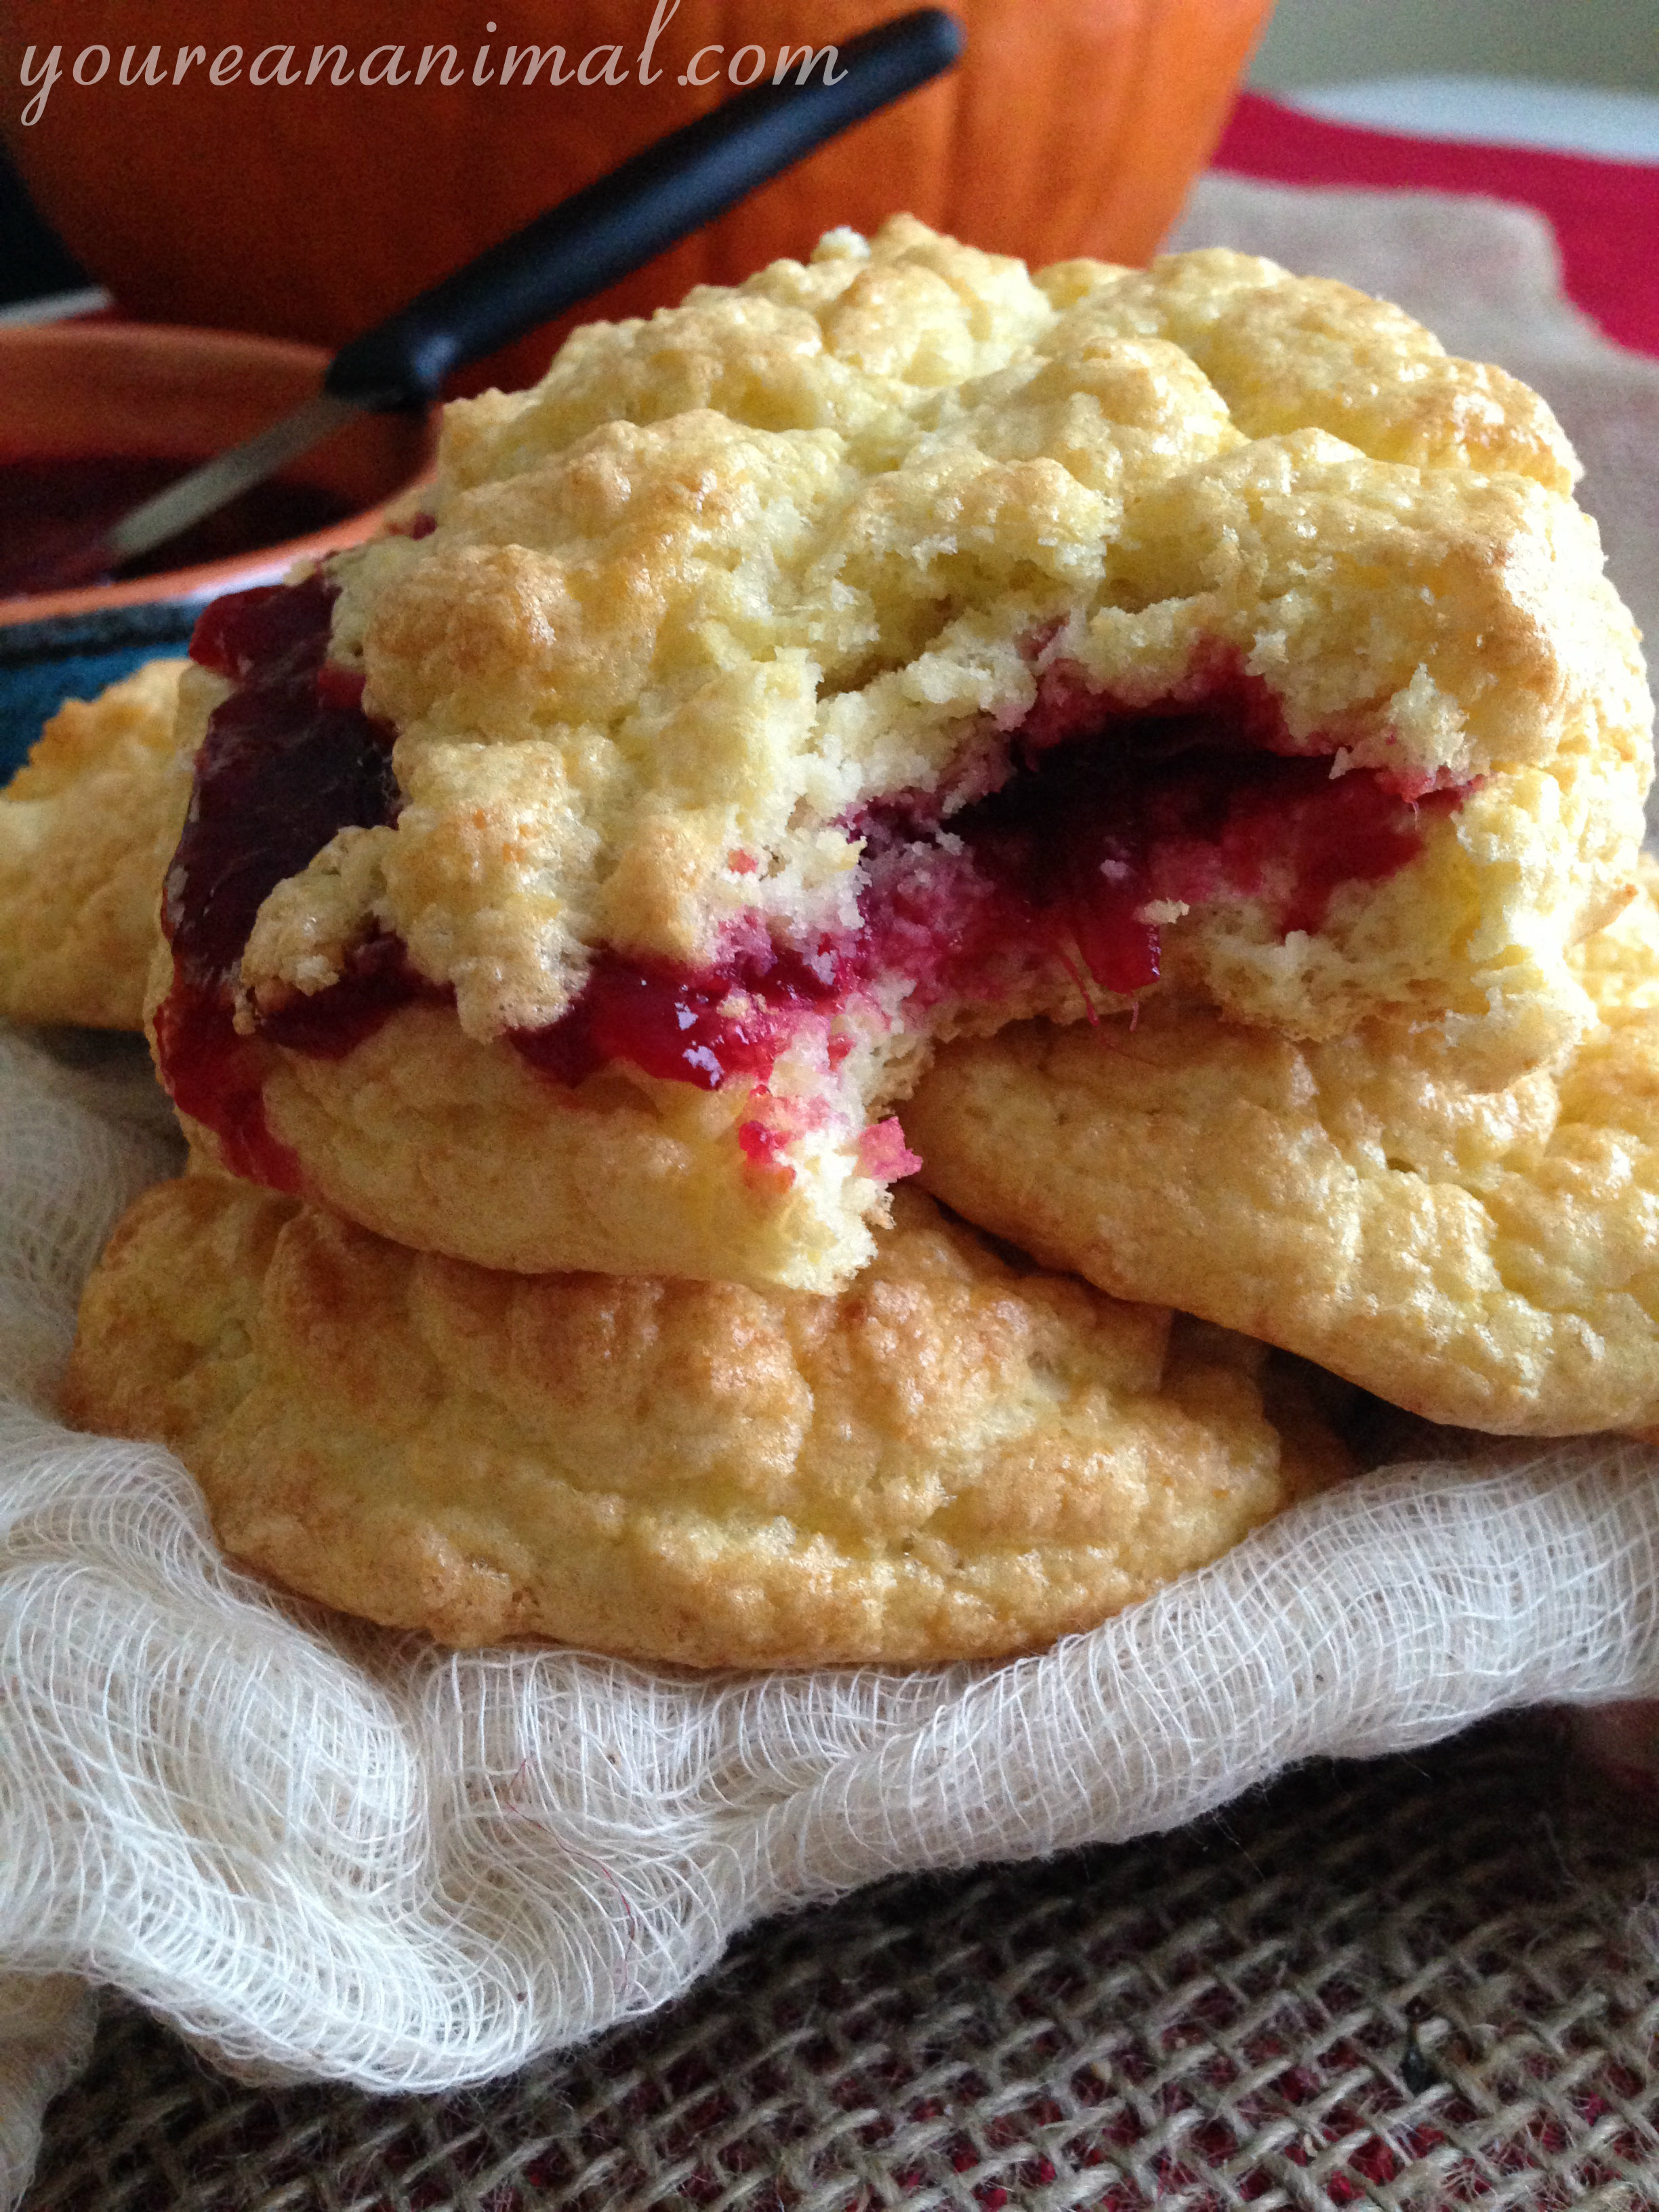
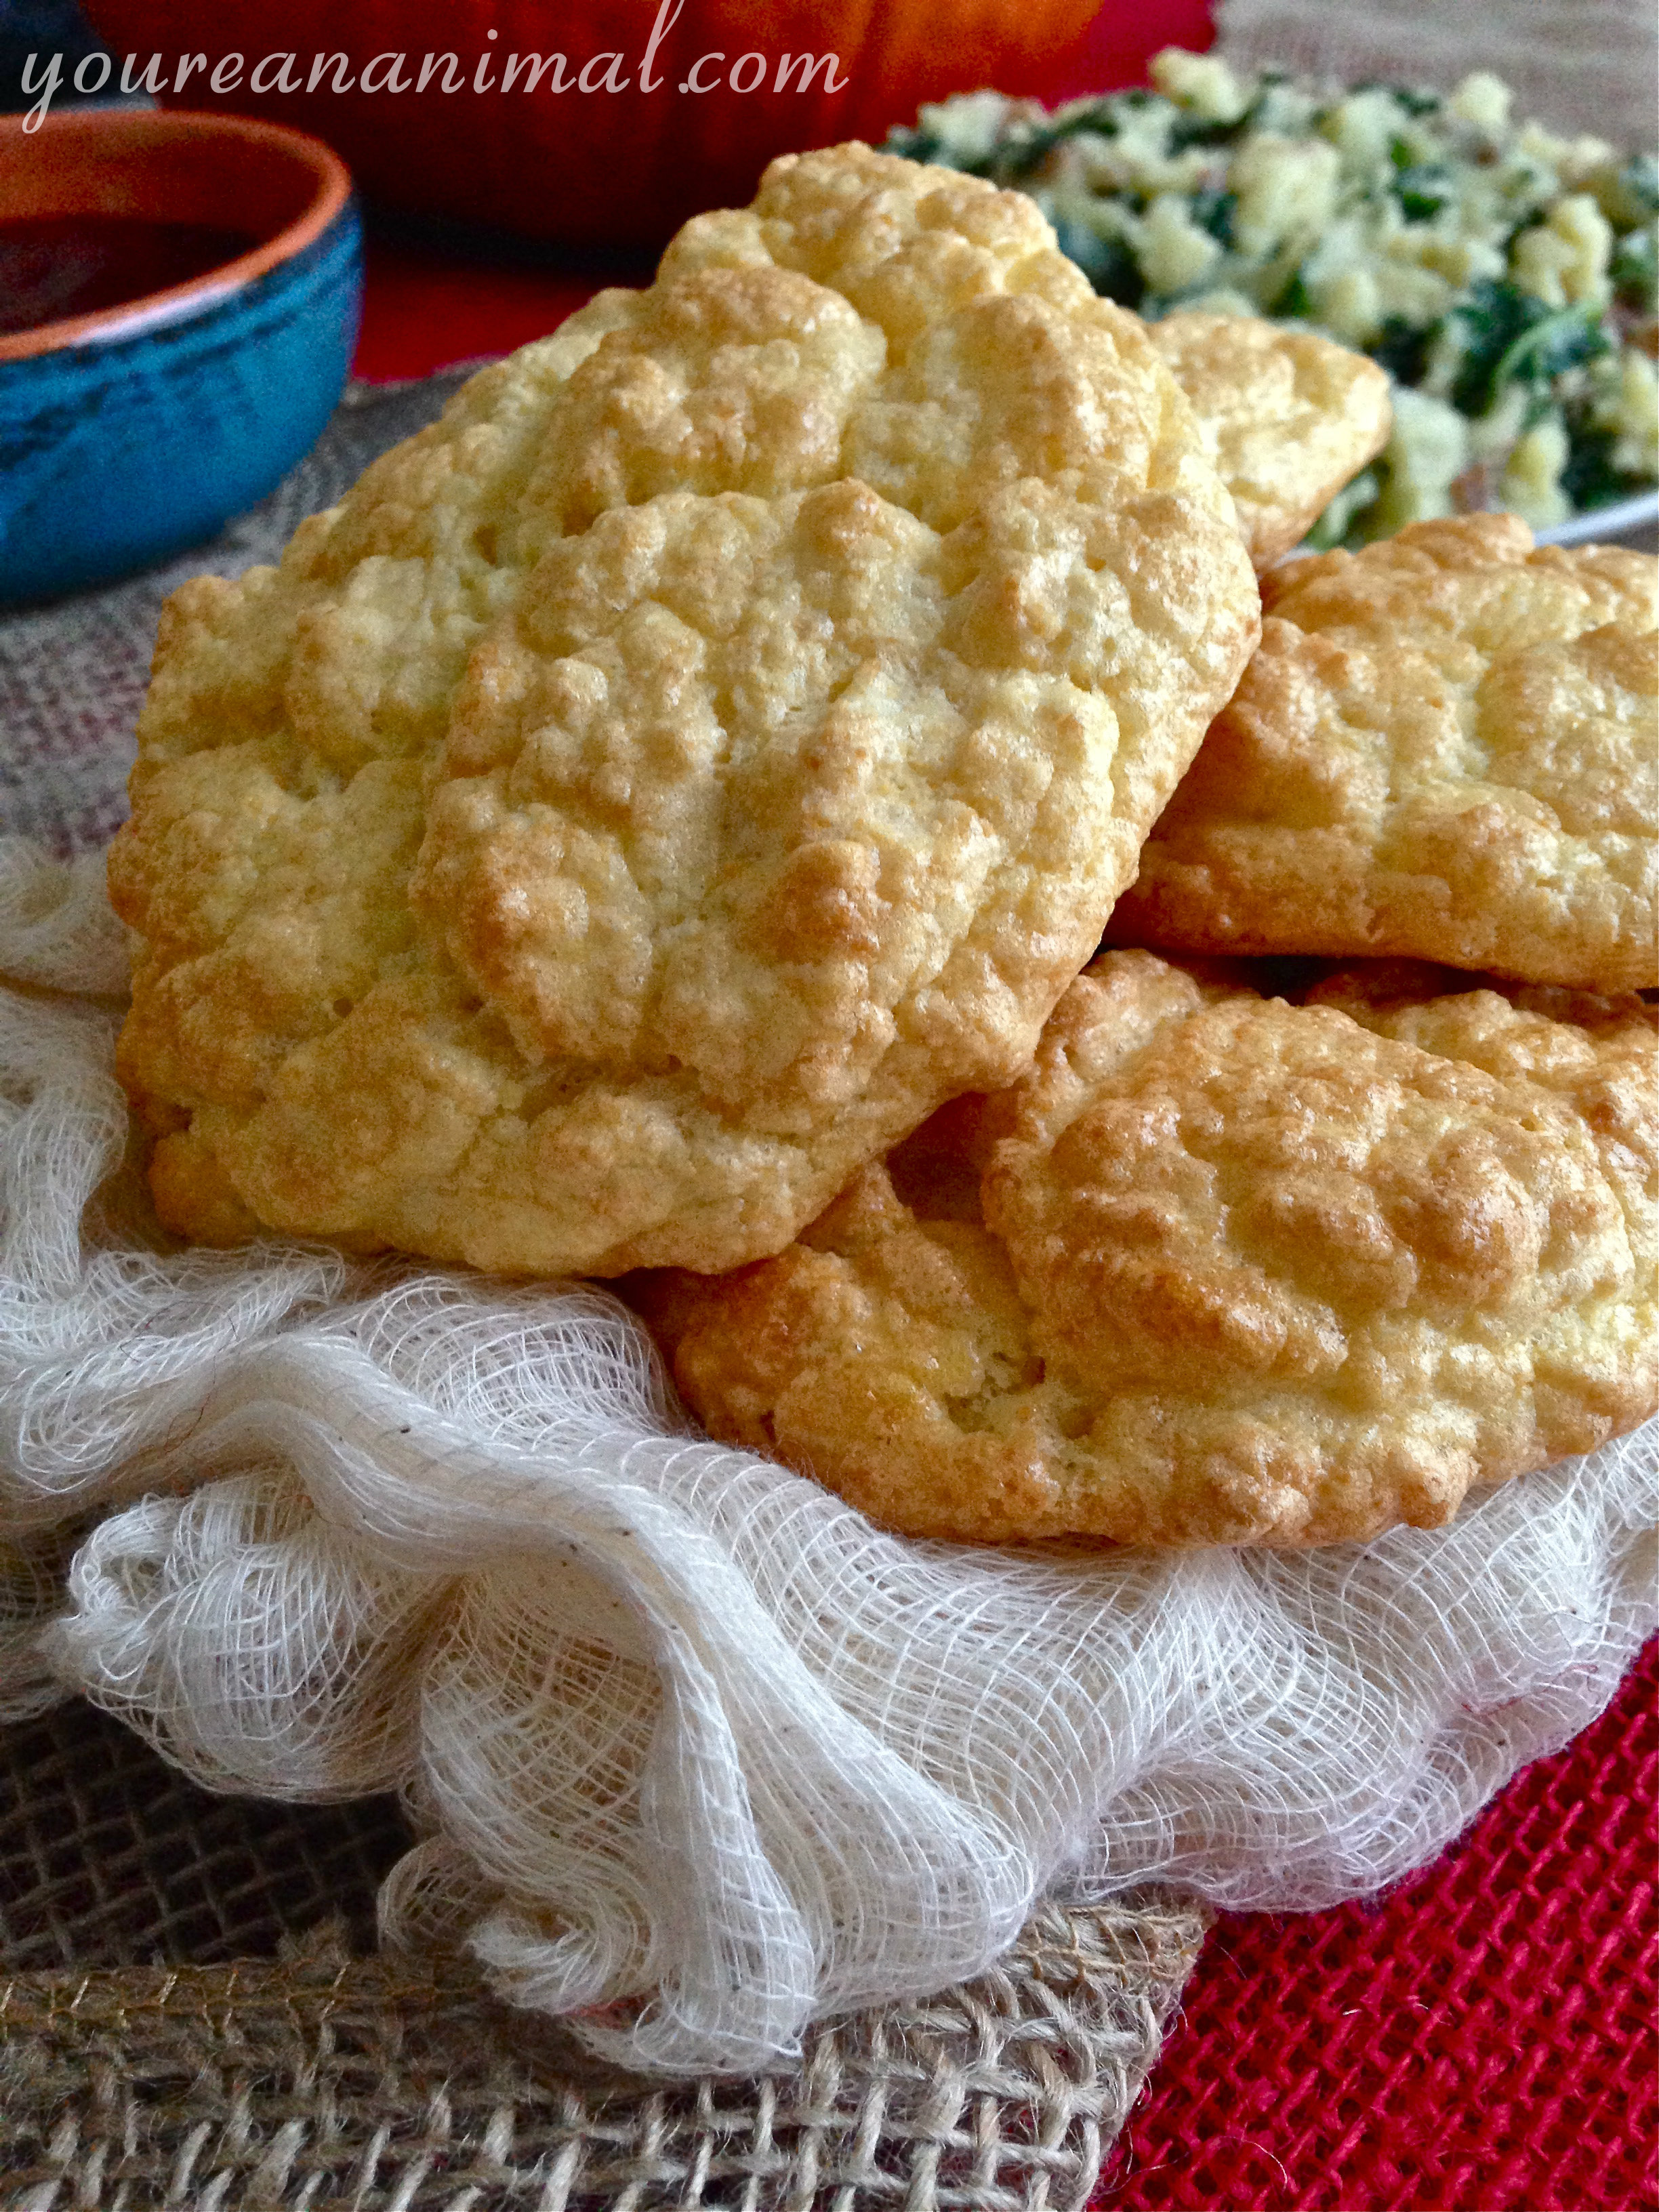
These biscuits are super easy to make (although they do require a little bit of clean up), and I pretty much always have the ingredients on hand. For that reason, they have become a weekend brunch go-to in our house. But they also fit right in while traditional Thanksgiving fare! I adapted this recipe from this one by Paleo Comfort Foods. I tried the original recipe first, but they tasted too coconutty, and crumbled way too easily. So I changed the flour combo, and they turned out perfectly. Slightly flaky, insanely buttery, with pockets to hold your jelly 🙂 Or in this case, Pinot Noir Cranberry Sauce!
Grain-Free Drop Biscuits
- 4 eggs, yolks and whites divided (place your egg white in a large mixing bowl, and your yolks in a small bowl off to the side)
- 1/4 cup coconut flour
- 2 Tbsp arrowroot starch
- 2 Tbsp potato starch
- 1/2 tsp cream of tartar
- 1/2 tsp baking soda
- 4 Tbsp cold butter
- Preheat oven to 400 degrees F and line a baking sheet with parchment paper.
- In a medium sized mixing bowl, combine your dry ingredients (coconut flour, arrowroot, potato starch, cream of tartar and baking soda)
- To your dry ingredients, cut in your cold butter. This is like making a pastry or pie crust. You can use a pastry cutter, but I just quickly use my hands to combine the butter with the dry ingredients, until the butter is in pea-sized bits. Place this flour/butter combo in the fridge so it stays cold.
- Using an electric mixer, beat the egg whites until they become a foam. Continue to beat until soft peaks form at the end of your beaters when you remove it from the mixture.
- Carefully fold your egg yolks into your egg white mixture using a rubber spatula, until no streaks remain and the mixture is a solid, light yellow color. The whites will lose a little volume, but should still be pretty fluffy.
- Fold in your flour and butter mixture with your rubber spatula, again being careful to mix thoroughly without losing too much volume in the egg whites. The batter will be runny, like a cake batter.
- Spoon the batter onto the parchment paper into 4 equal drops. Give each biscuit space, as they will expand while baking. Do not flatten them out, just leave them in the shape in which they drop on the parchment.
- Bake the biscuits for 12-17 minutes, or until they have risen and are golden brown on top.
- Serve hot.
Makes 4 large biscuits.