Chocolate Covered Peppermint Marshmallows (Made with Honey)
This is a Christmas post, coming to you on December 30th. It was fully intended to be in perfect holiday timing, ready for you to make and take to your favorite host or hostess and share with your family and friends. However, last Tuesday, the 23rd, when I intended to create this post, I instead woke up with the flu and was completely derailed. No website, no last-minute Christmas errands, just me and my couch, my two blankets, my hoodie, and copious amount of Turmeric Tea. So now it is coming to you, in fully restored health, an entire week overdue. But, better late than never, right? It’s almost New Year’s Eve, and this would still make the perfect host/hostess gift. Use up the last of those candy canes, and indulge in one last sweet treat before the bewitching day of January 1st when the gyms are full of wide-eyed people looking to make a change, and healthy cookbook sales skyrocket.
Speaking of which, I should mention that this will be the last sugar-laden recipe I make for a little while. Sugar has always been my downfall, and I have tried and tried to give it up. However, the restrictive nature of a “detox” always makes me want it even more. So I’ve decided to take a different approach. Instead of telling myself that I am not making sugary treats, I have decided to see it as an opportunity to explore new recipes… you know, with actual veggies and meats and… stuff. I’ve always been a baker, but I want to try my hand at more actual “cooking.” And so, with the turn of the calendar, I start that adventure. Yay!
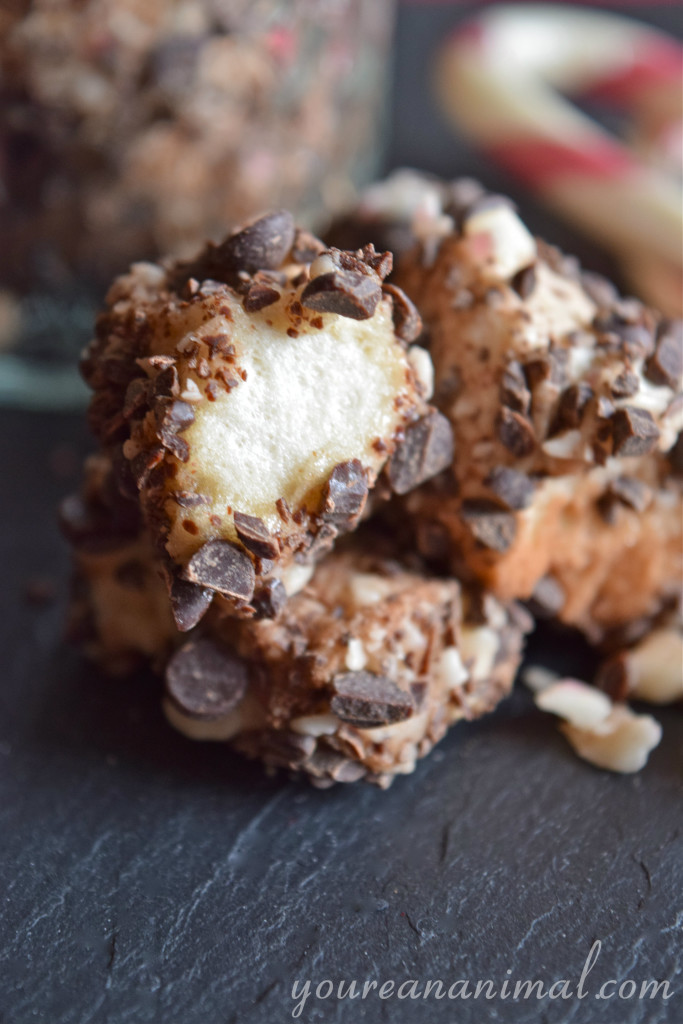
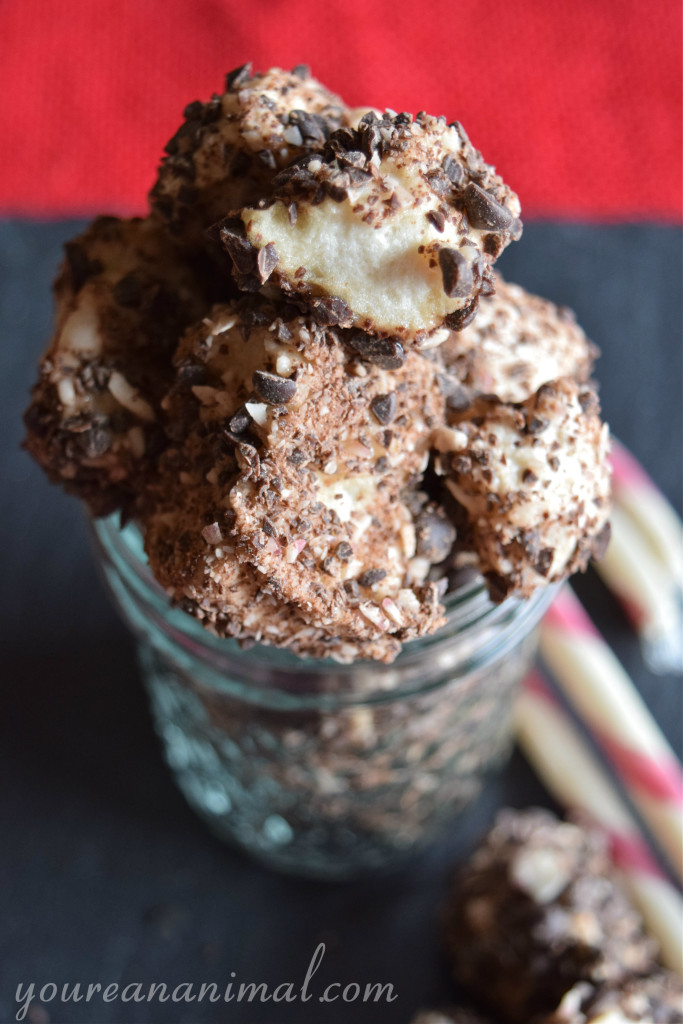
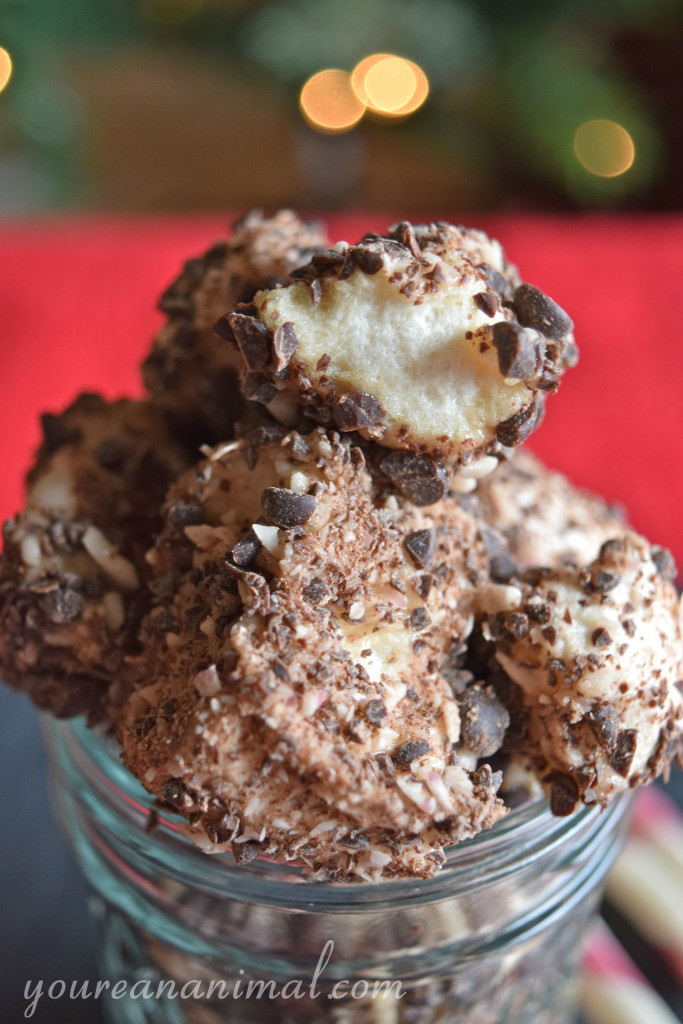
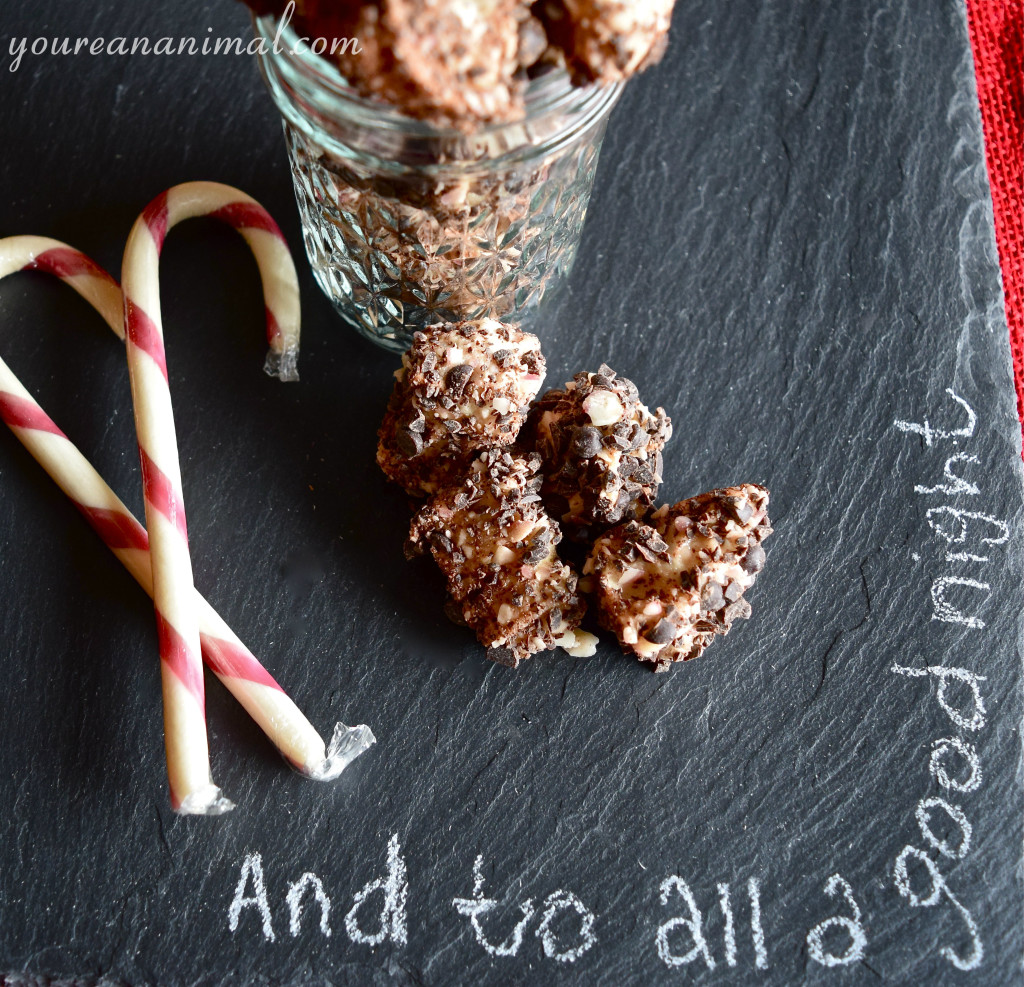
As for this recipe, making marshmallows probably sounds totally daunting and not worth it. But I can promise you, it is so much easier than you would think. And when you realize how much crappy HFCS and other who-knows-what ingredients go into your store-bought marshmallows, making your own, with just honey, water and gelatin, seems like the obvious choice. Homemade marshmallows, if you’ve never had them, are incredibly light and delicate. As trite as it may sound, they actually do just melt in your mouth. I love this version, because my favorite flavor combination is chocolate and peppermint. There is just something about that combo that says “holidays” for me. This is very reminiscent of chocolate bark, which is a beautiful holiday tradition in itself. Not to mention that all of your fellow guests will be totally impressed that you made your own candy. Who does that? You do, of course!
Chocolate Covered Peppermint Marshmallows
This recipe is adapted from this one by Urban Poser. If you have any issues, she has many trouble-shooting tips that can be very helpful.
- 1 cup unfiltered honey
- 1 cup water
- 2.5 Tbsp powdered gelatin
- 1 tsp vanilla extract
- 1/2 tsp peppermint extract
- 8 candy canes, crushed (I used TruJoy candy canes, which are organic, corn syrup free, and colored with fruit juice)
- 1.5 cups of chocolate chips, finely chopped (I use Enjoy Life, allergy-free chocolate)
- Note: you will need a candy thermometer for this recipe
- Line an 8×8 inch baking dish with parchment paper.
- In a large mixing bowl, add your gelatin, and 1/2 cup of water. Allow this to sit while you work with your sugar mixture. Also, have an electric hand mixer ready to go for when your sugar is ready.
- To a medium saucepan, add your other 1/2 cup of water, and all of your honey. Turn the heat up to medium-high, and bring to a boil. The mixture will foam up significantly, so be very careful to not let it boil over. If it starts to get to close to the top, remove from the heat briefly. Stir consistently.
- Using a candy thermometer (very important, you cannot do this without one. But good news is you can get one cheap at Walmart!), bring your sugar/water mixture up to the “soft ball” level, or 240 degrees F. This will take between 15-30 minutes. Continue stirring your mixture throughout the entire process, you do not want it to burn on the bottom. Watch your temperature very closely.
- As soon as the temperature is exactly at the “soft ball” mark, remove it from the heat. Immediately start to drizzle your sugar mixture over the gelatin, and mix the two together with your electric mixer on medium. This is a relatively delicate process, because this means you are pouring hot, liquid sugar with one hand, and are using the electric mixer to mix the ingredients with the other. Slowly pour in all of your sugar, in a thin stream, until it is all in your bowl.
- Now use your electric mixer, on high, to combine the gelatine and sugar. This process will take about 5-10 minutes, but as you continue to mix and incorporate, you will notice that the mixture will begin to froth up, slowly lighten in color, and then thicken into a fluff. Even if it seems like it isn’t doing anything in the beginning, just keep going!
- Continue to mix until you have a fluffy, marshmallow-like texture. There will be ripples in your fluff, and it will easily coat your finger. At this point, add the vanilla extract, and peppermint extract, and continue to mix until combined.
- Once you mixture is the consistency of marshmallow fluff, use a rubber spatula to transfer the mixture into your parchment-lined baking dish. Evenly distribute the fluff, and allow to sit for at least 2 hours, or until completely set. Note that this will be VERY sticky, even once set. Do not touch the top. (If you do, it will be like when Clark gets tree sap on his fingers in Christmas Vacation. Yep, I just went there.)
- Once your mixture is set, use a pizza cutter to cut the marshmallows into equal-sized squares (whatever size you prefer). Again, the marshmallows will still be VERY sticky, so it may be helpful to grease the pizza cutter, or your fingers. However, you want them to remain sticky so you can easily coat them, so try not to get the marshmallows too oily.
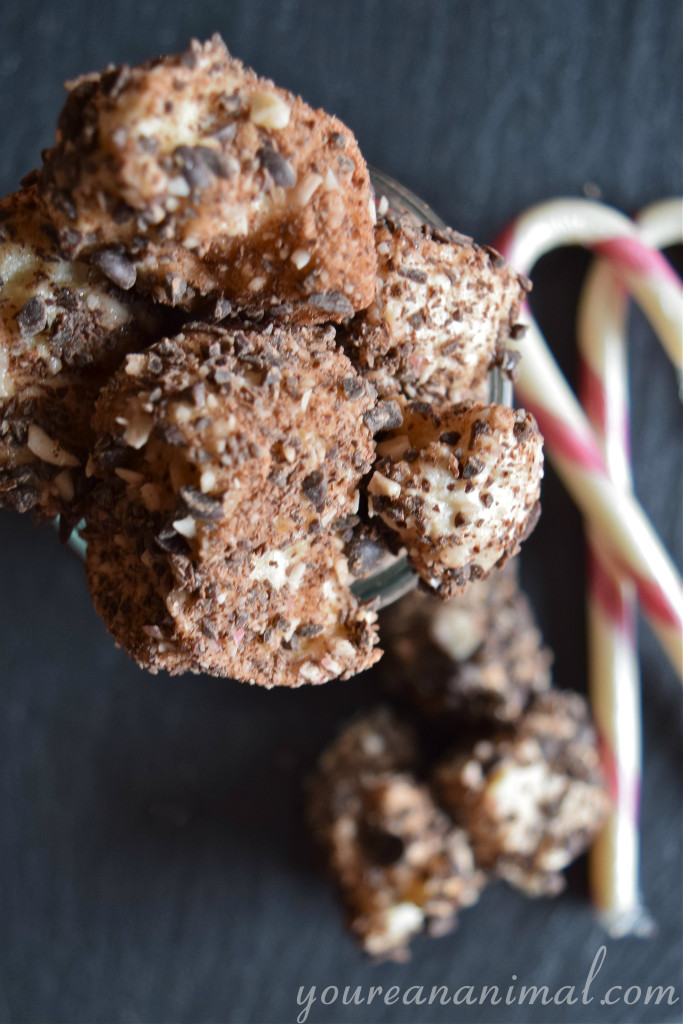
- Add the chopped candy canes and chocolate into a large bowl and combine. In small batches, add the marshmallows to the candy cane and chocolate mixture, and toss to coat. Repeat until all of the marshmallows are coated. Store in a jar or Tupperware container, and enjoy!

