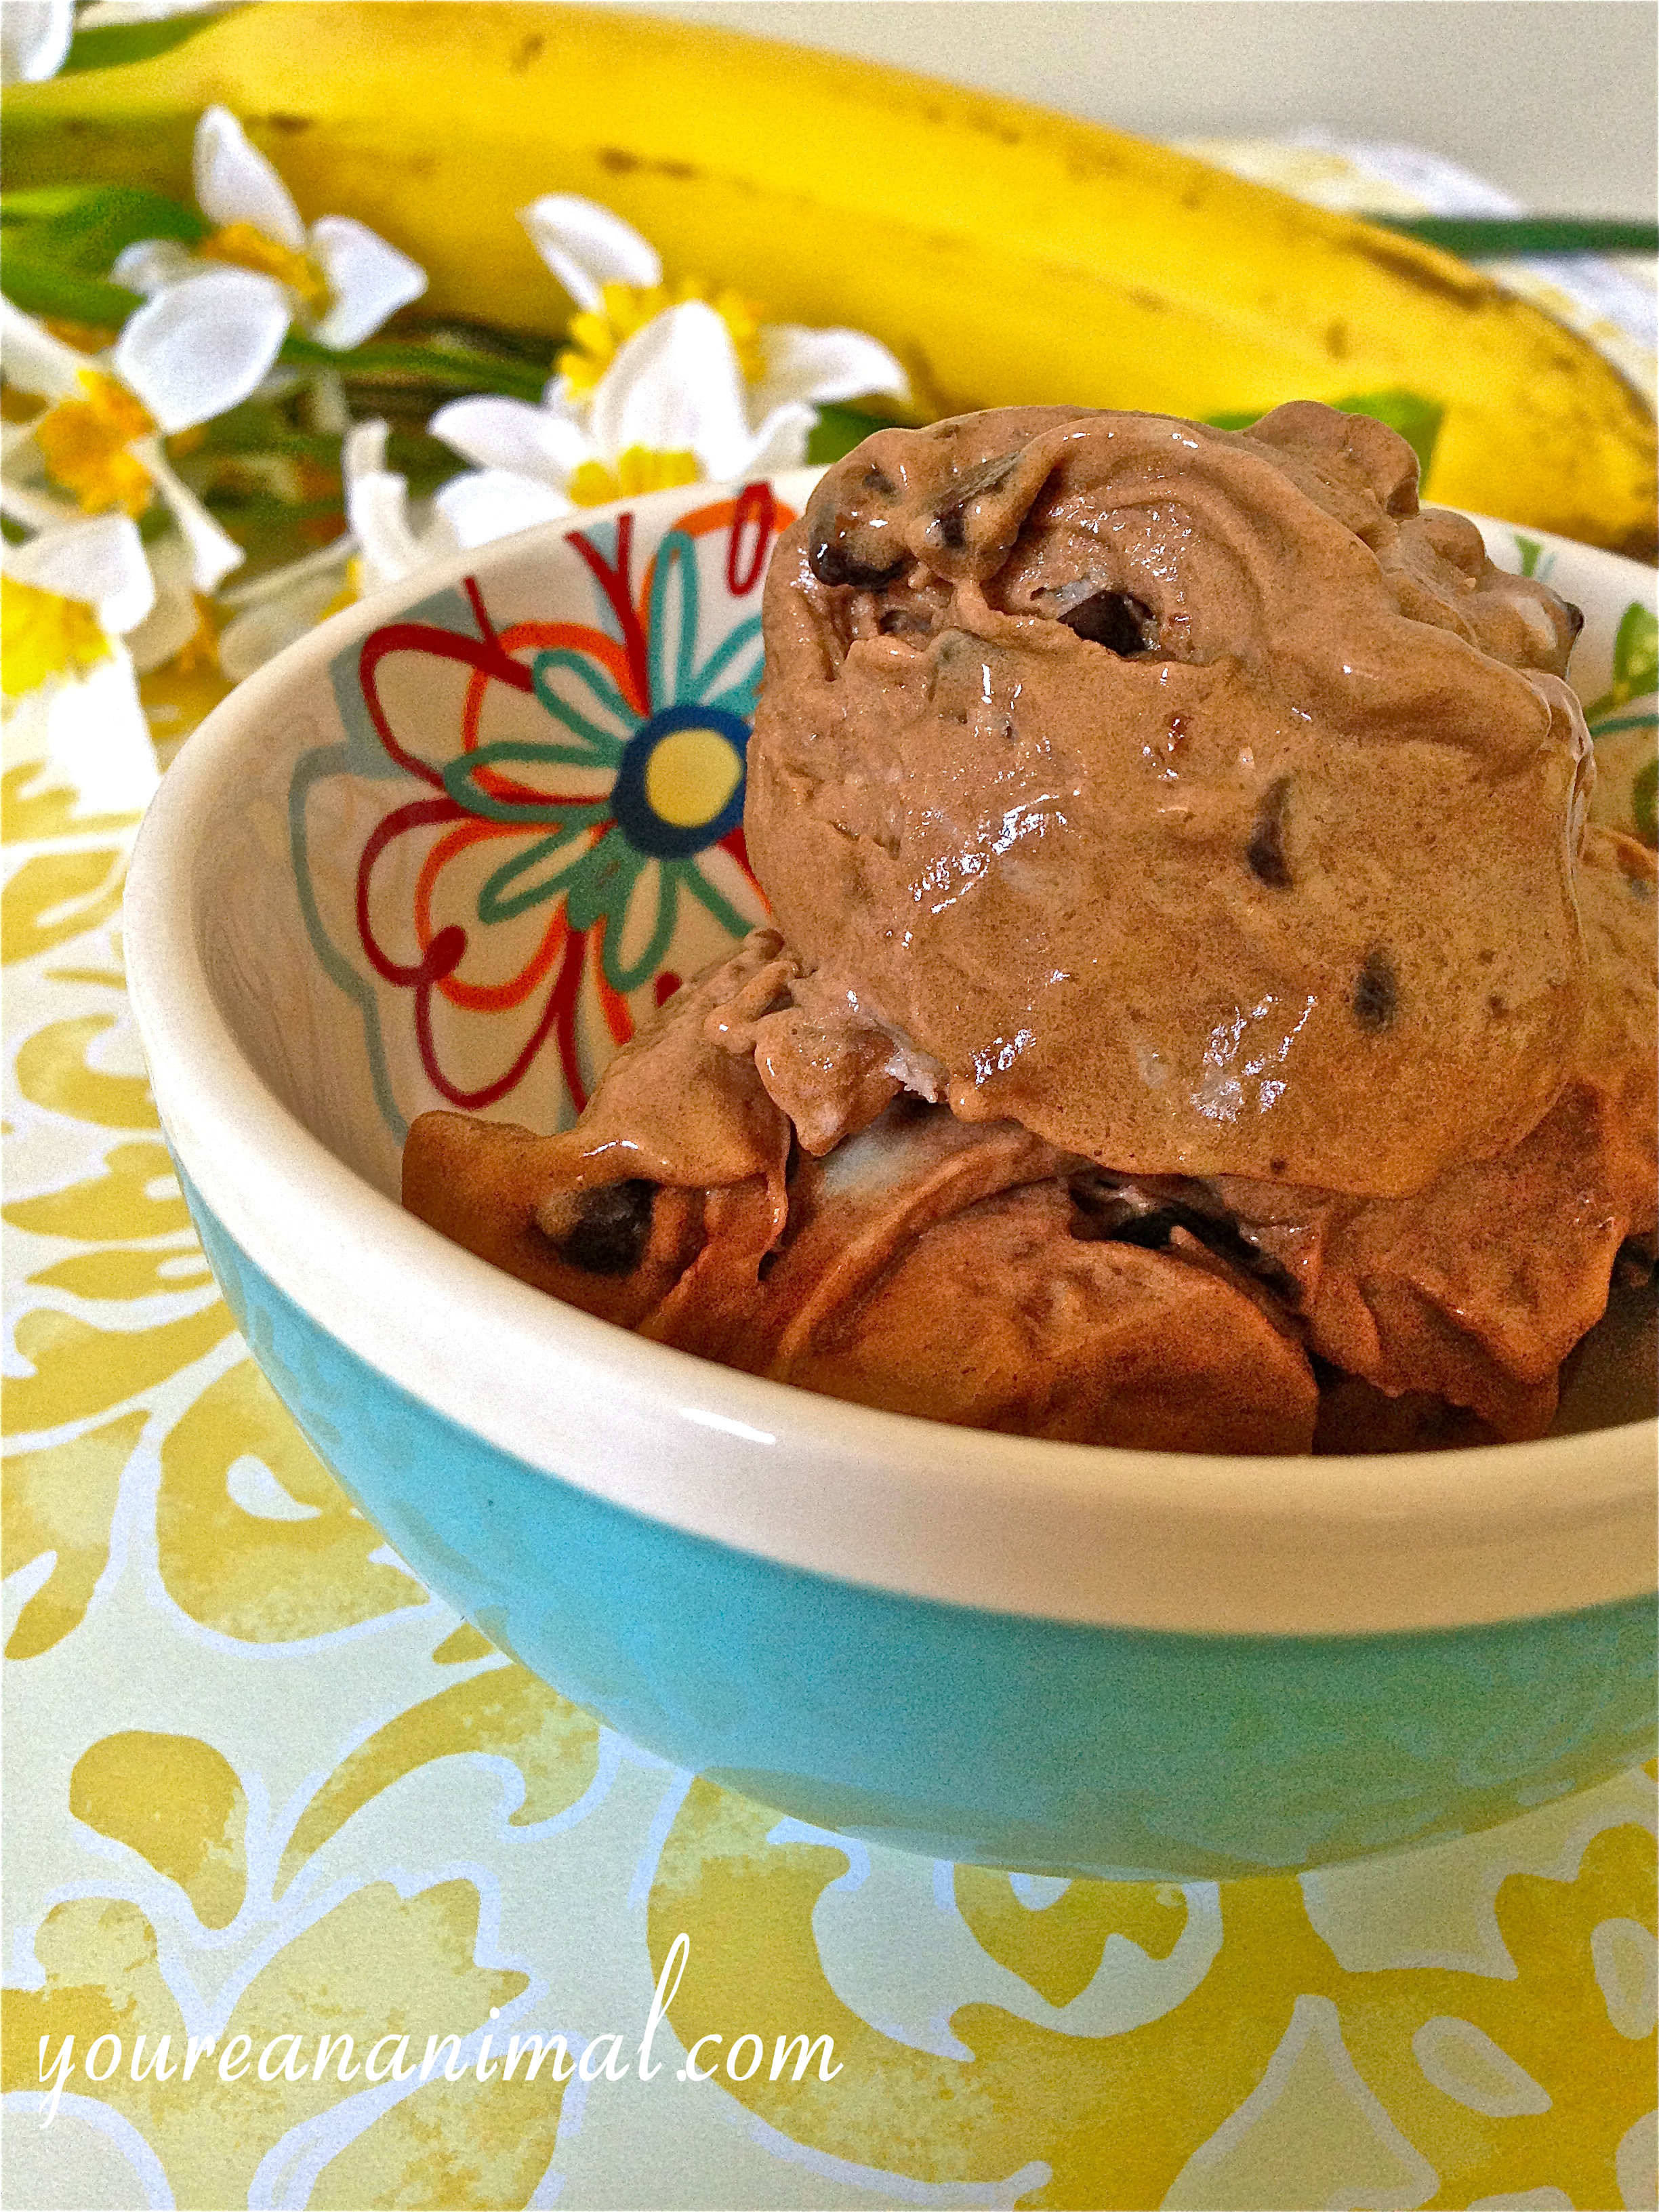
Honey Maple Almond Clusters (White Sugar-Free)

almondcluster13

It’s Independence Day weekend, which for most of us east-coasters means a long weekend at the beach! So Andrew and I packed up the car last night and drove 5 hours down the coast to the NC/SC border for a much-needed mental and physical break. And then Arthur arrived… the first hurricane of the season with the worst timing. Currently we are cooped up in the beach house on our first day here, waiting for the storm to pass. It’s just grazing us here, so we’re lucky, and thinking of the people (especially our friends) in the Outer Banks who are about to get a direct hit tonight. Stay safe!

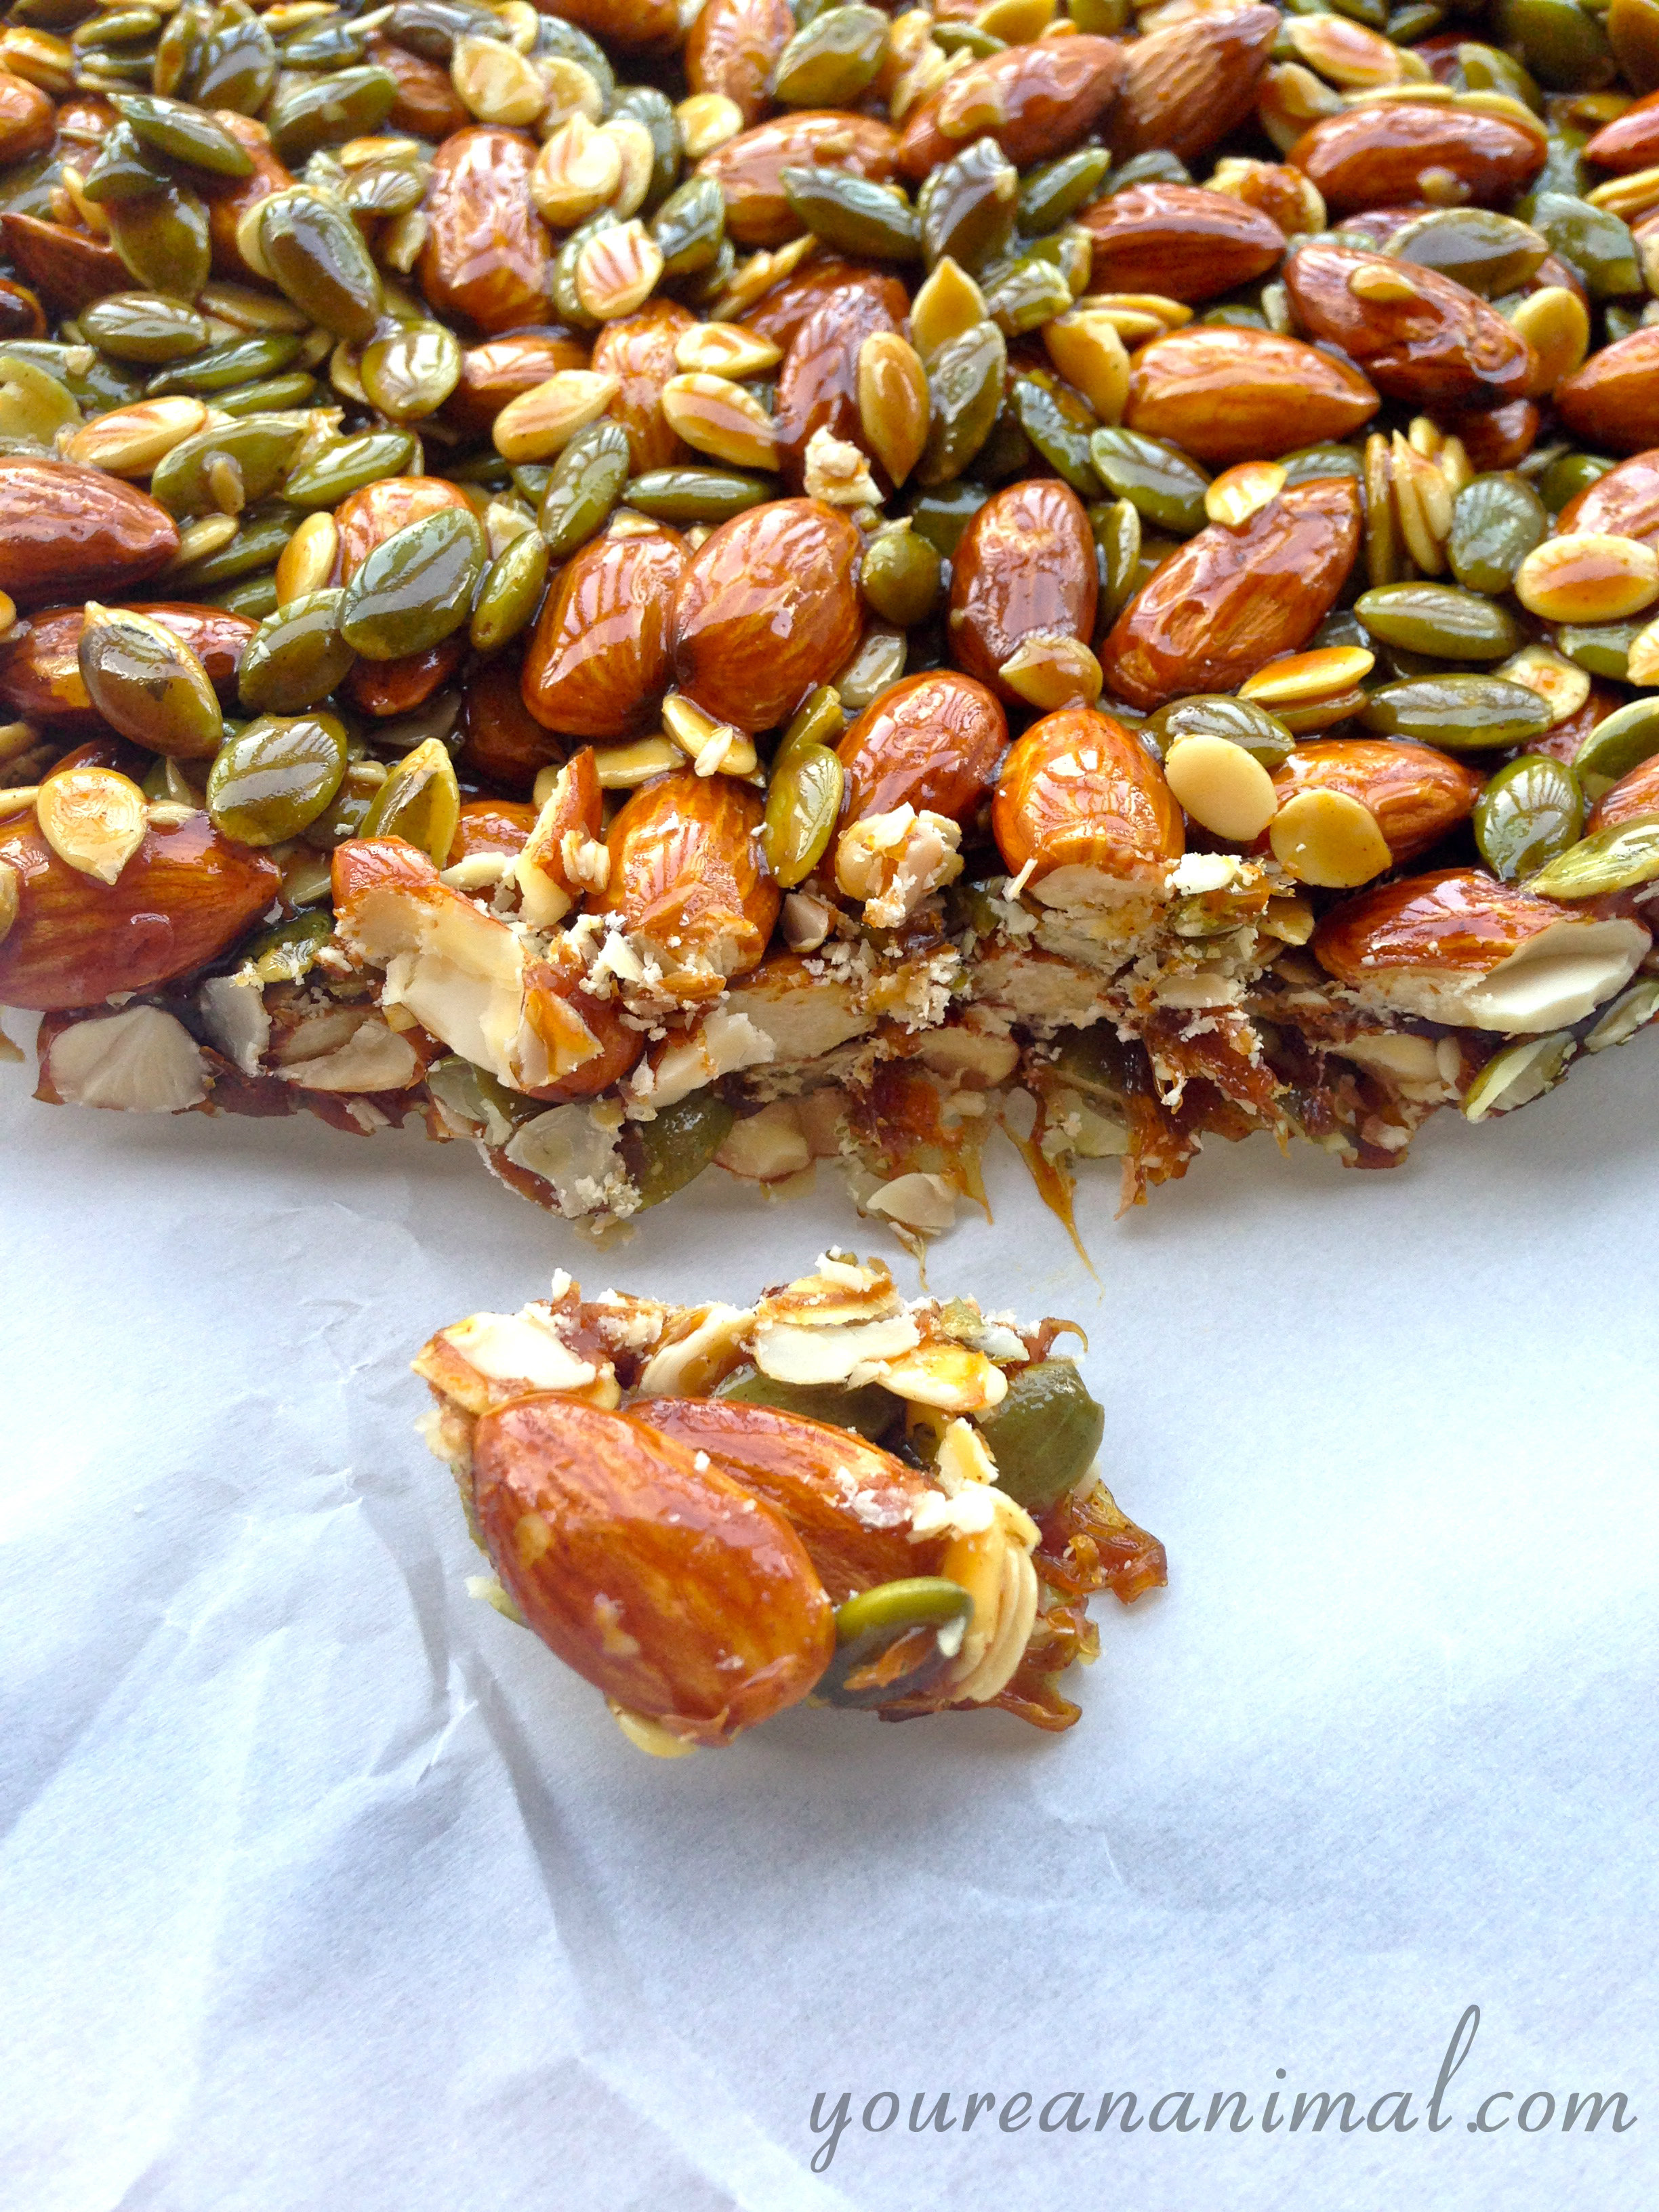
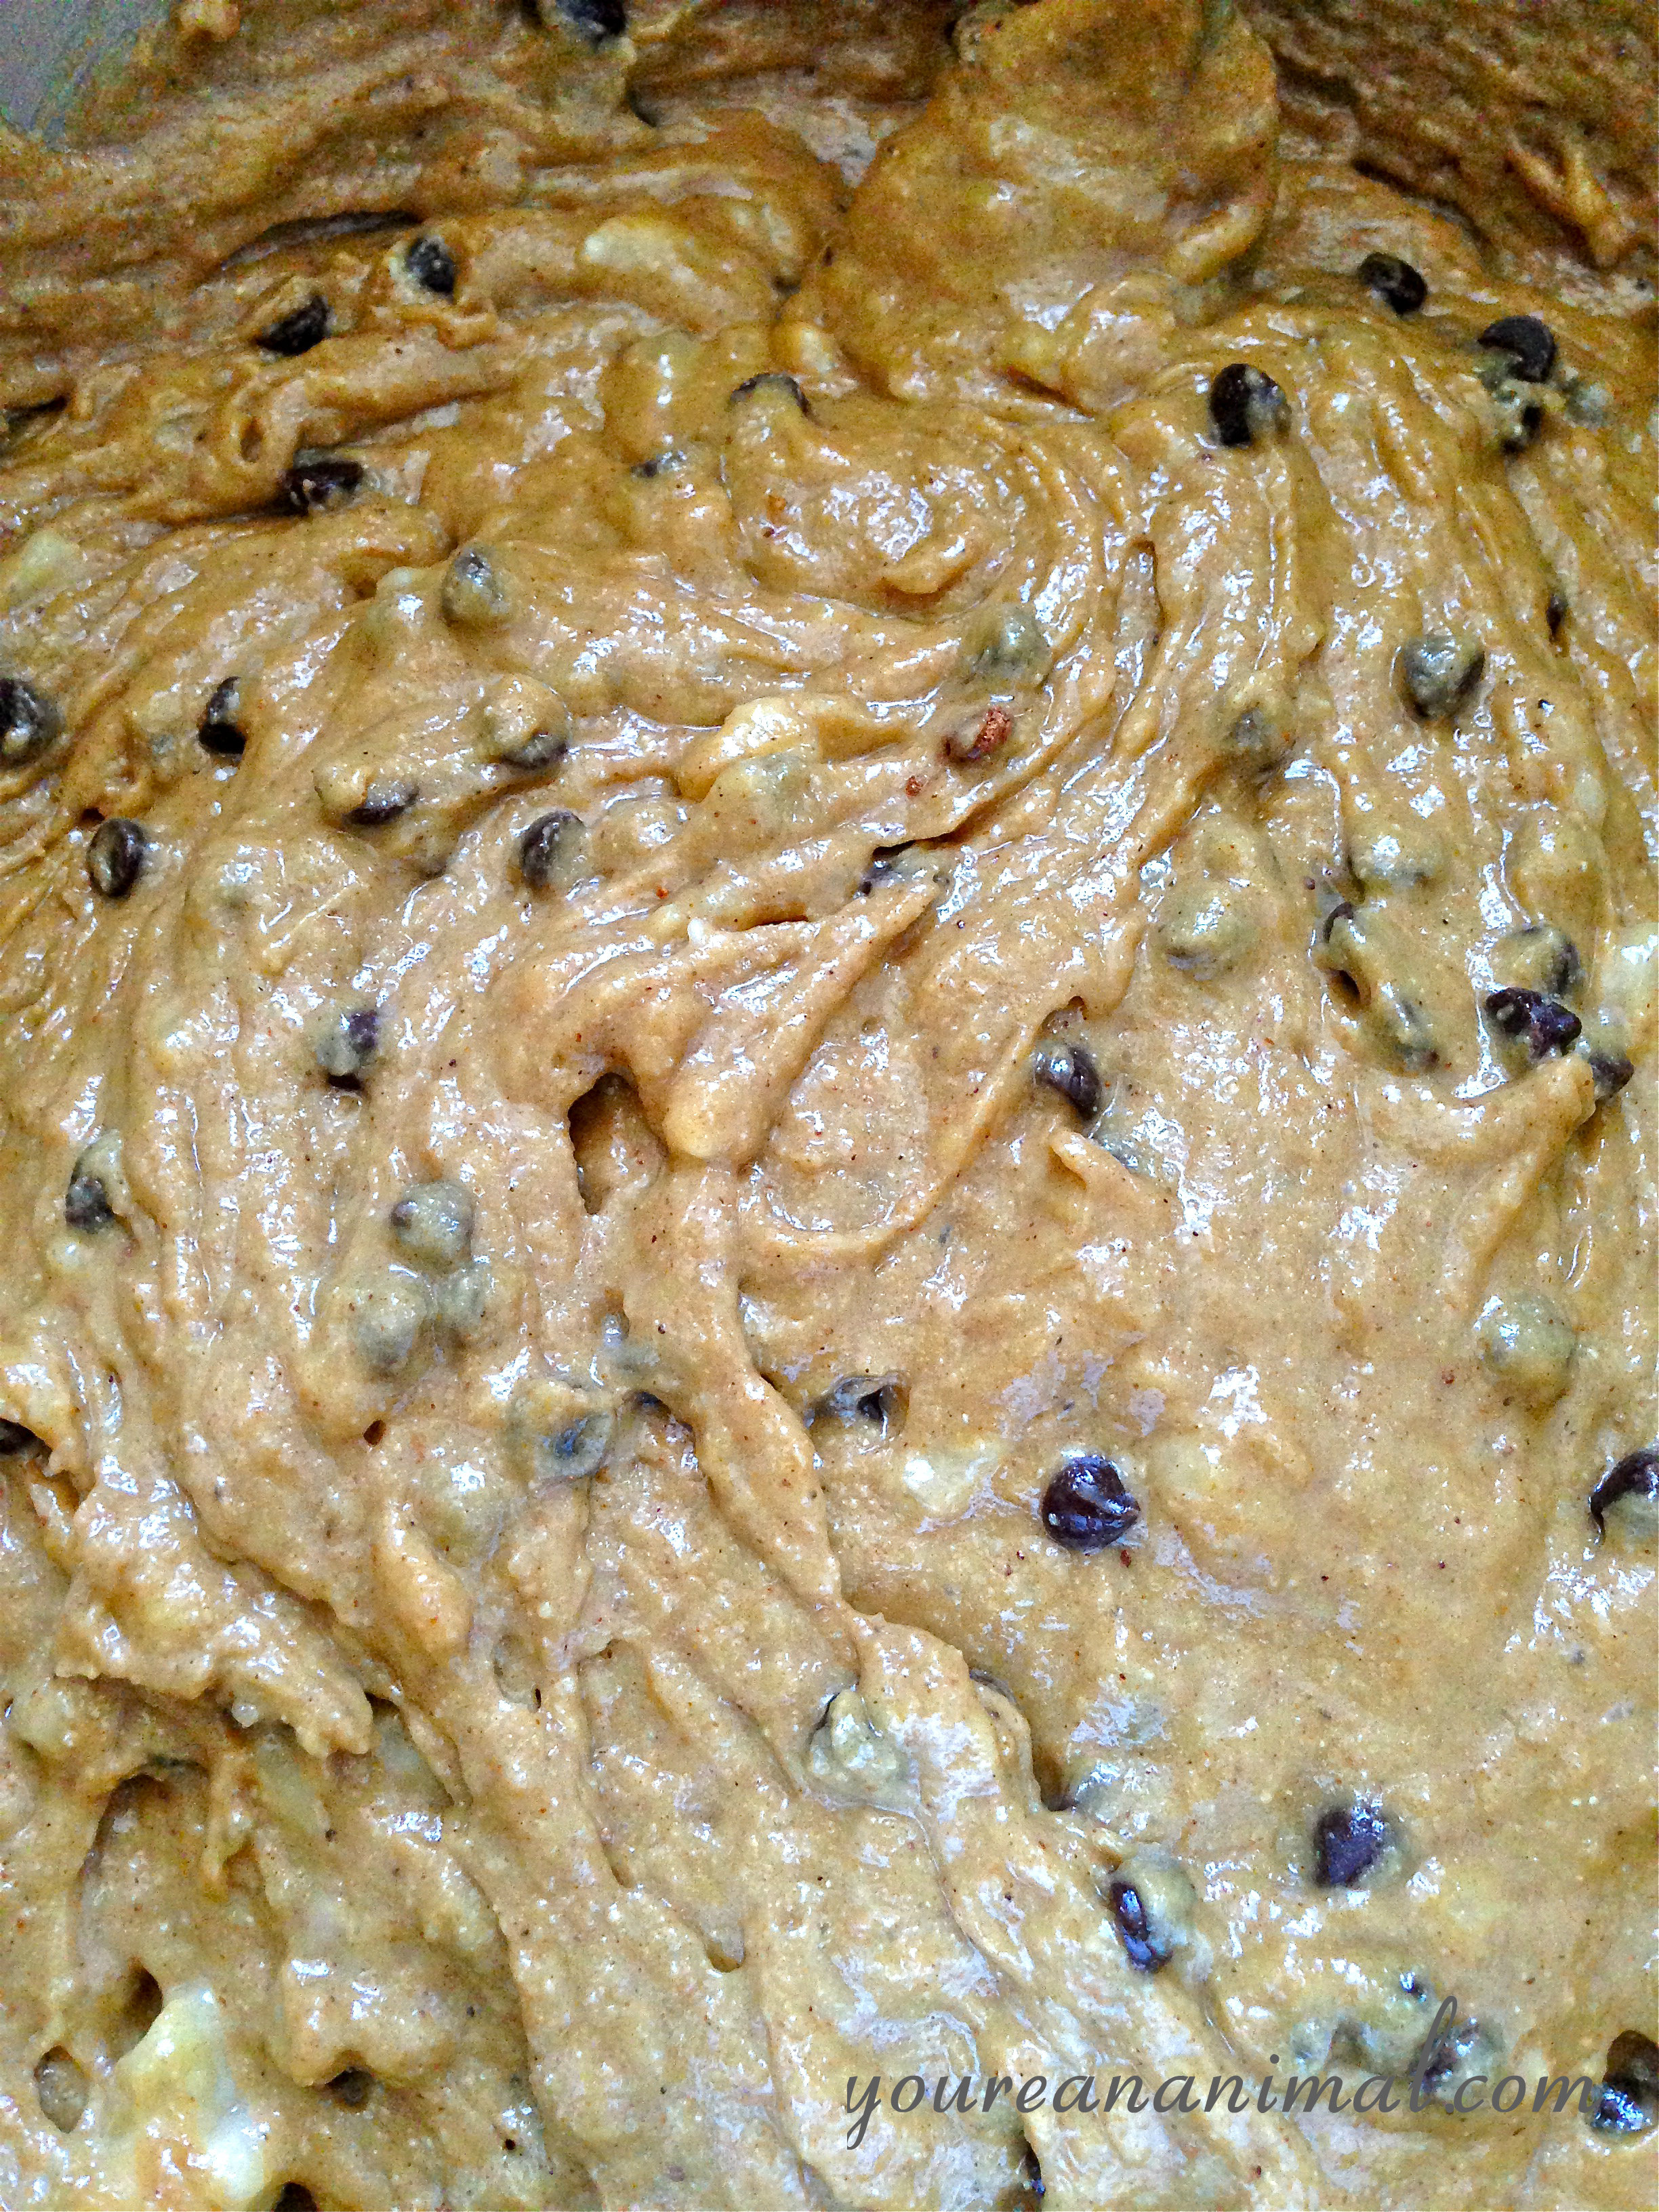
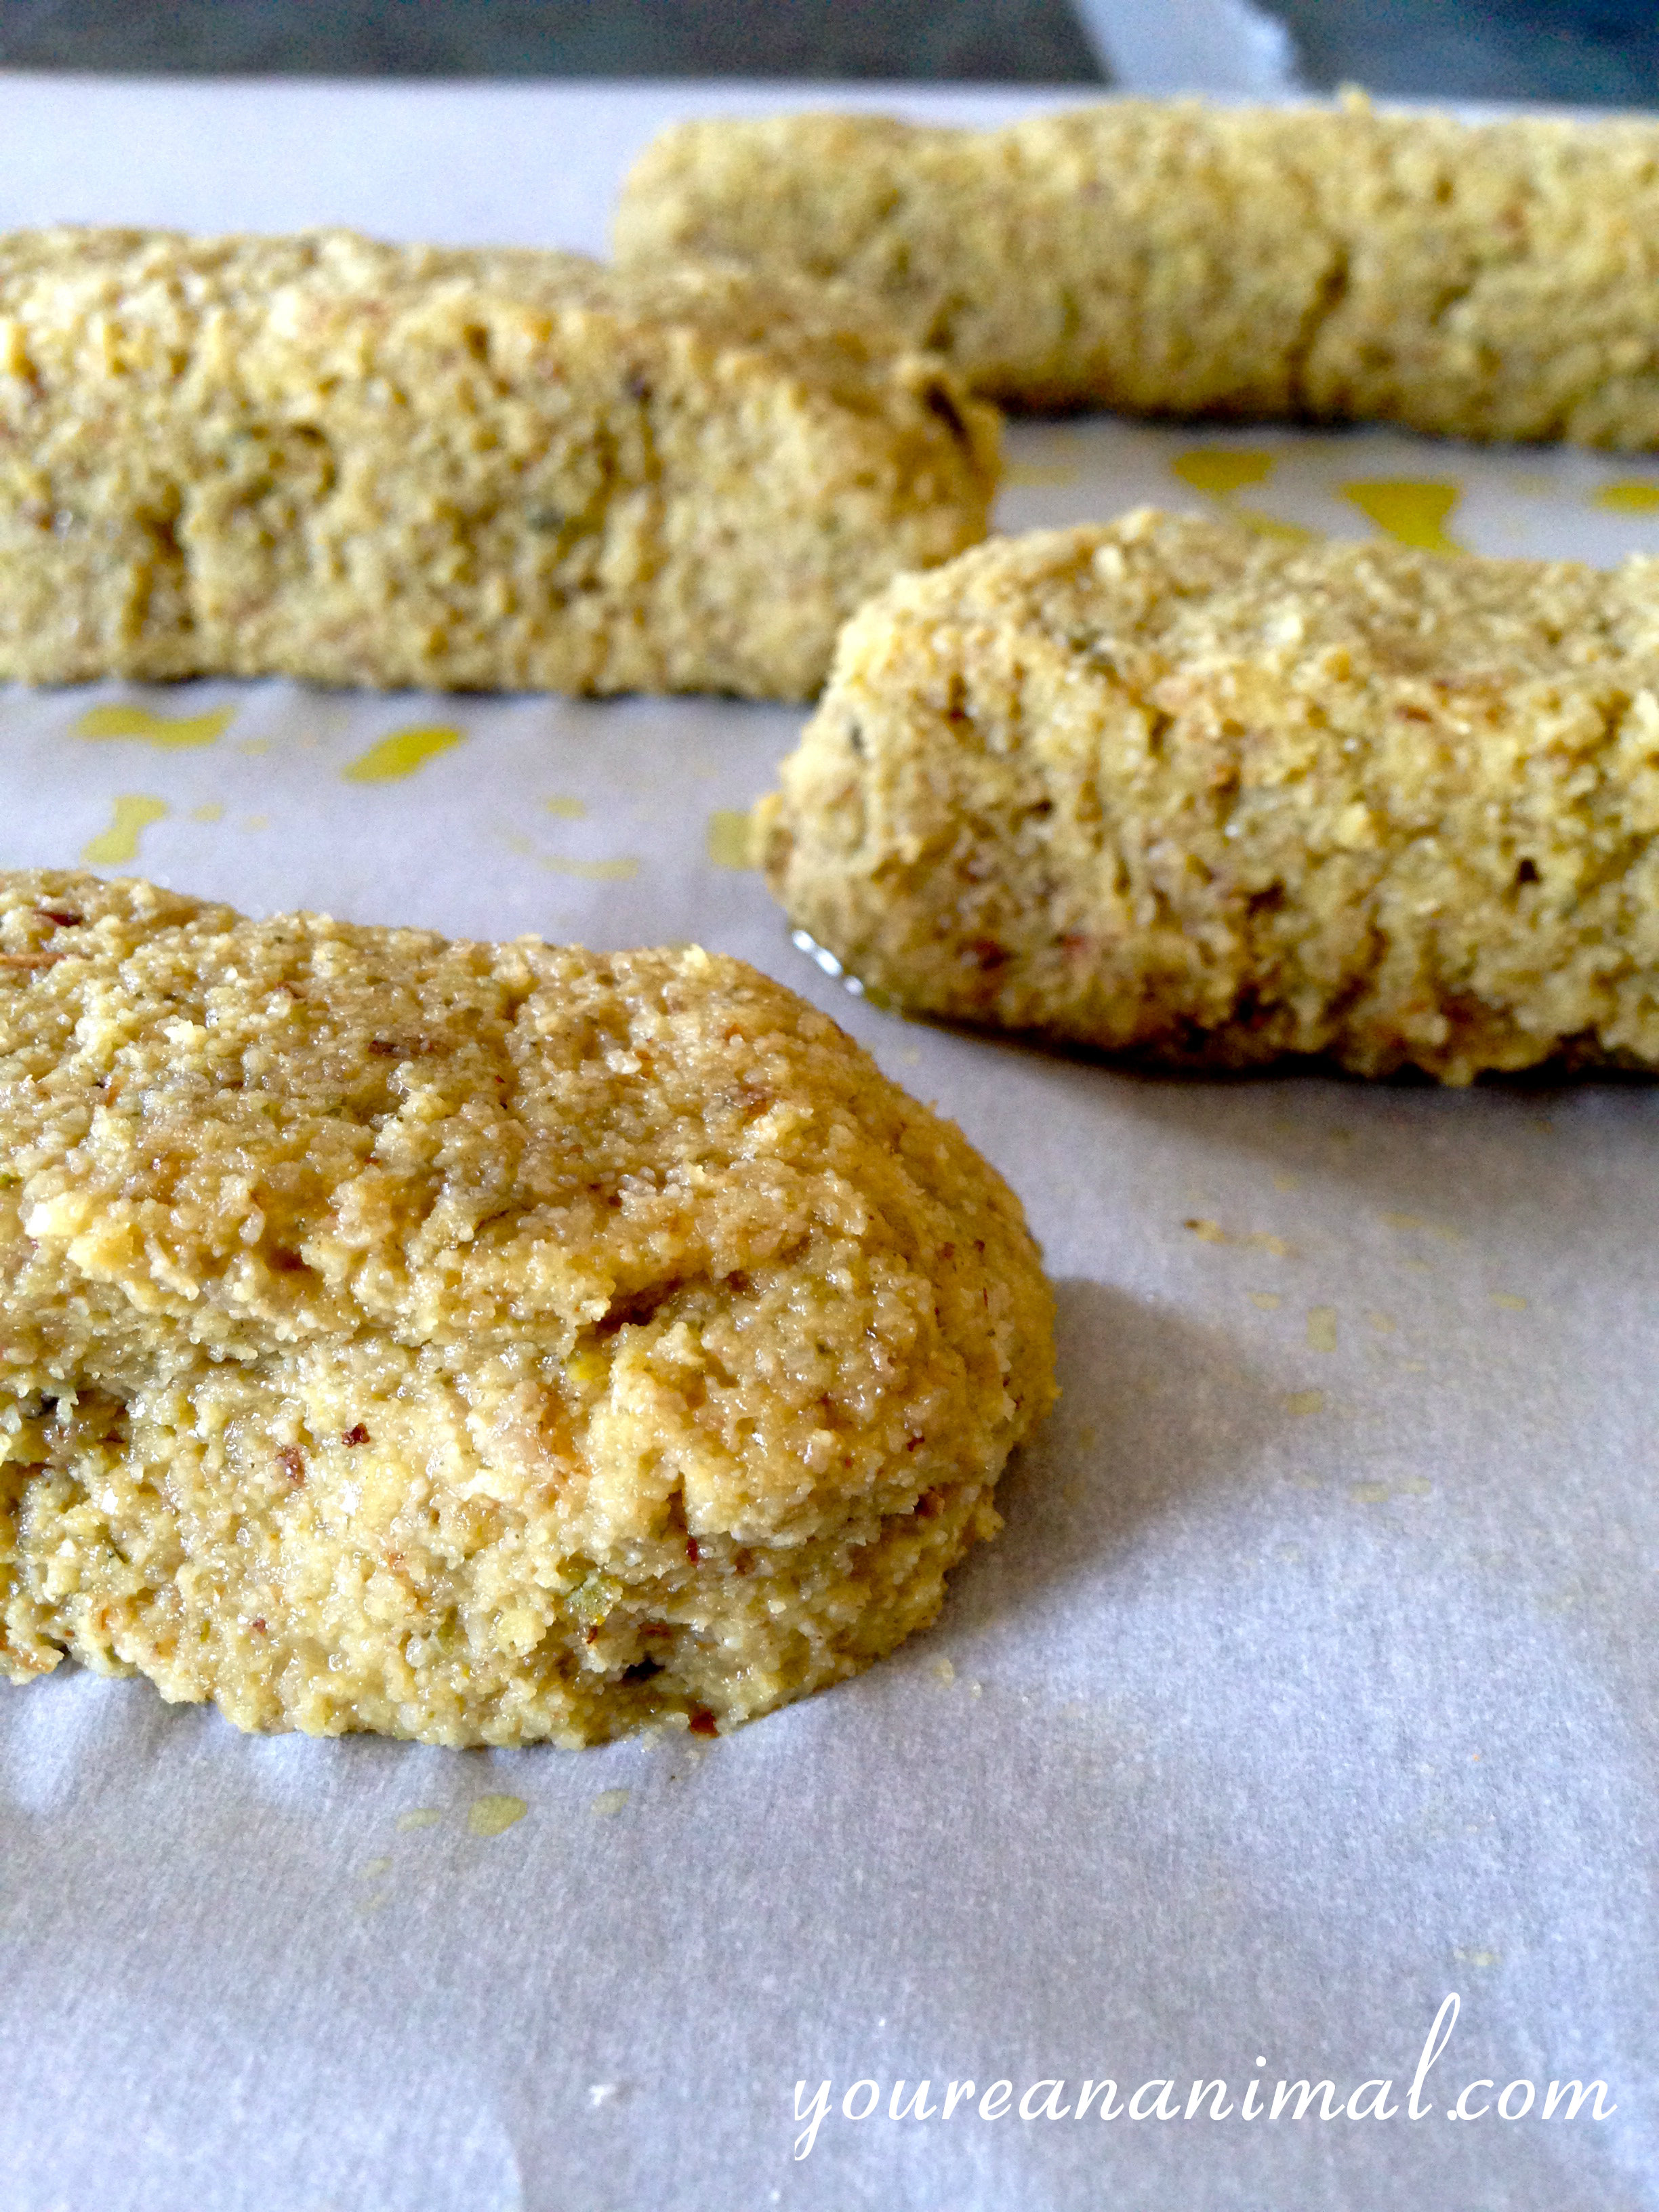
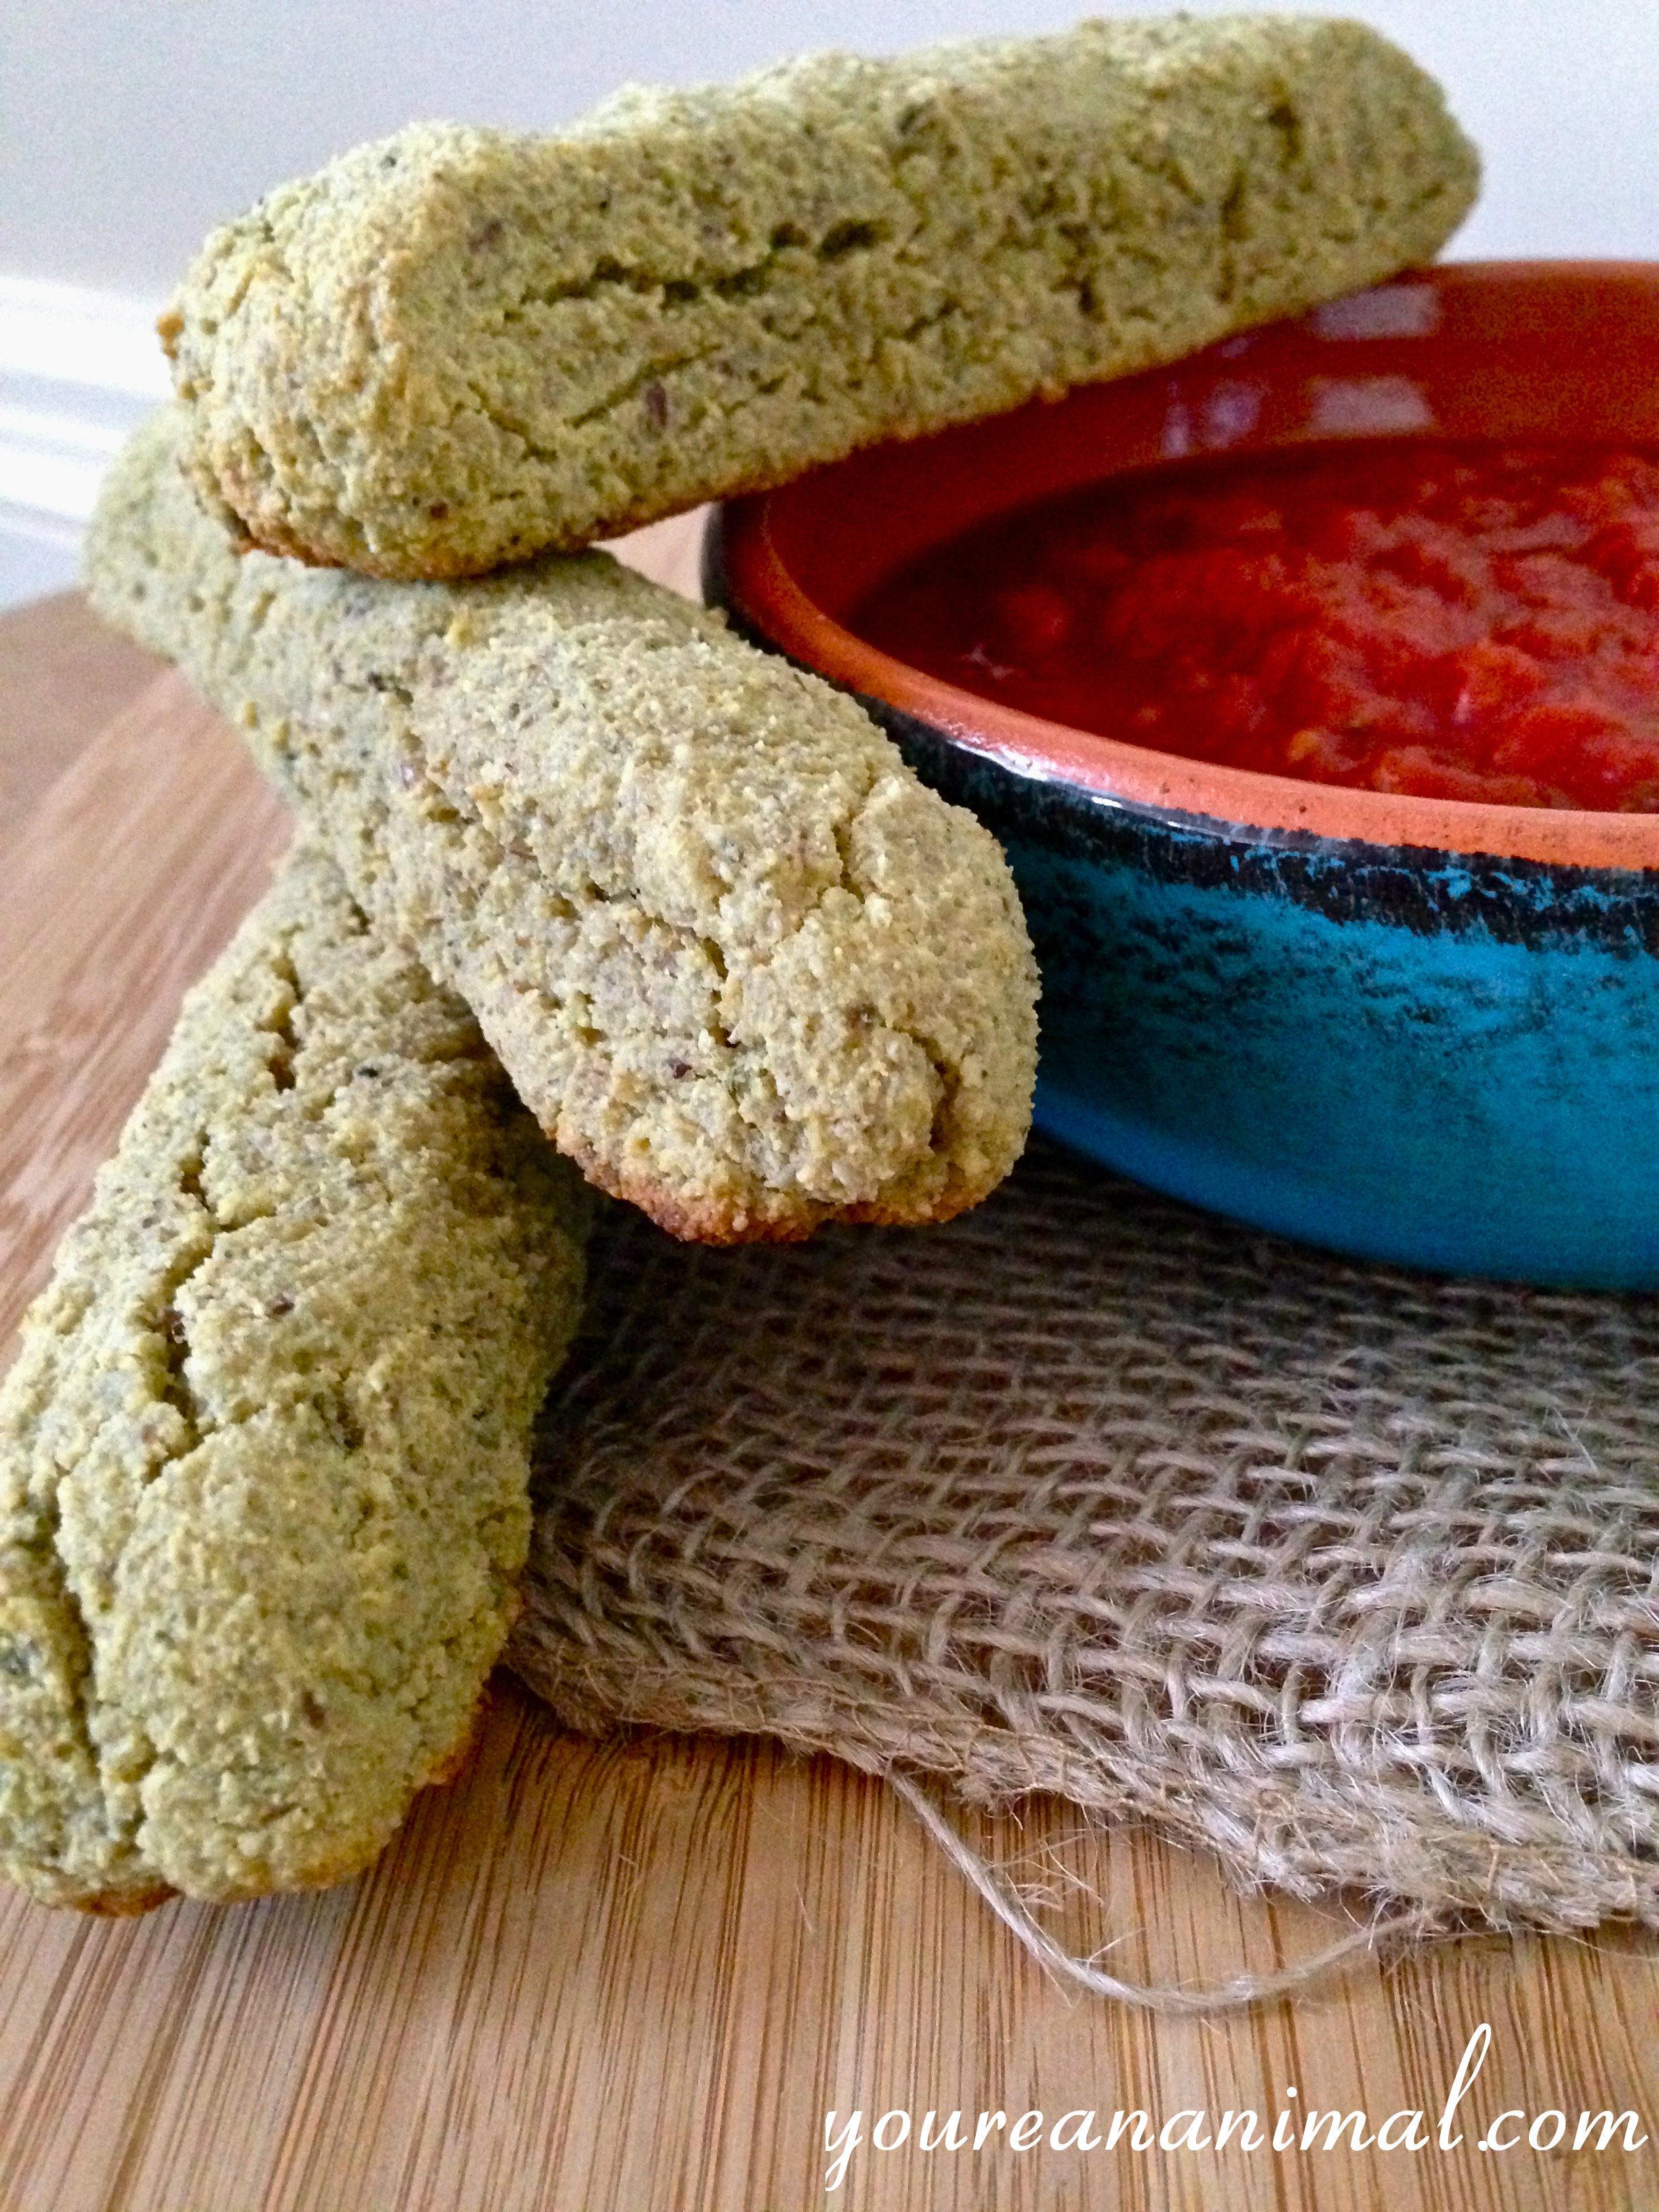
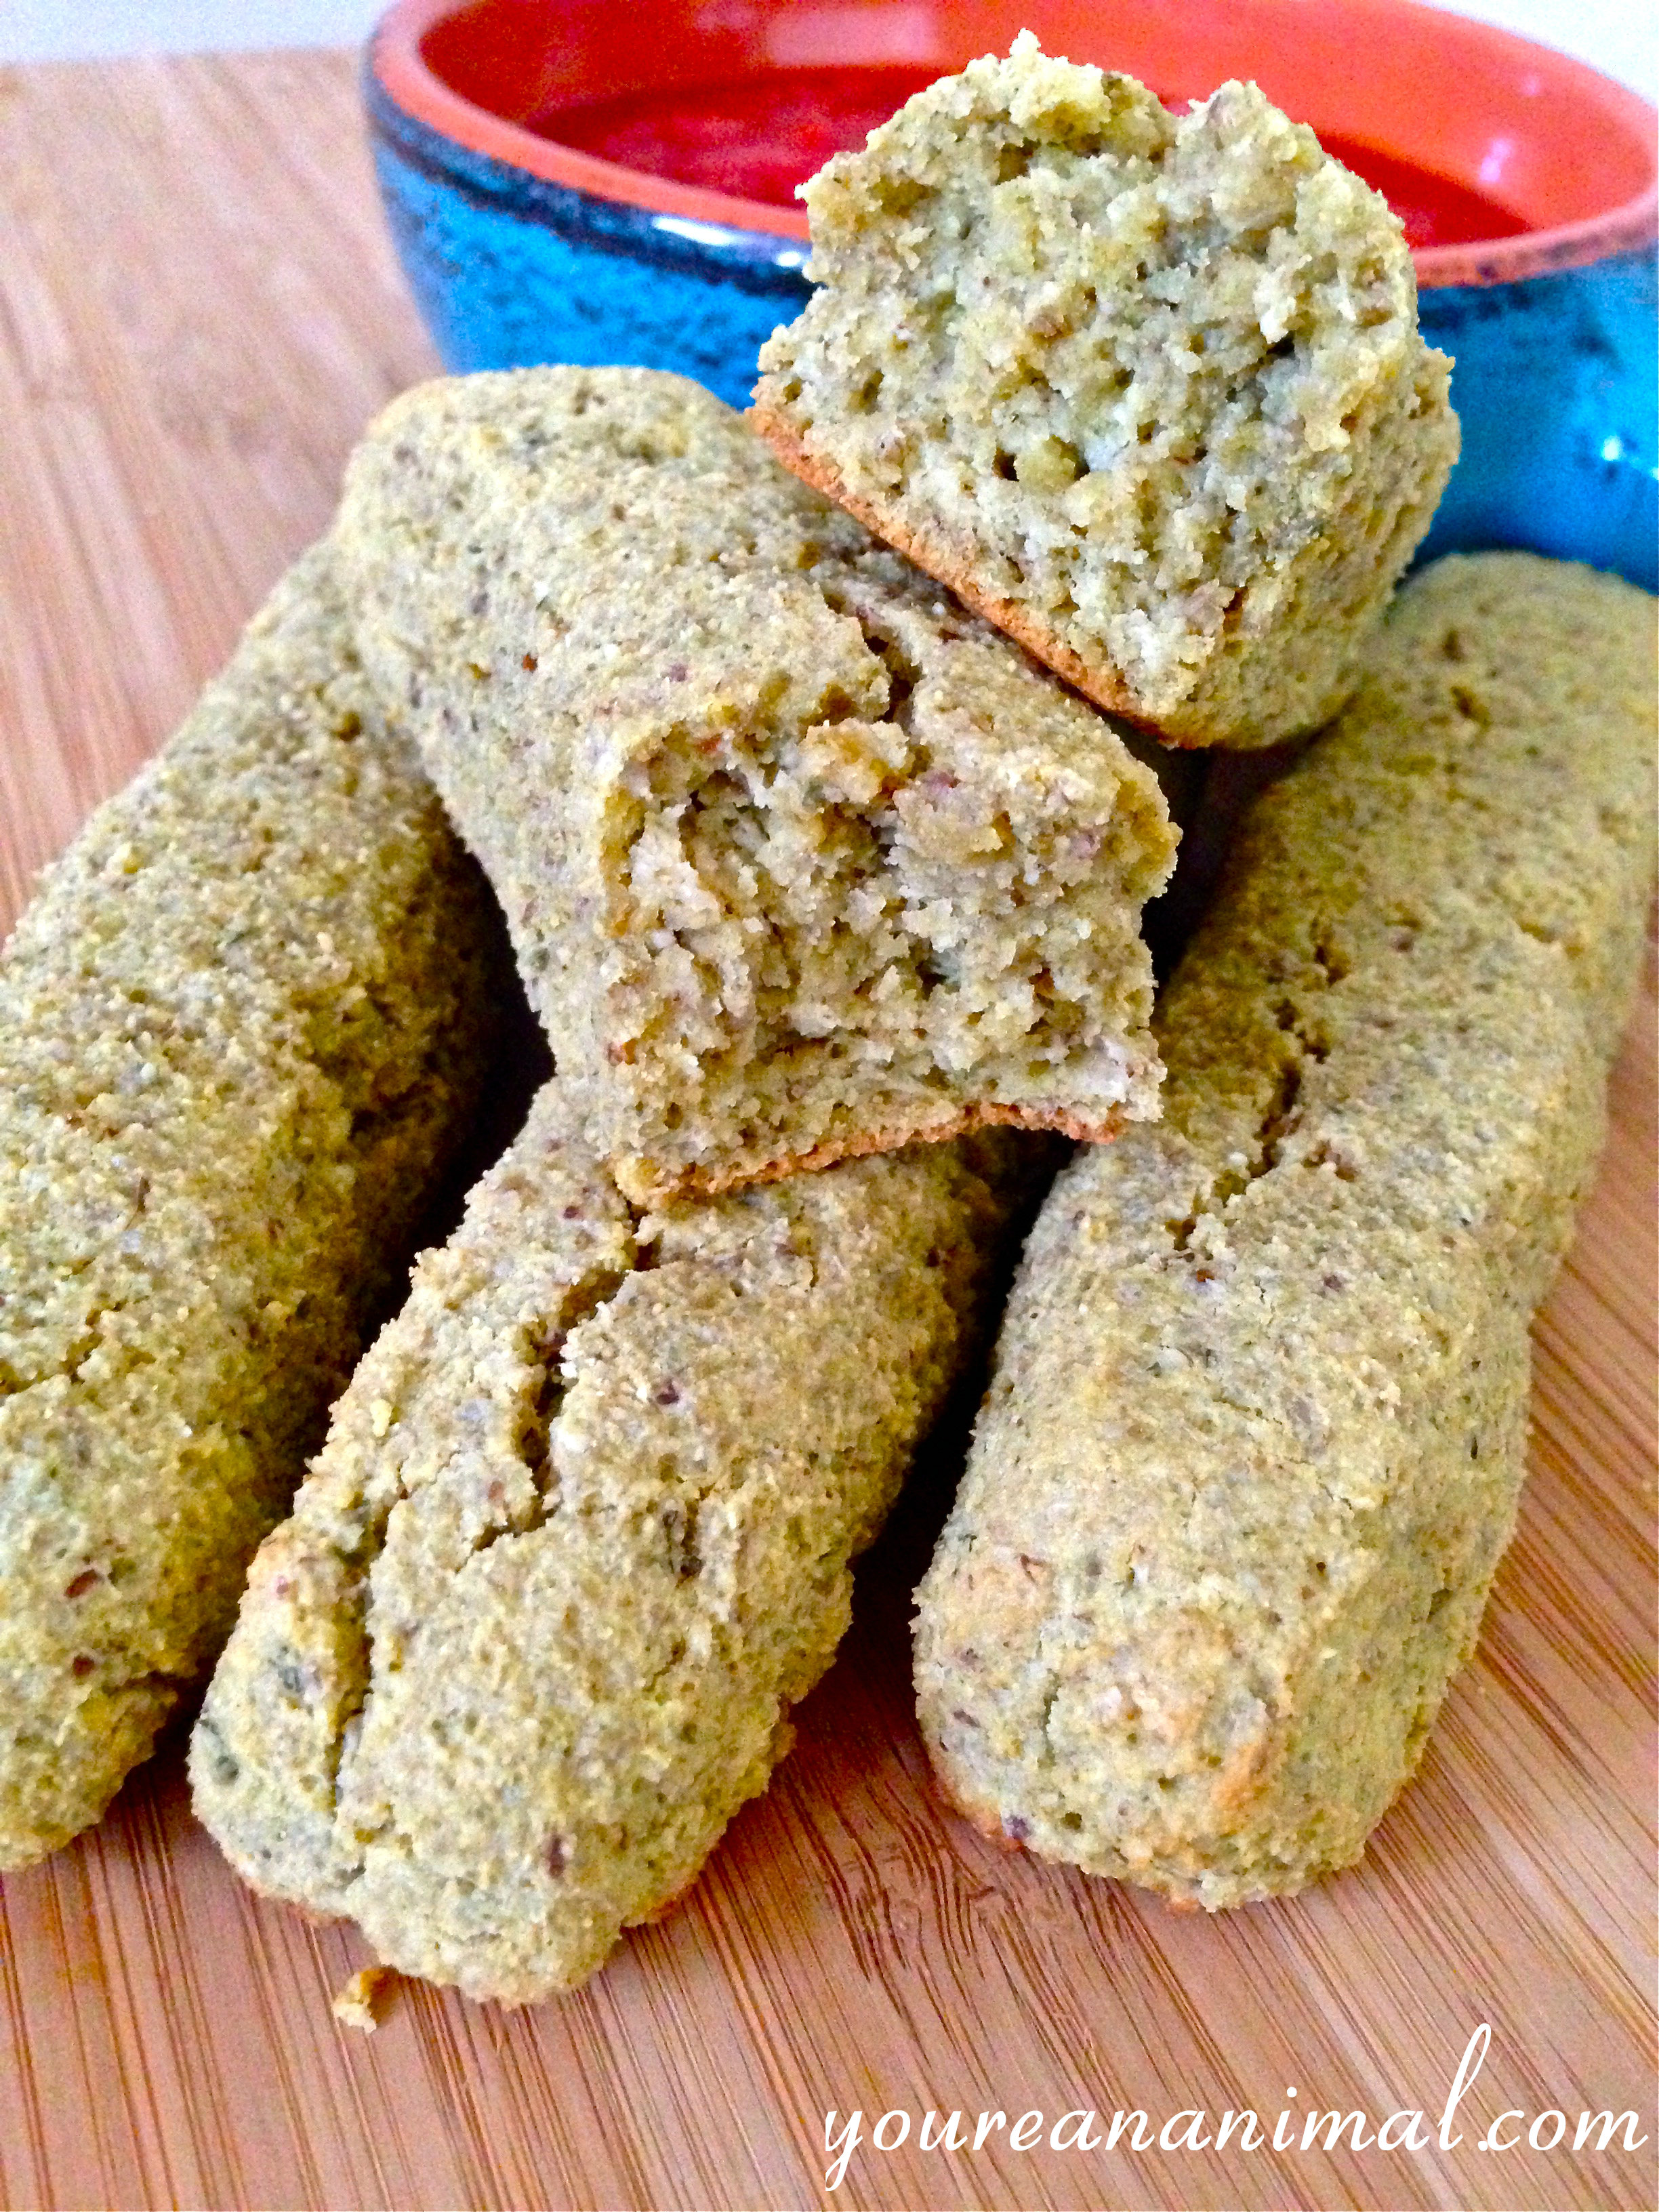
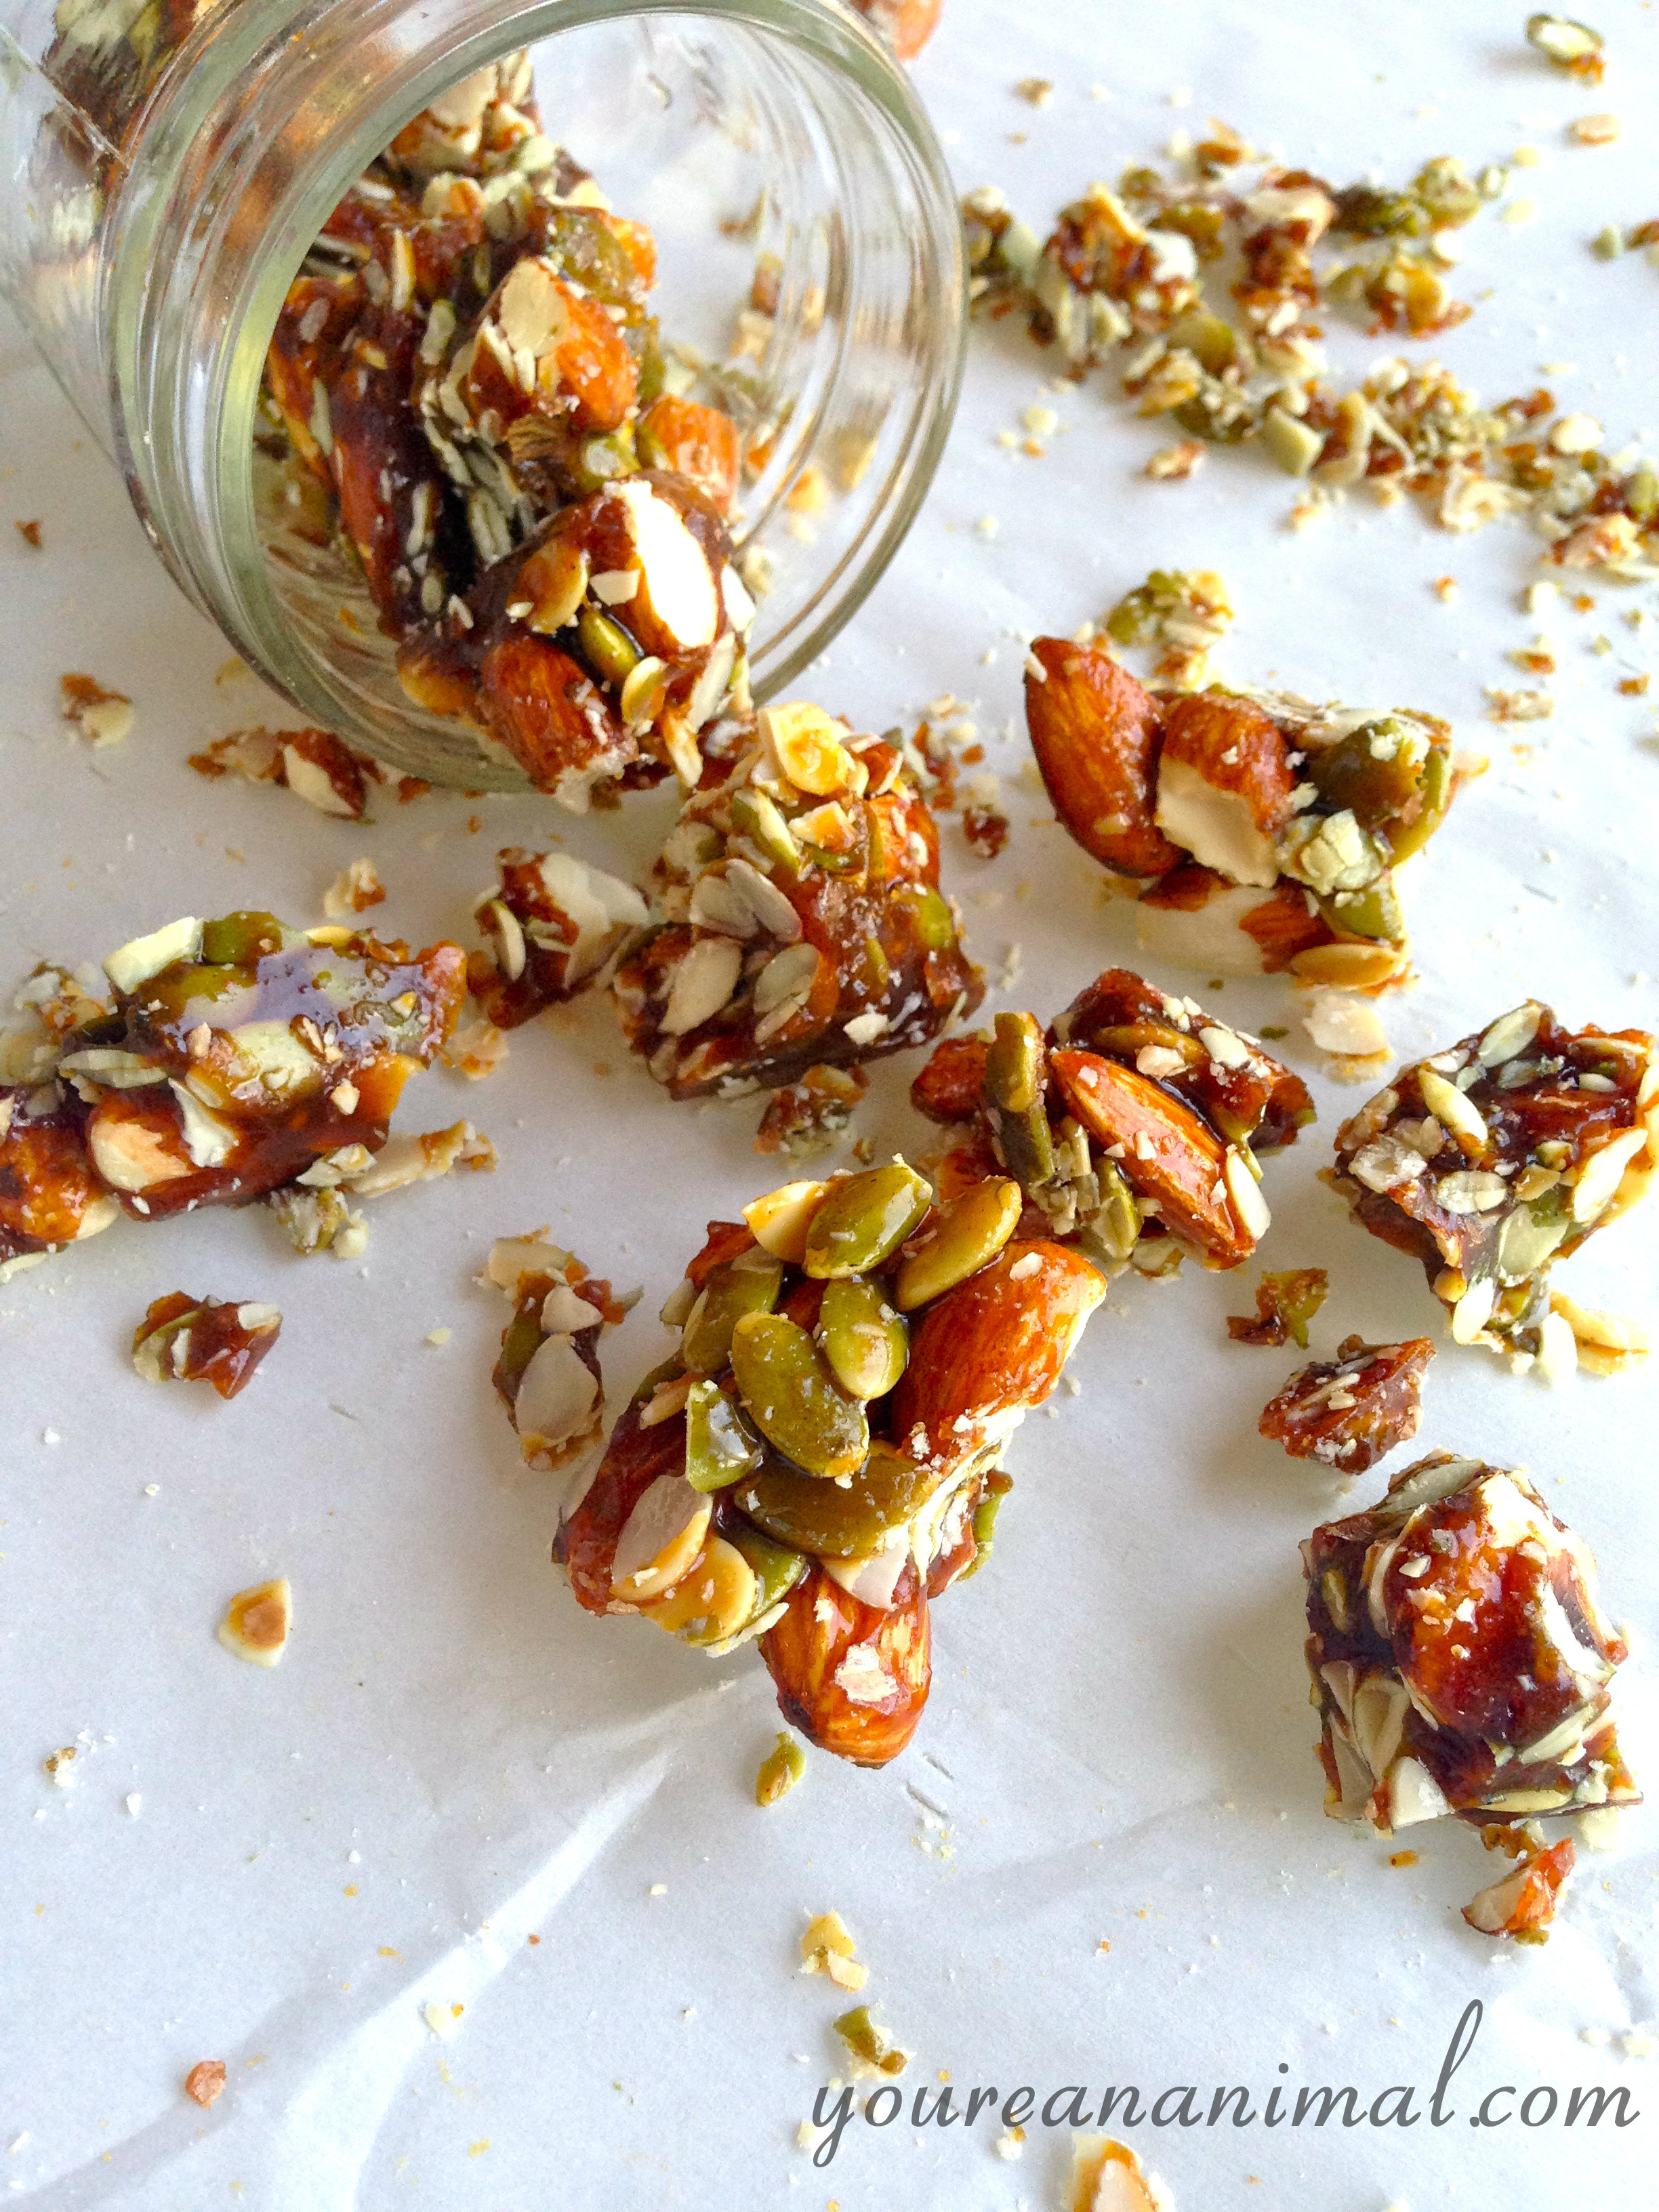
In my world, road trips only mean one thing: Car snacks. A couple years ago I would have stocked up on Sour Patch Kids and chocolate covered pretzels on our gas station stop before heading out. Those days are (thankfully) gone, but I still wanted that sweet and salty fix, so I whipped up some Honey Maple Almond Clusters before heading out! Car snack fix, done and done. And not too terrible in the nutrition department, I might add. Heavy on the nuts and seeds, with natural sugars rather than the white and brown that are in typically brittle recipes. I added grass-fed butter for the extra richness and flavor, but you could certainly leave it out if you choose. Car packed, clusters made, plus a green smoothie in the cup holder, and we were set for the hours ahead! Now just to ride out this rain…

Honey Maple Almond Clusters

  • 3/4 cup unfiltered honey
  • 3/4 cup  grade B maple syrup
  • 3/4 cup water
  • 2 cups raw almonds
  • 1 cup pumpkin seeds
  • 1/2 cup watermelon seeds
  • 2 Tbsp grass-fed butter (I used salted Kerry Gold)
  • 1/4 tsp vanilla extract
  • 1/2 tsp cinnamon
  1. In a medium saucepan, combine the honey, maple syrup, and water.
  2. Bring this mixture to a boil (about medium to medium-high heat), and use a candy thermometer to keep track of the temperature. (The thermometer is important! Sugar is very finicky.)
  3. Line an 8×8 pan with parchment paper. Measure out your add-ins beforehand, as you will need to act quickly once your sugar mixture comes to temperature.
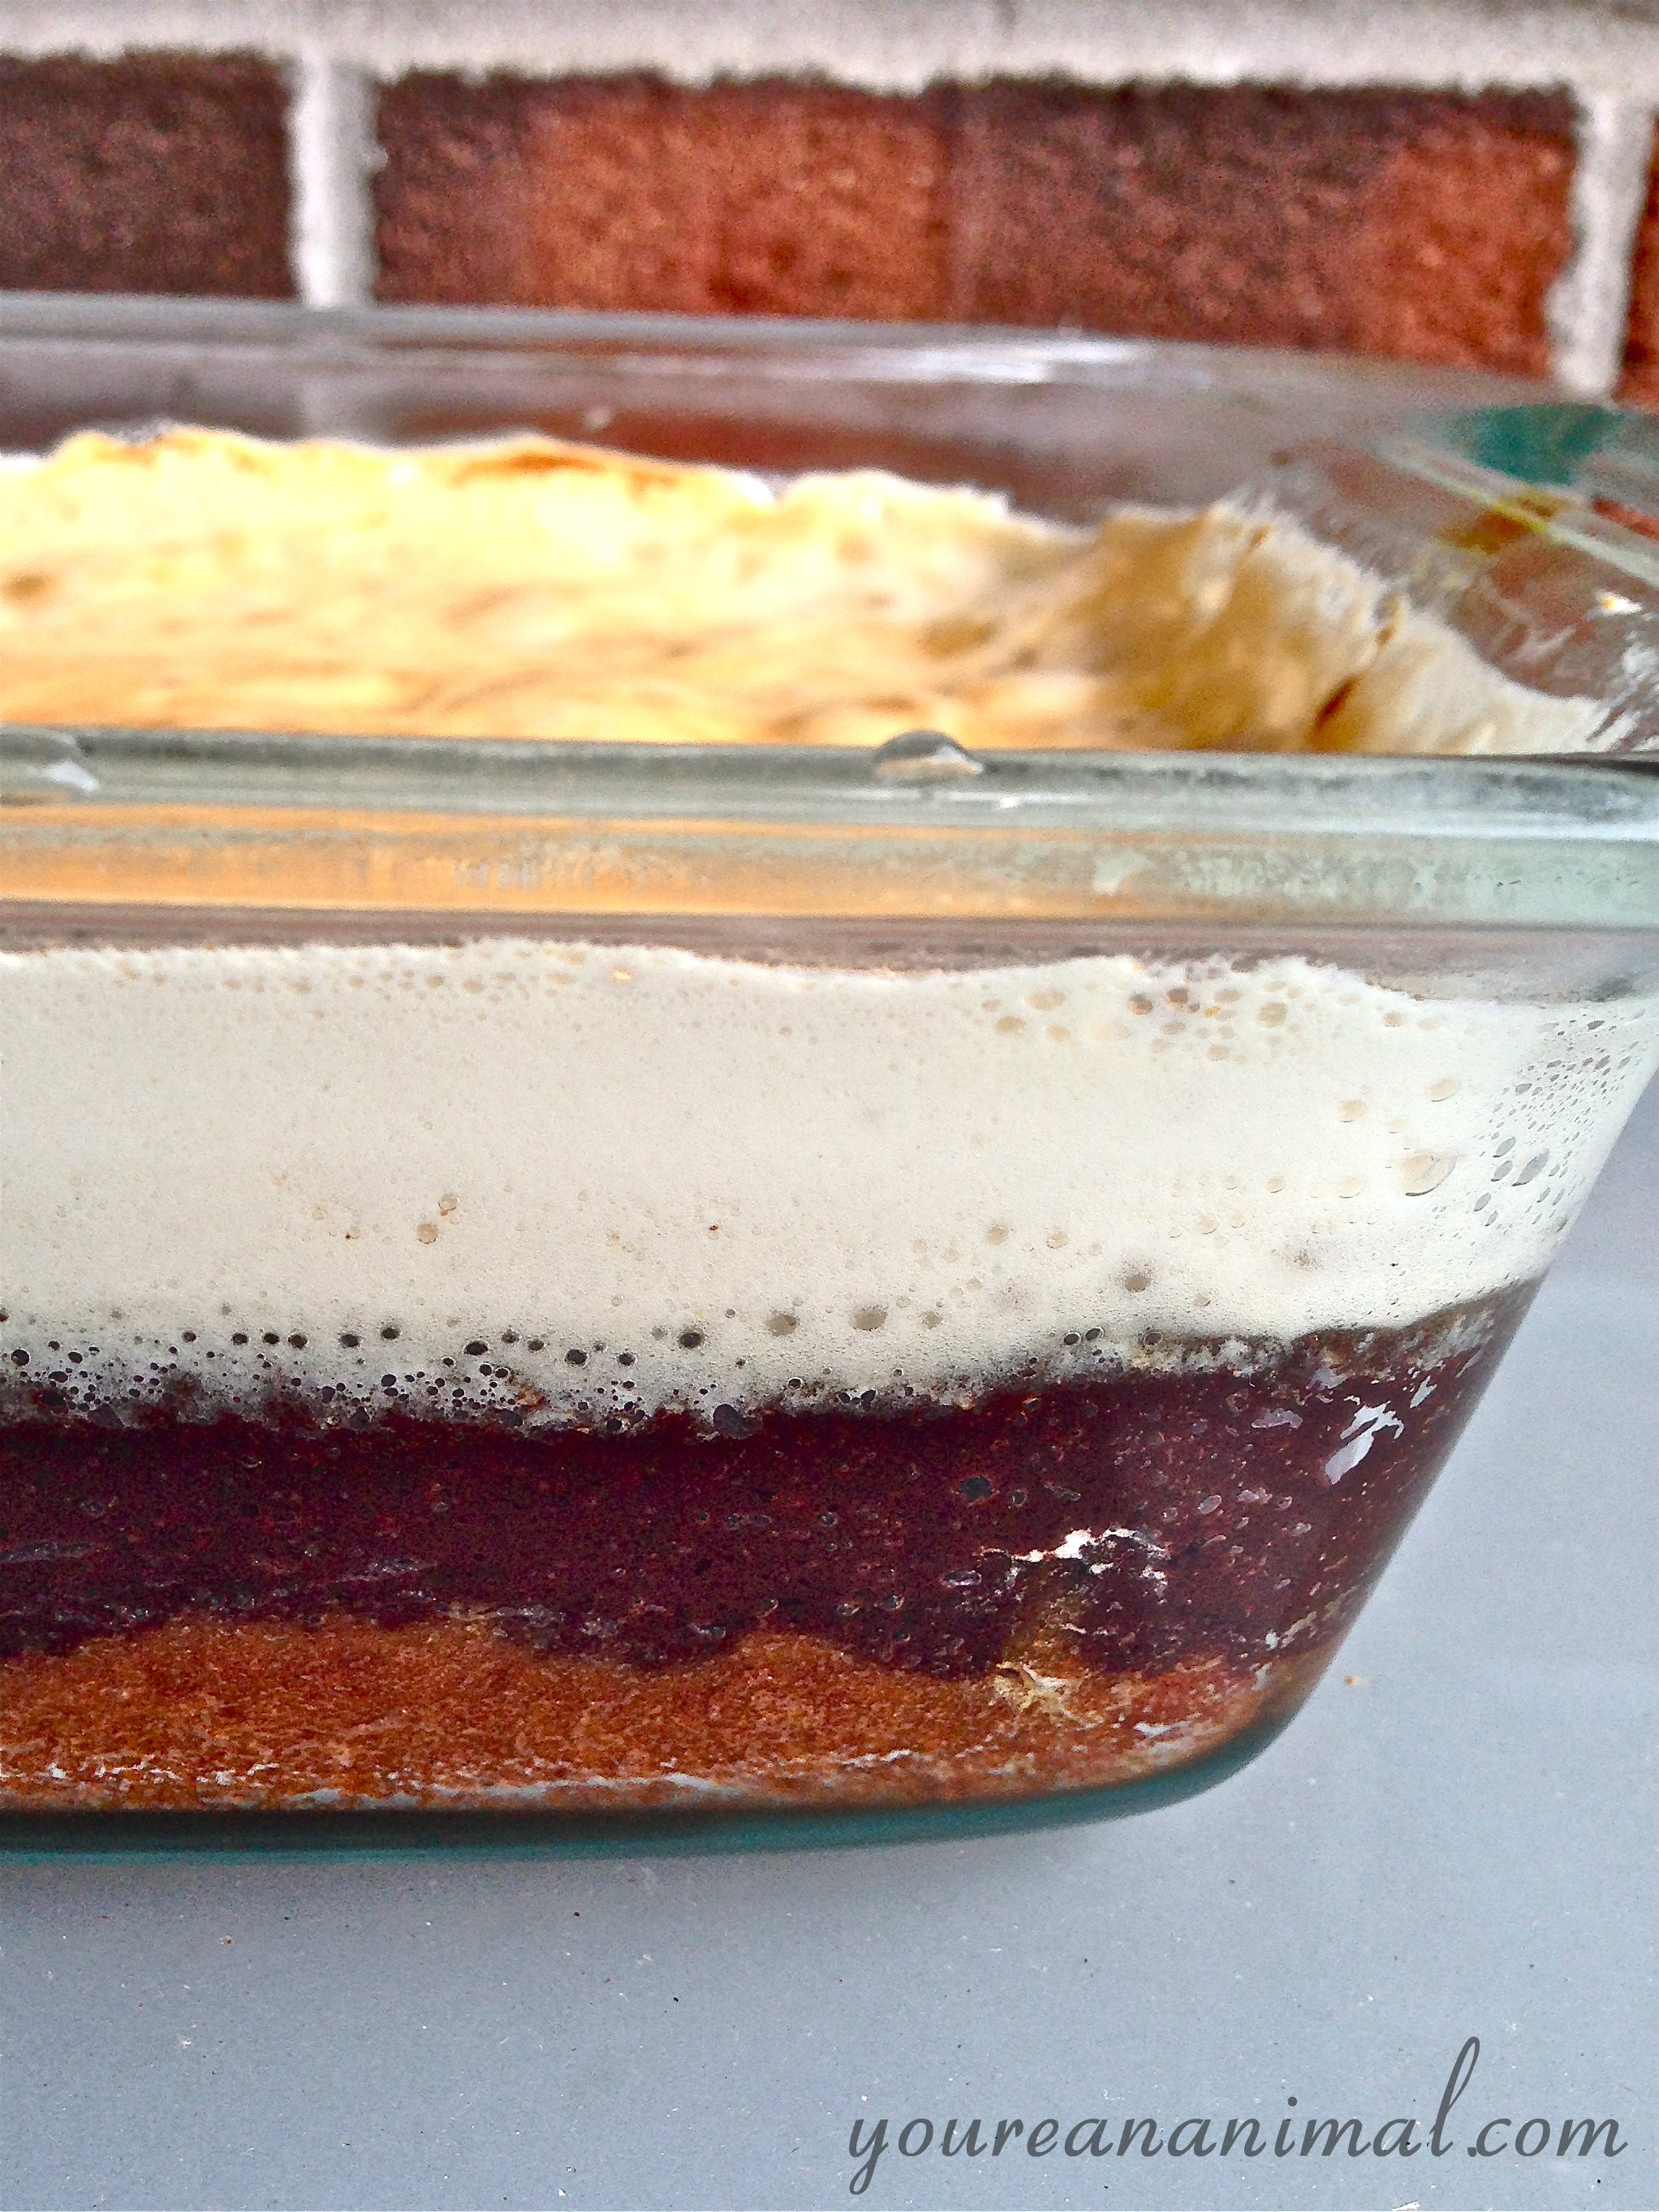
  4. Continue to boil sugar mixture until it reaches 300 degrees F, or the “hard crack” stage, stirring frequently. Beware, it will foam up. If it foams too much, stir, or remove from heat briefly and then return. This stage takes longer than expected–anywhere from 30 min to an hour. Be patient!
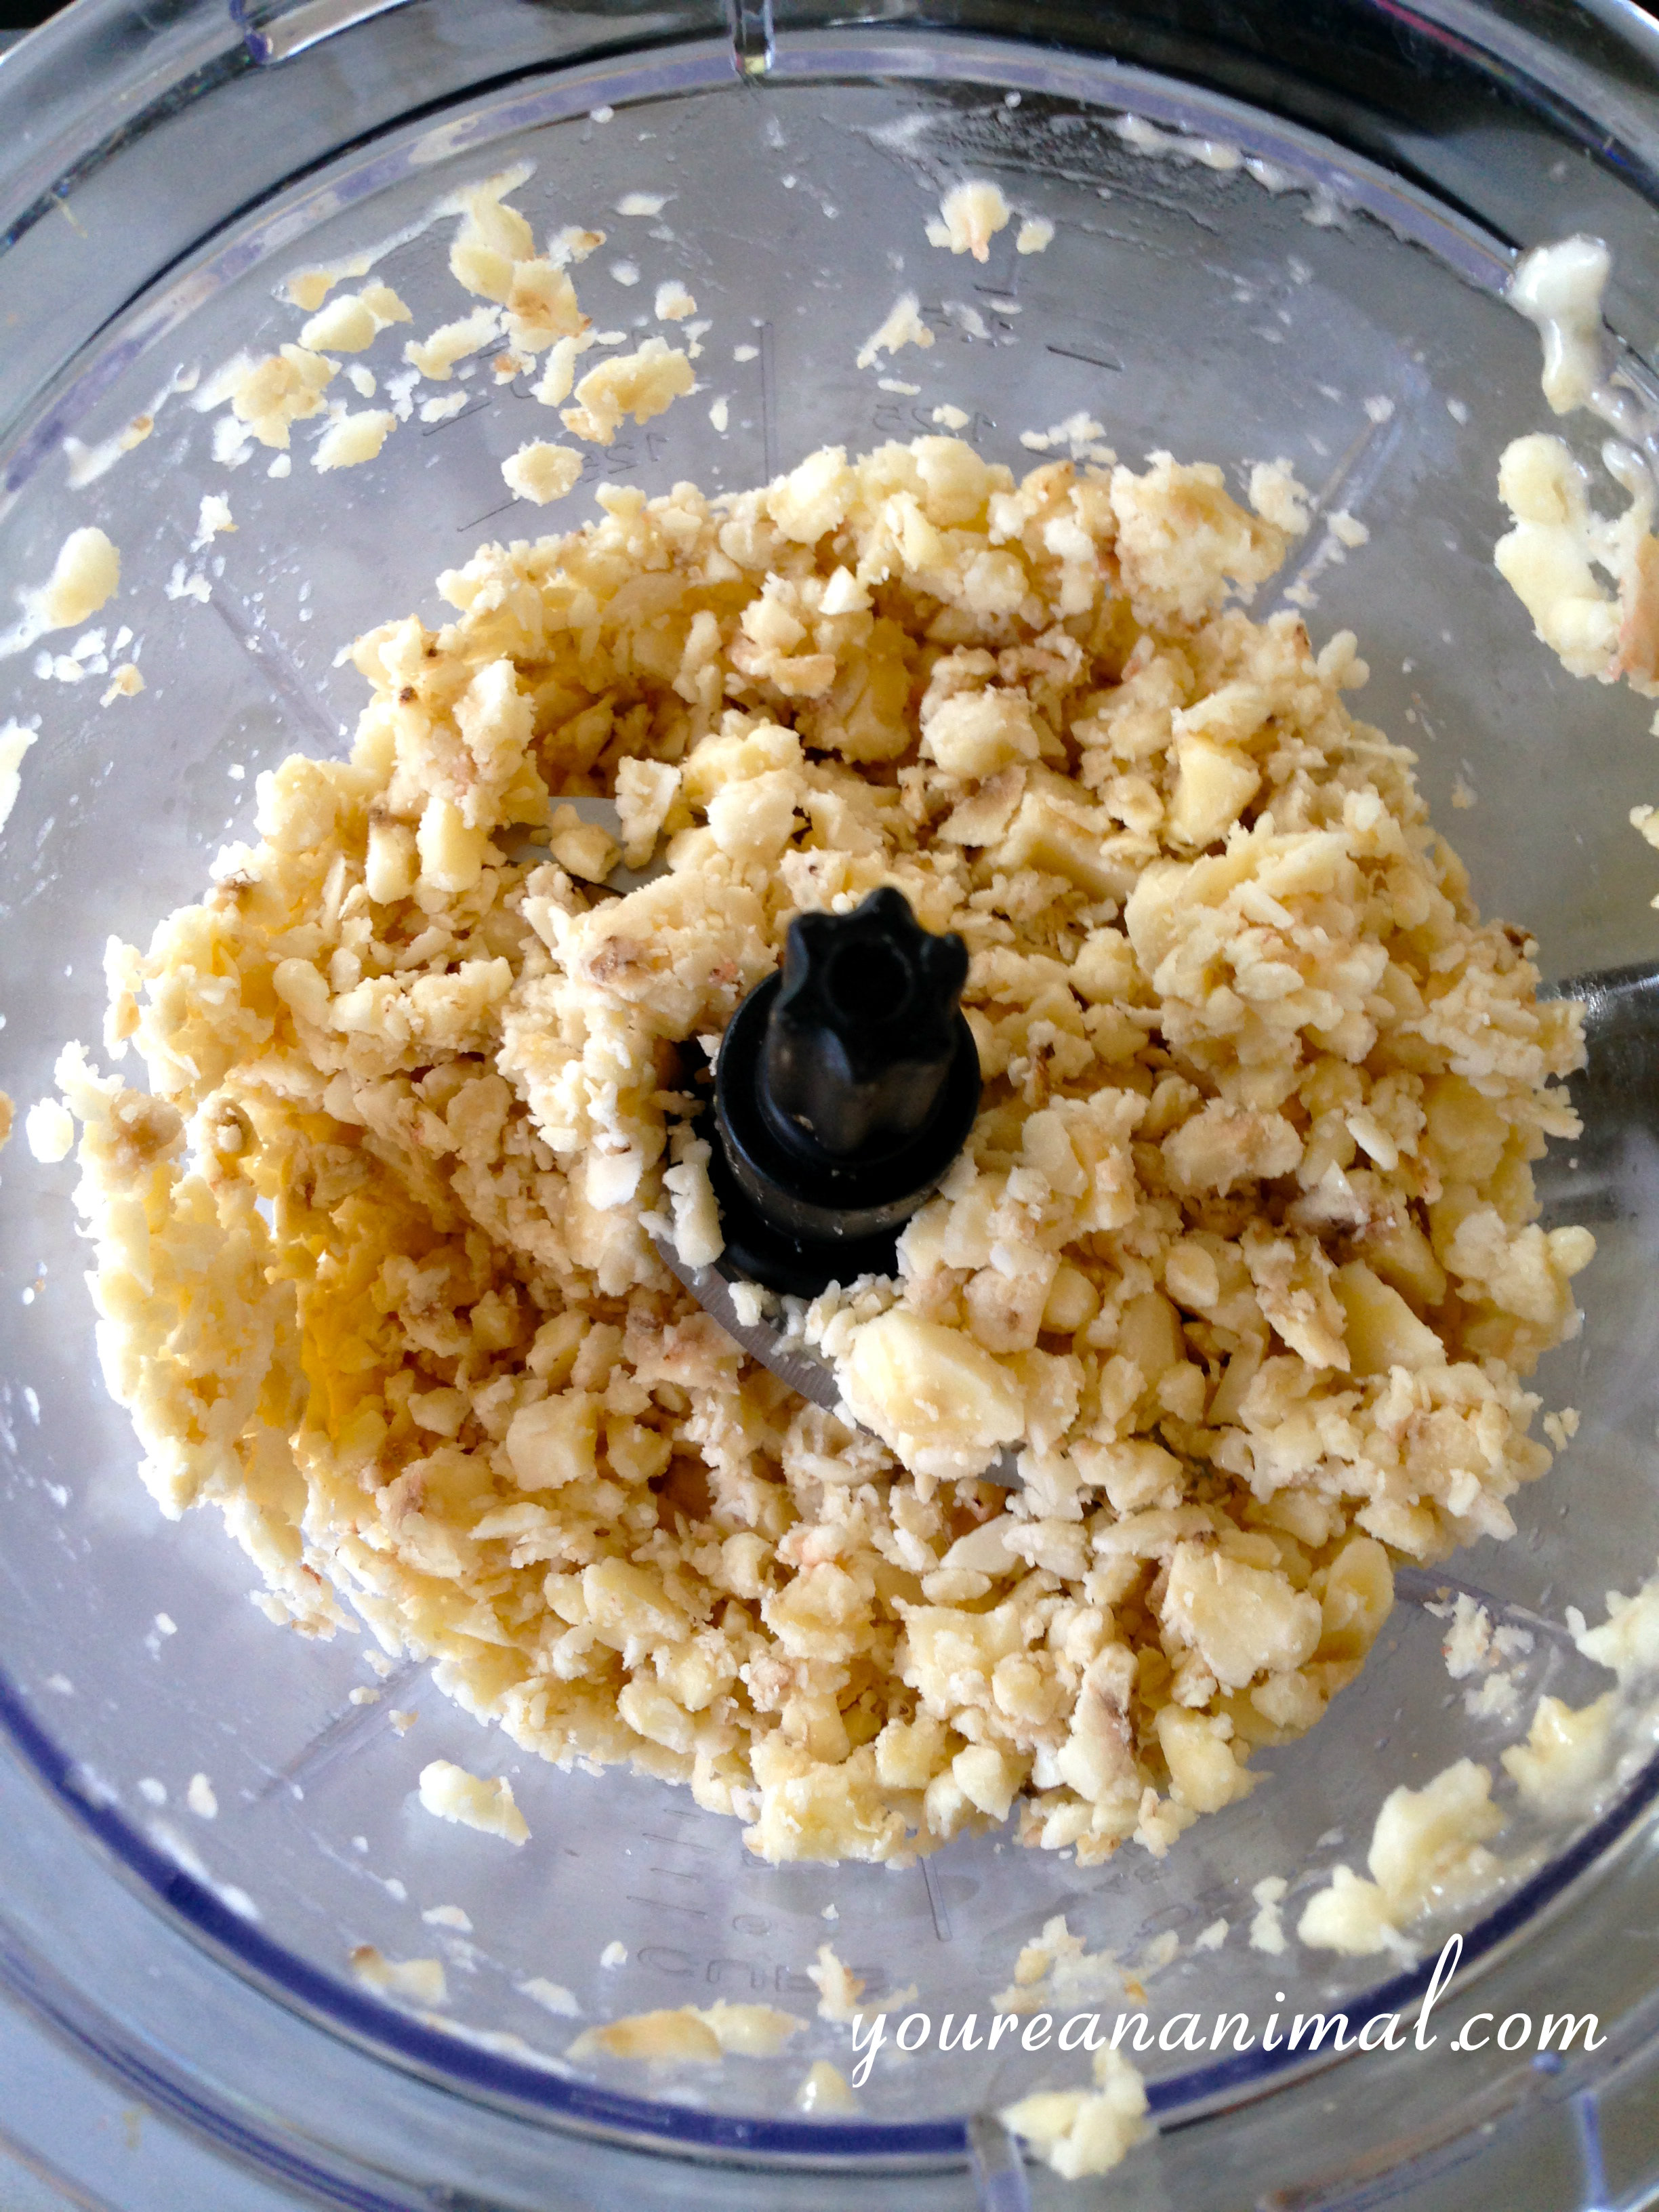
  5. Once the mixture reaches the hard crack temperature, remove from heat and quickly add your butter, almonds, seeds, vanilla and cinnamon. Stir and fold in the ingredients quickly, as the sugar will start to stiffen.
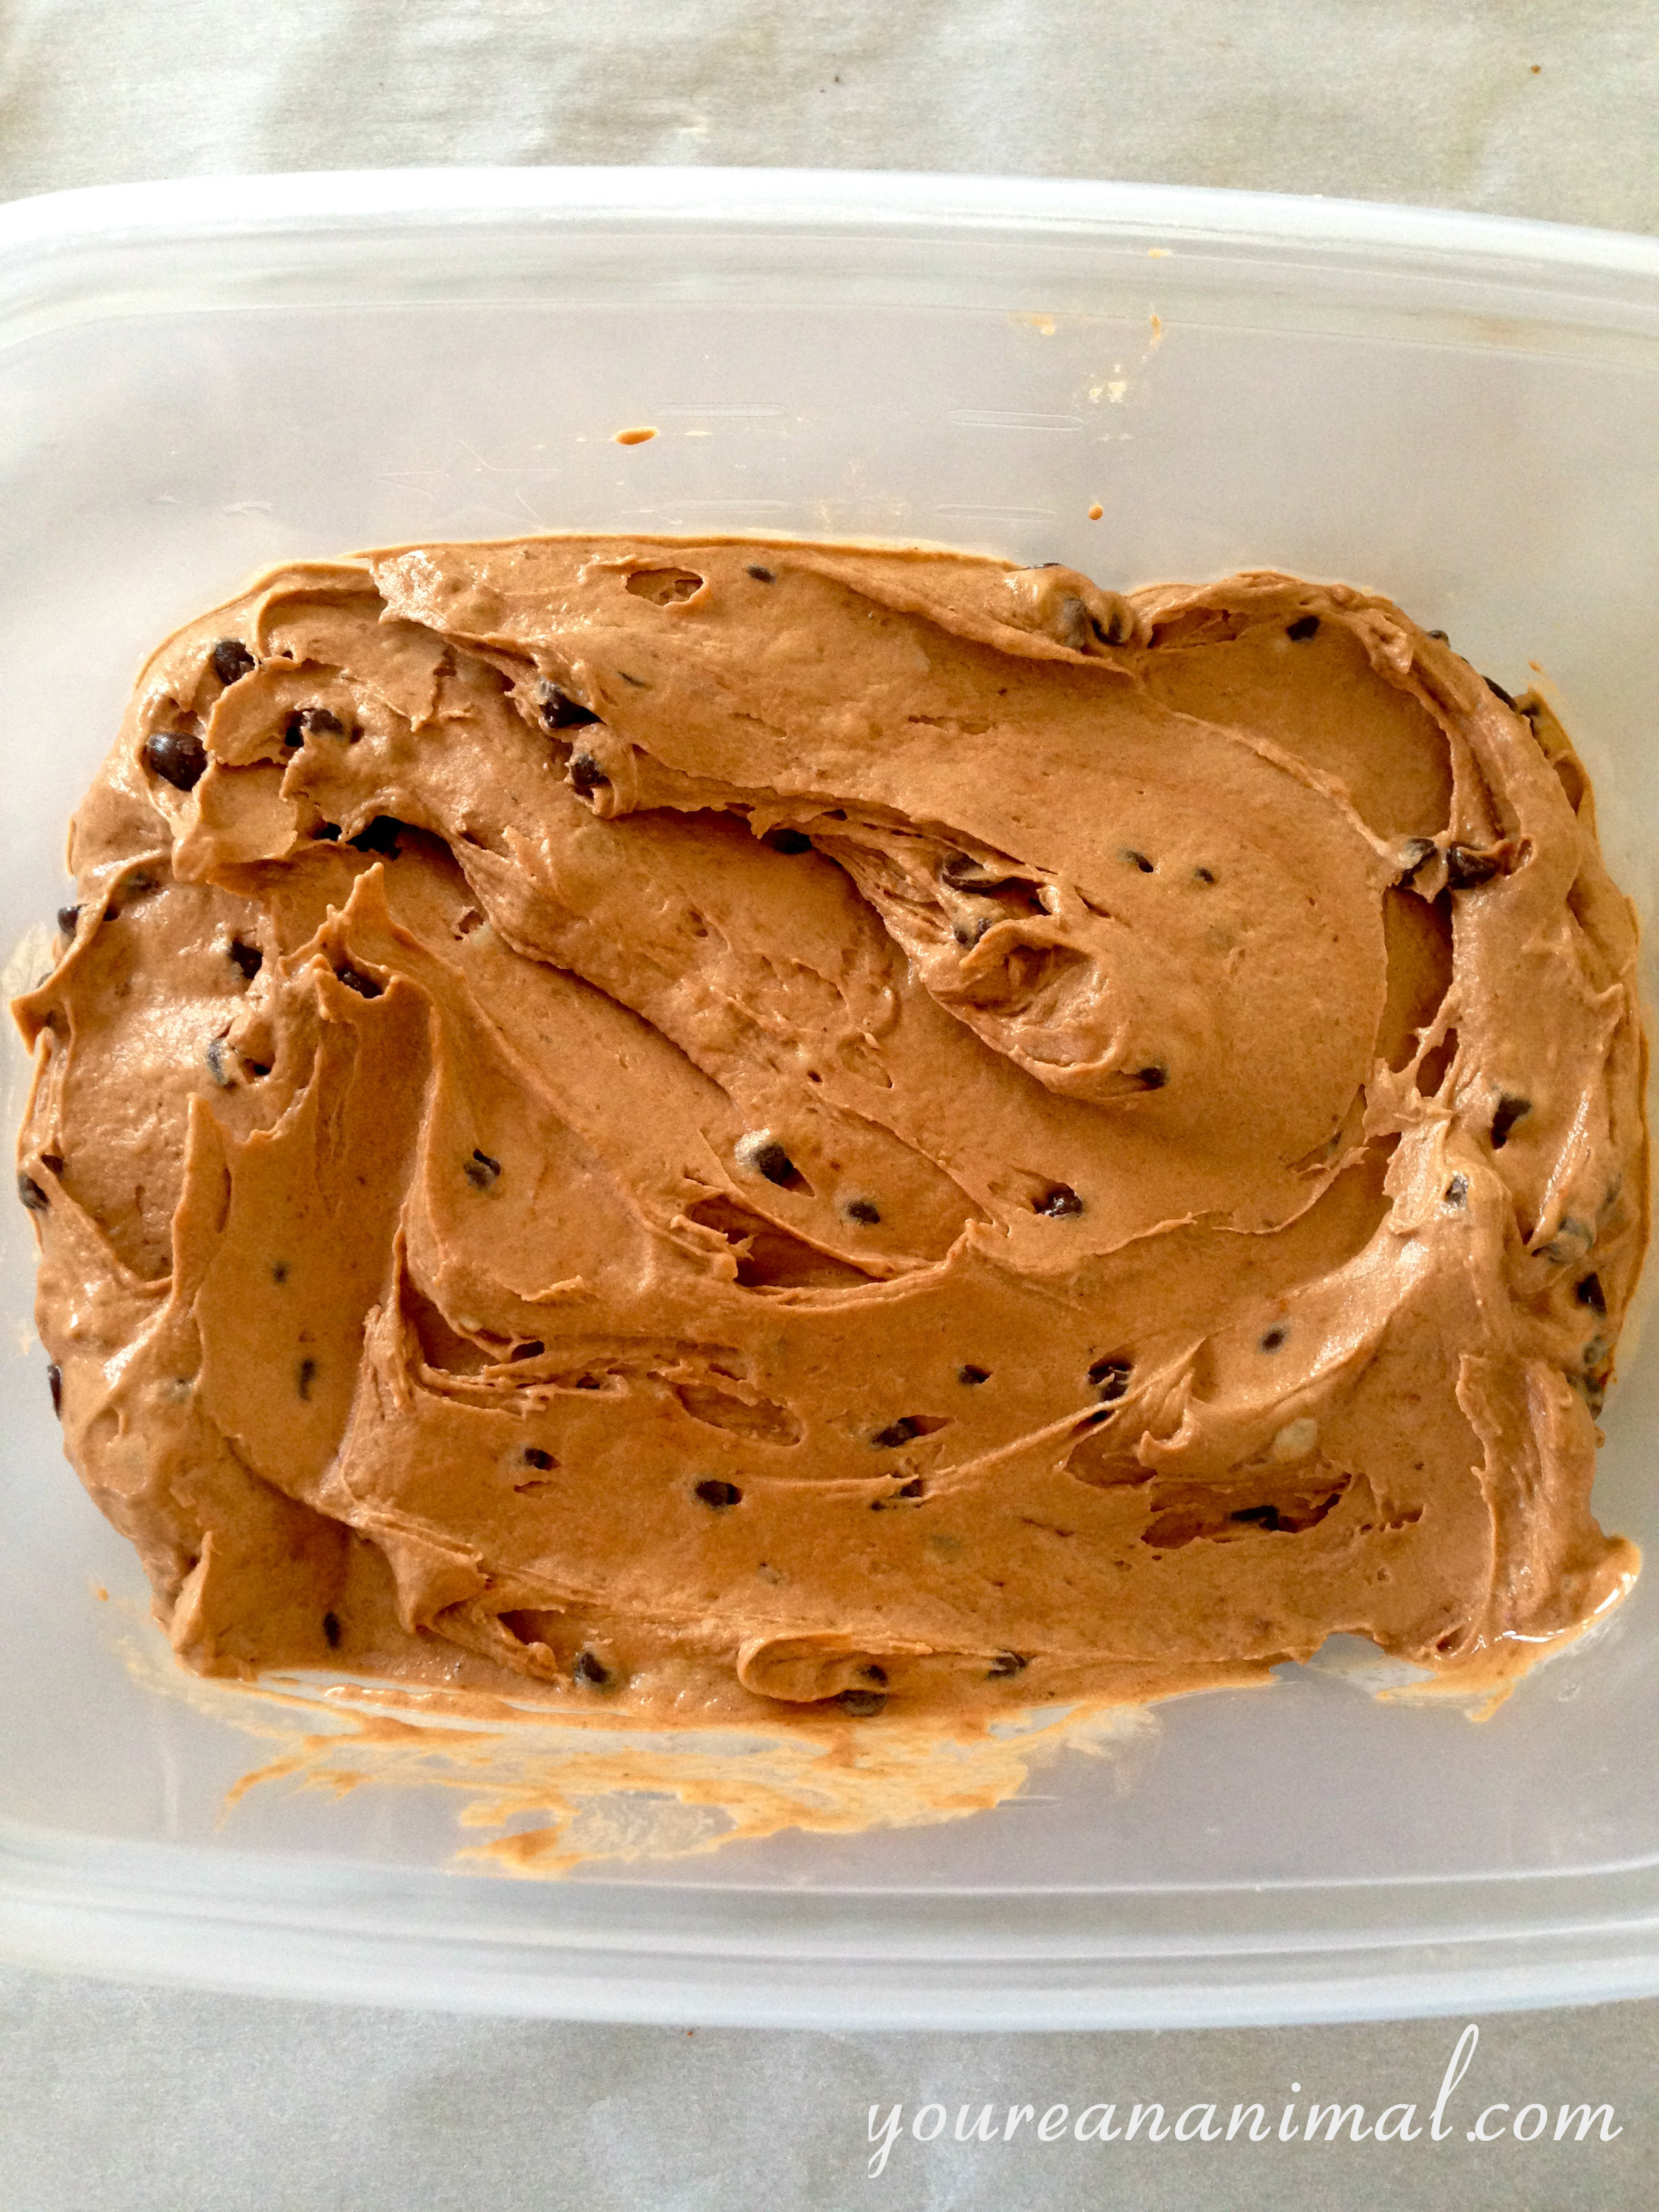
  6. Add the mixture to the lined 8×8 pan, and smooth into an even layer.
  7. Allow to cool in the freezer (they will be easier to break when really cold).
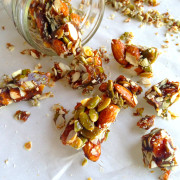
  8. Once completely hardened (like hard candy), remove from the pan and break the mixture into bite-sized clusters.
  9. Helpful hints: I found it broke more easily if I flipped it over so the bottom was facing up. I used a butter knife and just went for it. Caution–this is a messy process. Expect to sweep the floor and every inch of counter within a 4-5 foot radius. Maybe invest in some protective eye wear and send small children and pets out of the room. Standard flying object precautions. Also, these got slightly chewy at room temperature, so I found that storing them in the fridge kept them super crunchy. And one more thing… Please don’t pull out a filling eating these.
  10. Enjoy!

almondcluster3


S’mores Bars (Gluten-Free, White Sugar-Free)

1

Happy official start to summer! What better way to get in the mood than with s’mores? Unfortunately the chemical-y, white sugar-y, gluten-y treats have started to sound more like a death trap than a happy summer evening. So why not make your own without the processed junk?! Okay so these are by no means the healthiest food on earth… they’ve got a ton of sugar, even if that sugar is much better quality than what you would buy in the store. So this is a once-every-so-often summertime treat made to share. By hey, I say if you’re going to do it, at least make it cleaner than it used to be! I can’t take too much credit for this recipe because I actually combined three different recipes from three different sources to create these sweet treats: Against All Grain, Lexi’s Clean Kitchen, and Urban Poser. The part that amazed me the most was being able to make my own marshmallow with honey. WHAAAT. And it came out perfectly. Until I caught it on fire. Yep, that actually happened. I put the bars under the broiler to get the marshmallow nice and toasty brown (I mean it’s a s’more, right?) and then got distracted by the World Cup annnnd there was a fire. Smoke detector went off. I had to peel off the top charred and maimed layer. And because of that, the marshmallow layer isn’t as thick as it started out. So when you make these, the marshmallow will probably be a little fluffier and taller. Just don’t make an oopsie like I did. BUT if you’re going to catch something on fire, marshmallow isn’t the worst thing because you can easily just remove it. That’s my story and I’m sticking to it. Happy summertime!

S’mores Bars

Graham Crust layer adapted from Against All Grain (original recipe here)

  • 1/4 cup almond flour
  • 1/2 cup plus 2 tablespoons coconut flour
  • 1/4 teaspoon salt
  • 1/4 teaspoon baking soda
  • 1 teaspoon cinnamon
  • 1/4 cup coconut oil, softened
  • 1/4 cup honey
  • 1 egg
  • 1 teaspoon vanilla

Chocolate Fudge Cake layer adapted from Lexi’s Clean Kitchen (original recipe here)

  • 6 oz. dark chocolate (I use Enjoy Life chocolate chips)
  • 1/4 cup unsweetened apple sauce
  • 1/4 cup coconut oil
  • 1/2 cup good quality unsweetened cocoa powder
  • 3 eggs
  • 1/2 cup raw honey
  • Pinch of himalayan sea salt
  • 1 tsp vanilla
  • 1/2 tsp cinnamon

Marshmallow Fluff layer adapted from Urban Poser (original recipe here)

1 cup filtered water (split into half cups)
2 1/2 U.S. tablespoons powdered gelatin. 225 bloom strength, same as Knox gelatin. ( I use Great Lakes brand (grass beef gelatin)
1 cup organic light colored honey, maple syrup or half of each
1 teaspoon vanilla extract

– See more at: http://urbanposer.blogspot.com/2012/11/rustic-homemade-marshmallows-whoney.html#sthash.Cj3toeYb.dpuf

  • 1/2 cup filtered water
  • 1 1/4 Tbsp gelatin (grass-fed if you can find it)
  • 1/2 cup raw honey (or grade B maple syrup)
  • 1 tsp vanilla
  1. Preheat the oven to 350 degrees F. Grease an 8×8 baking dish with coconut oil.
  2. Start with the graham layer. Combine all of the dry ingredients in a small bowl. Combine all of the wet ingredients and a separate bowl, using a mixer to blend. Slowly add your dry ingredients to the wet, using your mixer to combine until smooth. The dough should be in a moldable ball.
  3. Press your dough into the bottom of your baking dish in one even layer. No need to come up the sides. Use a fork to poke holes all over the dough to make sure it doesn’t rise.
  4. Par-bake the graham layer for 5 minutes, then remove from the oven and place in the freezer while you start making the chocolate layer.
  5. Start the chocolate fudge cake layer. Using a double boiler, melt the dark chocolate, honey and coconut oil, stirring frequently until combined and fully melted. Remove from heat.
  6. Add apple sauce and stir to combine. Add cocoa powder, cinnamon, salt and vanilla and mix thoroughly until there are no lumps. Making sure your mixture is cool enough, add the eggs. (If your mixture is too hot, it will start to cook the eggs and you will have scrambled eggs in your fudge… No good!)
  7. Remove your graham layer from the freezer, and pour your chocolate fudge layer on top of your graham layer in the baking dish. Bake for 25 minutes. I liked mine a little fudgey (read: undercooked), so when I took it out of the oven, the middle was still slightly liquidy. If you want yours to be fully cooked through, bake until the center is firm and an inserted toothpick comes out clean. I put mine in the fridge once cooked, and the center hardened right up anyway due to the chocolate and coconut oil solidifying in the cold temperature.
  8. Start your marshmallow fluff layer. Note: I used half the recipe indicated on Urban Poser’s blog. She does a much better job with the explanation and troubleshooting of this process than I ever could, so at this point I’m going to direct you to Urban Poser’s recipe (click here). Stop at step 5 and come back over here to finish up.
  9. Once you have made your fluff, immediately spread it over the top of your chocolate layer before it starts to set up. Make sure the sides of your baking dish are still greased well with coconut oil (you may need to re-grease). Allow the marshmallow time to set up before cutting or toasting (about 30 min to an hour at least). If you decide to toast and toast too soon, your marshmallow will not be as fluffy as it started out (mine deflated after toasting it).
  10. Store leftovers in the fridge.

12

4


Shrimp and Spinach Creamy Pesto Pasta (Gluten-Free, Dairy-Free)

2

I’ll be honest here, this is not a grain-free meal (although it could be– substitute zoodles [zuchini noodles] and voila!). I have gotten very strict about gluten-free, but we’re slightly more lenient on the non-gluten grains. Mainly these vices are sushi (brown rice, about once a week) and pasta (sprouted wild rice, about once a month). The pasta can sometimes upset my digestive system, so that’s why it’s a rarity, but sometimes it just feels NECESSARY, ya know? Pasta, comfort, yum. The necessity here was to comfort from the stress of the US World Cup came against Portugal. Stress. Alcohol. Soccer. Pasta. This happened. Also, it’s so quick and easy that it almost feels like a trap. What do you mean dinner is ready in 15 minutes? Too good to be true… but no! Easy peasy dinner, done and ready for cuddling up on the couch and yelling at our defensive line, and the ref, and Ronaldo, and whomever else needed to be yelled at. And the last 20 seconds of that game… yeah I don’t want to talk about it either. Soooo… pasta! Greens! Shrimp! Yum. Noms away.

Shrimp and Spinach Creamy Pesto Pasta

  1. Cook the pasta according to box, as many servings as needed.
  2. Cook the shrimp separately, sauteing them in avocado oil until pink and firm. seasoning with lemon juice, salt and pepper to taste.
  3. Make Creamy Avocado Lime Spinach Pesto as directed on separate page.
  4. Drain the pasta and return to pot, then mix in the pesto, and handfuls of spinach. Spinach will wilt slightly from the heat of the pasta.
  5. Fold shrimp into the pasta, or place on top after pasta is plated.3

 Products From This Post:

Crockpot BBQ Chicken (White Sugar-Free)

bbq5

Pulled pork/chicken is one of my greatest weaknesses, which is interesting for someone who usually couldn’t care less about meat in general. I don’t know what it is, but I could eat BBQ every single day… perhaps it’s the Virginia in me. I had yet to venture into the world of making mine own, however, until recently. I had NO idea how easy it is to throw together your own sauce. Now, I know this is one of those things that people devote their lives to: Creating the WORLD’S BEST BBQ. But I’m not too hard to please, and this one ticks all the right boxes in my book. My one necessity is that it needs to be more vinegary than tomato-y, but still have some of the tomato flavor to it. The super sweet, tomato versions just do not do it for me.  And neither do the bottle versions as they are often packed with sugar and who knows what else. The best thing about this recipe is that it is super whole-foody (as opposed to recipes that recommend ketchup or a bottle of BBQ sauce), and also super easy to just throw together and forget! Vinegar, a hint of tomato and sweetness, but also a kick of spice… sign me up! Often times we will mash up some potatoes (mixed with sauteed kale), and eat this chicken on top. THAT my friends, is a hearty meal. But for the purpose of having it in a sandwich, I baked up a couple of bun. For these I just used my Clean Eating Breadstick recipe, but formed them into two, round bun-shaped…buns. Then I cooked those for about 20 min or until cracked on top and golden on the bottom. Note that if you do use the buns for this, they do fall apart rather easily (bye bye gluten), but that kind of makes it fun. Andrew and I have competitions with who can keep their sandwich together longest. But at least you still get the sandwich feel!

Crockpot BBQ Chicken

  • 2 chicken breasts
  • 1 small onion, chopped
  • 3 oz (6 Tbsp) of tomato paste
  • 1/2 cup white vinegar
  • 1 clove of garlic, minced
  • 2 Tbsp honey
  • 1 Tbsp Coconut Aminos
  • 1/2 tsp each of dark chili powder, salt, paprika
  • pinch of cayenne, yellow mustard powder and black pepper to taste
  1. Place all ingredients except chicken into a crockpot.
  2. Stir until well-mixed.
  3. Place the chicken breasts into the crockpot. Flip once to coat in sauce.
  4. Cook on high for 4 hours. Set and forget!
  5. Shred chicken with two forks while still in the crockpot, and mix with the sauce.

This recipe usually feeds the two of us twice, once for dinner, and then once for lunch leftovers the next day. Now go make some chicken!

bbq4

bbq6


No Bean, Watermelon Seed “Hummus”

hummus5

Ah hummus, one of the things I miss greatly about no longer eating beans/lentils. I tend to avoid beans and lentils because of their anti-nutrient properties, and also because they usually give me extreme stomach pain (not terribly uncommon for beans–they do tend to have that, ahem, reputation–but often times it is literally unbearable for me.) But I was missing the veggies dip aspect, so I did some tinkering to figure out what I could come up with. I’d seen hummus made from cauliflower, and cashews, but I chose to go a different route: Watermelon seeds. Say what? you ask. Yep. Let me give you a brief synopsis of watermelon seeds. They are a plant-protein powerhouse. We’re talking 11 grams of protein in 1 ounce. That’s 2 tablespoons. That’s about half of a handful. That’s A LOT of protein. Oh and 15% of your daily iron value in the same 1 ounce. Um yes please and thank you. You can learn more about these little bundles of nutritional joy in my Watermelon Seed ingredient post. So because not only do I use these watermelon seeds for this “hummus,” but also tahini (sesame seed paste), there are about 13 grams of protein in 2 tablespoons of this stuff. Compare this to 2 grams of protein in your traditional, chickpea hummus. (Um, was anyone else disillusioned by this? I was under the impression that hummus was a good source of protein for oh I don’t know, my entire life…) This makes this dip the perfect afternoon snack if you ask me! Now, don’t expect this to be the texture of your traditional hummus. Try as I did, it’s just not the creaminess you’re used to. But the flavor profile is hummus-y indeed, and if you ask me, for the added benefits, I would gladly take a difference in texture. Snack away!

No Bean, Watermelon Seed Hummus

  • 1 cup raw, sprouted watermelon seeds
  • 1/4 cup tahini
  • 3 Tbsp olive oil
  • 1 Tbsp lemon juice
  • 1 garlic clove
  • 1/4 tsp each of smoked paprika, onion powder, and dried yellow mustard powder
  • dash of cayenne, to taste
  1. Soak the watermelon seeds in filtered water for 3-4 hours. They will become slightly soft, like pumpkin seeds when gutting a pumpkin. Drain, and rinse.
  2. In a small food processor or blender, blend your soaked watermelon seeds until they start to form a paste.
  3. Add the rest of your ingredients, and blend until smooth, scraping down the sides as needed.
  4. Store in the fridge. Hummus will separate, just stir with a fork to reincorporate.

Serving size: 2 Tbsp. Makes 8 servings.

hummus6


Three Ingredient Protein Pancakes (Grain-Free, Nut-Free)

pancakes4

Today is our anniversary, so I made a favorite around these parts: pancakes! But these are no ordinary pancakes, no sir. With only 3 main ingredients and 21 grams of protein per serving (4 pancakes, yessss) these little guys will leave you full and happy without the sugar coma and hunger pangs an hour later. And can we mention the importance of potassium and the positives of sunflower seeds? Plus they’re simple to whip up! I mean, that’s a given with only having 3 ingredients, right? Bananas, sunbutter and eggs. I use green-tipped bananas (less sugar development), pasture-raised eggs, and I made my own sunbutter using sprouted sunflower seeds. Sprouted seeds are much easier to digest, and are more nutrient rich than regular old hulled seeds. Plus I actually much prefer the taste of freshly made sunbutter to the jarred stuff! Annnnd it takes about 3 minutes to make. This recipe calls for 1/2 cup of sunbutter, so to make this I used 1 cup of the sprouted sunflower seeds, and processed them in a small food processor until it was a consistency of damp sand. Then I added about 1 Tbsp of avocado oil and processed again. I scraped down the sides, added one more Tbsp of avocado oil, then let the processor run until it was a creamy, sunbuttery texture. Yes, sunbuttery. Fast-forward to that golden stack of deliciousness, and I’d say this anniversary was off to a good start!

Three Ingredient Protein Pancakes (Grain-Free, Nut-Free)

  • 1/2 cup of sunbutter (jarred or make your own as stated above) (can sub other nut butter)
  • 3 green-tipped bananas
  • 3 pastured-raised eggs
  • Coconut oil or avocado oil to grease the pan
  • Optional ingredients: vanilla extract, cinnamon, nutmeg, chocolate chips, blueberries etc!
  1. Mash your bananas into an almost smooth pulp.
  2. Add your eggs and sunbutter to the mashed bananas. Add vanilla or spices if desired.
  3. Using a hand mixer, mix at high speed until fully combined and mostly smooth (may have a few banana chunks).
  4. Add oil to a skillet, and turn to medium heat.
  5. Once the pan is heated, add 1/4 cup of batter. Cook like normal pancakes, flipping once the edges turn golden brown and bubbles have started to form on the top of your pancake. Cook until both sides are gold brown.
  6. Repeat with the rest of your batter, and serve with any topping you choose! (I like cinnamon and wild berry jam… and mimosas.)

Makes 2 servings of 4 pancakes.

pancakes16

pancakes17

pancakes18

pancakes9

pancakes10

pancakes5

In case you were wondering, yes, yes I was taking pictures of my food throughout our anniversary breakfast. So romantic. Not sure if he knew what he was signing up for, but hey, at least he’s getting fed.

Also, a behind-the-scenes shot at how I cooked these dudes. More clean up, but less time before food is in my belly…

pancakes20


Chocolate Chip Banana Bread Muffins (Gluten-Free, Grain-Free, Nut-Free)

13

I am a self-admitted carboholic and sugar addict. Which makes cutting out gluten and refined sugar incredibly painful (however, even more necessary.) Now, while these are a better option, they are most certainly not without the sugar… I’ve just swapped the sucrose (“table sugar”) for fructose (“fruit sugar”) which tends to happen a lot in my life. Sugar addict, remember? I’m working on it… When I finally perfected these little beauties, I couldn’t make enough of them. Breakfast: definitely. Snacks: absolutely. Lunch and dinner: admittedly, yes. Birthday parties: gluten-free noms. Wins all around. Noooot that you should eat that many. But it may or may not happen, just fair warning. I seriously cannot say enough about these muffins! If you like banana bread, and are looking for gluten/grain/nut free deliciousness, look no further. Even gluten-loving friends have raved over these muffins, not knowing that they were actually eating goodies made without the bad stuff. Yep, I’ll take that as the highest praise. Moist, but not gooey. Fluffy and risen just like a traditional muffin. Sweet and spicy. The perfect balance between the fruity banana, slighty nutty taste of the sunbutter, spicy cinnamon, and sweet chocolate chip bites. BUT! Don’t take my word for it, whip some up for yourself! I promise they will not disappoint.

Chocolate Chip Banana Bread Muffins

  • 1 cup mashed banana (approx 2 medium bananas)
  • 3/4 cup sunbutter (or other nut butter)
  • 1/4 cup coconut flour
  • 1/4 raw, unfiltered honey
  • 2 pasture-raised eggs
  • 1/2 Tbsp apple cider vinegar
  • 1 1/2 tsp baking powder
  • 1 tsp cinnamon
  • 1/2 tsp ground nutmeg
  • 1/4 tsp ground clove
  • 1/4 tsp salt
  • 1/2 tsp vanilla extract
  • chocolate chips to taste
  1. Preheat the oven to 350 degrees F. Line a muffin tin with paper liners, or coat the muffin tin with coconut oil.
  2. Mash your bananas to a almost smooth pulp (if you like chunks of banana in your banana bread, leave your pulp slightly lumpy.)
  3. Add the sunbutter, honey, eggs, vanilla, and apple cider vinegar to the mashed bananas. Combine until smooth and well-mixed.
  4. To the wet ingredients you just mixed, add the dry ingredients (coconut flour, baking powder, cinnamon, nutmeg, clove, and salt.) Again, combine the mixture until smooth and well-mixed.
  5. Fold in your chocolate chips (as many or as few as you want!)
  6. Fill the muffins cups 3/4 full. (I usually get about 2 Tbsp in each cup)
  7. Place in the pre-heated oven, and bake for 18-21 minutes or until risen, golden, and slightly cracked on top. Be mindful to watch these, they can easily get overly-cooked on the bottoms. I get about 1 dozen muffins from this recipe.

trimuffin

photo 4

photo 3

8

13

16

Creamy Avocado Lime Spinach Pesto

9

THIS. This is the most versatile sauce I’ve ever made, and a staple in my fridge. I put it on everything. EVERYTHING. Okay maybe not desserts (but I’m not knockin’ it). But chicken, burgers, spaghetti squash, seafood, salads… yes, yes and yes. It’s creamy, garlicy, limey, a tad spicy, and nutrient dense. And it’s easy to whip up as well. Avocado makes this nice and smooth and creamy, fresh basil gives it a pesto taste, and spinach sneaks in extra nutrients. Plus garlic and lime, which obviously speaks for itself. Yum. I repeat. YUM. Once you try this, it’ll become a staple for you too! You won’t be able to help yourself.

Creamy Avocado Lime Spinach Pesto

  • 3/4 cup of olive oil
  • 10-12 fresh basil leaves
  • 1 ripe avocado, skin and pit removed
  • 1 handful of baby spinach
  • 1 clove of garlic
  • juice of 1 large lime
  • Salt, black pepper, and red pepper flakes to taste

Makes about 1 cup of sauce

  1. Place all ingredients into a blender or food processor (I use my Ninja Master Prep and it works like a charm), and combine.
  2. Scrape down the sides and continue to blend.
  3. Repeat until completely combined and smooth texture has been achieved.
  4. Store in an airtight container in the fridge. May need to stir to recombine.
  5. A little goes a long way, enjoy!

photo 1

photo 2

Products Featured In This Post:

Double Chocolate Chip Banana “Ice Cream” (Dairy-Free)

22

This lactose-intolerant girl has a new best friend, and her name is banana faux-yo. See what I did there? Because it’s not really ice cream, or frozen yogurt, but it kind of is…. Right. When I first saw this idea, I was completely skeptical. Ice cream that literally only has 1 ingredient? Nope. Can’t be. BUT IT IS, IT REALLY IS. Let me just say that I LOVE ice cream. Growing up I ate it every day. That would be my easy go-to snack after soccer practice. Healthy, right? Well then in college I finally realized that a lot of my misery was derived from dairy, and it broke my poor little ice cream lovin’ heart. But now everything has changed. The wrongs have been righted. Victory is mine. Because I have made ice cream from a banana. JUST. A. BANANA. And some cocoa powder and chocolate chips because my name is Morgan, and I am a chocoholic. Seriously guys, this is so easy and delicious and you know… actually good for you. I will give you a warning though; please in all seriousness heed my words. DON’T KILL YOUR BLENDER/FOOD PROCESSOR. Mine conked out on me when doing a particularly hefty load (8 bananas) and I felt like I had accidentally killed my puppy. Luckily, after letting it cool down for a while it revived itself. I literally squealed with joy when I realized it wasn’t gone forever. Yes, I am that attached. (Thank youuuu Ninja Master Prep )So, my friends, let’s ditch the inflammatory dairy for something more beneficial: a healthy dose of Potassium… and happiness.

Double Chocolate Chip Banana “Ice Cream”

  • 5 medium bananas, sliced
  • 2-4 tbsp of 100% cocoa powder
  • Enjoy Life mini chocolate chips

tribanana

First, slice those bad boys up.

13

Next, put them into a large bowl (or you could use a baking sheet) that is lined with plastic wrap. Trust me on the plastic wrap, your hands will greatly appreciate the gesture when they are not forced to pry frozen pieces of banana out of the bowl. Place your banana slices in the freezer until frozen through. Once they are frozen, remove them from the freezer and place them in your blender/food processor. I have found that it is helpful to let them sit out for 10-20 minutes and have them soften just slightly. It may just save a good blender’s life.

29

Ladies and gentlemen, start your engines!

30

Pause and scrape down the sides every so often to keep it a consistent texture, and also push the pieces down closer to the blades. This also gives your appliance a much-needed break. At this point you can also add your cocoa powder.

31


Just when all seems nearly hopeless, and that your ice cream will never be more than just a sandy bowl of banana gravel, have faith. Your journey it not yet over, keep blending and BEHOLD:

16

This little beauty is ready to be choco-chipped.

Transfer into a bowl, and fold in your chocolate chips.

19

Just see how long you can make this last. I dare you.

17

Products Featured In This Post:

Clean Eating Breadsticks (Gluten-Free, Grain-Free)

19

In my humblest o’ opinions, these are the ULTIMATE clean eating breadsticks. Have I mentioned I’m a carboholic? Right. So breadsticks were my friend. Or so I thought, until I realized that all of the crap in them, like so many of my other favorite “friends,” was making me miserable. So with some tinkering, I’ve managed to come up with a dough that is bready, fluffy, and versatile. I’ve used this base as a pizza dough, as a bun for sloppy joes, and even attempted modifying it to create cinnamon rolls (fail, terrible fail, but I will persevere). Best part about this hearty dough is that it isn’t loaded with expensive nut flour. The base is sunflower seeds (a favorite of mine), which when bought already hulled and unroasted are on the cheaper end of the clean eating budget. In the following pictures, I’ve shown how you can create your own sunflower meal. I actually used a combination of sprouted sunflower seeds and pumpkin seeds simply because that’s what I had on hand, but you can easily use just sunflower seeds, or another nut meal (ie almond flour, or cashew meal) as a 1:1 replacement. As I already mentioned, the versatility of this dough is amazing, and I can guarantee that this will not be the last time this recipe shows up in a post! It holds together pretty well (considering it’s a gluten-free recipe, I can only do so much people!), is definitely hearty enough to dunk, and is protein-packed enough that it will leave you completely satisfied–unlike its high-glycemic, white flour counterpart. Oh, not to mention all of the good fats and oils packed into these little babies, which not only makes them healthy, but most definitely keeps them moist and fluffy. If you’re like me and NEED a clean bread replacement, or maybe are just looking for a more filling alternative to the yeasty, sugary white bread we’ve gotten so accustomed to, look no further, this stuff was made for you!

Clean Eating Breadsticks

  • 1 cup ground sunflower seeds
  • 1 Tbsp almond flour (to make these nut-free, use an extra Tbsp of flax meal instead)
  • 1 Tbsp flax meal
  • 1/4 cup coconut flour
  • 2 pastured-raised eggs
  • 3 Tbsp water
  • 2 Tbsp olive oil
  • 1/2 tsp apple cider vinegar
  • 1/2 tsp baking powder
  • 1/2 tsp salt
  • 1/2 tsp oregano or Italian seasoning mix
  • 1/4 tsp onion powder
  • 1/2 tsp garlic powder
  • 1/4 tsp black pepper

Makes four 2″ x 6″ breadsticks.

  1. Preheat your oven to 350 degrees F, and line a baking sheet with a piece of oiled parchment paper.
  2. Grind your sunflower seeds in a small food processor until in a medium-fine meal (as pictured below).
  3. Combine your dry ingredients in a large bowl (ground sunflower seeds, almond flour, flax, coconut flour, baking powder, and spices).
  4. Add the rest of the ingredients into the bowl of dry ingredients and mix by hand until thoroughly combined. Your mixture should stick together in a loose dough ball shape.
  5. Divide your dough into 4 even sections, and mold into breadstick shapes. This dough will not roll out like a traditional bread does, so what I usually do is start to form the breadstick shape in my hands, then place on the baking sheet and continue to mold the dough until I have obtained my desired size and shape. The dough should hold its shape, but still feel slightly loose and watery. Place the breadsticks 1-2 inches apart on the baking sheet.
  6. Place the baking sheet in the oven and bake for 10-12 minutes, or until they are golden brown in color, browned on the bottoms, and cracked on the tops.

picstitch1

photo 4

25

26

21

9