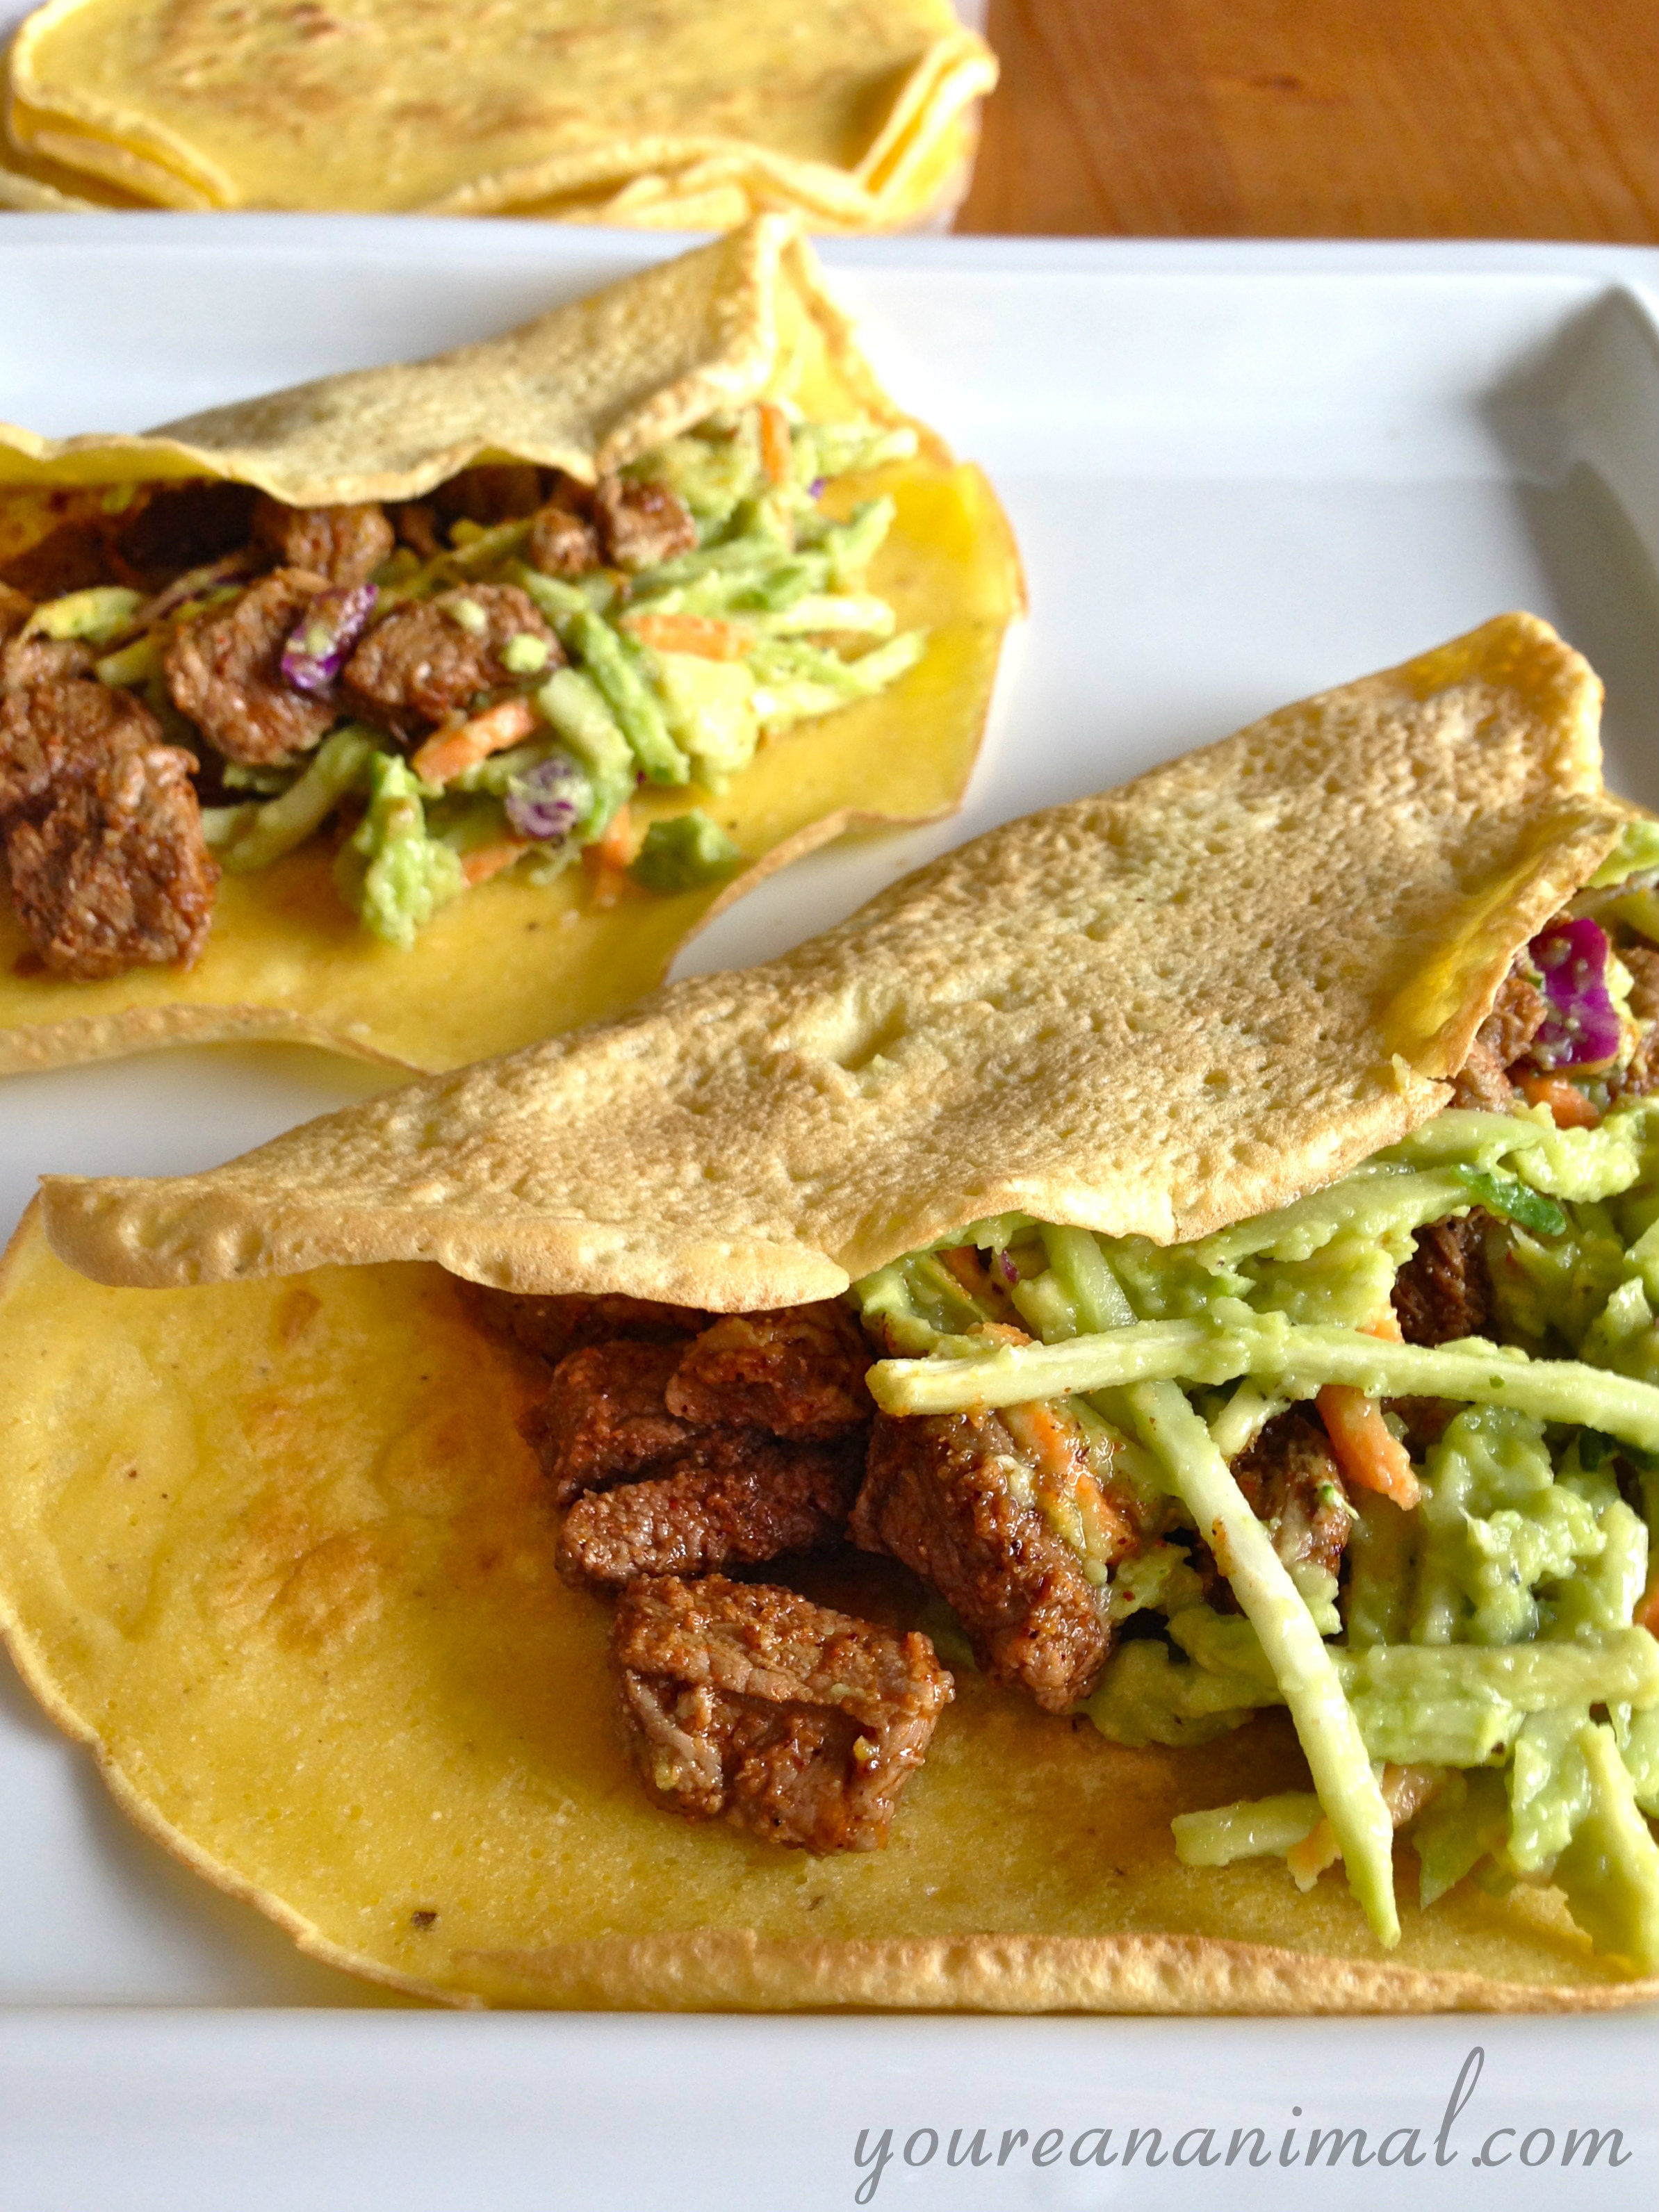
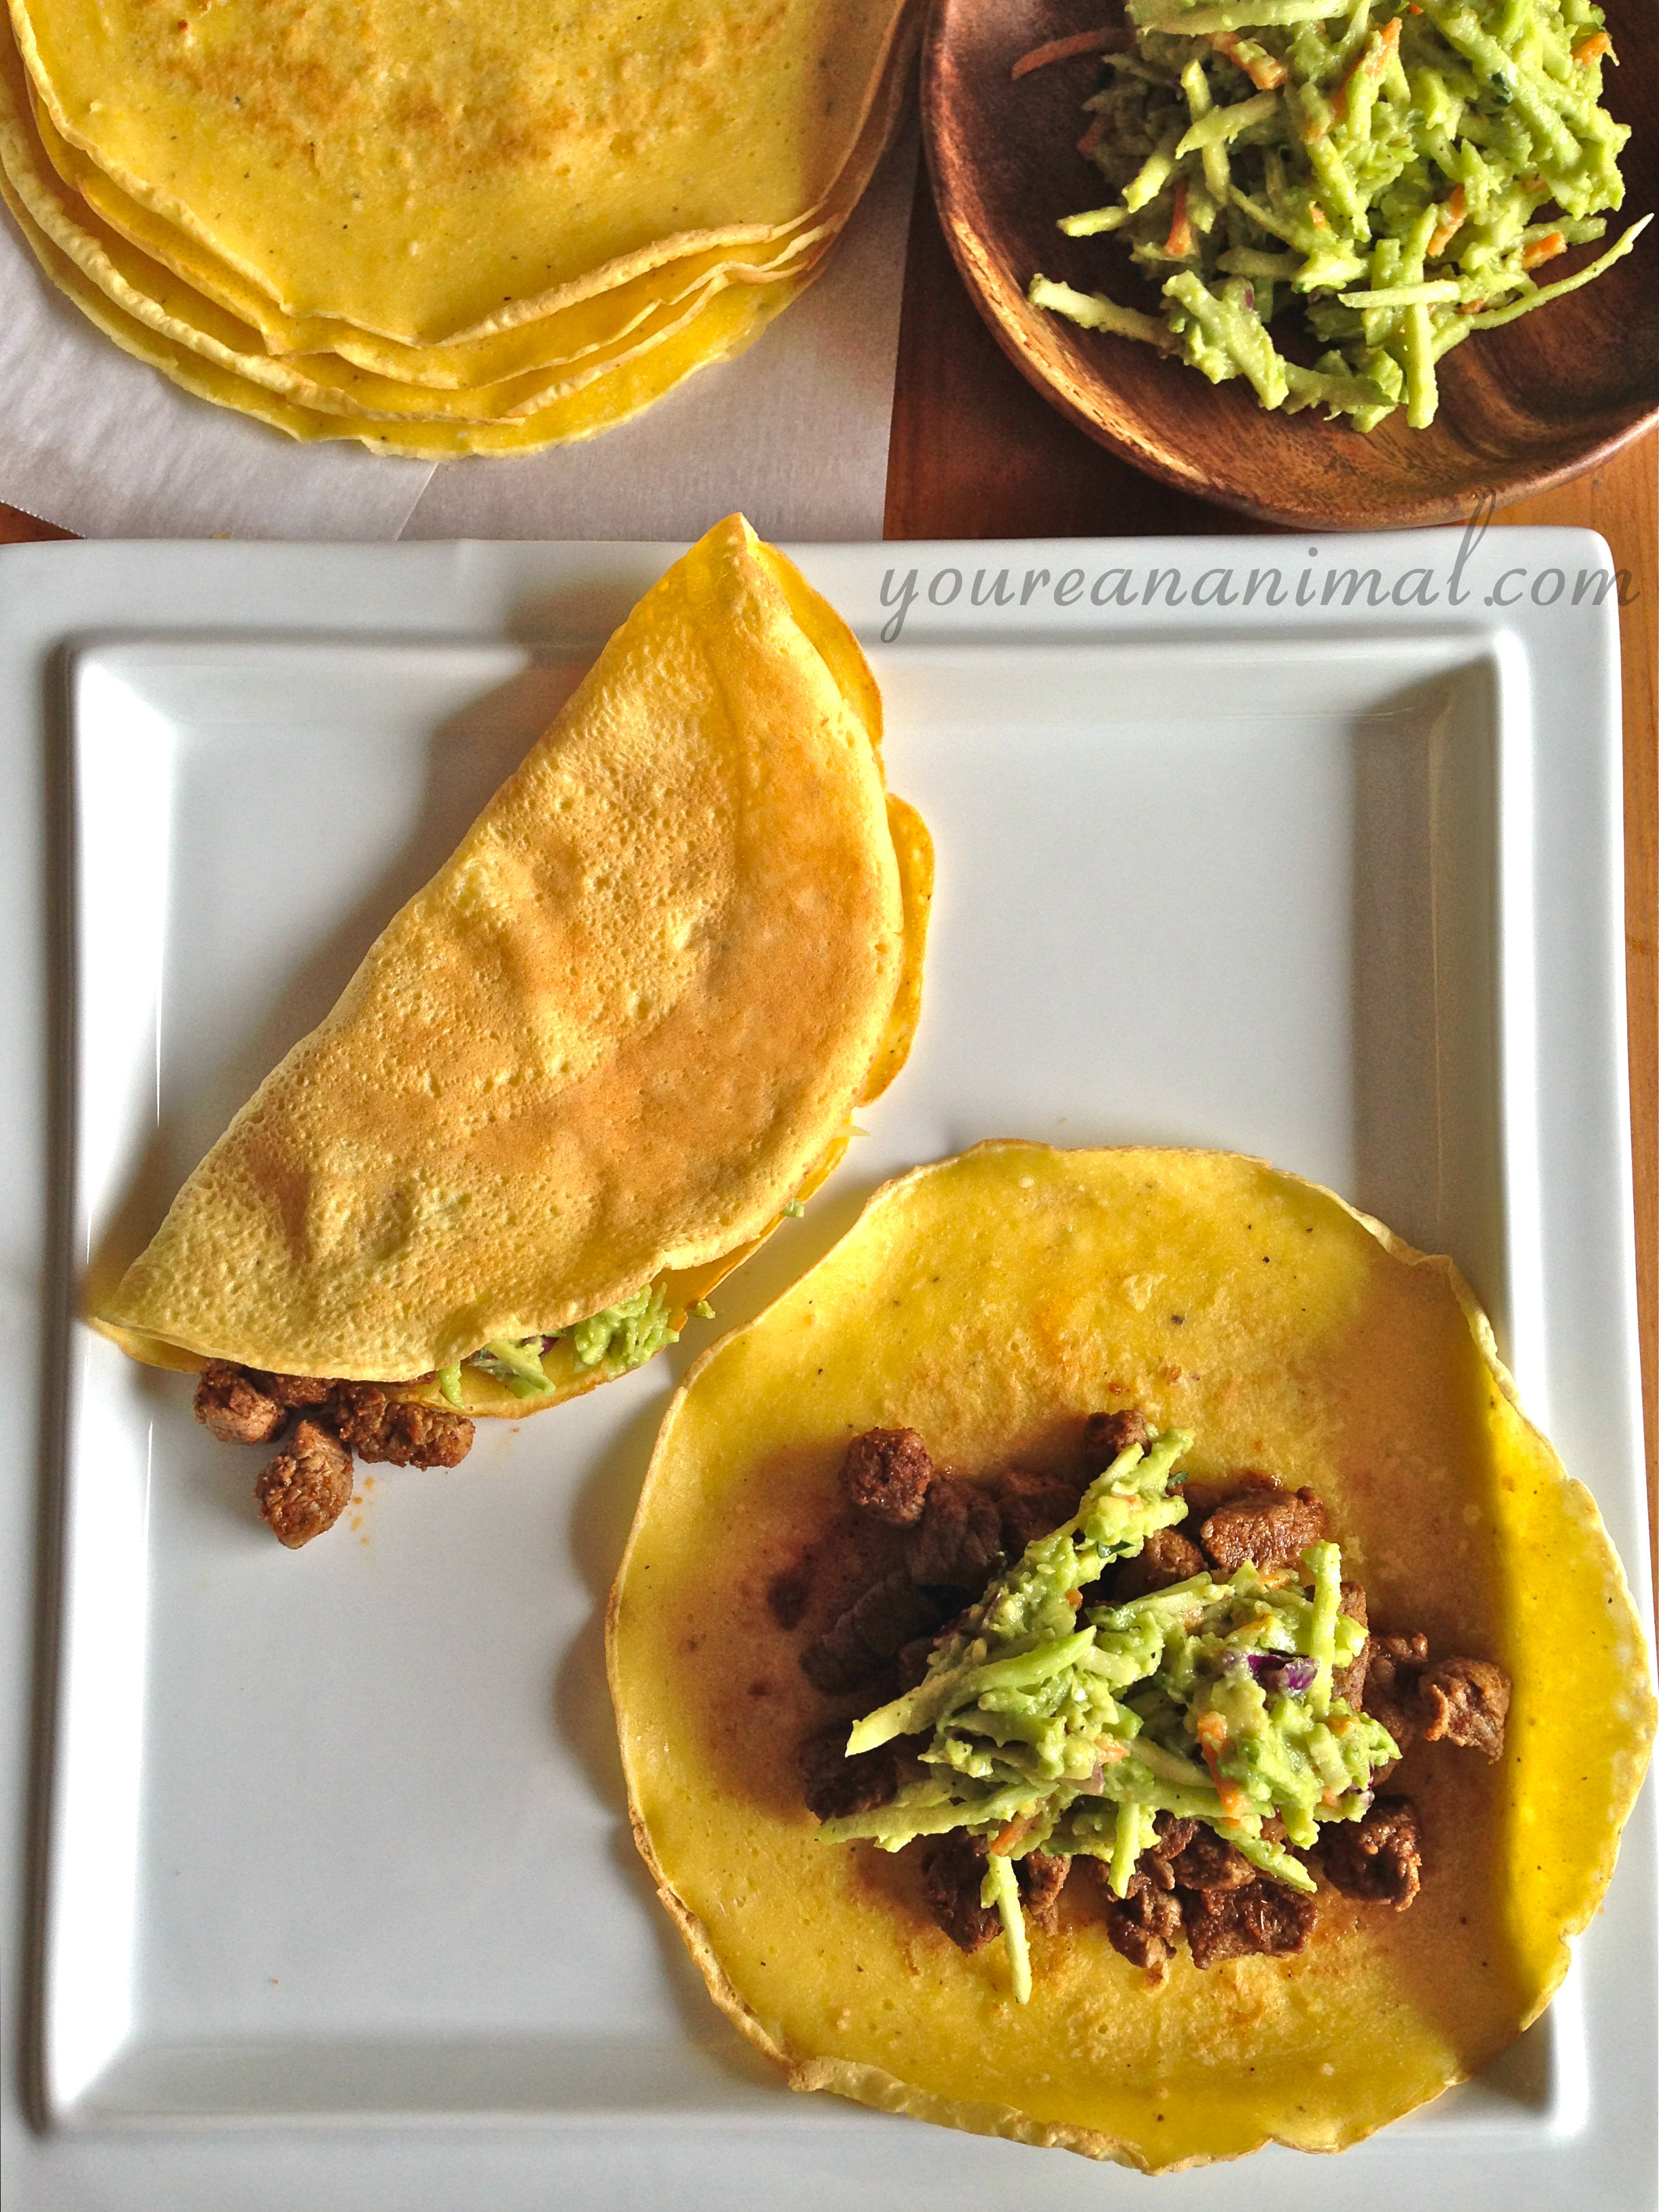
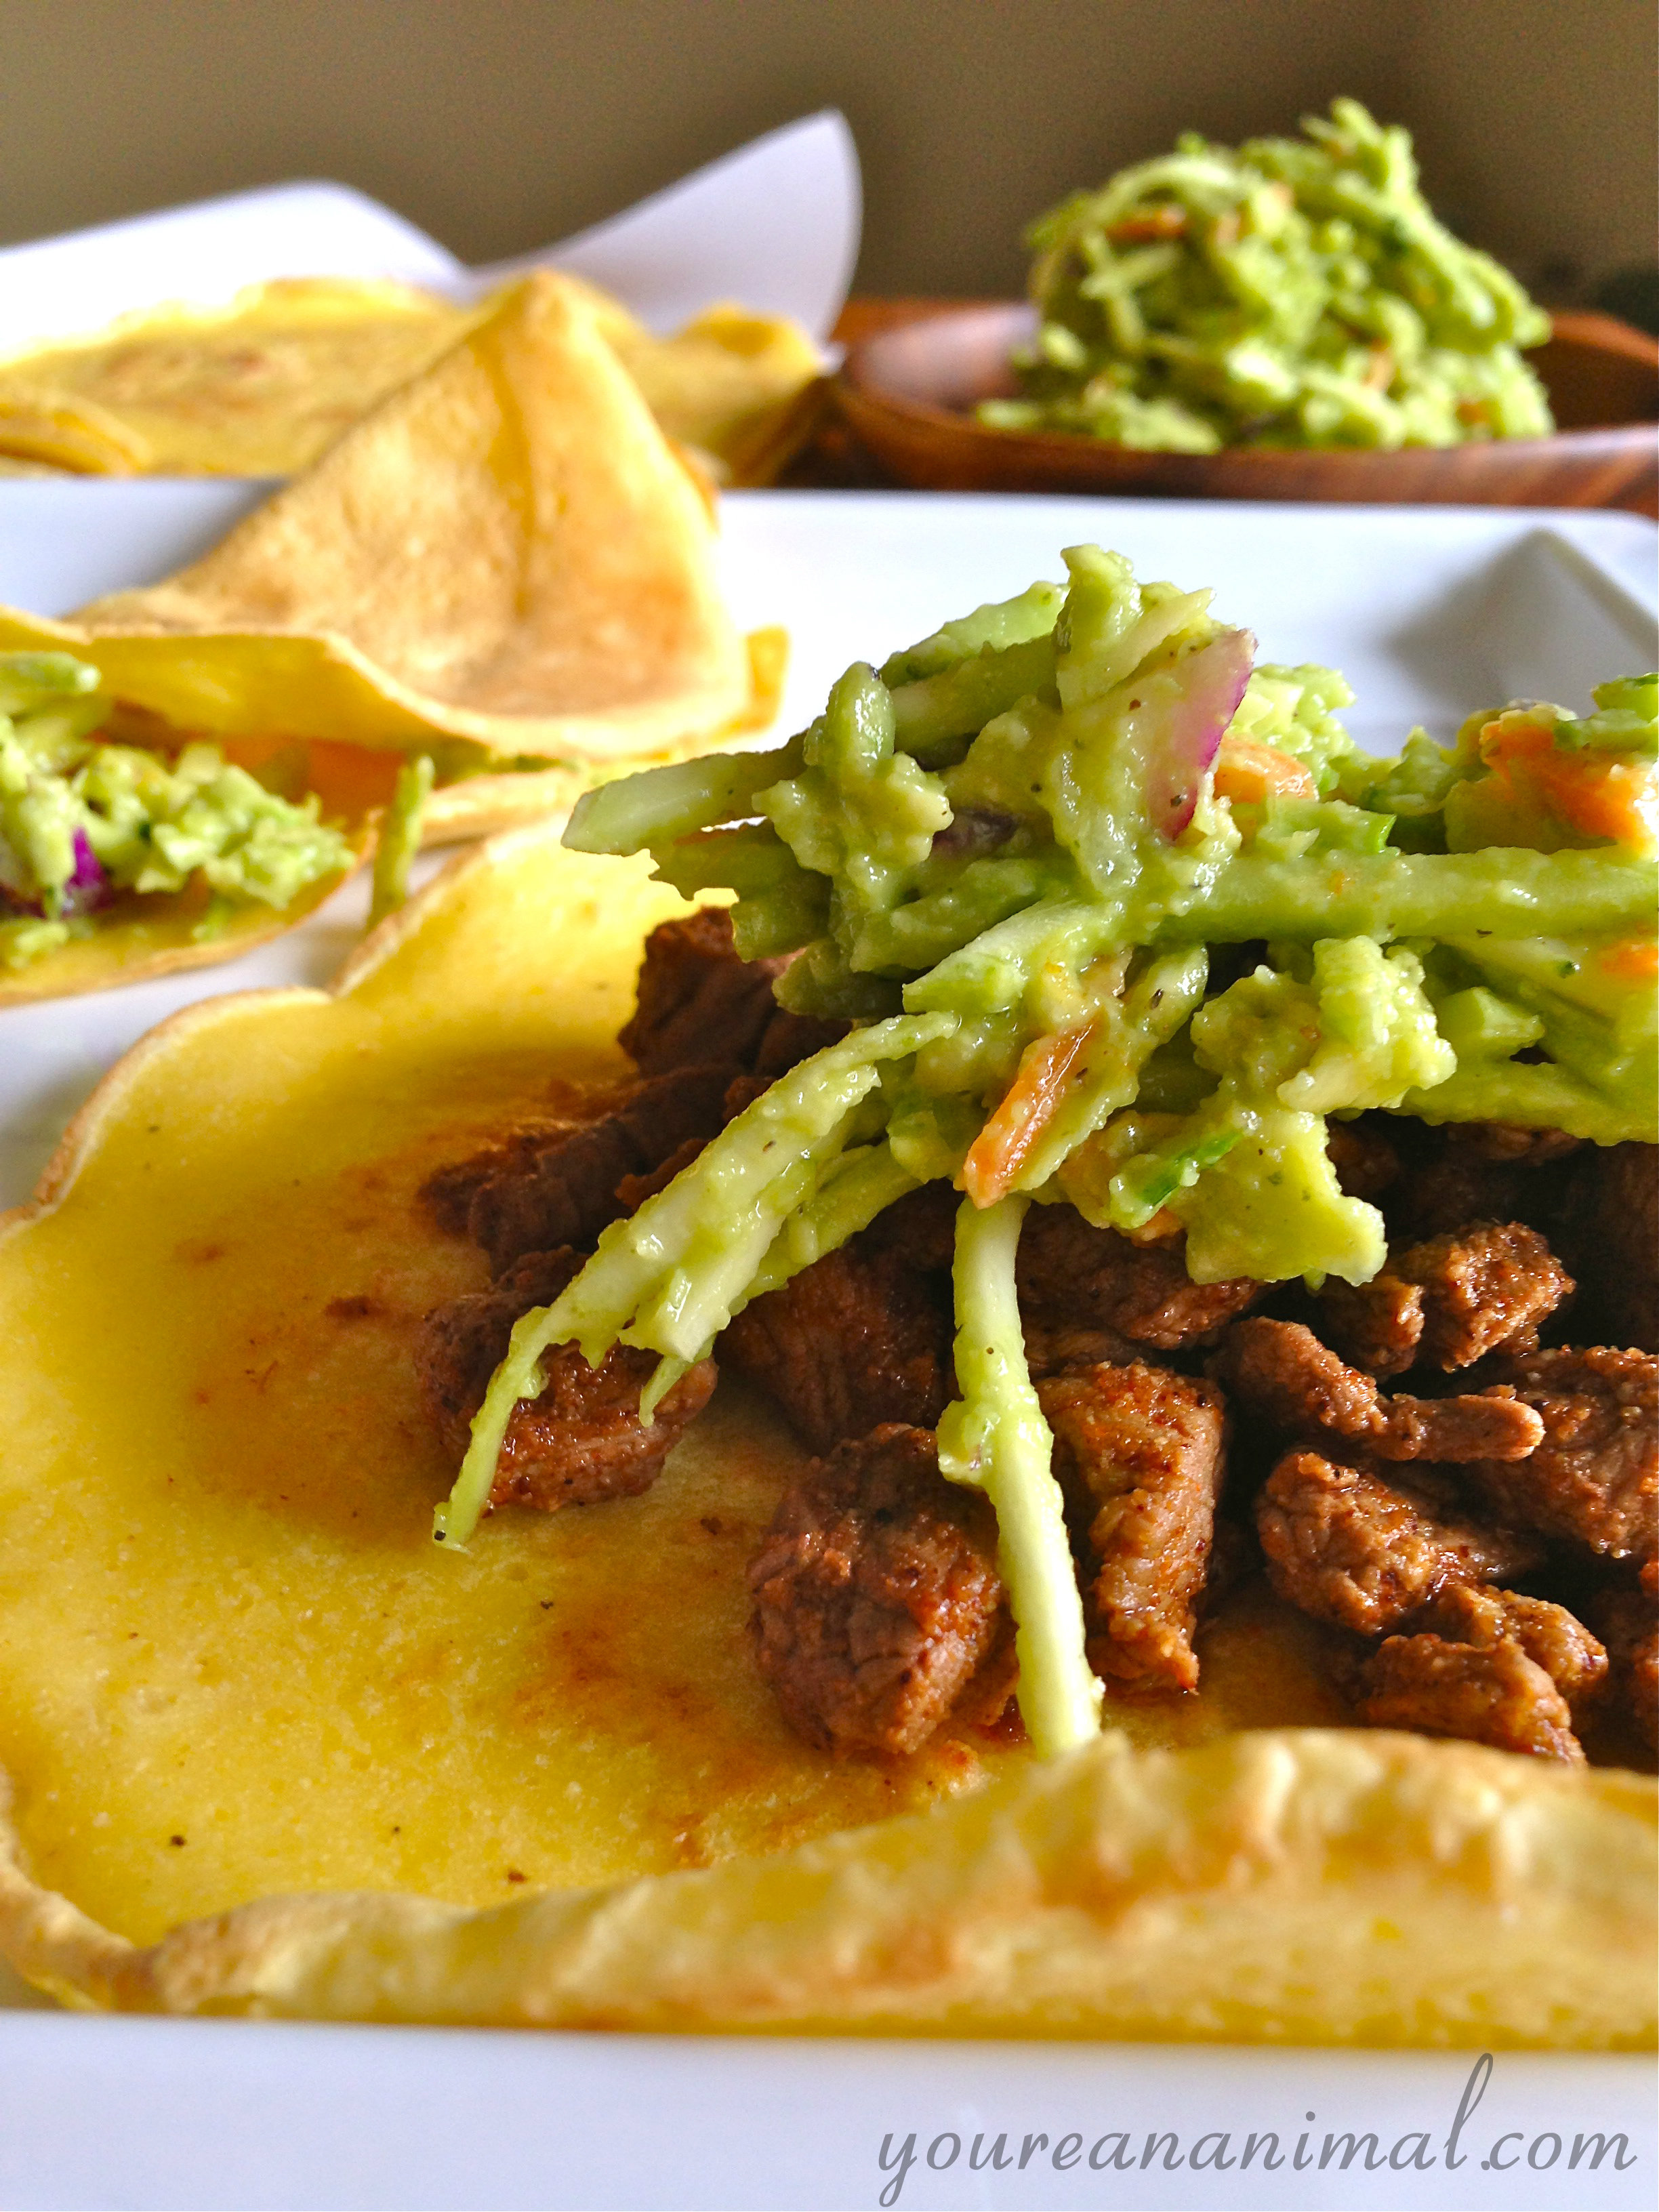
Steak Tacos with Grain-Free Tortillas & Guacamole Broccoli Slaw
Remember that trip to Portland, Oregon that I keep raving about? Well here’s another recipe inspired by that trip! This one comes from our amazing lunch at Cultured Cavemen, a Paleo restaurant in Portland. This meal is specifically inspired by my lunch of carnitas, complete with grain-free tortillas and slaw. I took a different spin with my recipe, however, and did steak tacos instead. Plus a guacamole broccoli slaw that is the easiest thing you will ever whip up (you’ll wonder why you never thought of it), and grain-free tortillas for an amazing Taco Tuesday (or Taco Errrryday). Every element of this recipe is a star in its own right. The steak tacos are seasoned to perfection, and made with grass-fed steak which makes it wholesome and nutritious on top of being delicioso. And not to mention a great way to get that Vitamin B12 in, a critical member of the Vitamin B complex family! No need for store-bought seasoning with the added sodium and preservatives. This seasoning combo is easy to throw together with spices you likely already have in the cabinet! Then we have the guacamole broccoli slaw. A spectacularly easy way to get in the veggies without even realizing it, in perfect combination with the must-have guac. Oh and then the tortillas. You know, just a grain-free, gluten-free tortilla that is pliable, roll-able, fold-able, hold-able, and delectable. Stupid Easy Paleo nailed it with this one, so I’ve just ever so slightly adapted her recipe to complete this taco night meal. So on that note, who’s bringing the margs? I’m ready to eat!
Steak Tacos with Grain-Free Tortillas & Guacamole Broccoli Slaw
- Taco Meat:
- Approximately 0.75-1 lb of grass-fed steak (I use Sirloin) cut into cubes that are about 0.5-0.75 of an inch
- About 1 tsp each of dark chili powder, garlic powder, onion powder, paprika and cumin
- Salt, black pepper, and cayenne to taste
- Avocado oil to coat the pan
- Grain-Free Tortillas (from Stupid Easy Paleo):
- 4 eggs
- 1/2 cup of your choice of starch (arrowroot, tapioca or potato)
- 2 tsp of coconut flour
- 2 Tbsp water
- 2 tsp grass-fed butter, melted (I use Kerrygold)
- 1/4 tsp each of garlic powder, onion powder, salt, and black pepper
- Guacamole Broccoli Slaw
- about 2 cups of broccoli slaw (I get the pre-made bagged kind, with broccoli, carrots, and red cabbage)
- about 0.5-0.75 cups of your favorite guacamole (if I don’t make my own, I love the one Whole Foods makes)
- Start with the tortillas. In a large mixing bowl, combine all of your tortilla ingredients. Use an electric mixer to combine the ingredients, in order to most effectively eliminate the lumps from your mixture, until very smooth but not to the point of frothing the eggs.
- Use an 8-inch, non-stick skillet to make the tortillas. Heat the skillet on medium heat. Once heated, pour about 1/4 cup of the tortilla batter onto the skillet, and roll the batter around in the skillet so it is evenly coated (like making a french crepe). Cook about 1 minute on each side, until lightly browned. The edges will curl away from the pan. If you have any issues with this process, you can refer to the original recipe and instructions for these tortillas here. This will make 6 tortillas. Allow the tortillas to cool, or keep them warm in a warm oven.
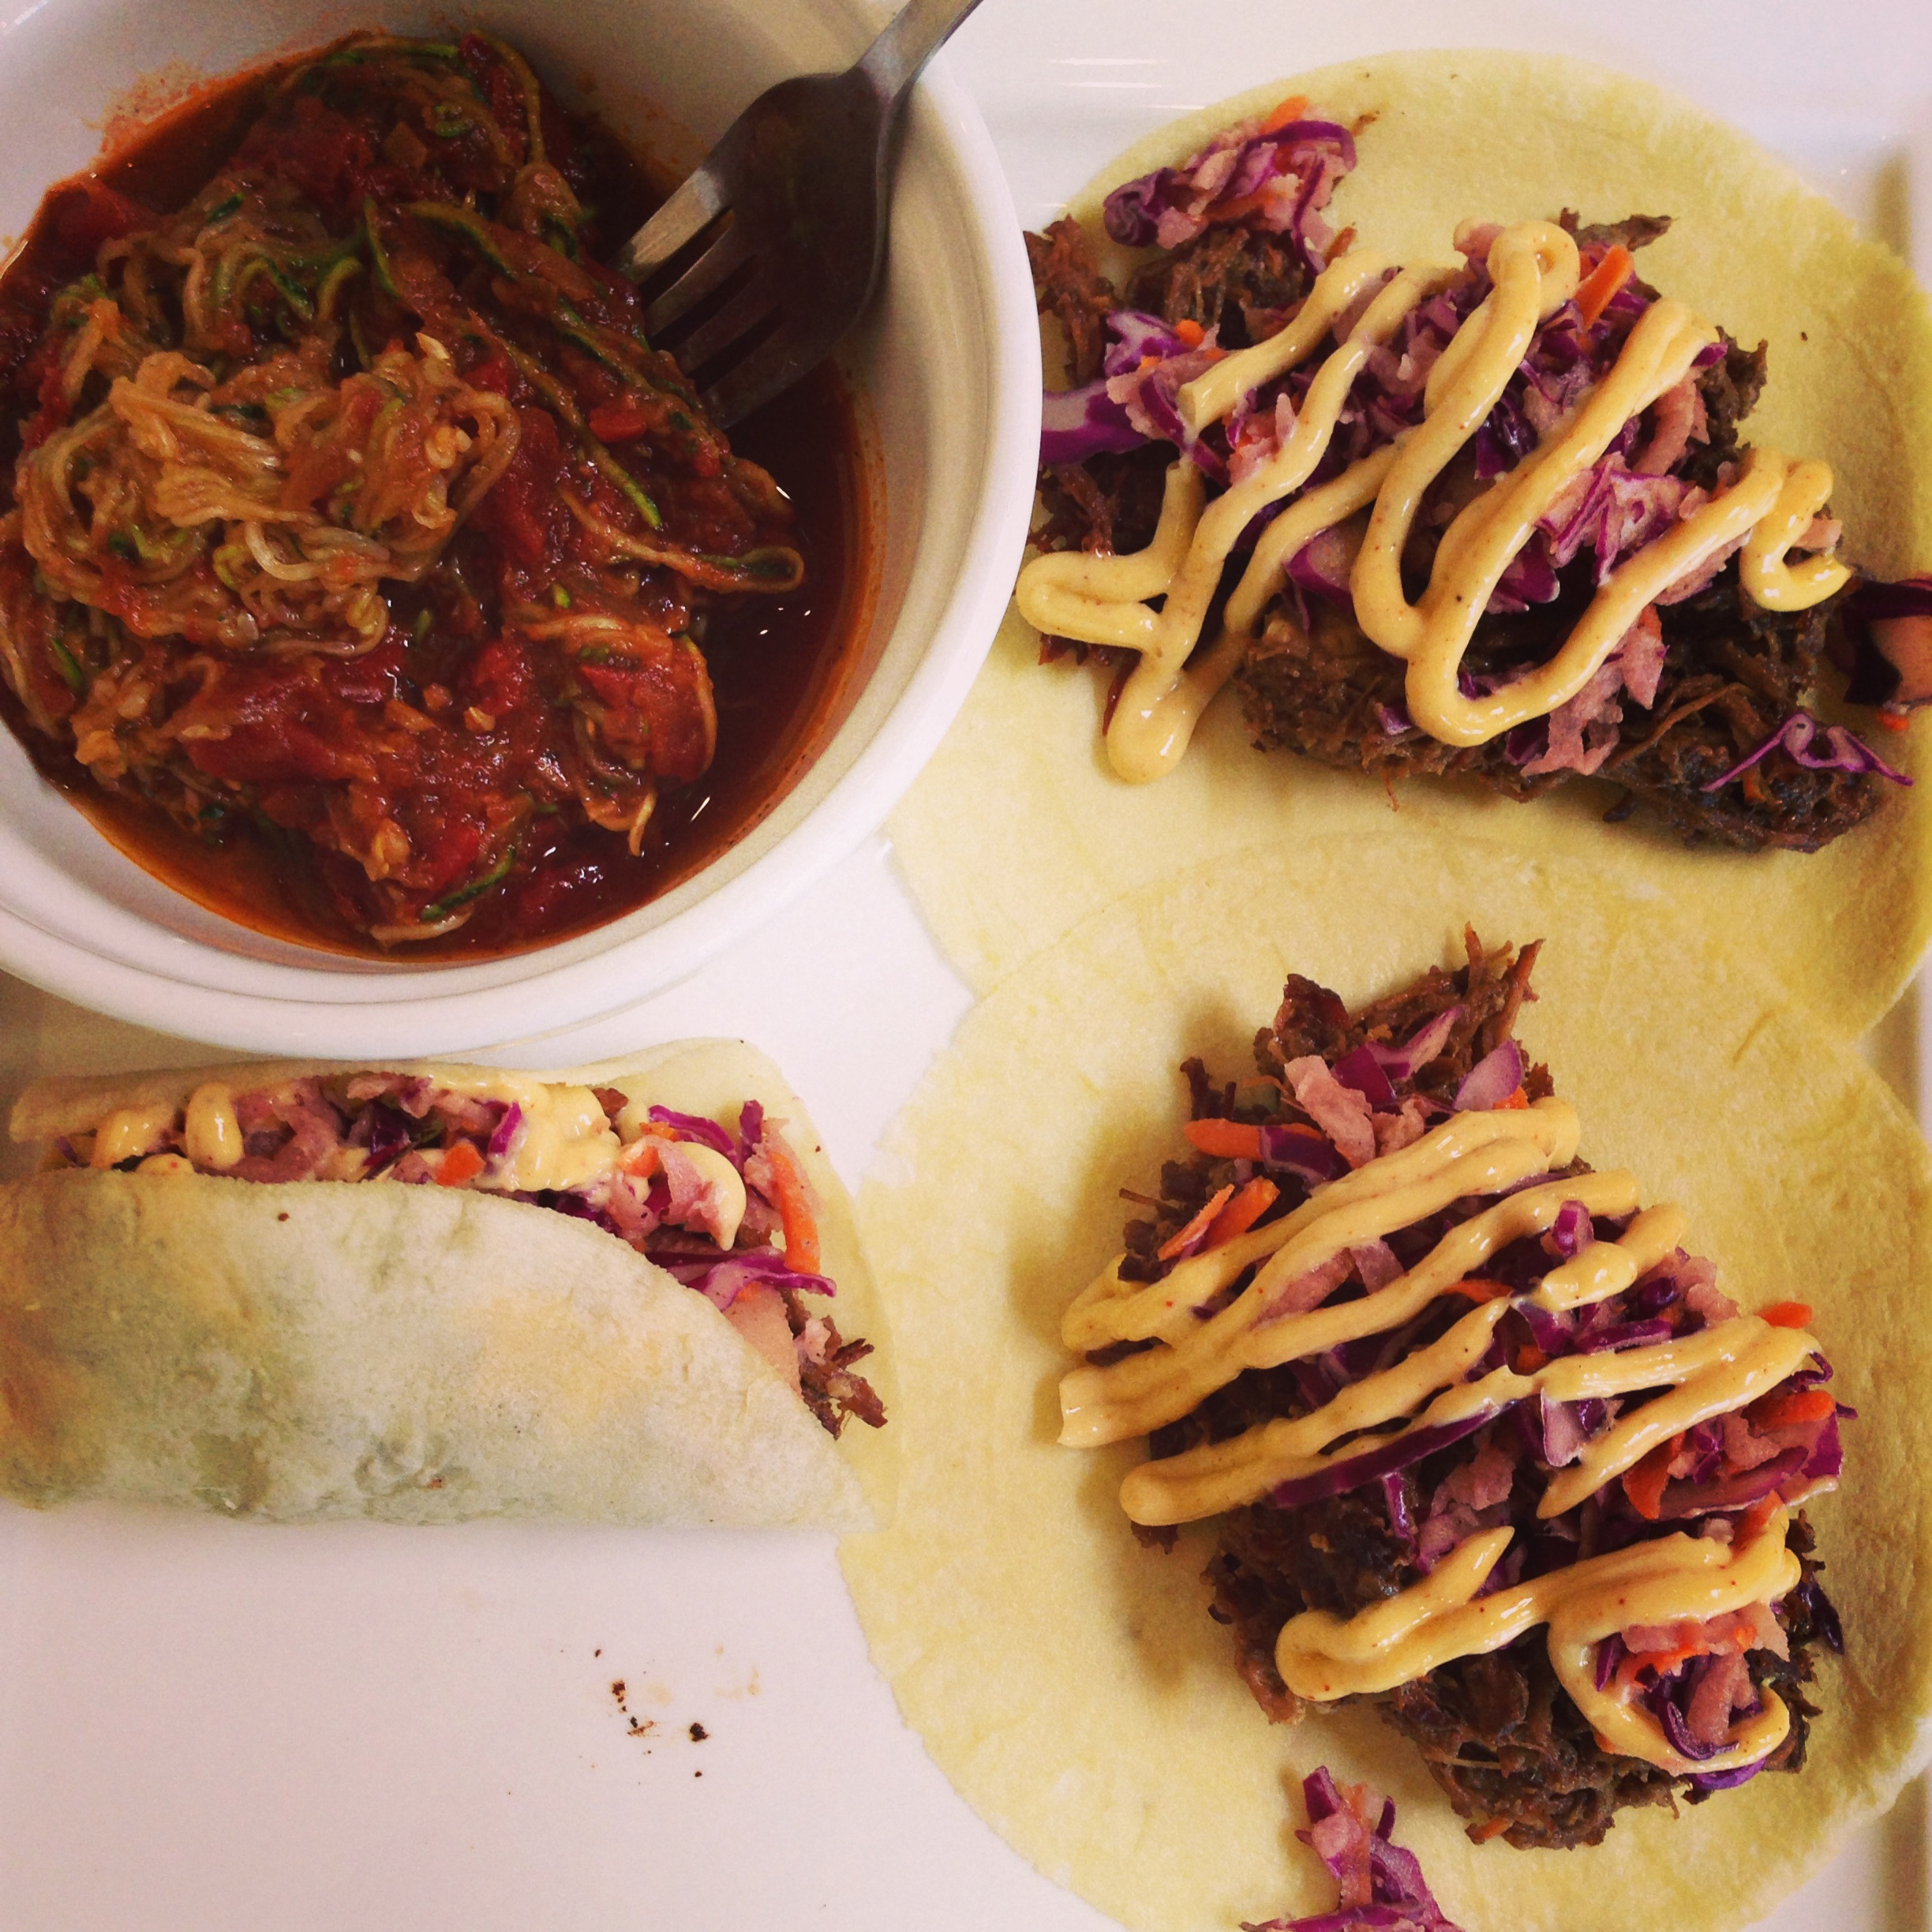
- Next, prepare your guacamole broccoli slaw by combining your broccoli slaw with your guacamole in a medium sized mixing bowl. That’s it!
- Now, prepare you taco meat. Coat a large skillet with avocado oil (1-2 Tbsp) and heat the skillet over medium-high heat. Once the skillet is heated, add your cubed meat. Stir the meat in the skillet, coating the meat with the oil. Add your taco seasoning spice mix, and stir until it coats the meat and combined with the oil to make a taco sauce. The meat will cook very quickly when cubed! You only need to saute for about 1-3 minutes total, in order to keep the meat nice and tender.
- Assemble your goodies, evenly distributing your meat and slaw over the tortillas. Eat up!
Makes 6 tacos.


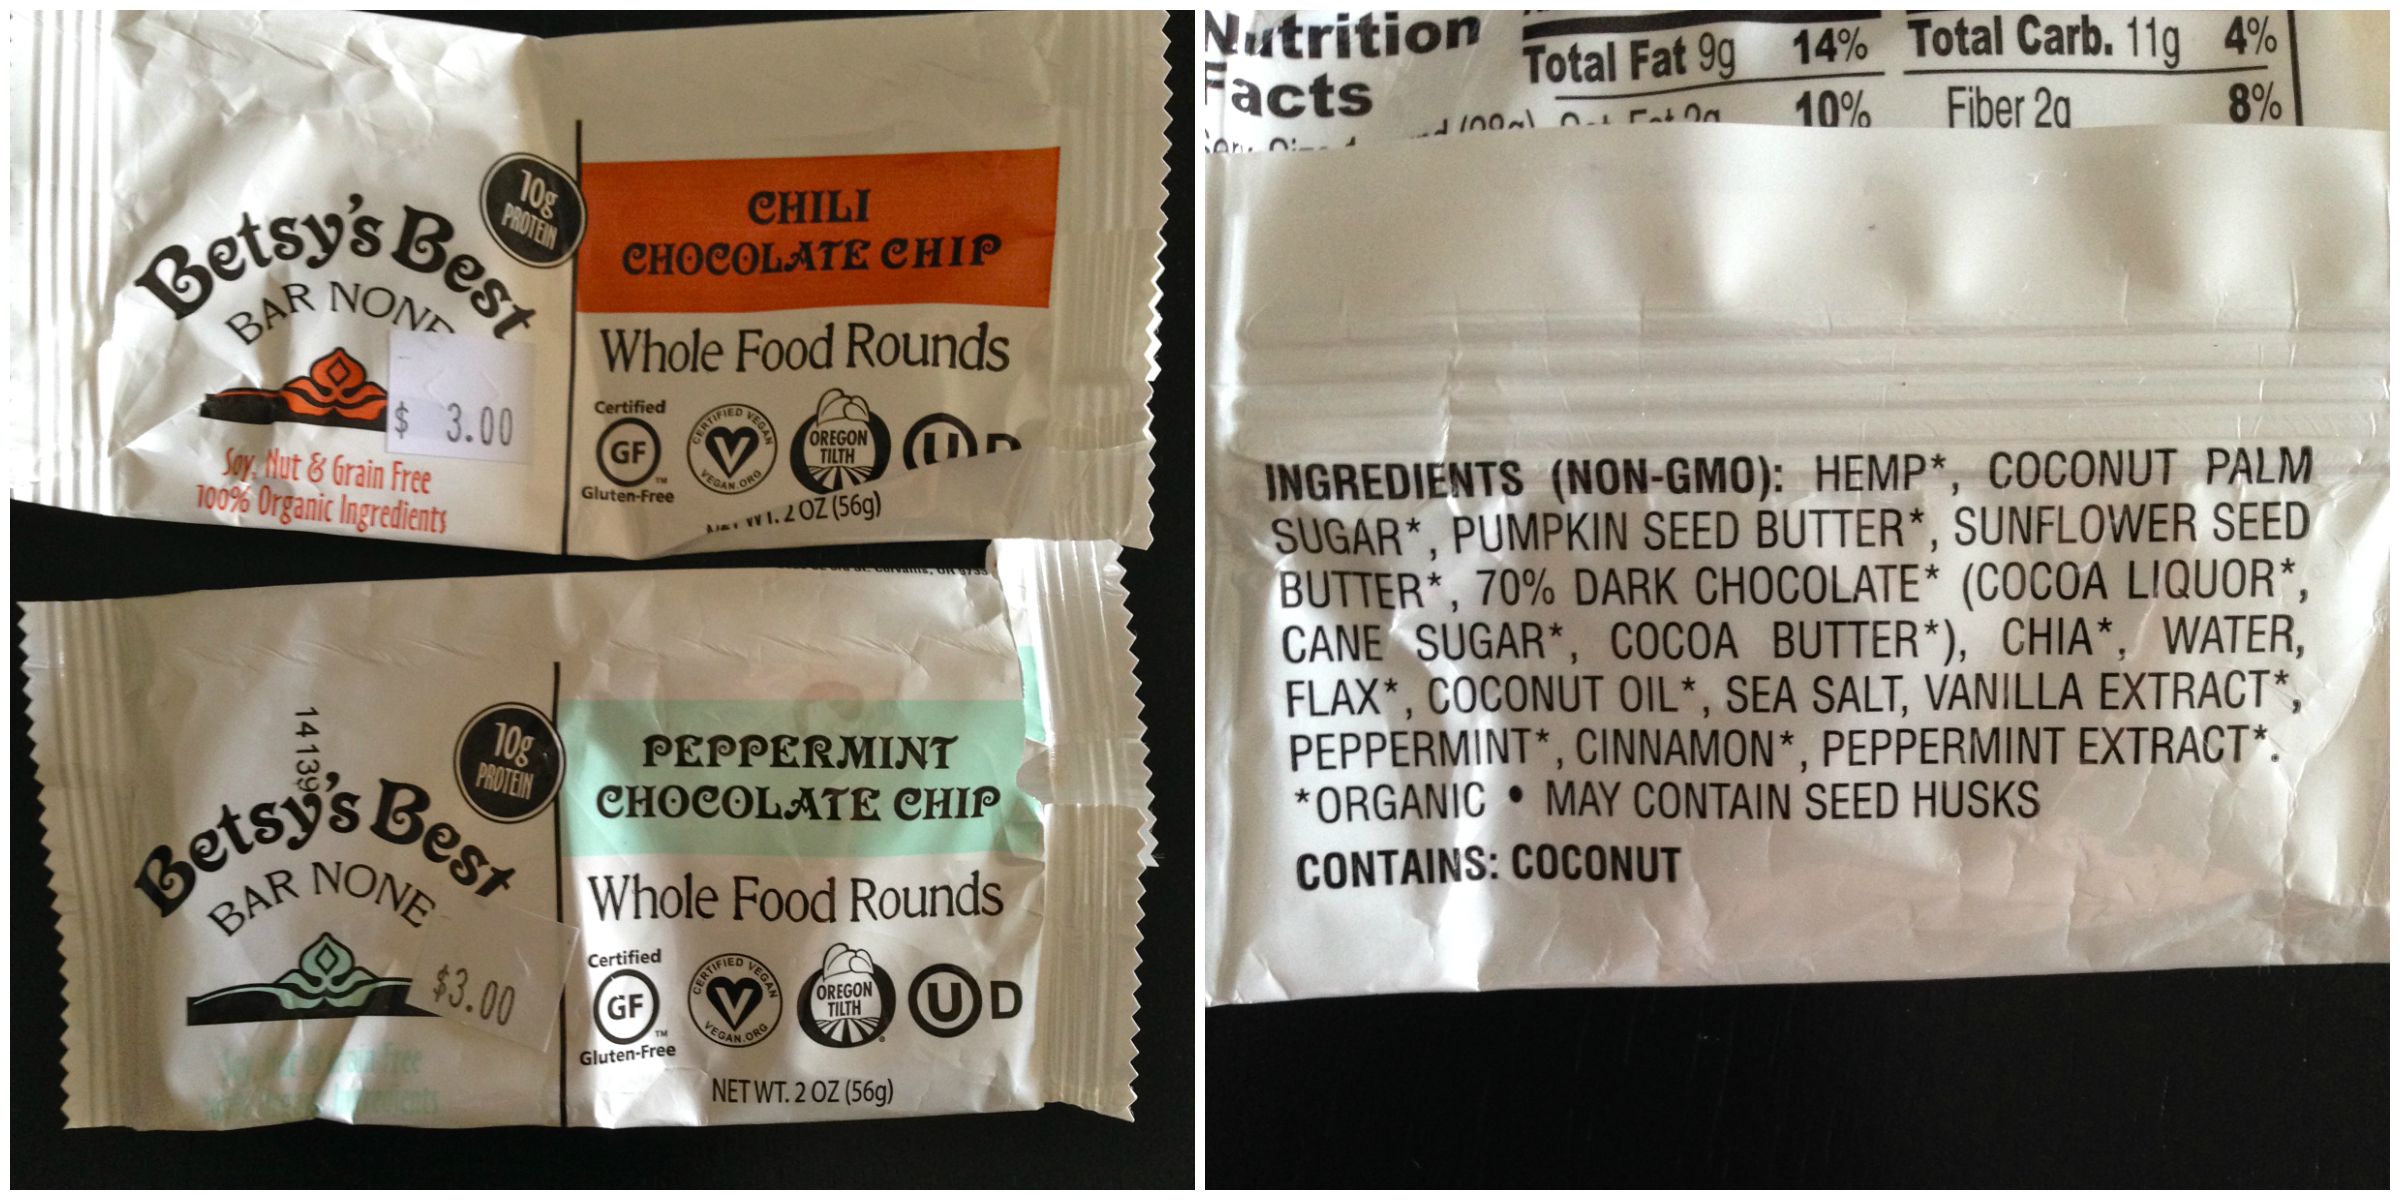


 Products Featured In This Post: