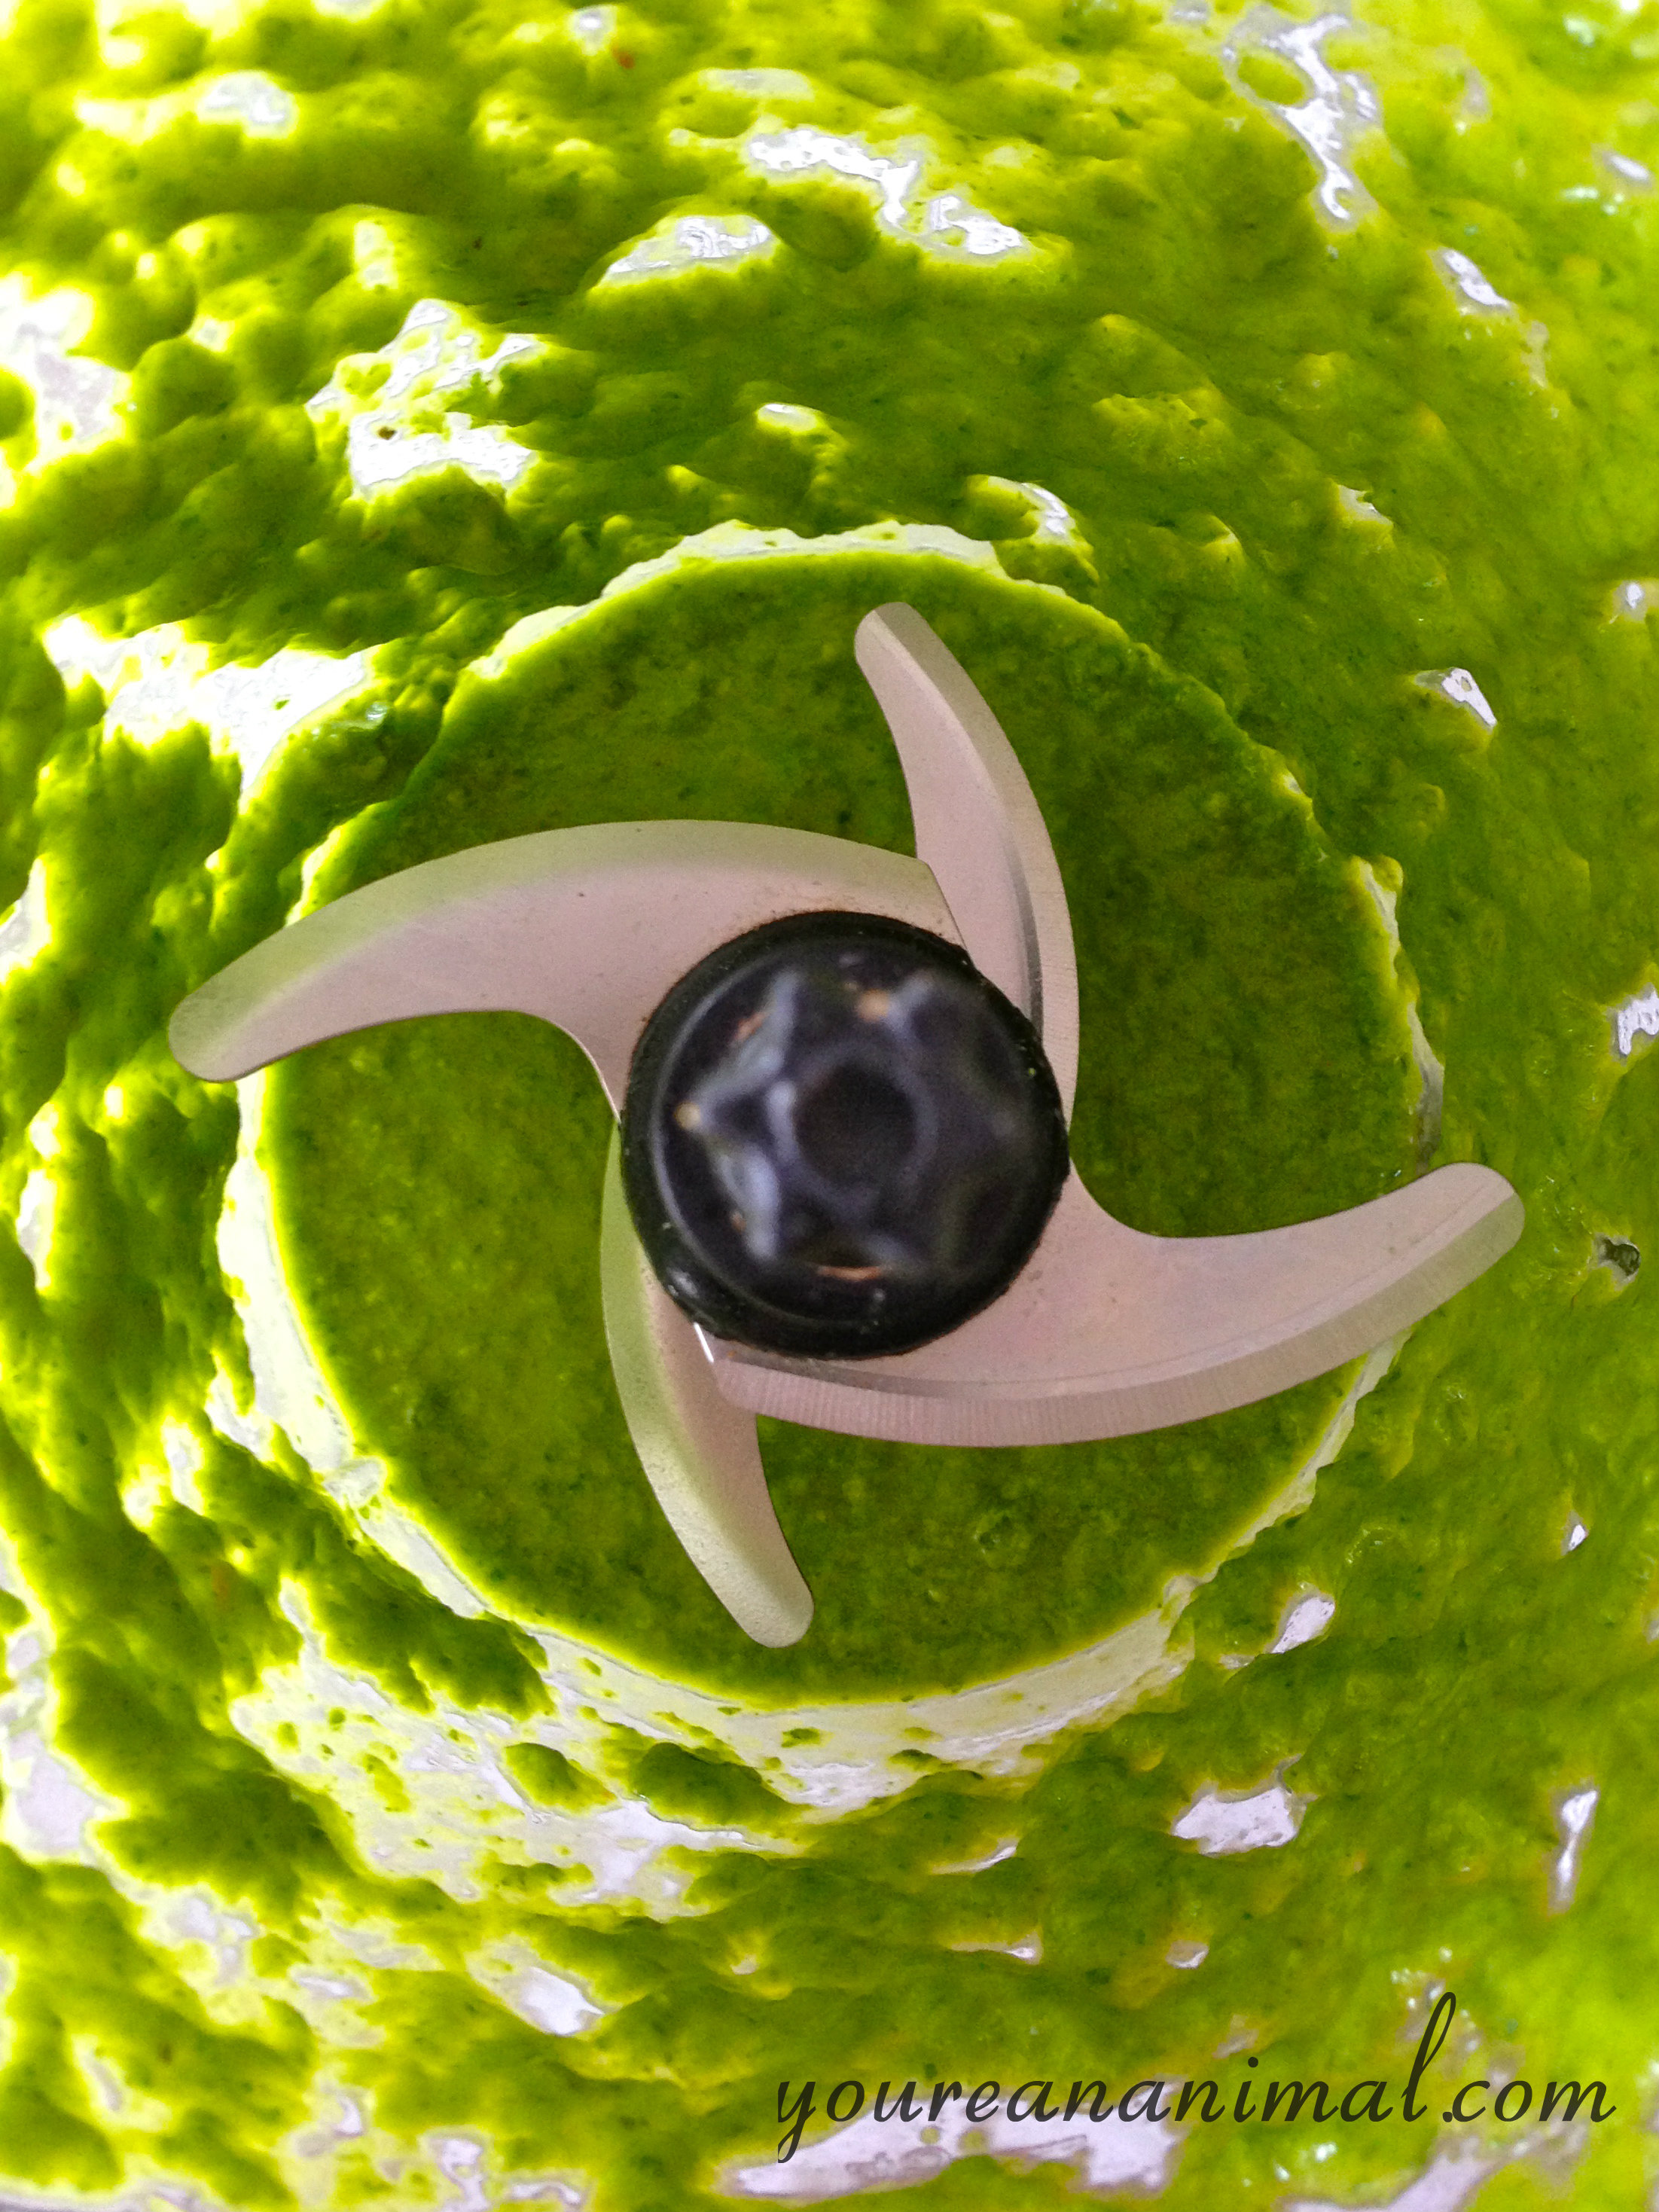
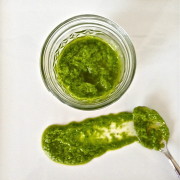
THIS. This is the most versatile sauce I’ve ever made, and a staple in my fridge. I put it on everything. EVERYTHING. Okay maybe not desserts (but I’m not knockin’ it). But chicken, burgers, spaghetti squash, seafood, salads… yes, yes and yes. It’s creamy, garlicy, limey, a tad spicy, and nutrient dense. And it’s easy to whip up as well. Avocado makes this nice and smooth and creamy, fresh basil gives it a pesto taste, and spinach sneaks in extra nutrients. Plus garlic and lime, which obviously speaks for itself. Yum. I repeat. YUM. Once you try this, it’ll become a staple for you too! You won’t be able to help yourself.
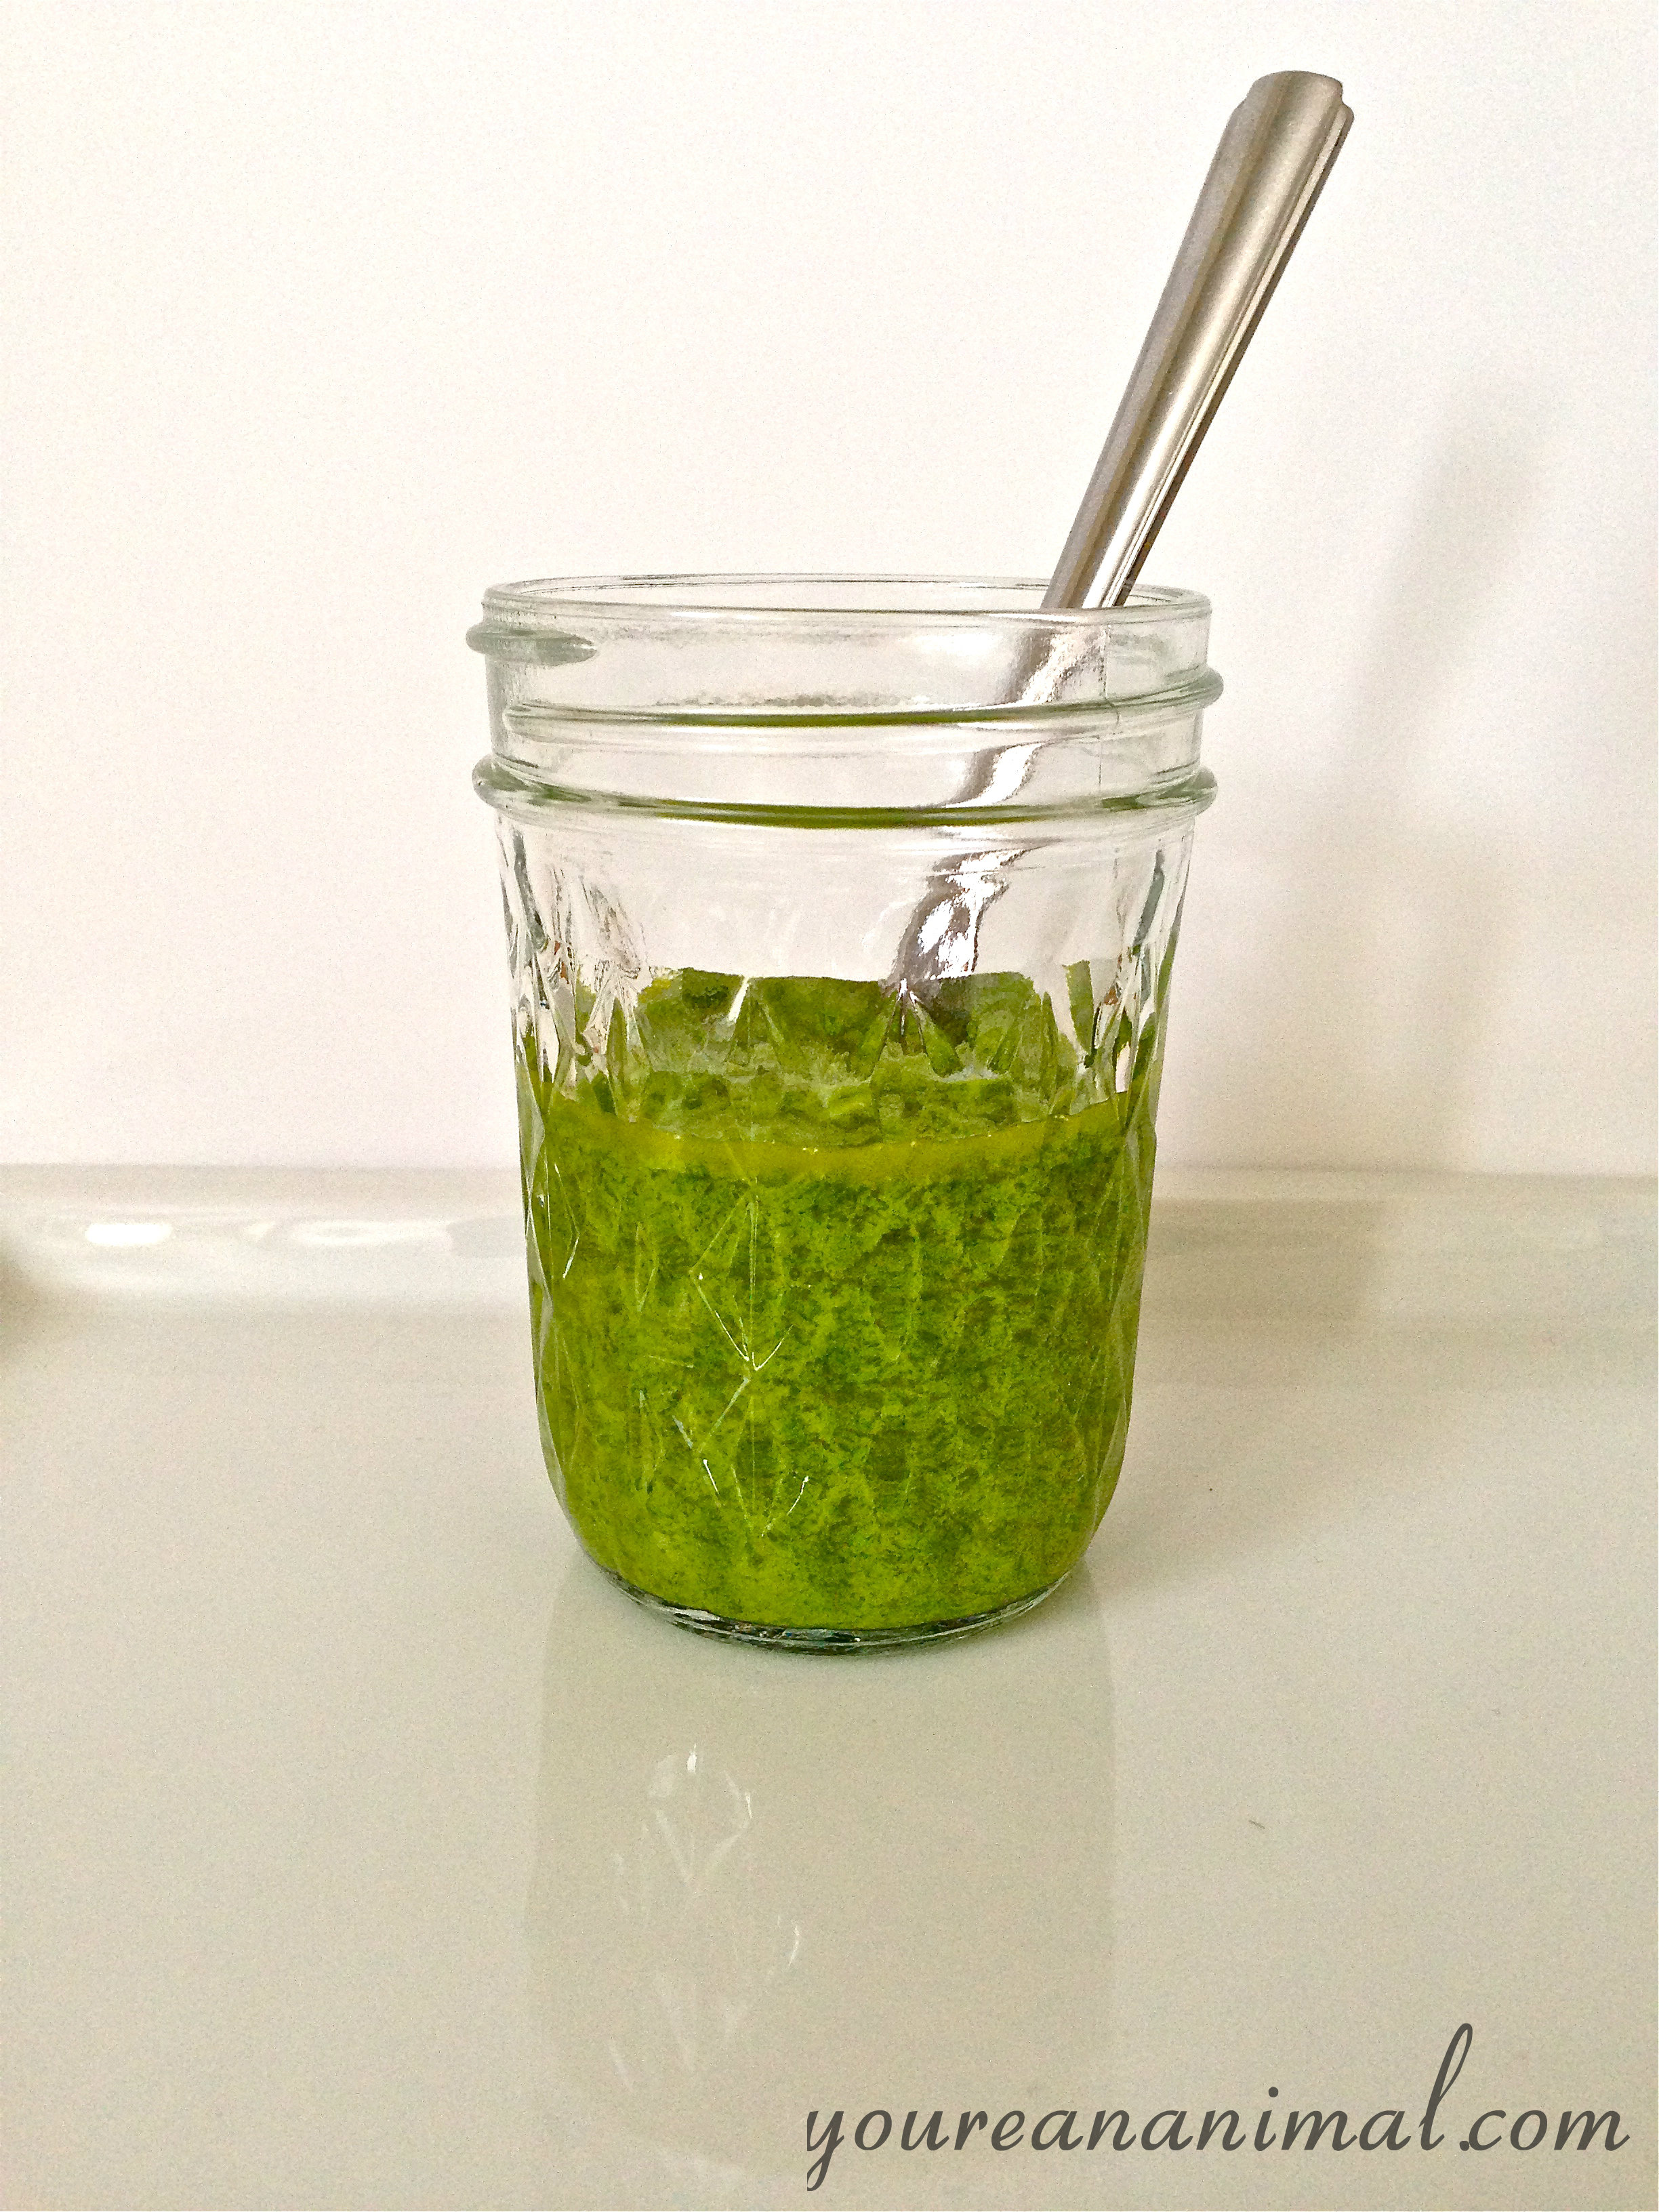
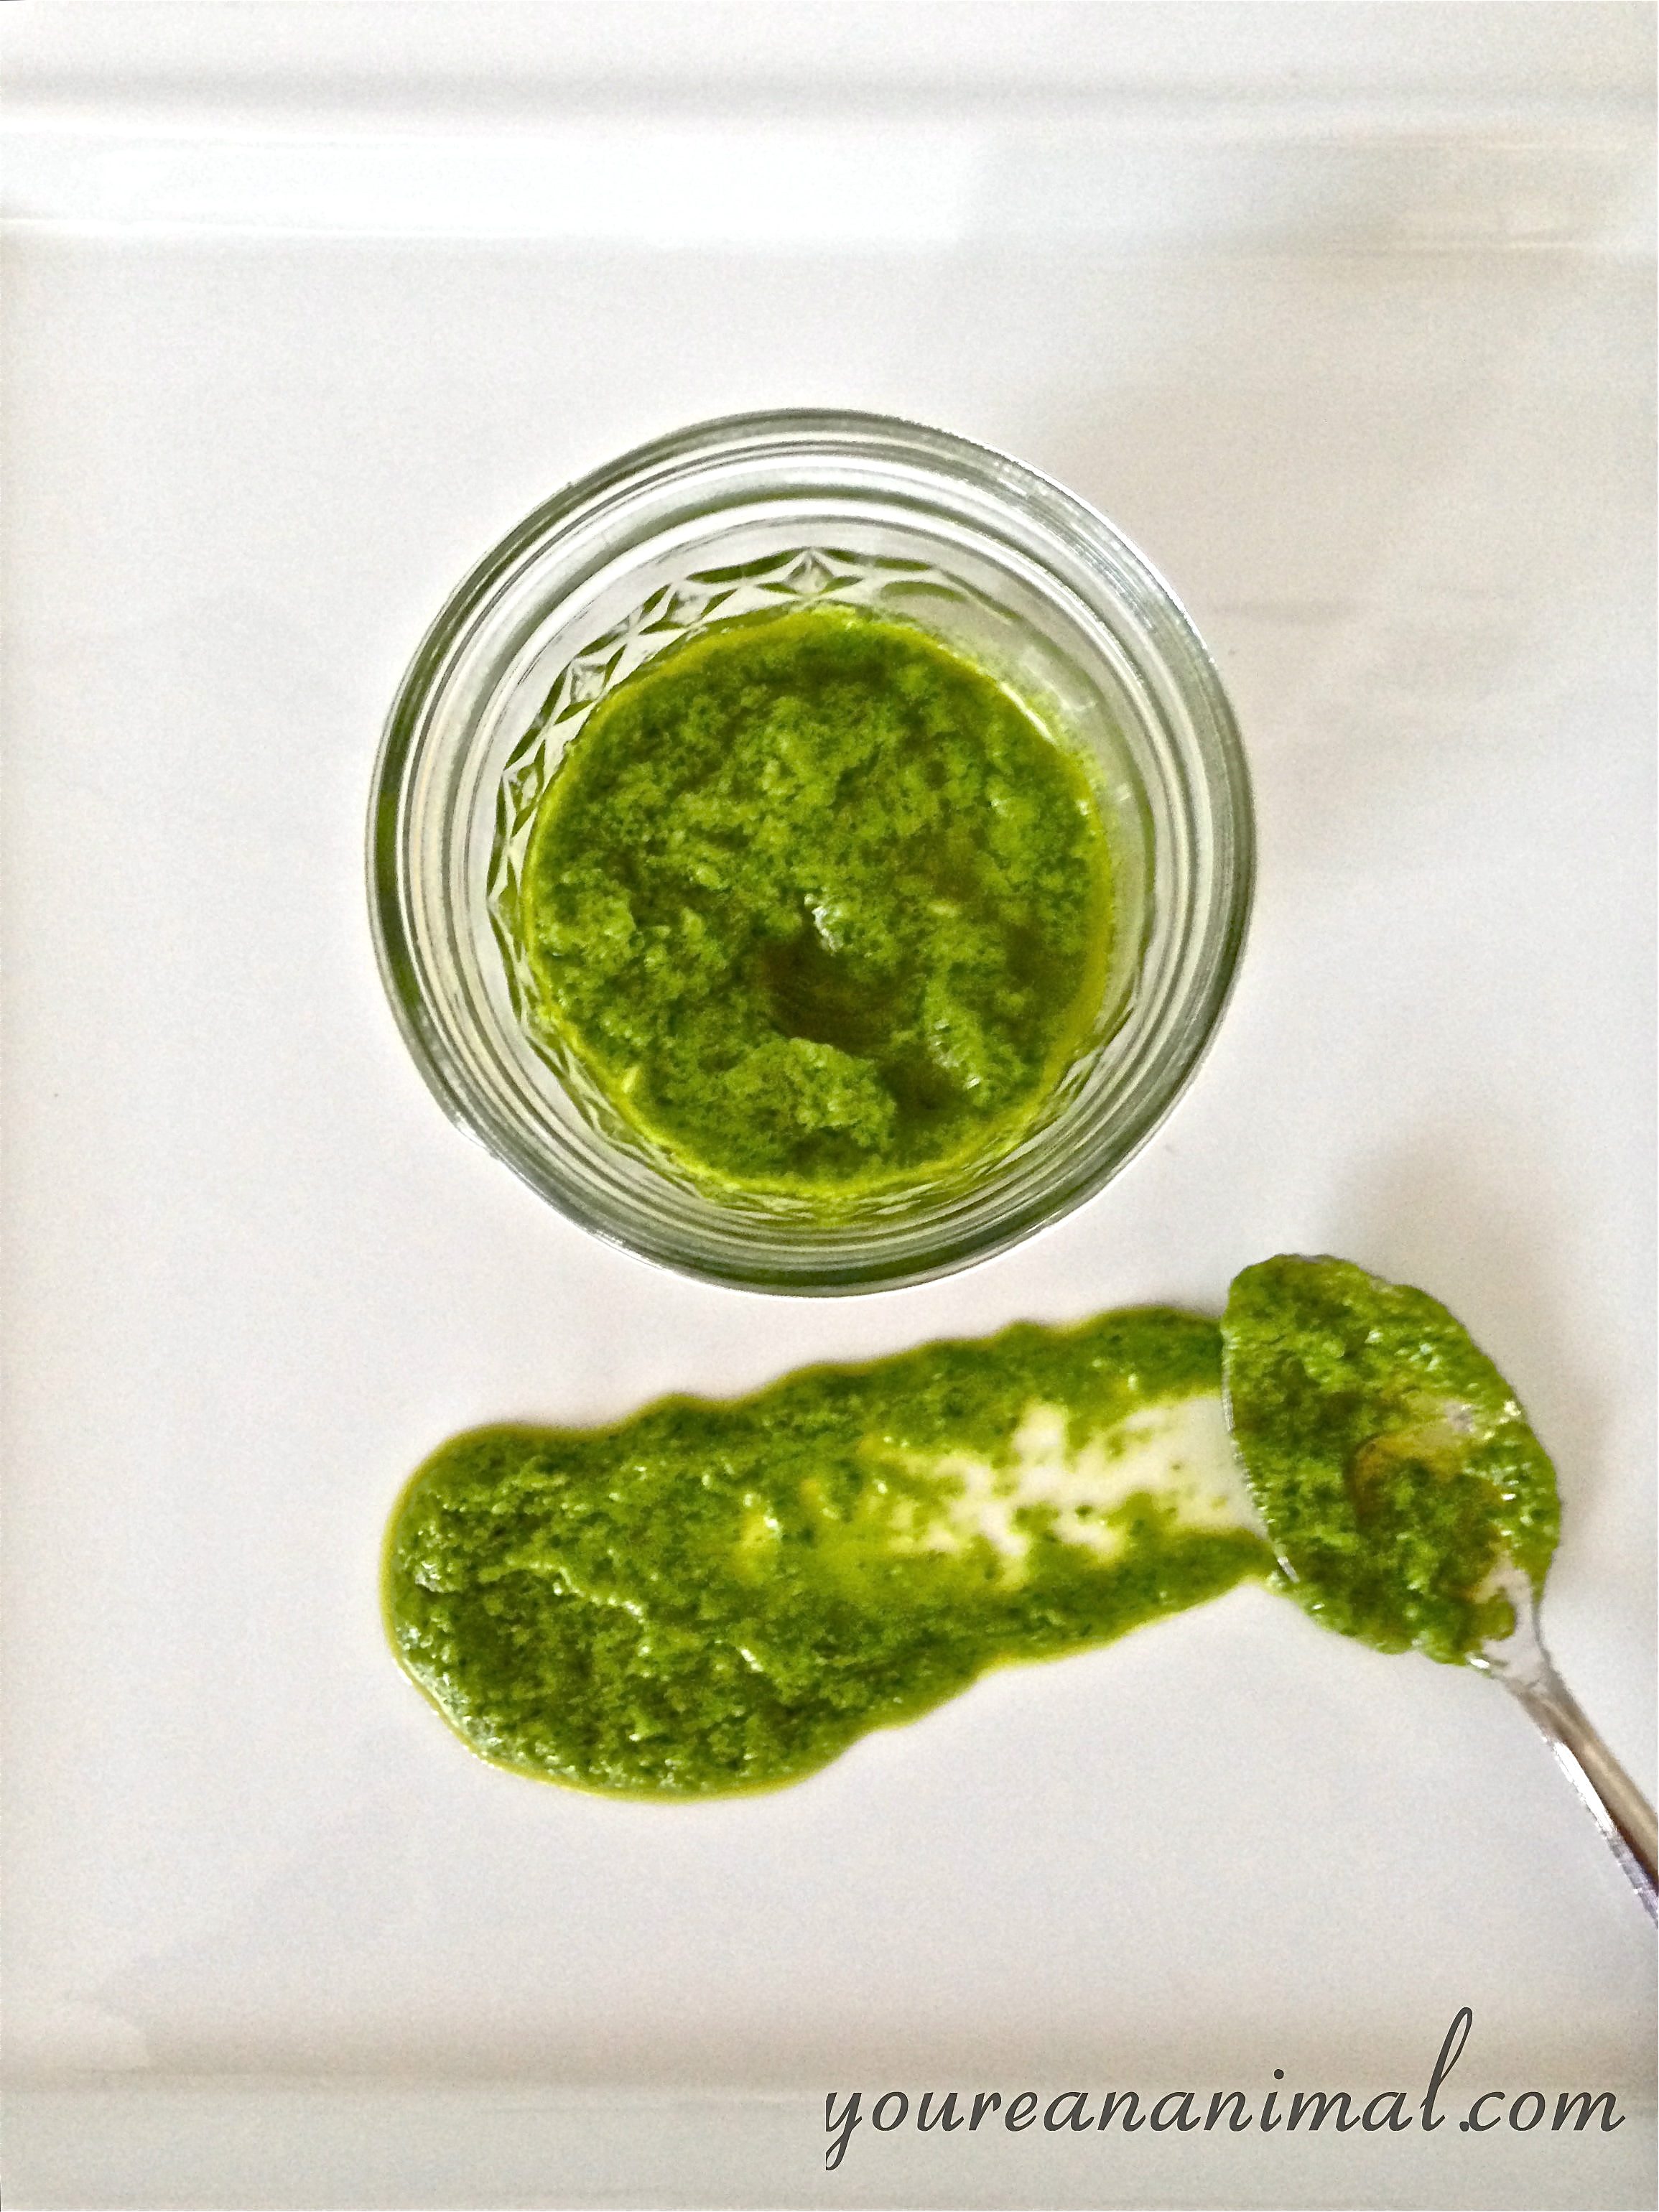
Creamy Avocado Lime Spinach Pesto
3/4 cup of olive oil
10-12 fresh basil leaves
1 ripe avocado, skin and pit removed
1 handful of baby spinach
1 clove of garlic
juice of 1 large lime
Salt, black pepper, and red pepper flakes to taste
Makes about 1 cup of sauce
Place all ingredients into a blender or food processor (I use my Ninja Master Prep and it works like a charm), and combine.
Scrape down the sides and continue to blend.
Repeat until completely combined and smooth texture has been achieved.
Store in an airtight container in the fridge. May need to stir to recombine.
This lactose-intolerant girl has a new best friend, and her name is banana faux-yo. See what I did there? Because it’s not really ice cream, or frozen yogurt, but it kind of is…. Right. When I first saw this idea, I was completely skeptical. Ice cream that literally only has 1 ingredient? Nope. Can’t be. BUT IT IS, IT REALLY IS. Let me just say that I LOVE ice cream. Growing up I ate it every day. That would be my easy go-to snack after soccer practice. Healthy, right? Well then in college I finally realized that a lot of my misery was derived from dairy, and it broke my poor little ice cream lovin’ heart. But now everything has changed. The wrongs have been righted. Victory is mine. Because I have made ice cream from a banana. JUST. A. BANANA. And some cocoa powder and chocolate chips because my name is Morgan, and I am a chocoholic. Seriously guys, this is so easy and delicious and you know… actually good for you. I will give you a warning though; please in all seriousness heed my words. DON’T KILL YOUR BLENDER/FOOD PROCESSOR. Mine conked out on me when doing a particularly hefty load (8 bananas) and I felt like I had accidentally killed my puppy. Luckily, after letting it cool down for a while it revived itself. I literally squealed with joy when I realized it wasn’t gone forever. Yes, I am that attached. (Thank youuuu Ninja Master Prep )So, my friends, let’s ditch the inflammatory dairy for something more beneficial: a healthy dose of Potassium… and happiness.
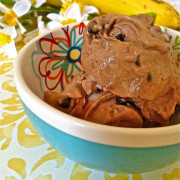
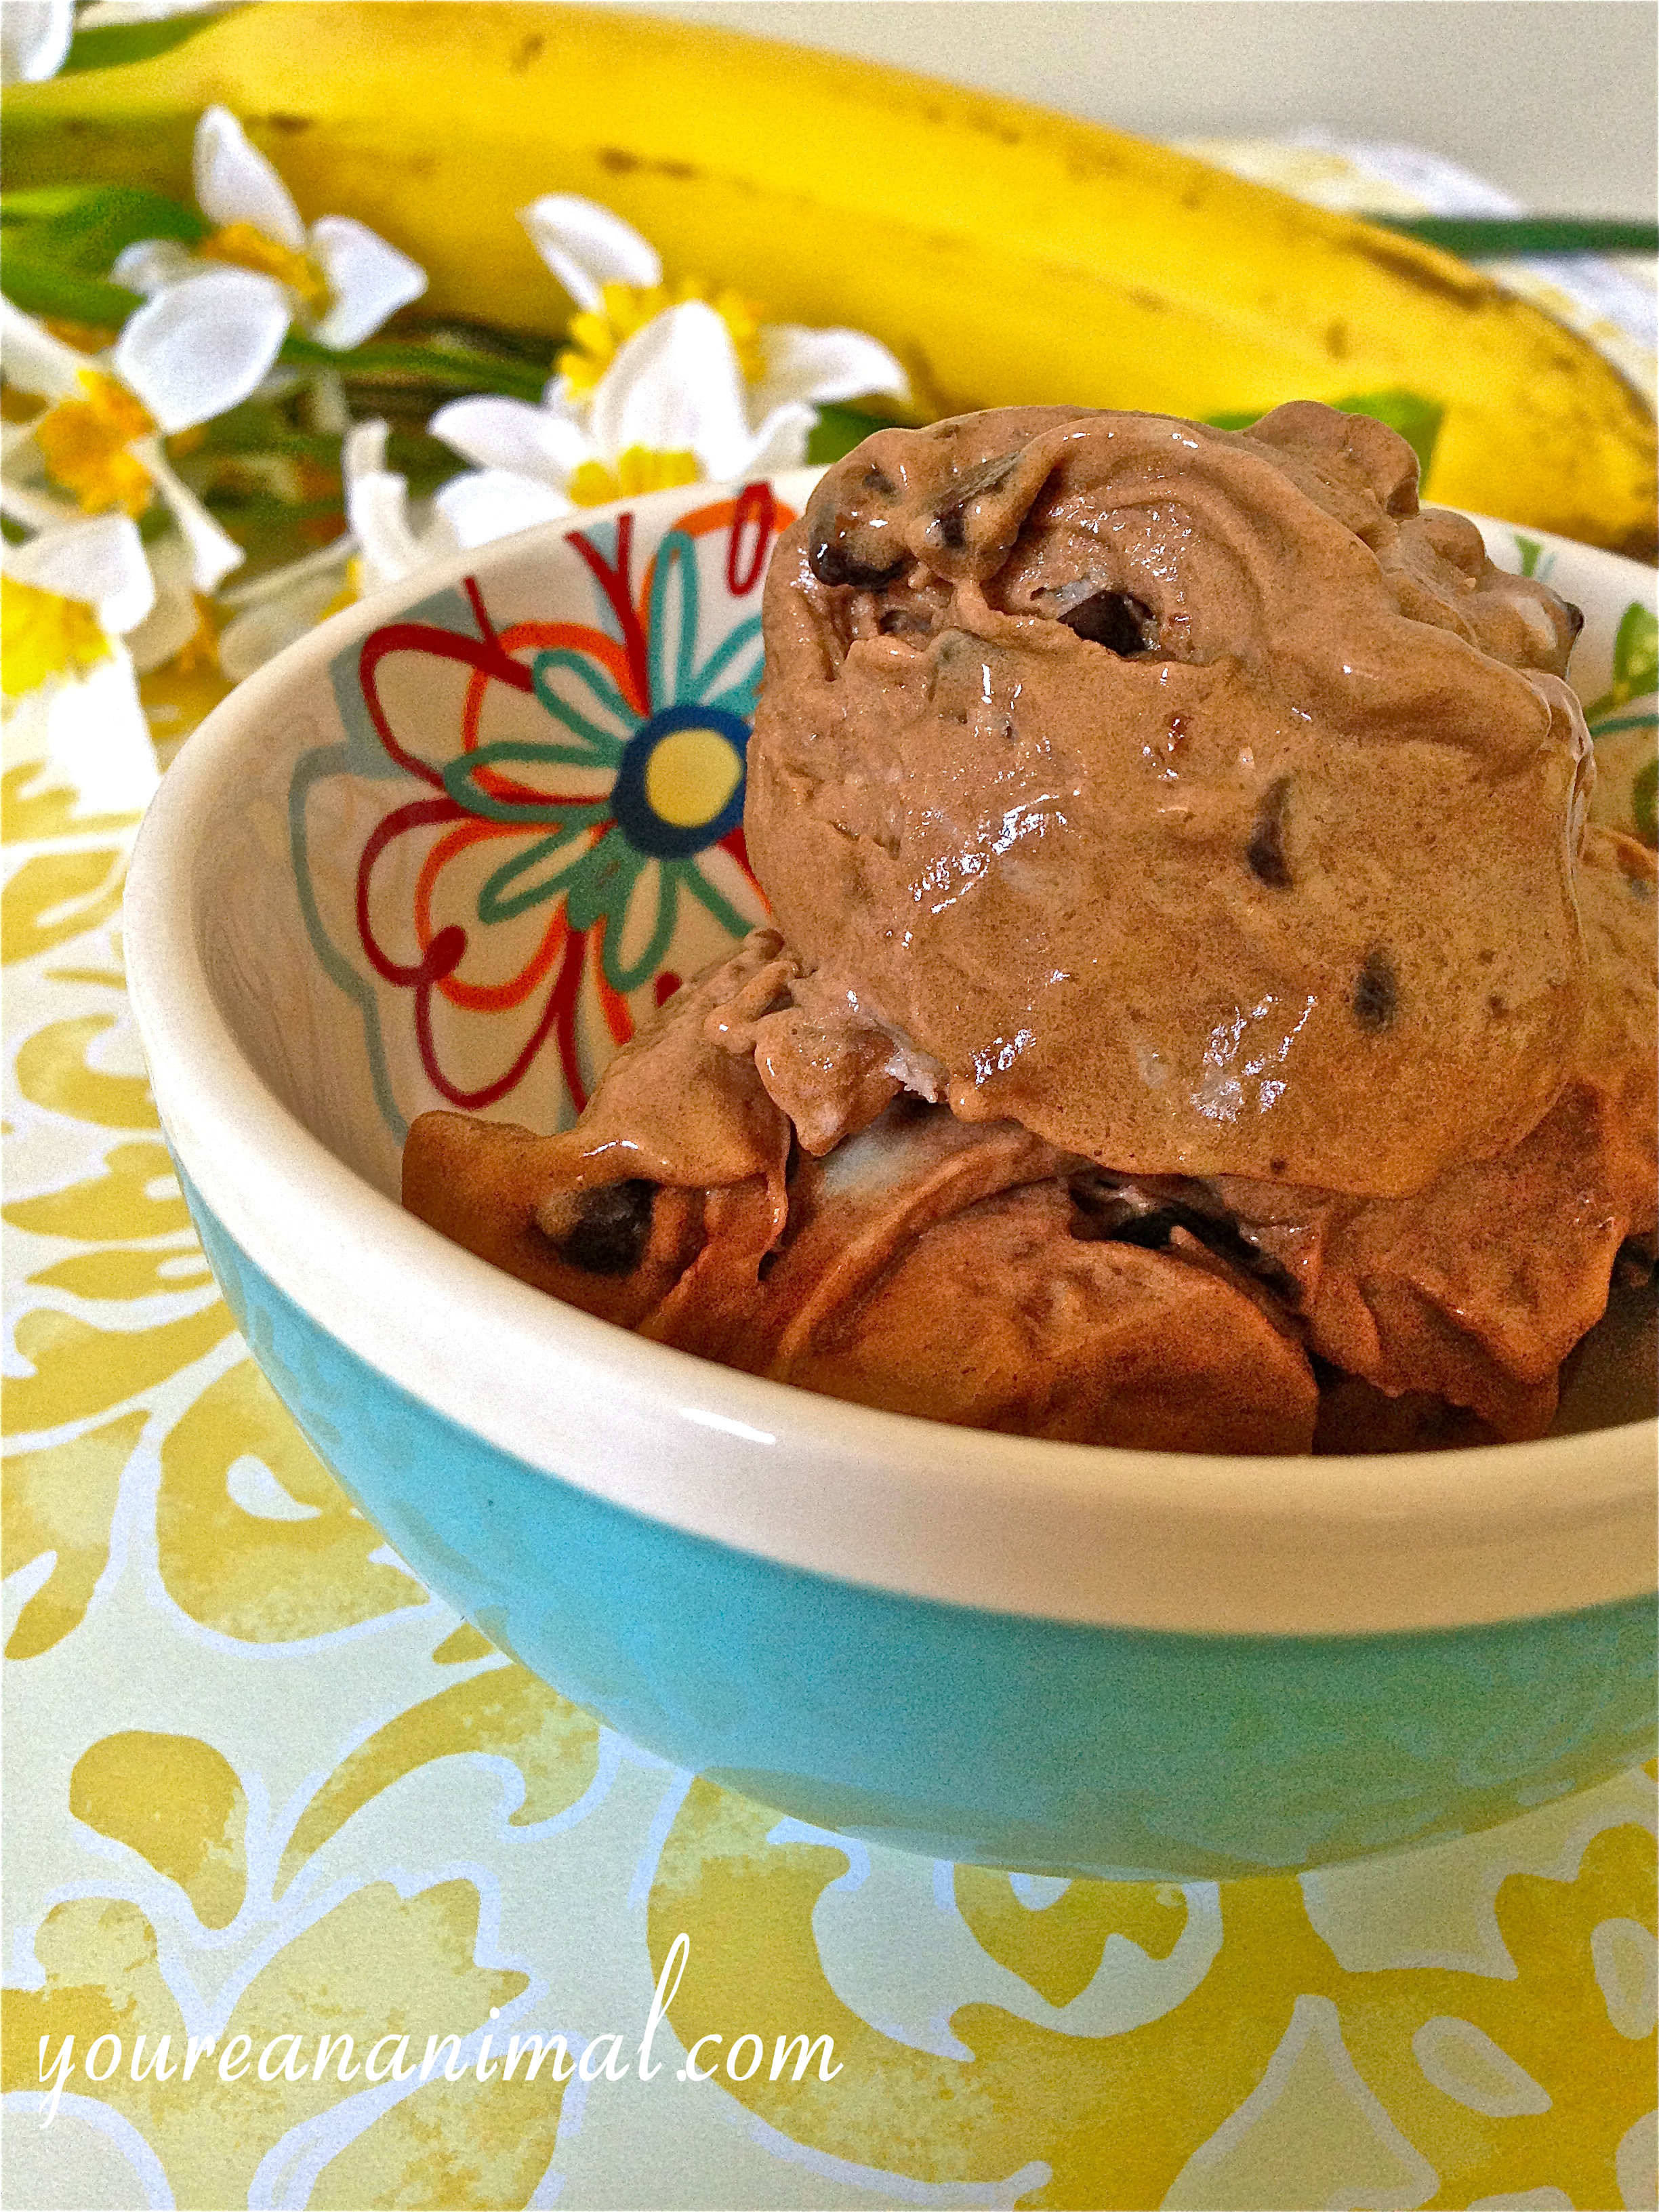
Double Chocolate Chip Banana “Ice Cream”
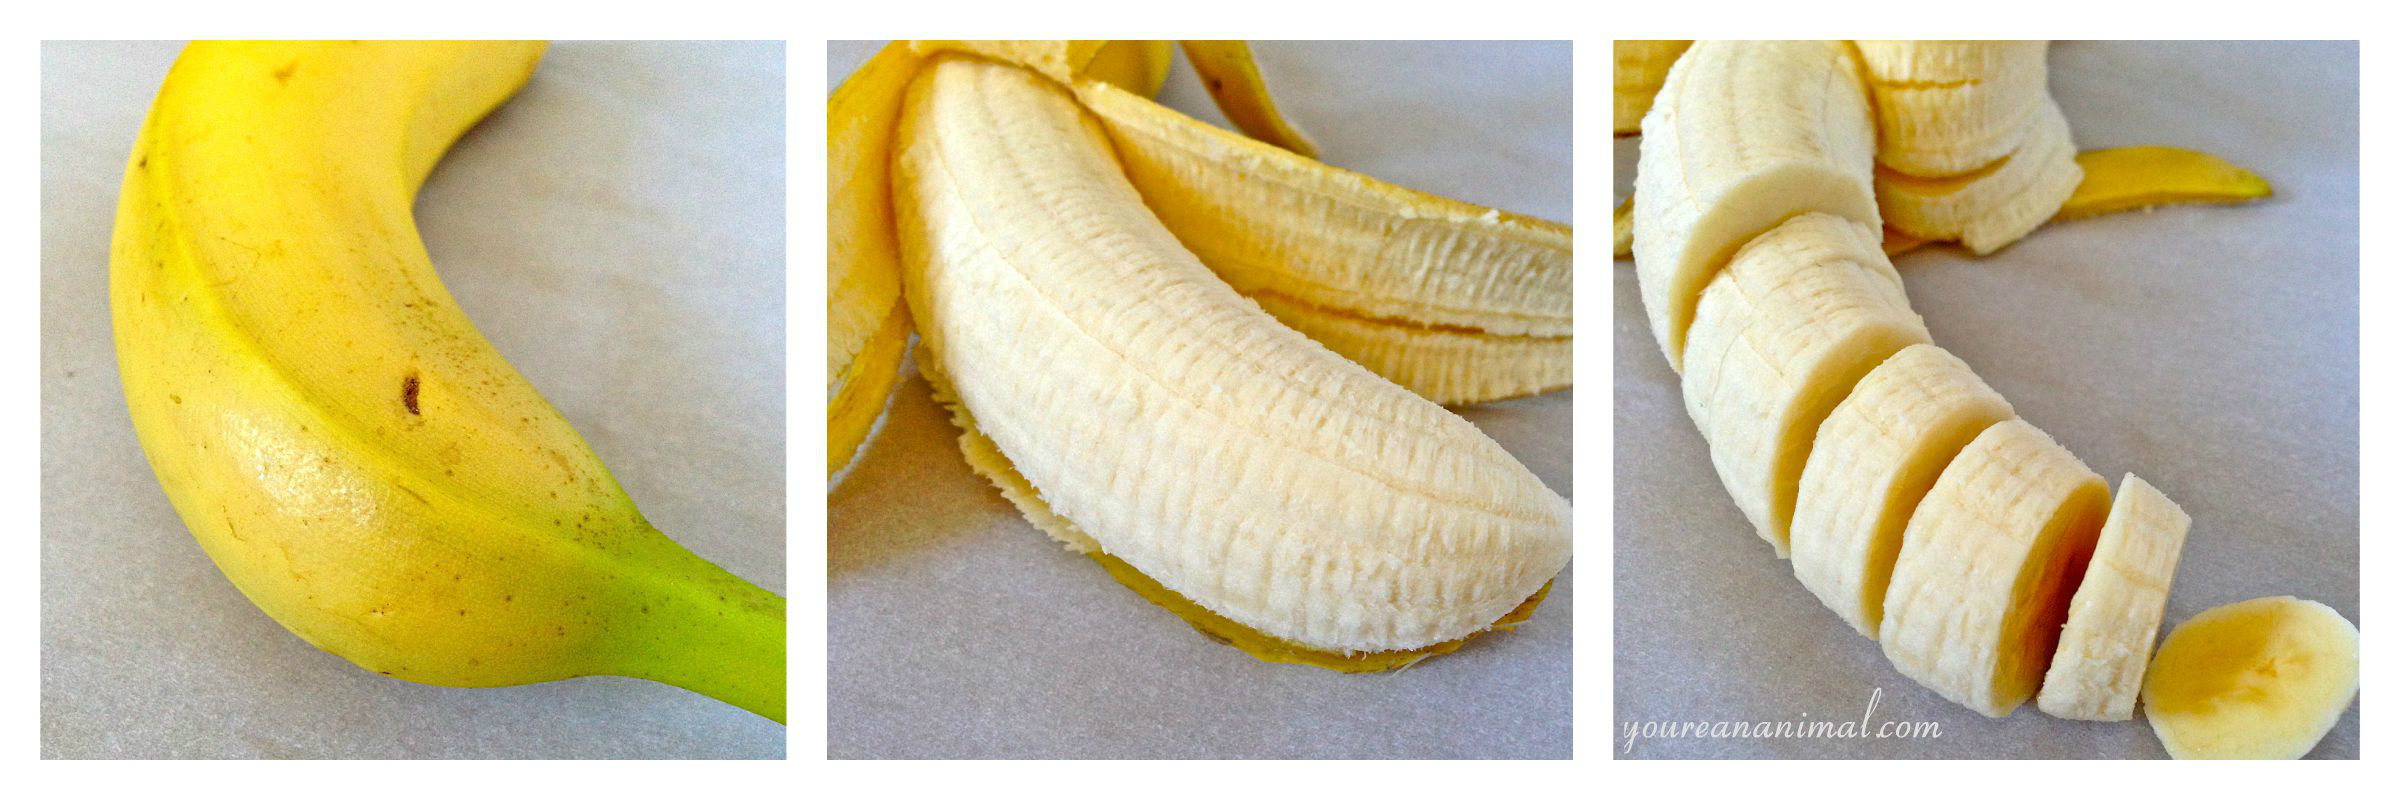
5 medium bananas, sliced
2-4 tbsp of 100% cocoa powder
Enjoy Life mini chocolate chips
First, slice those bad boys up.
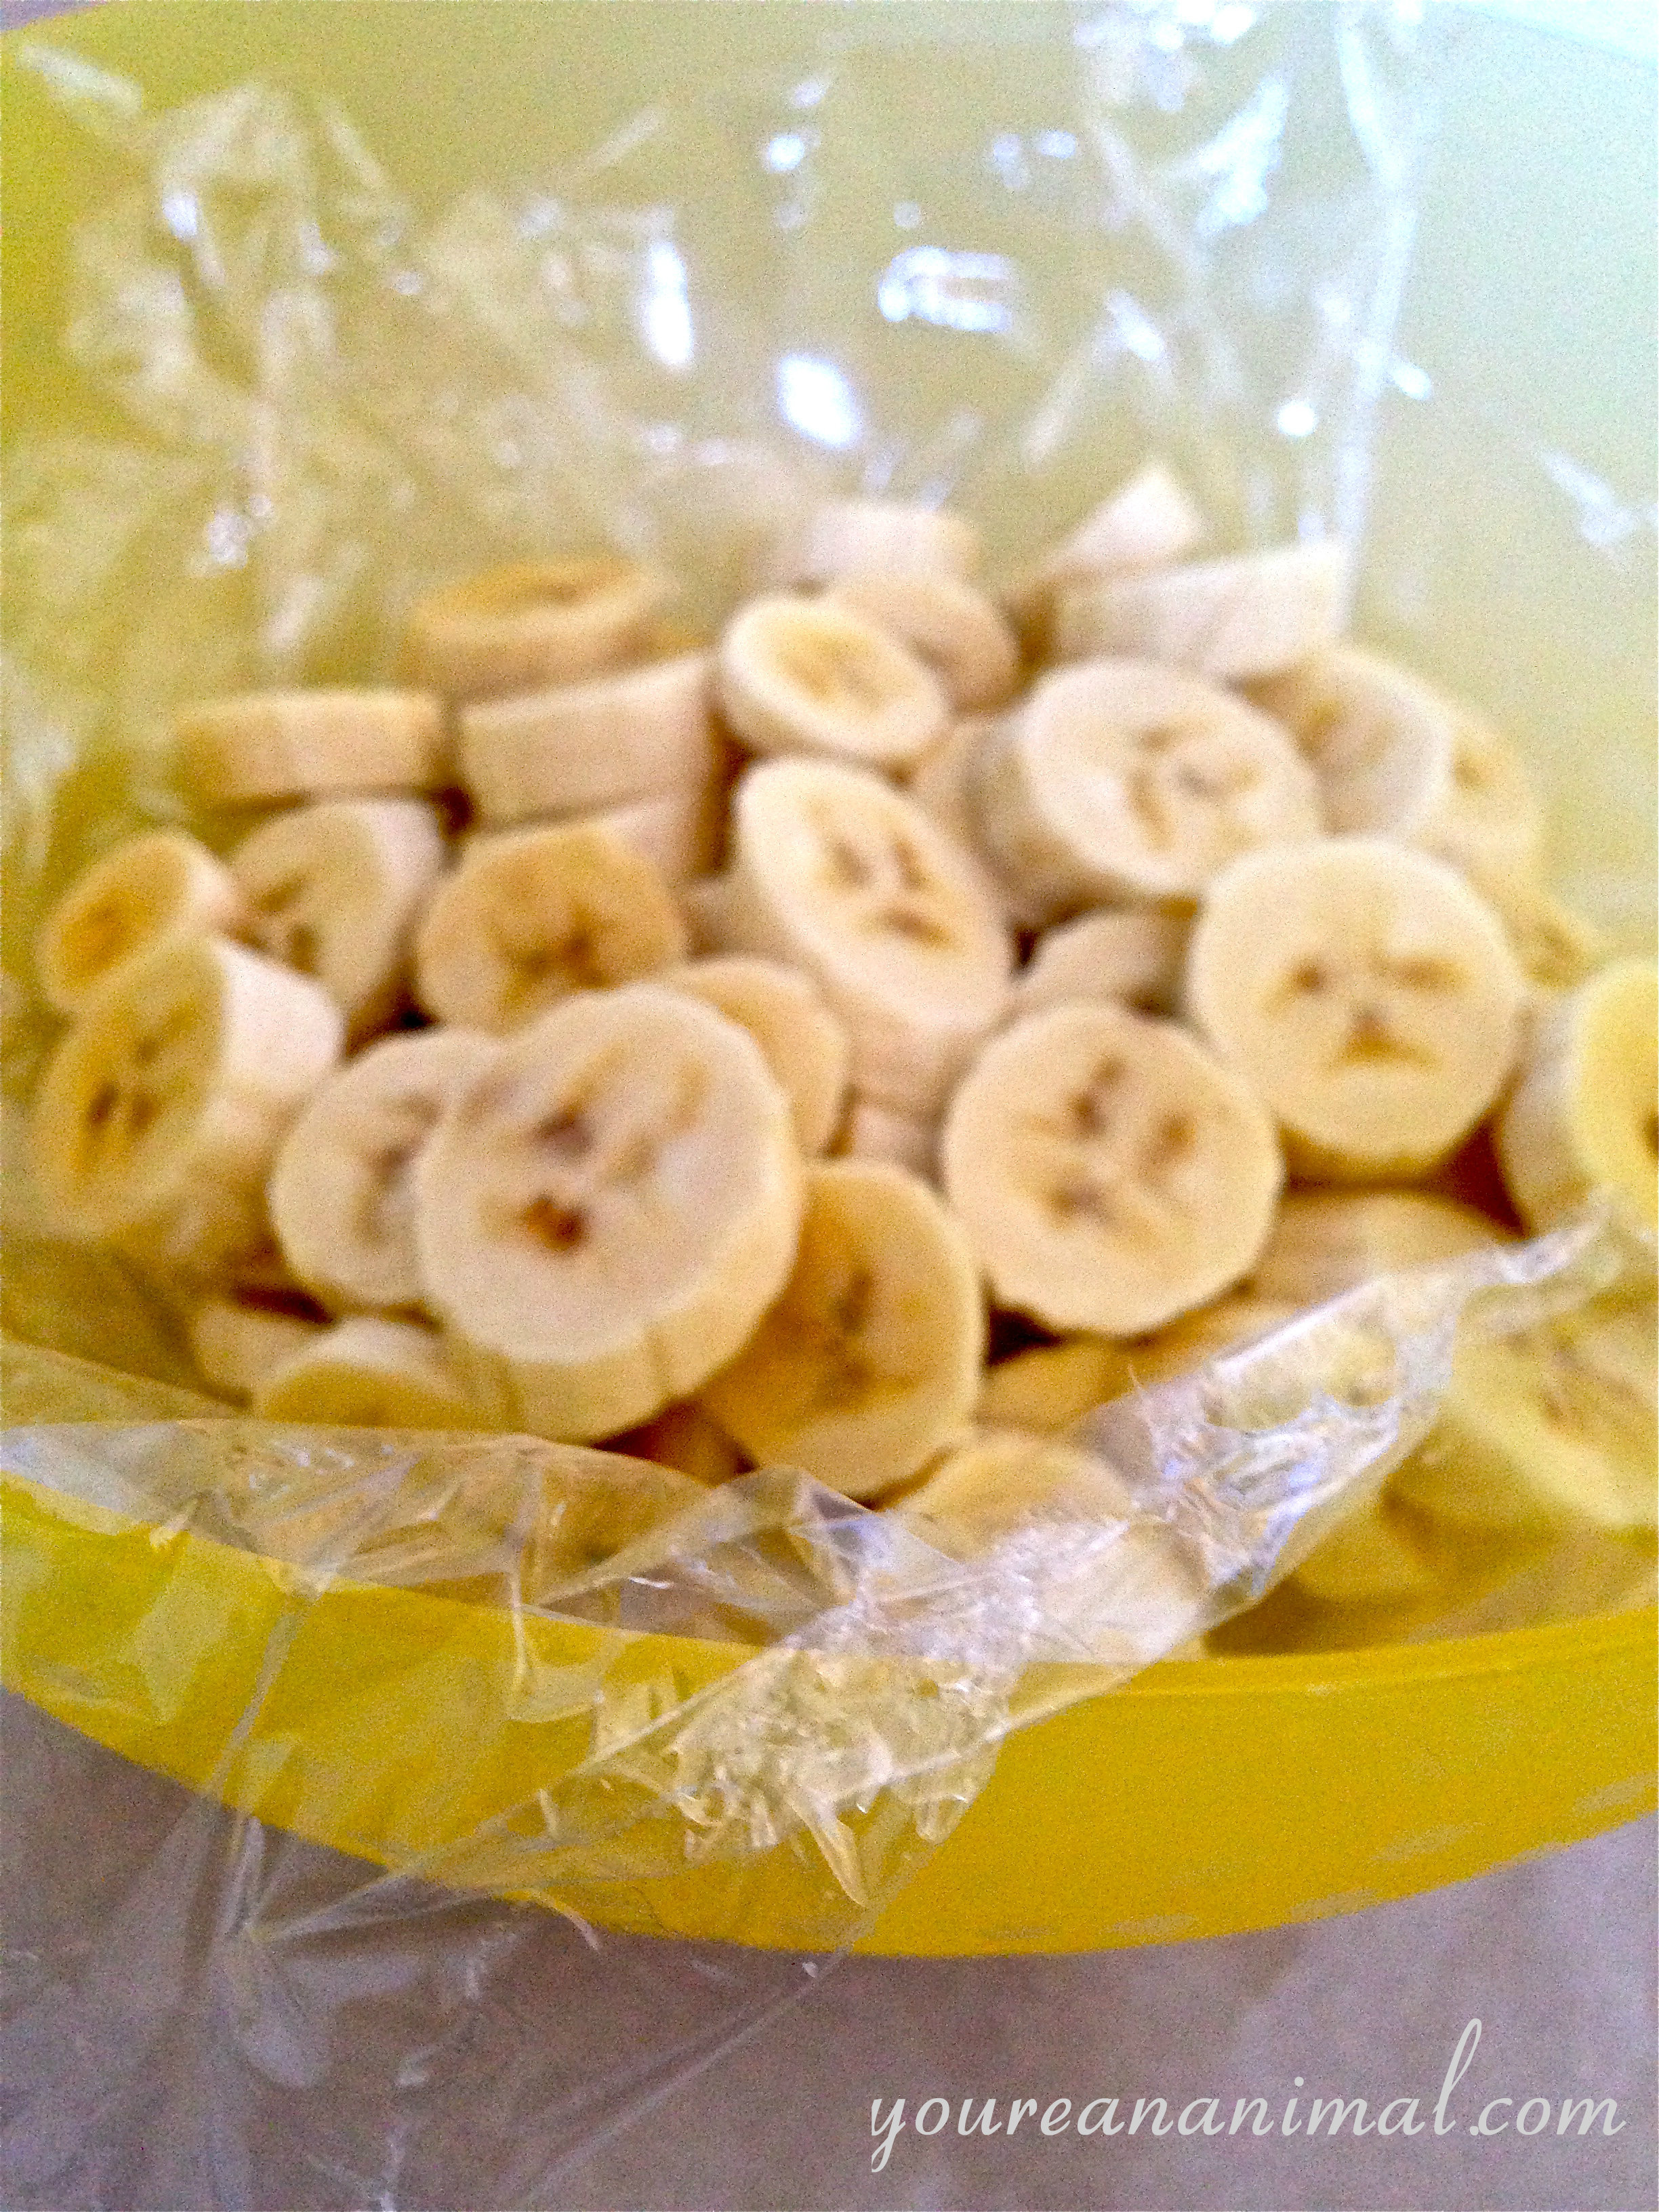
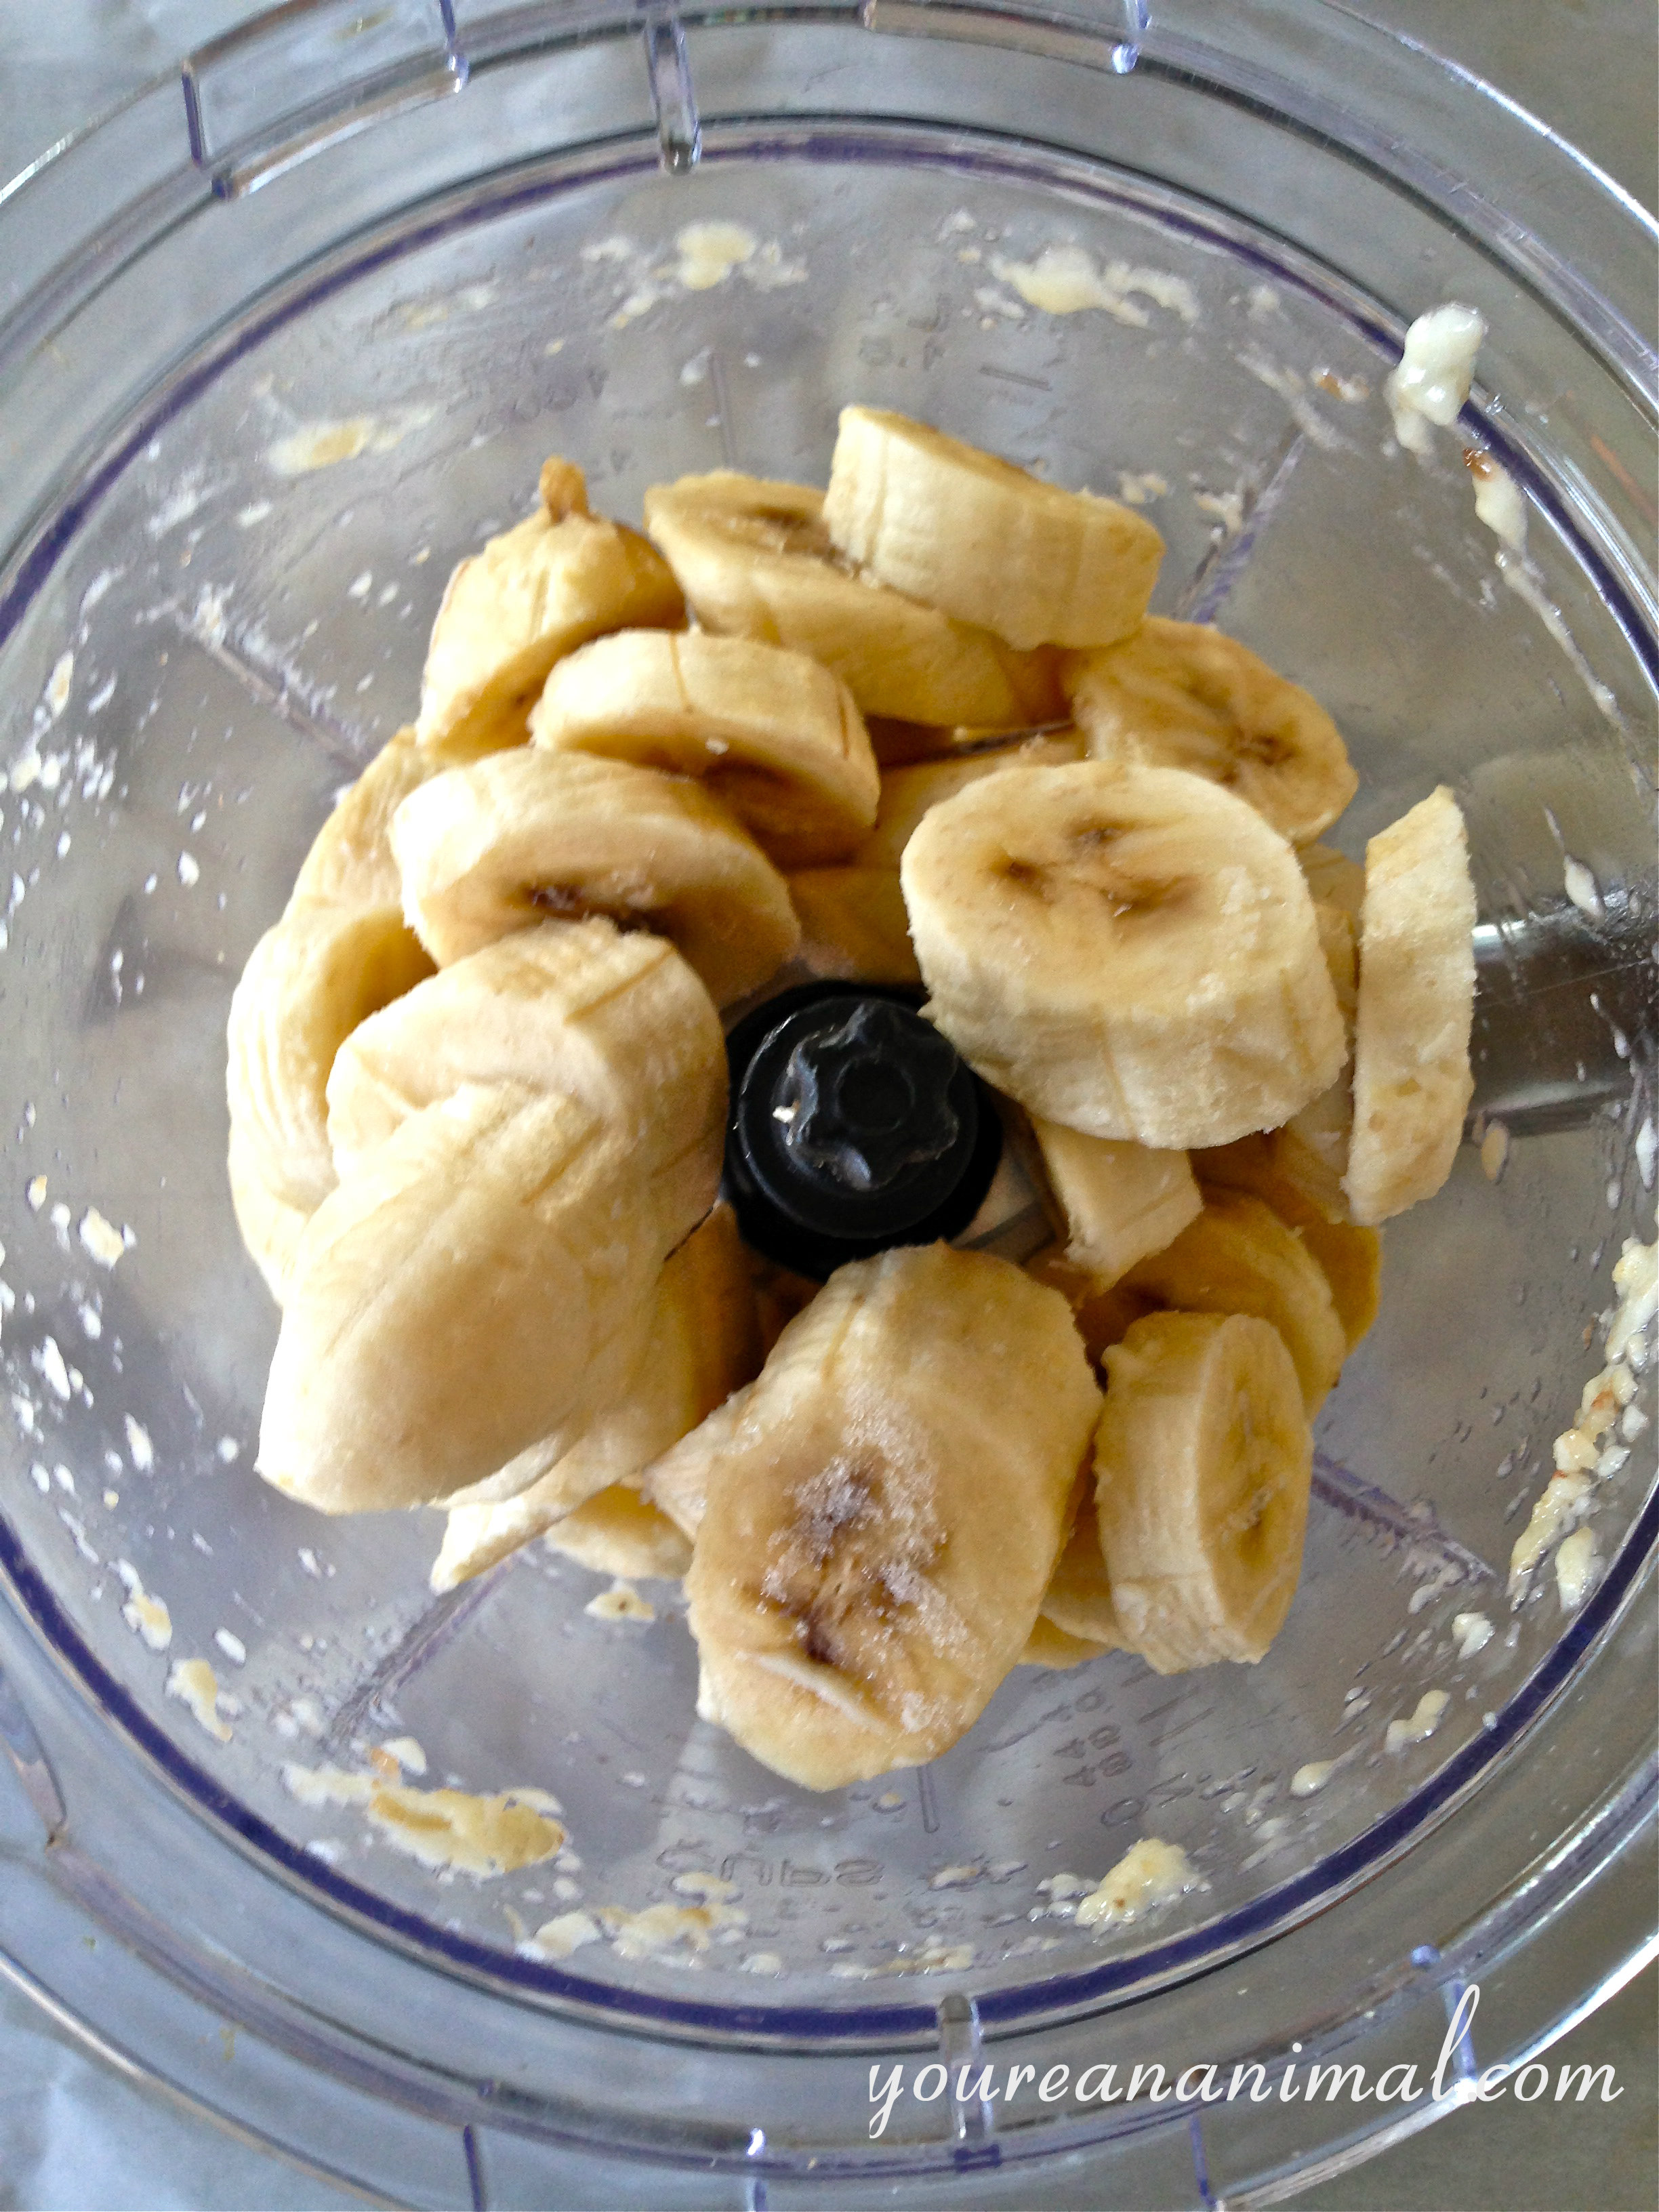
Next, put them into a large bowl (or you could use a baking sheet) that is lined with plastic wrap. Trust me on the plastic wrap, your hands will greatly appreciate the gesture when they are not forced to pry frozen pieces of banana out of the bowl. Place your banana slices in the freezer until frozen through. Once they are frozen, remove them from the freezer and place them in your blender/food processor. I have found that it is helpful to let them sit out for 10-20 minutes and have them soften just slightly. It may just save a good blender’s life.
Ladies and gentlemen, start your engines!
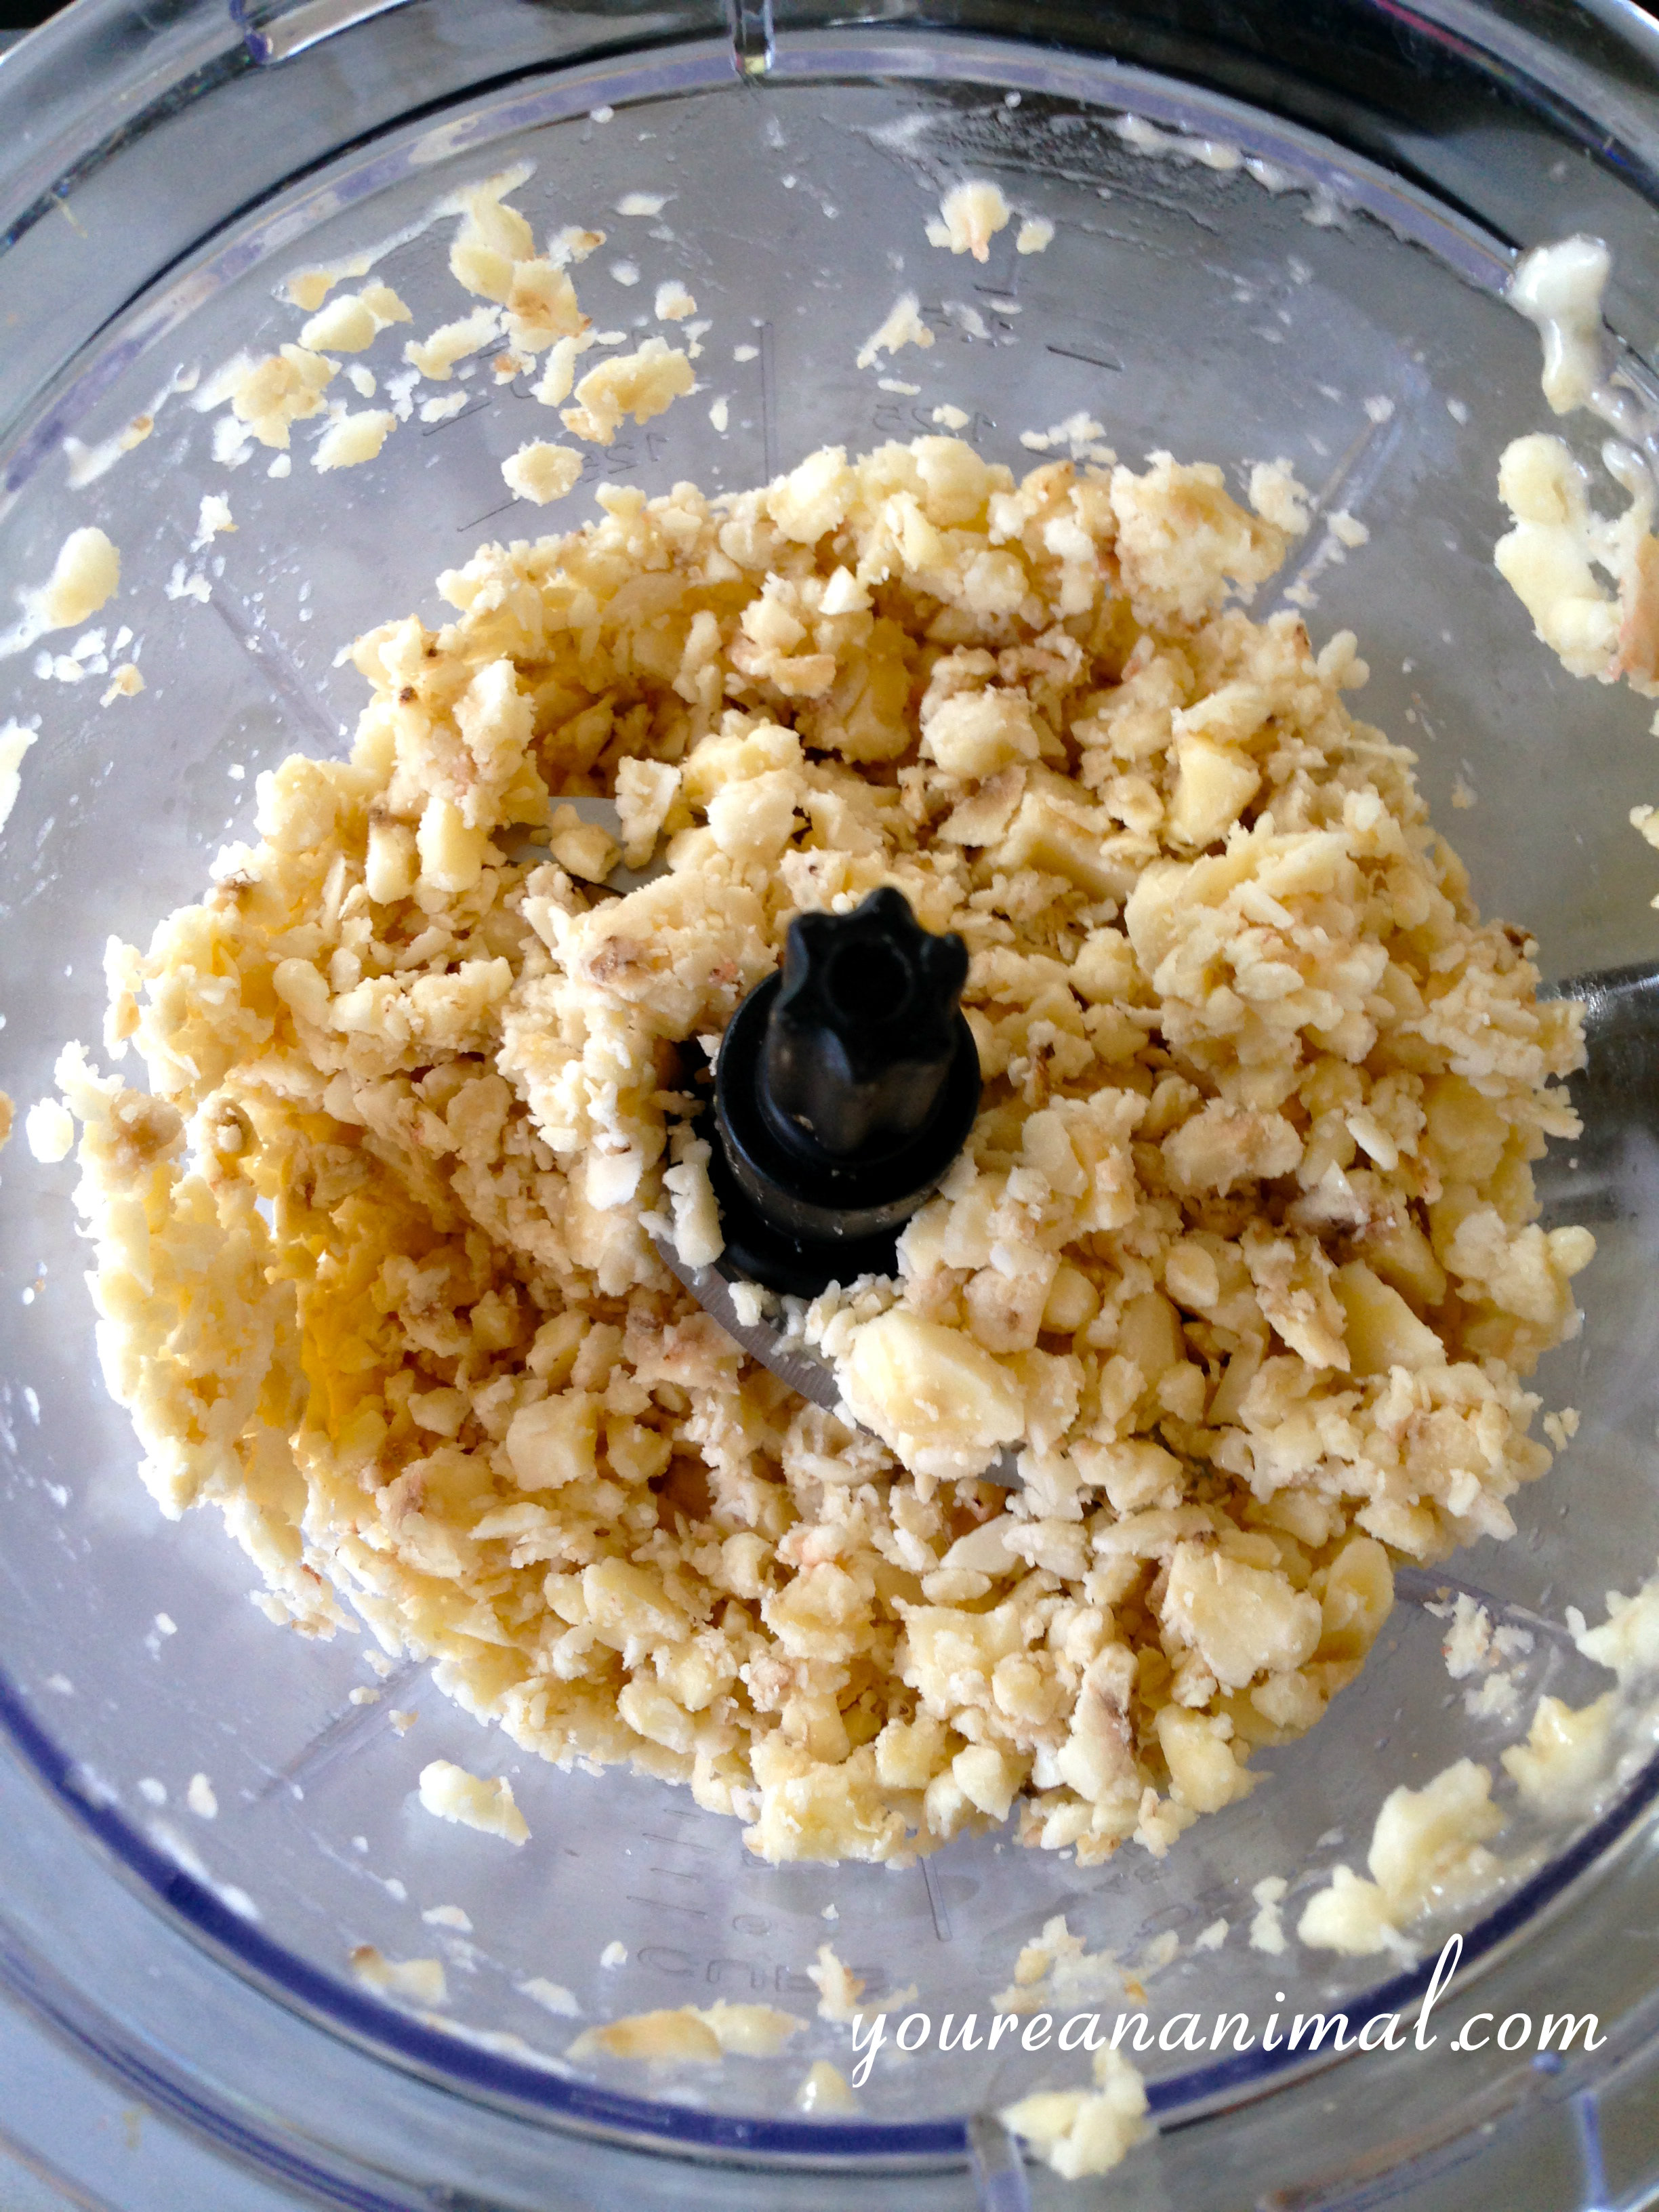
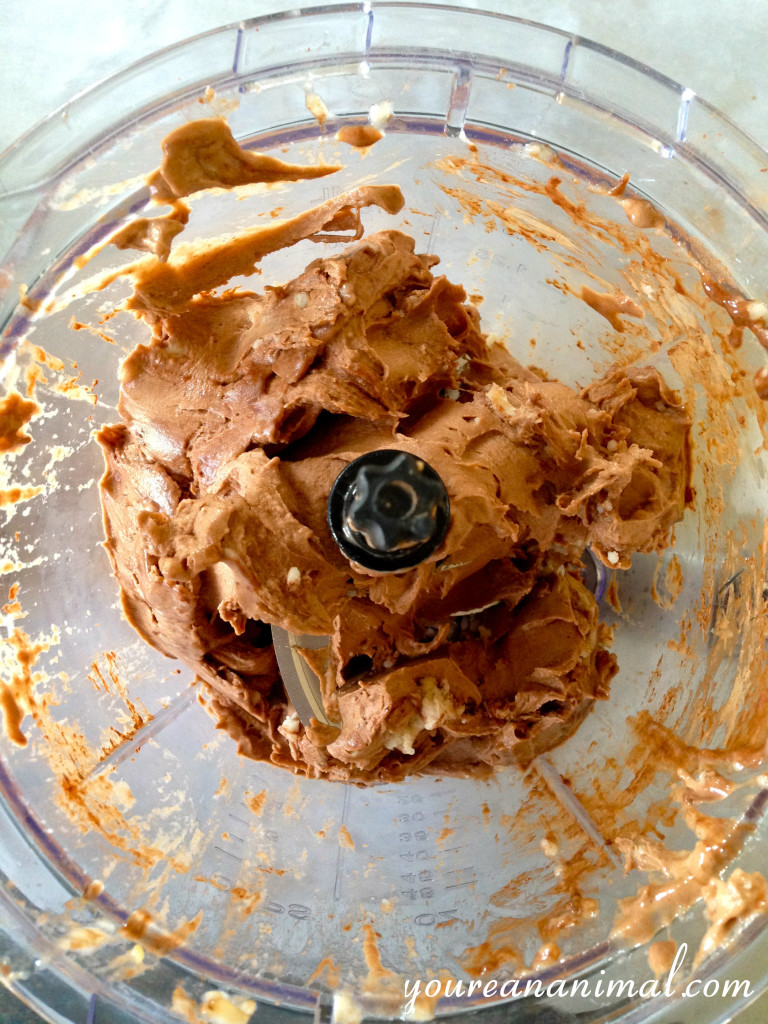
Pause and scrape down the sides every so often to keep it a consistent texture, and also push the pieces down closer to the blades. This also gives your appliance a much-needed break. At this point you can also add your cocoa powder.
Just when all seems nearly hopeless, and that your ice cream will never be more than just a sandy bowl of banana gravel, have faith. Your journey it not yet over, keep blending and BEHOLD:
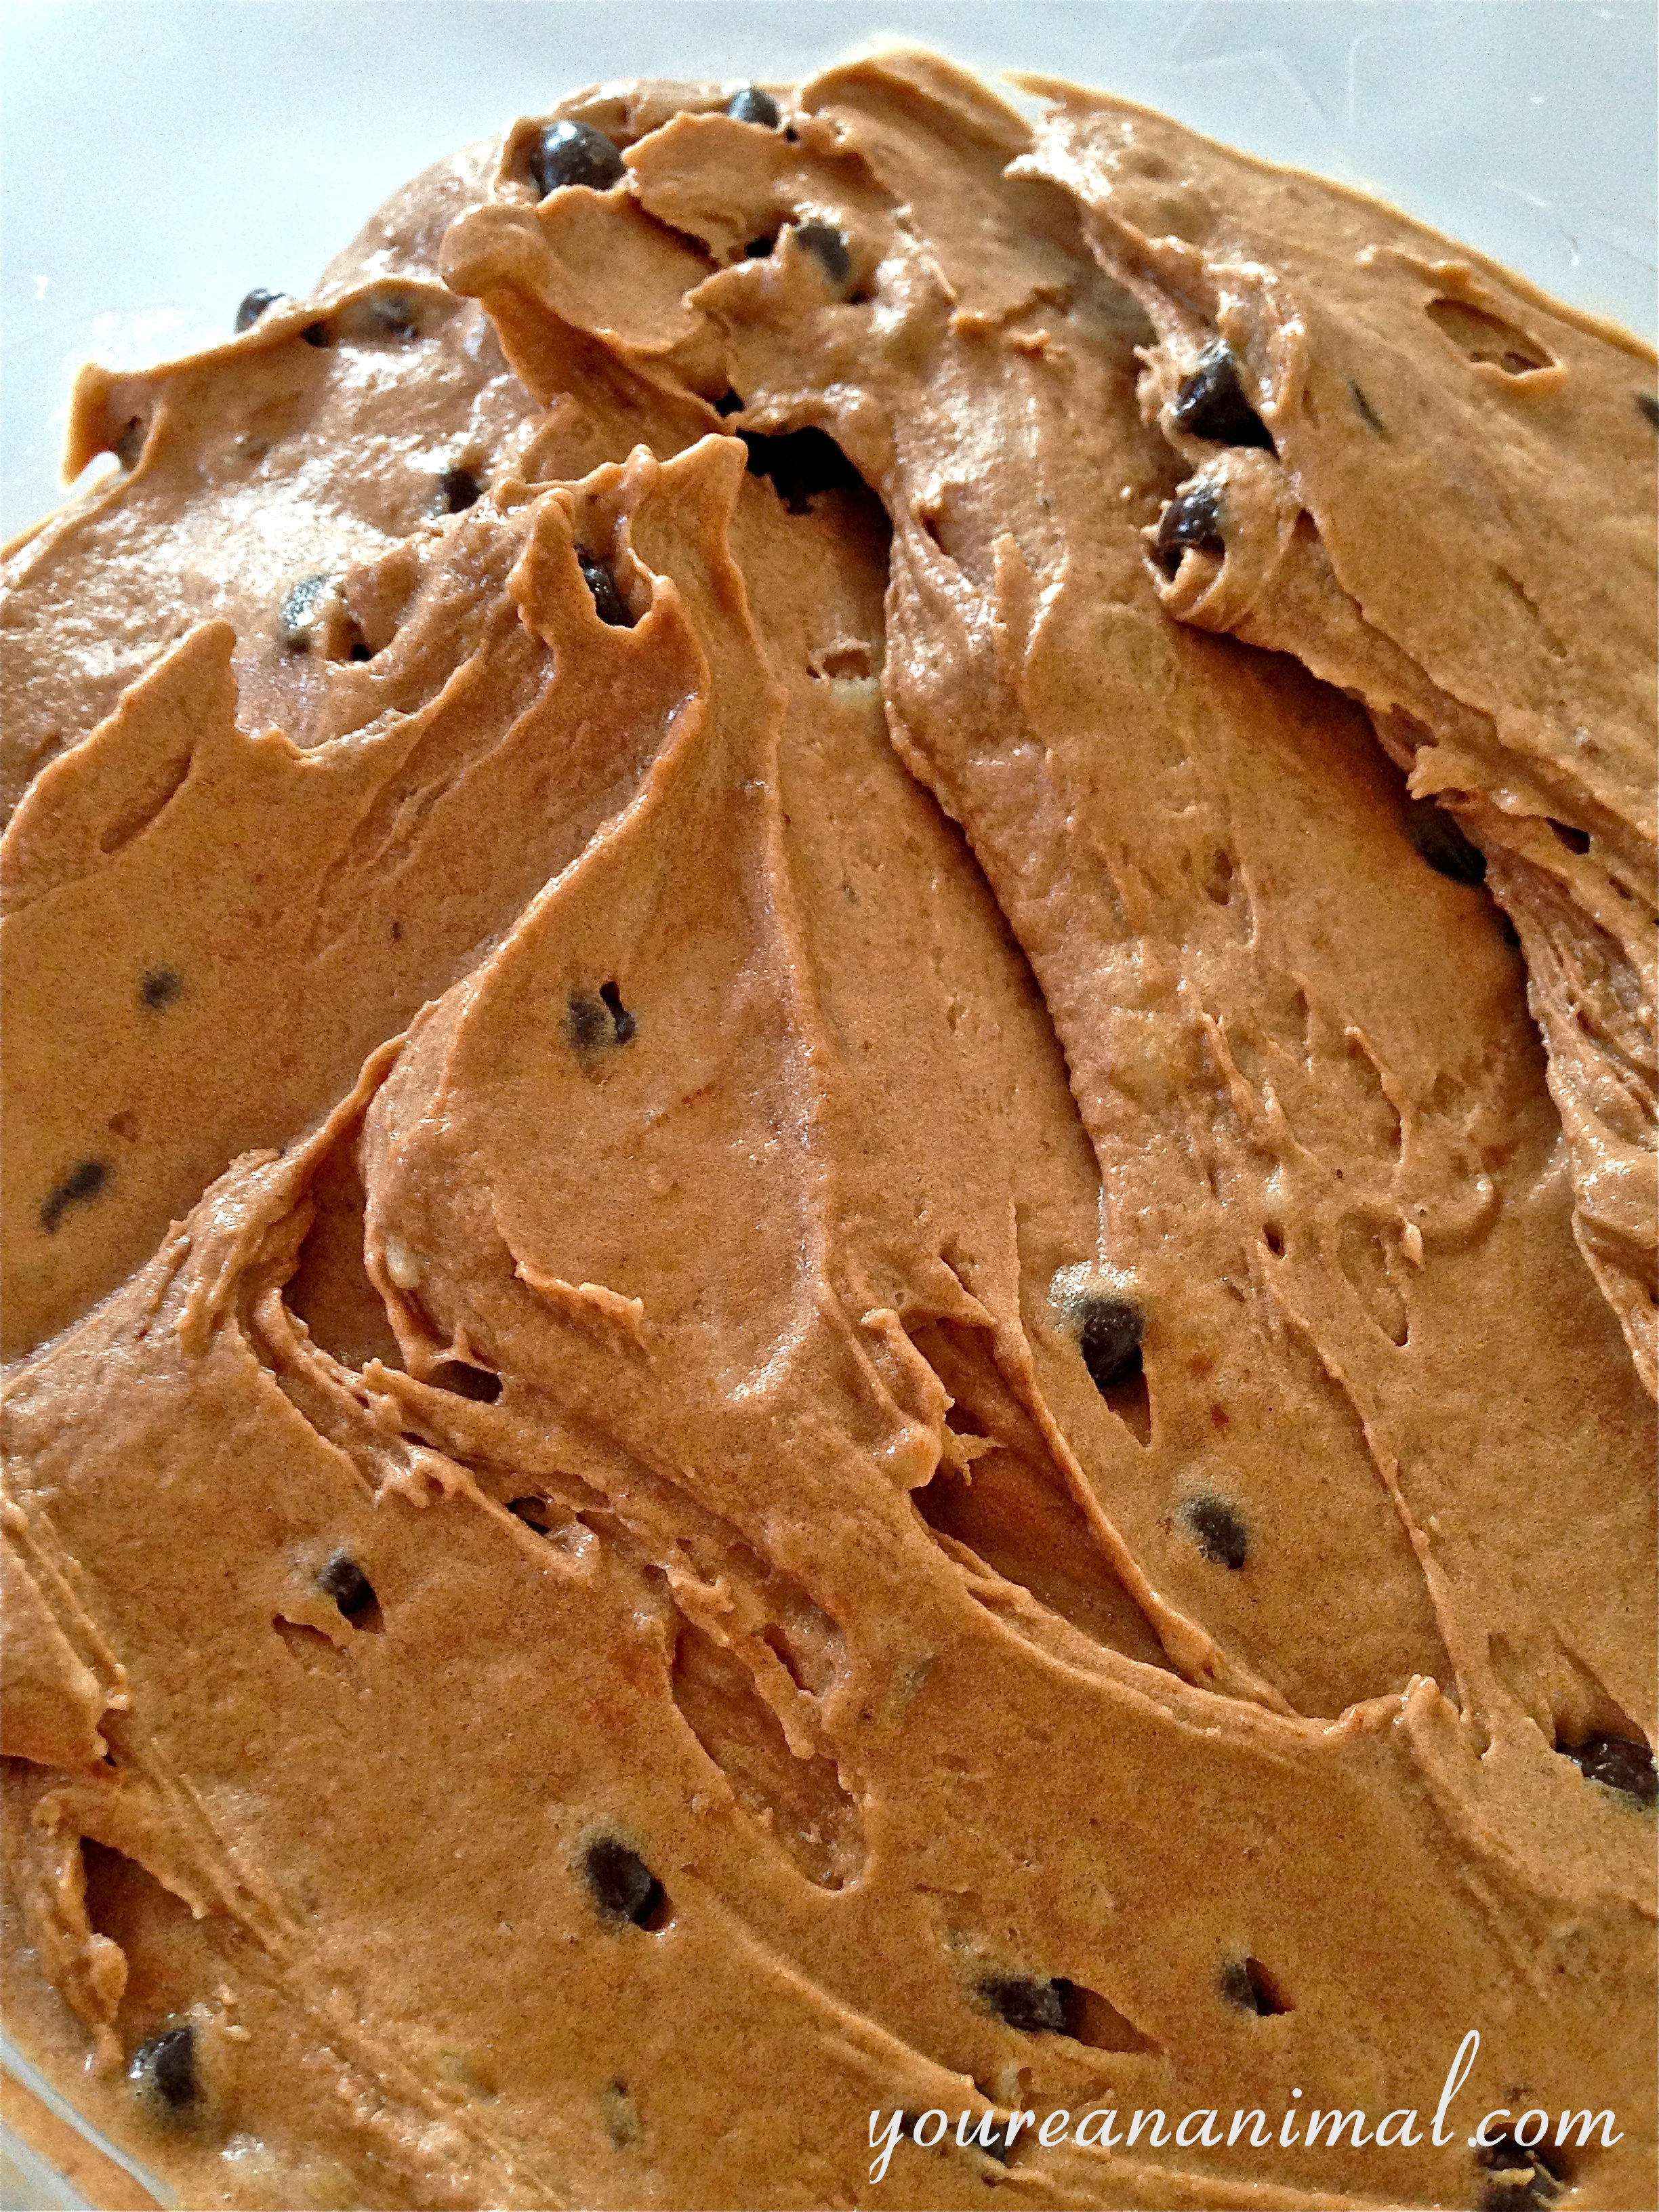
This little beauty is ready to be choco-chipped.
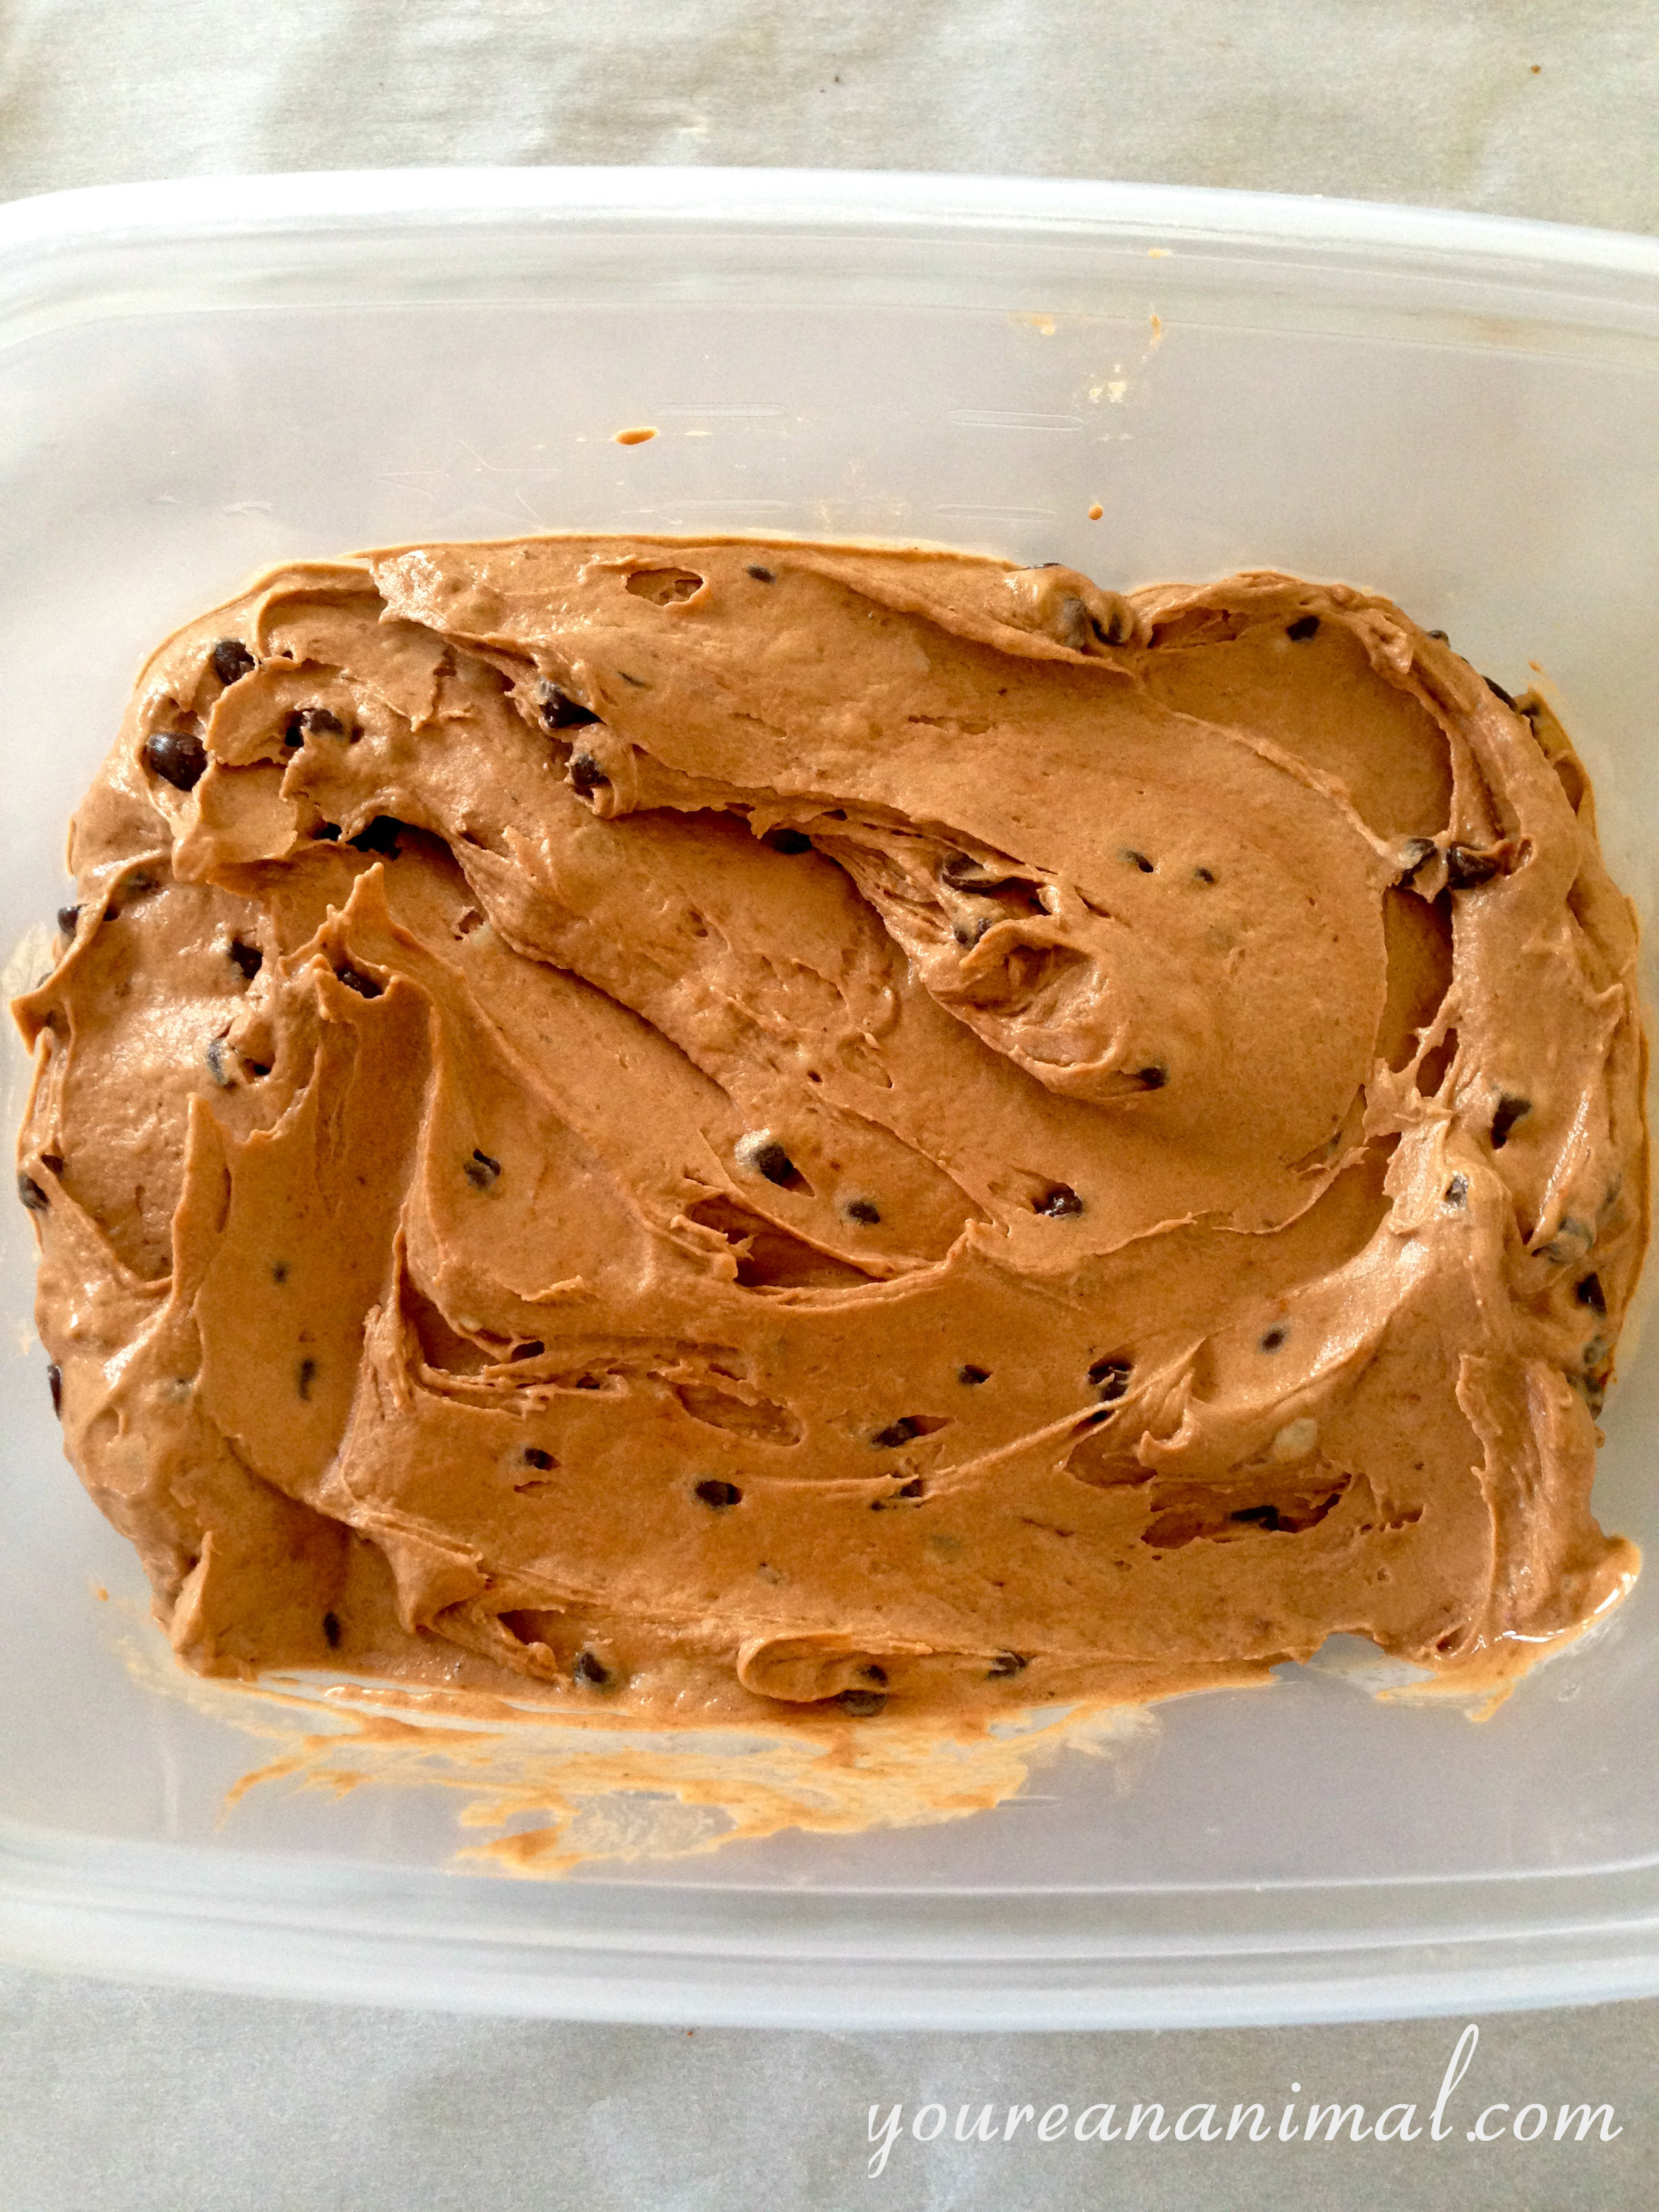
Transfer into a bowl, and fold in your chocolate chips.
Just see how long you can make this last. I dare you.
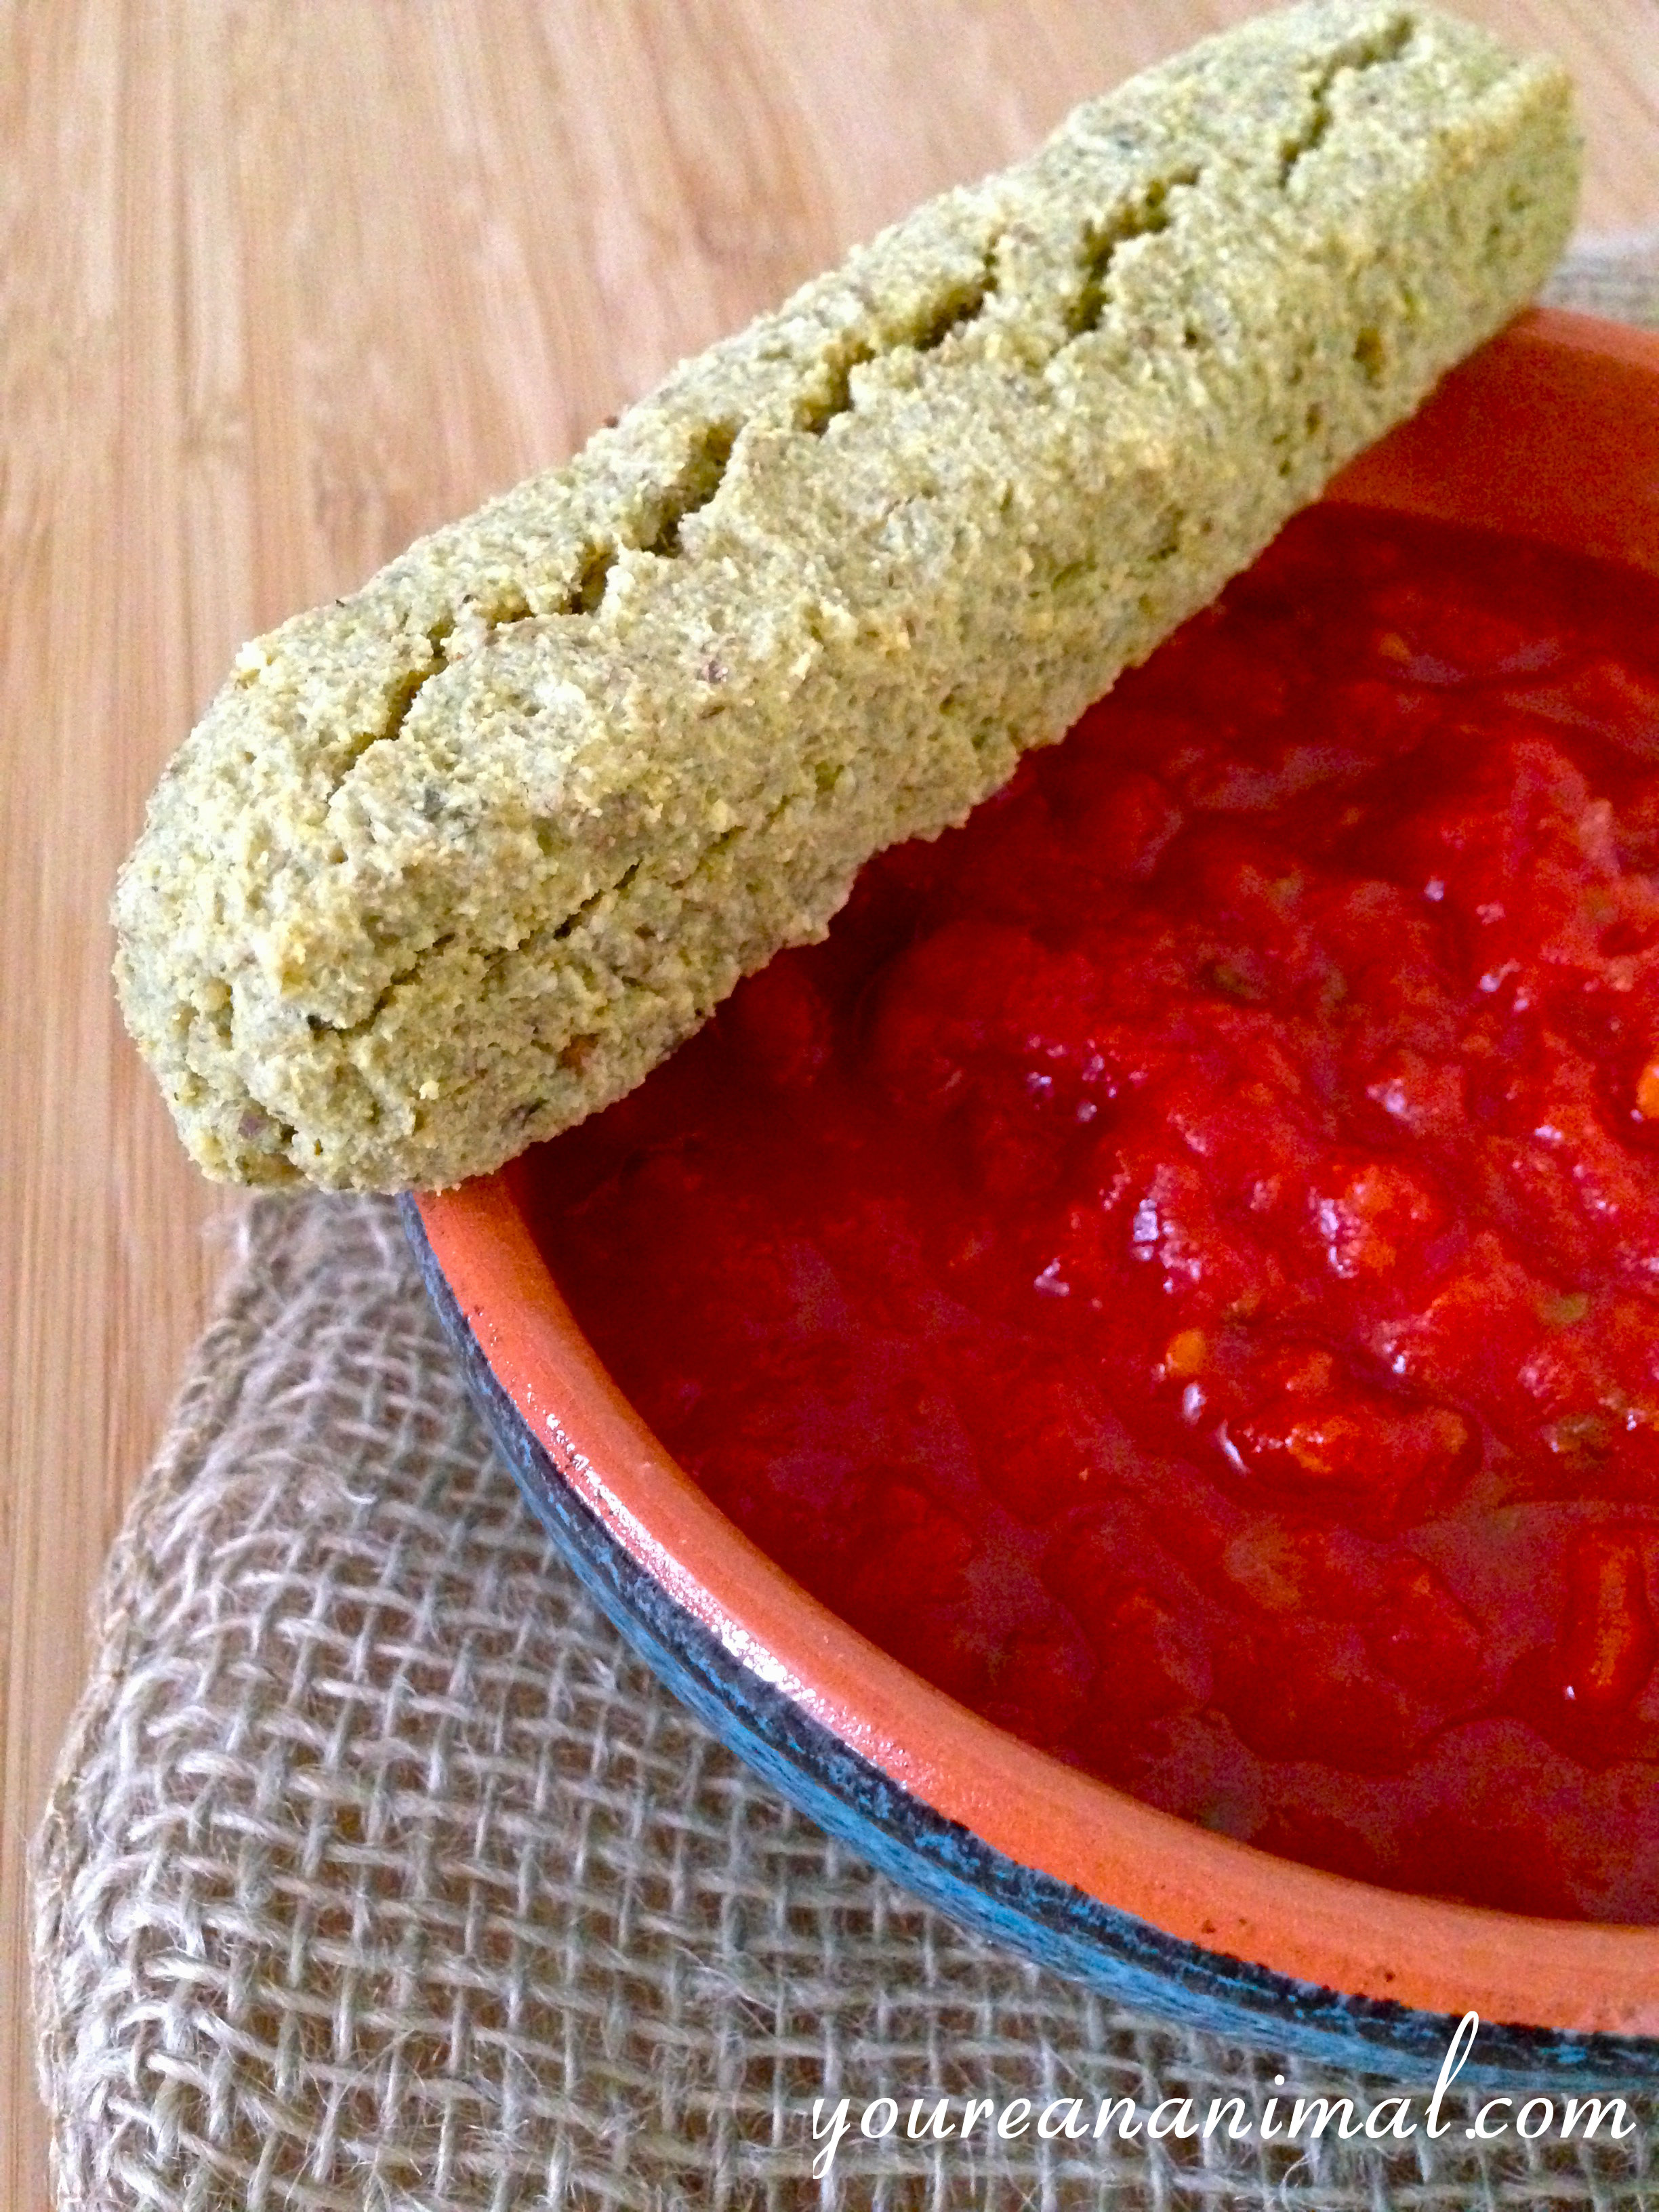
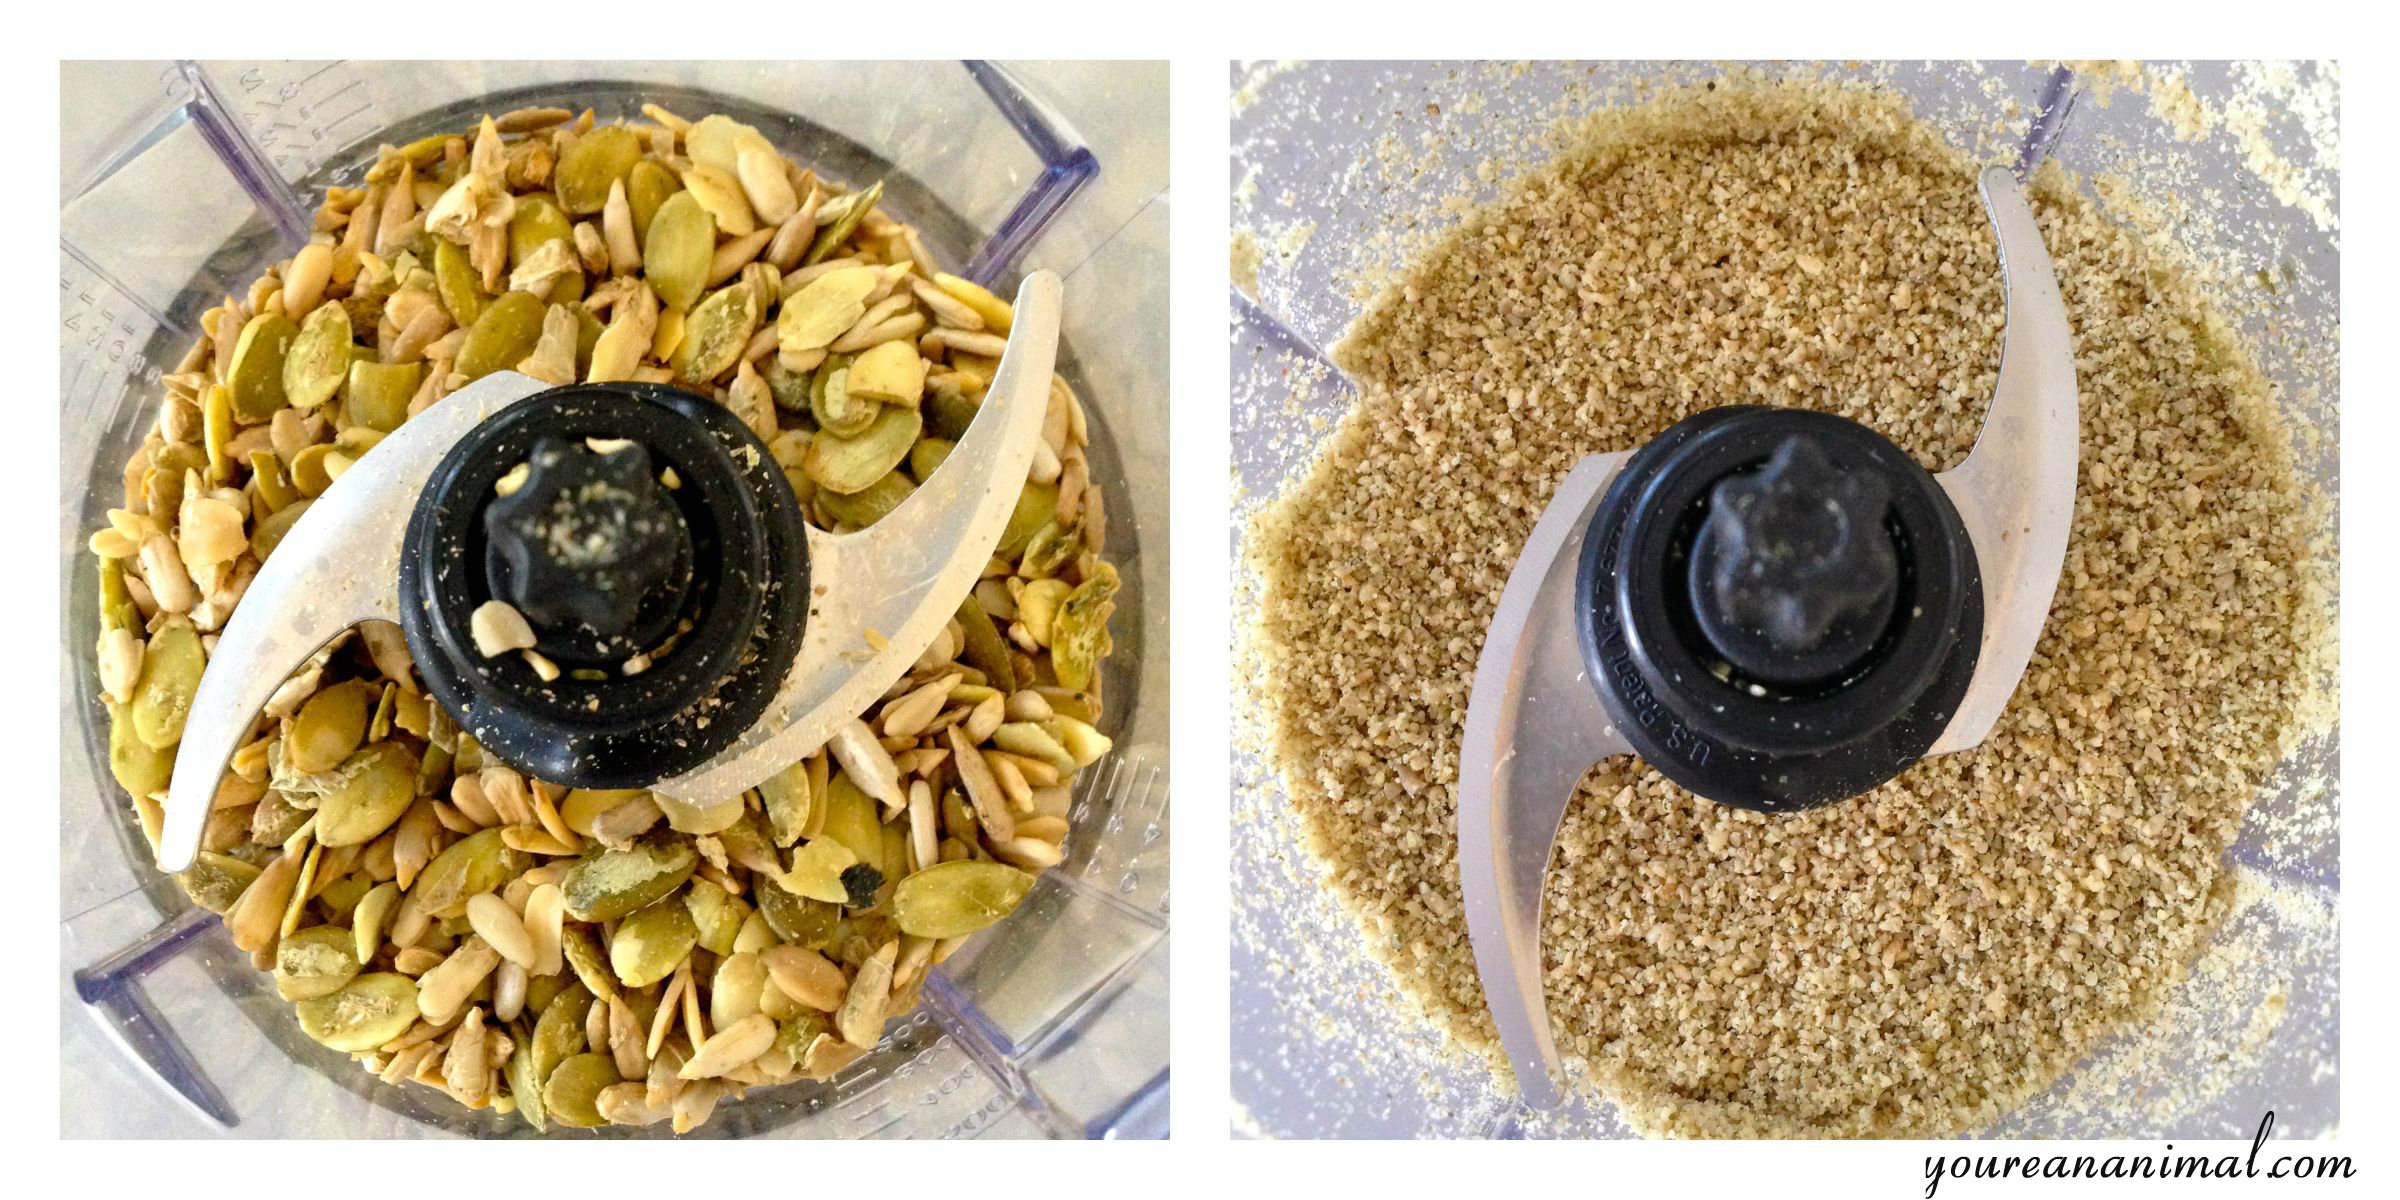
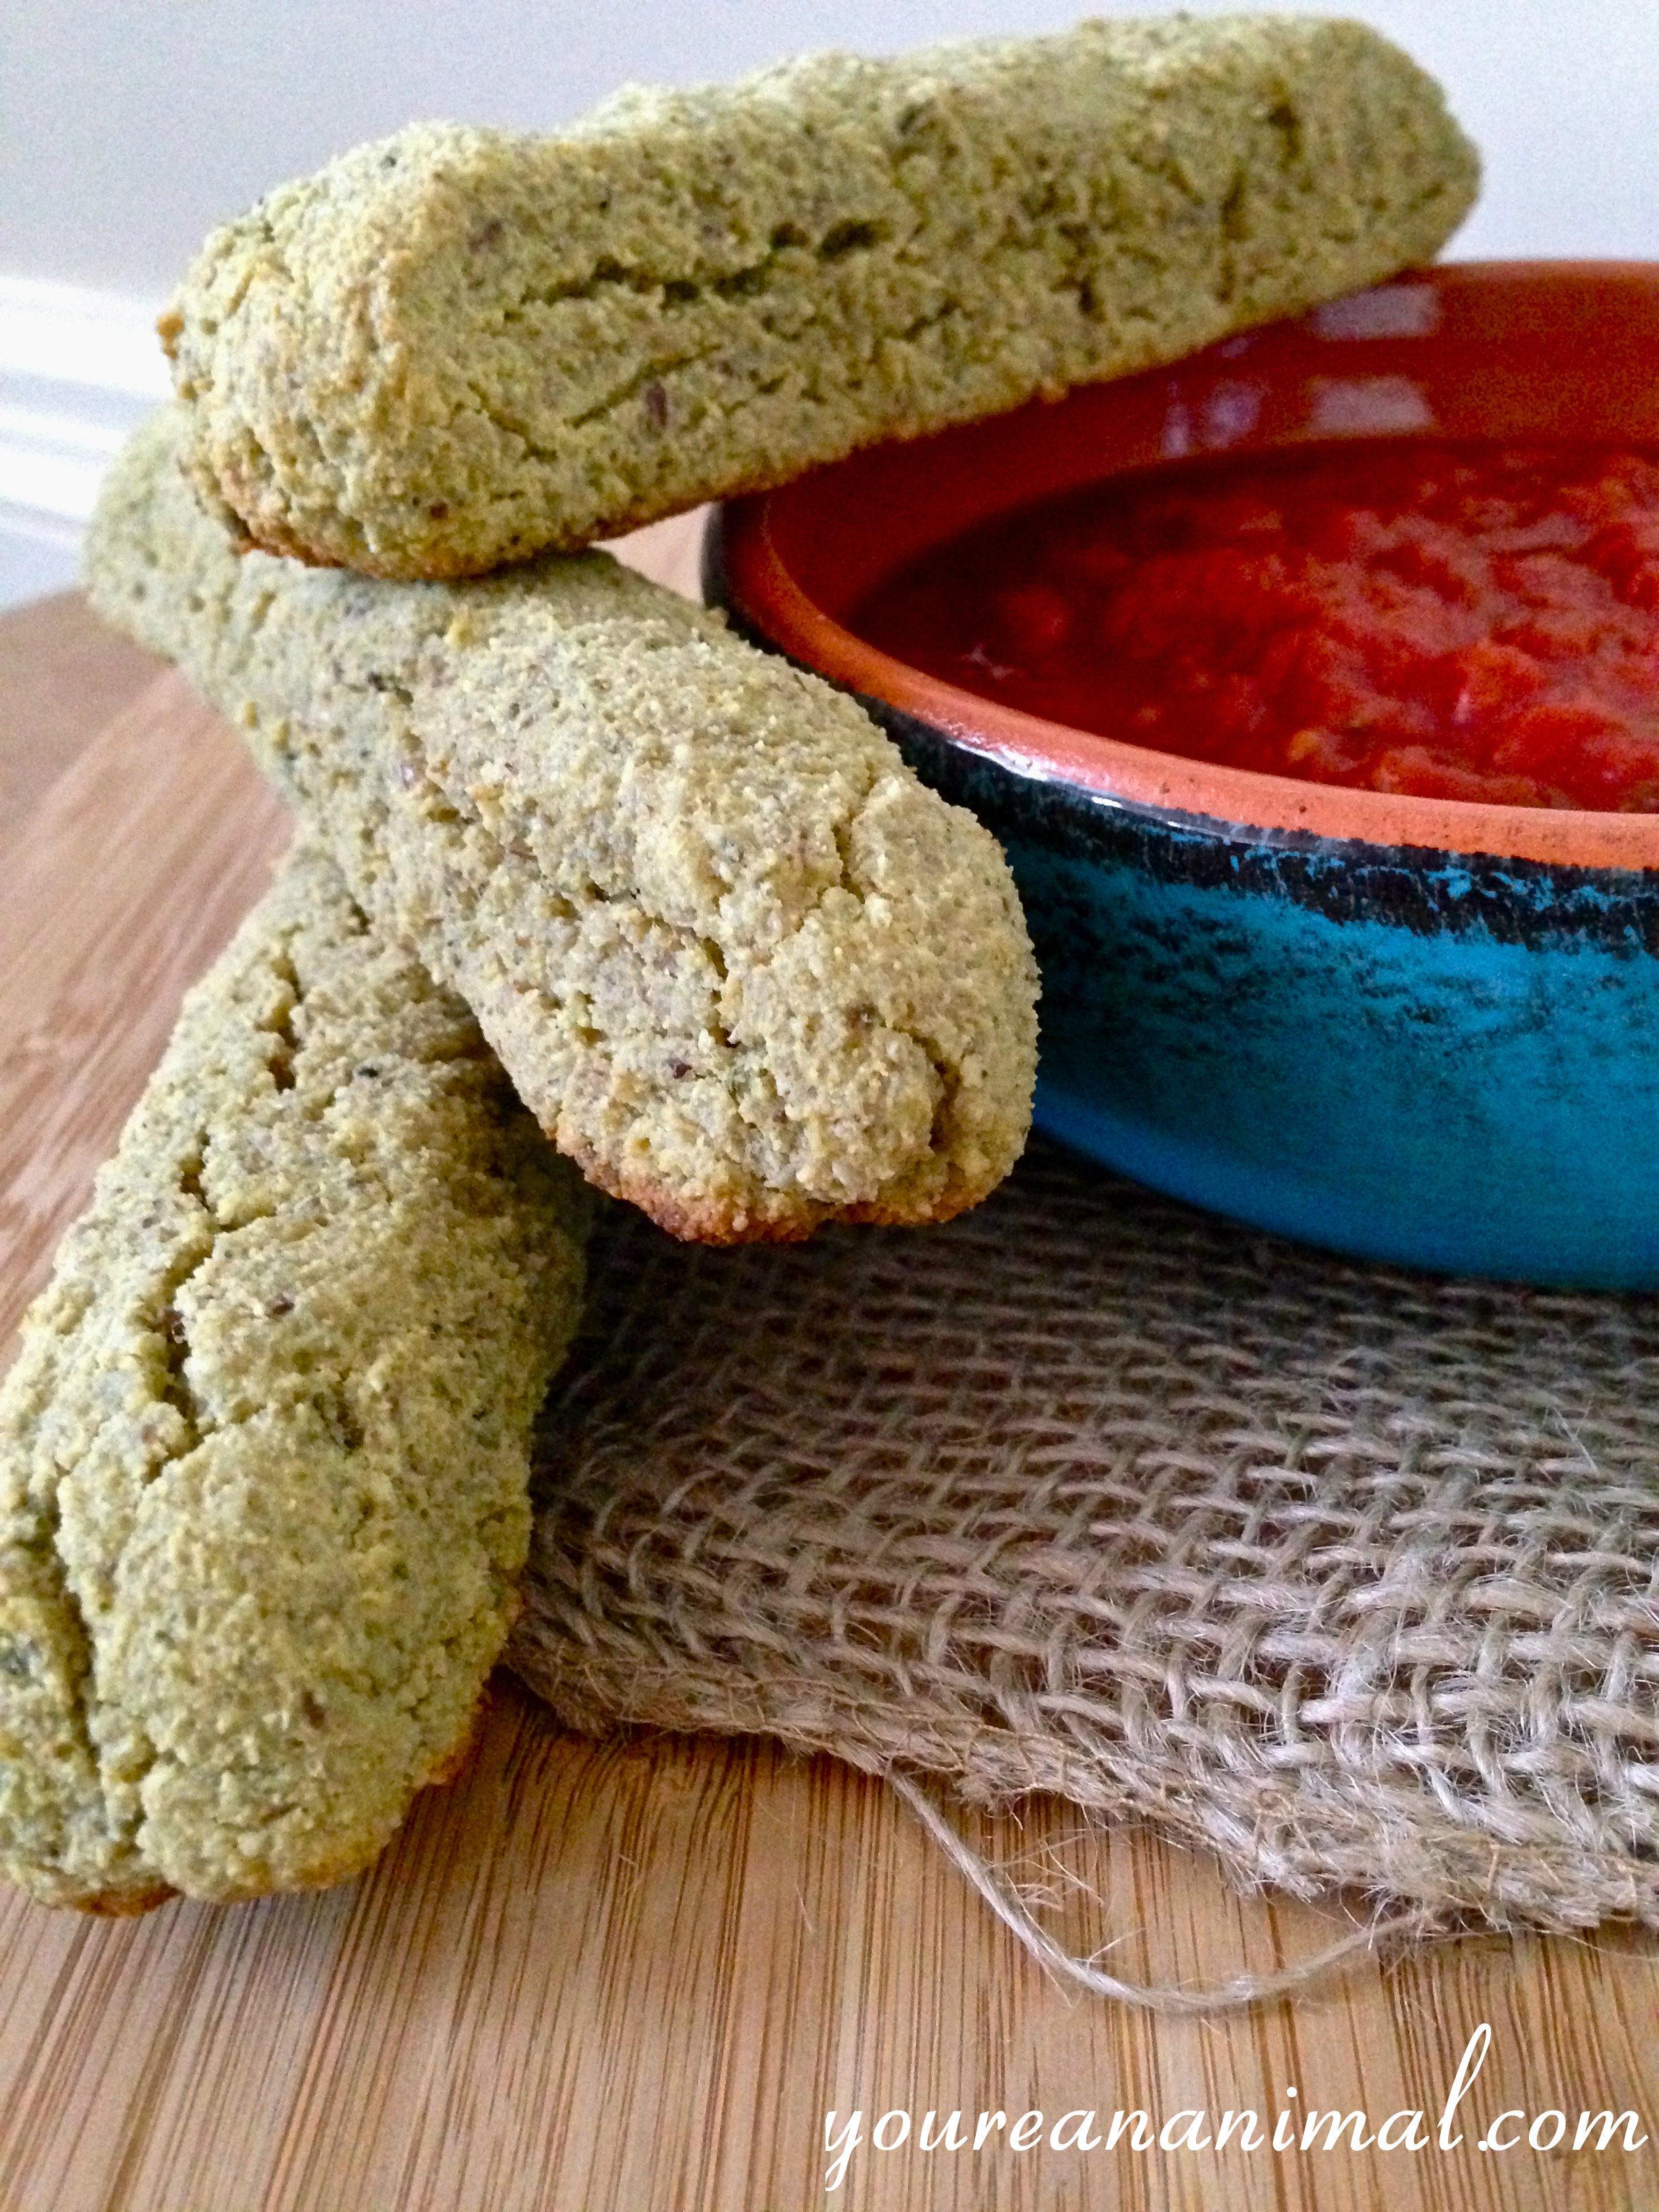
In my humblest o’ opinions, these are the ULTIMATE clean eating breadsticks. Have I mentioned I’m a carboholic? Right. So breadsticks were my friend. Or so I thought, until I realized that all of the crap in them, like so many of my other favorite “friends,” was making me miserable. So with some tinkering, I’ve managed to come up with a dough that is bready, fluffy, and versatile. I’ve used this base as a pizza dough, as a bun for sloppy joes, and even attempted modifying it to create cinnamon rolls (fail, terrible fail, but I will persevere). Best part about this hearty dough is that it isn’t loaded with expensive nut flour. The base is sunflower seeds (a favorite of mine), which when bought already hulled and unroasted are on the cheaper end of the clean eating budget. In the following pictures, I’ve shown how you can create your own sunflower meal. I actually used a combination of sprouted sunflower seeds and pumpkin seeds simply because that’s what I had on hand, but you can easily use just sunflower seeds, or another nut meal (ie almond flour, or cashew meal) as a 1:1 replacement. As I already mentioned, the versatility of this dough is amazing, and I can guarantee that this will not be the last time this recipe shows up in a post! It holds together pretty well (considering it’s a gluten-free recipe, I can only do so much people!), is definitely hearty enough to dunk, and is protein-packed enough that it will leave you completely satisfied–unlike its high-glycemic, white flour counterpart. Oh, not to mention all of the good fats and oils packed into these little babies, which not only makes them healthy, but most definitely keeps them moist and fluffy. If you’re like me and NEED a clean bread replacement, or maybe are just looking for a more filling alternative to the yeasty, sugary white bread we’ve gotten so accustomed to, look no further, this stuff was made for you!
Preheat your oven to 350 degrees F, and line a baking sheet with a piece of oiled parchment paper.
Grind your sunflower seeds in a small food processor until in a medium-fine meal (as pictured below).
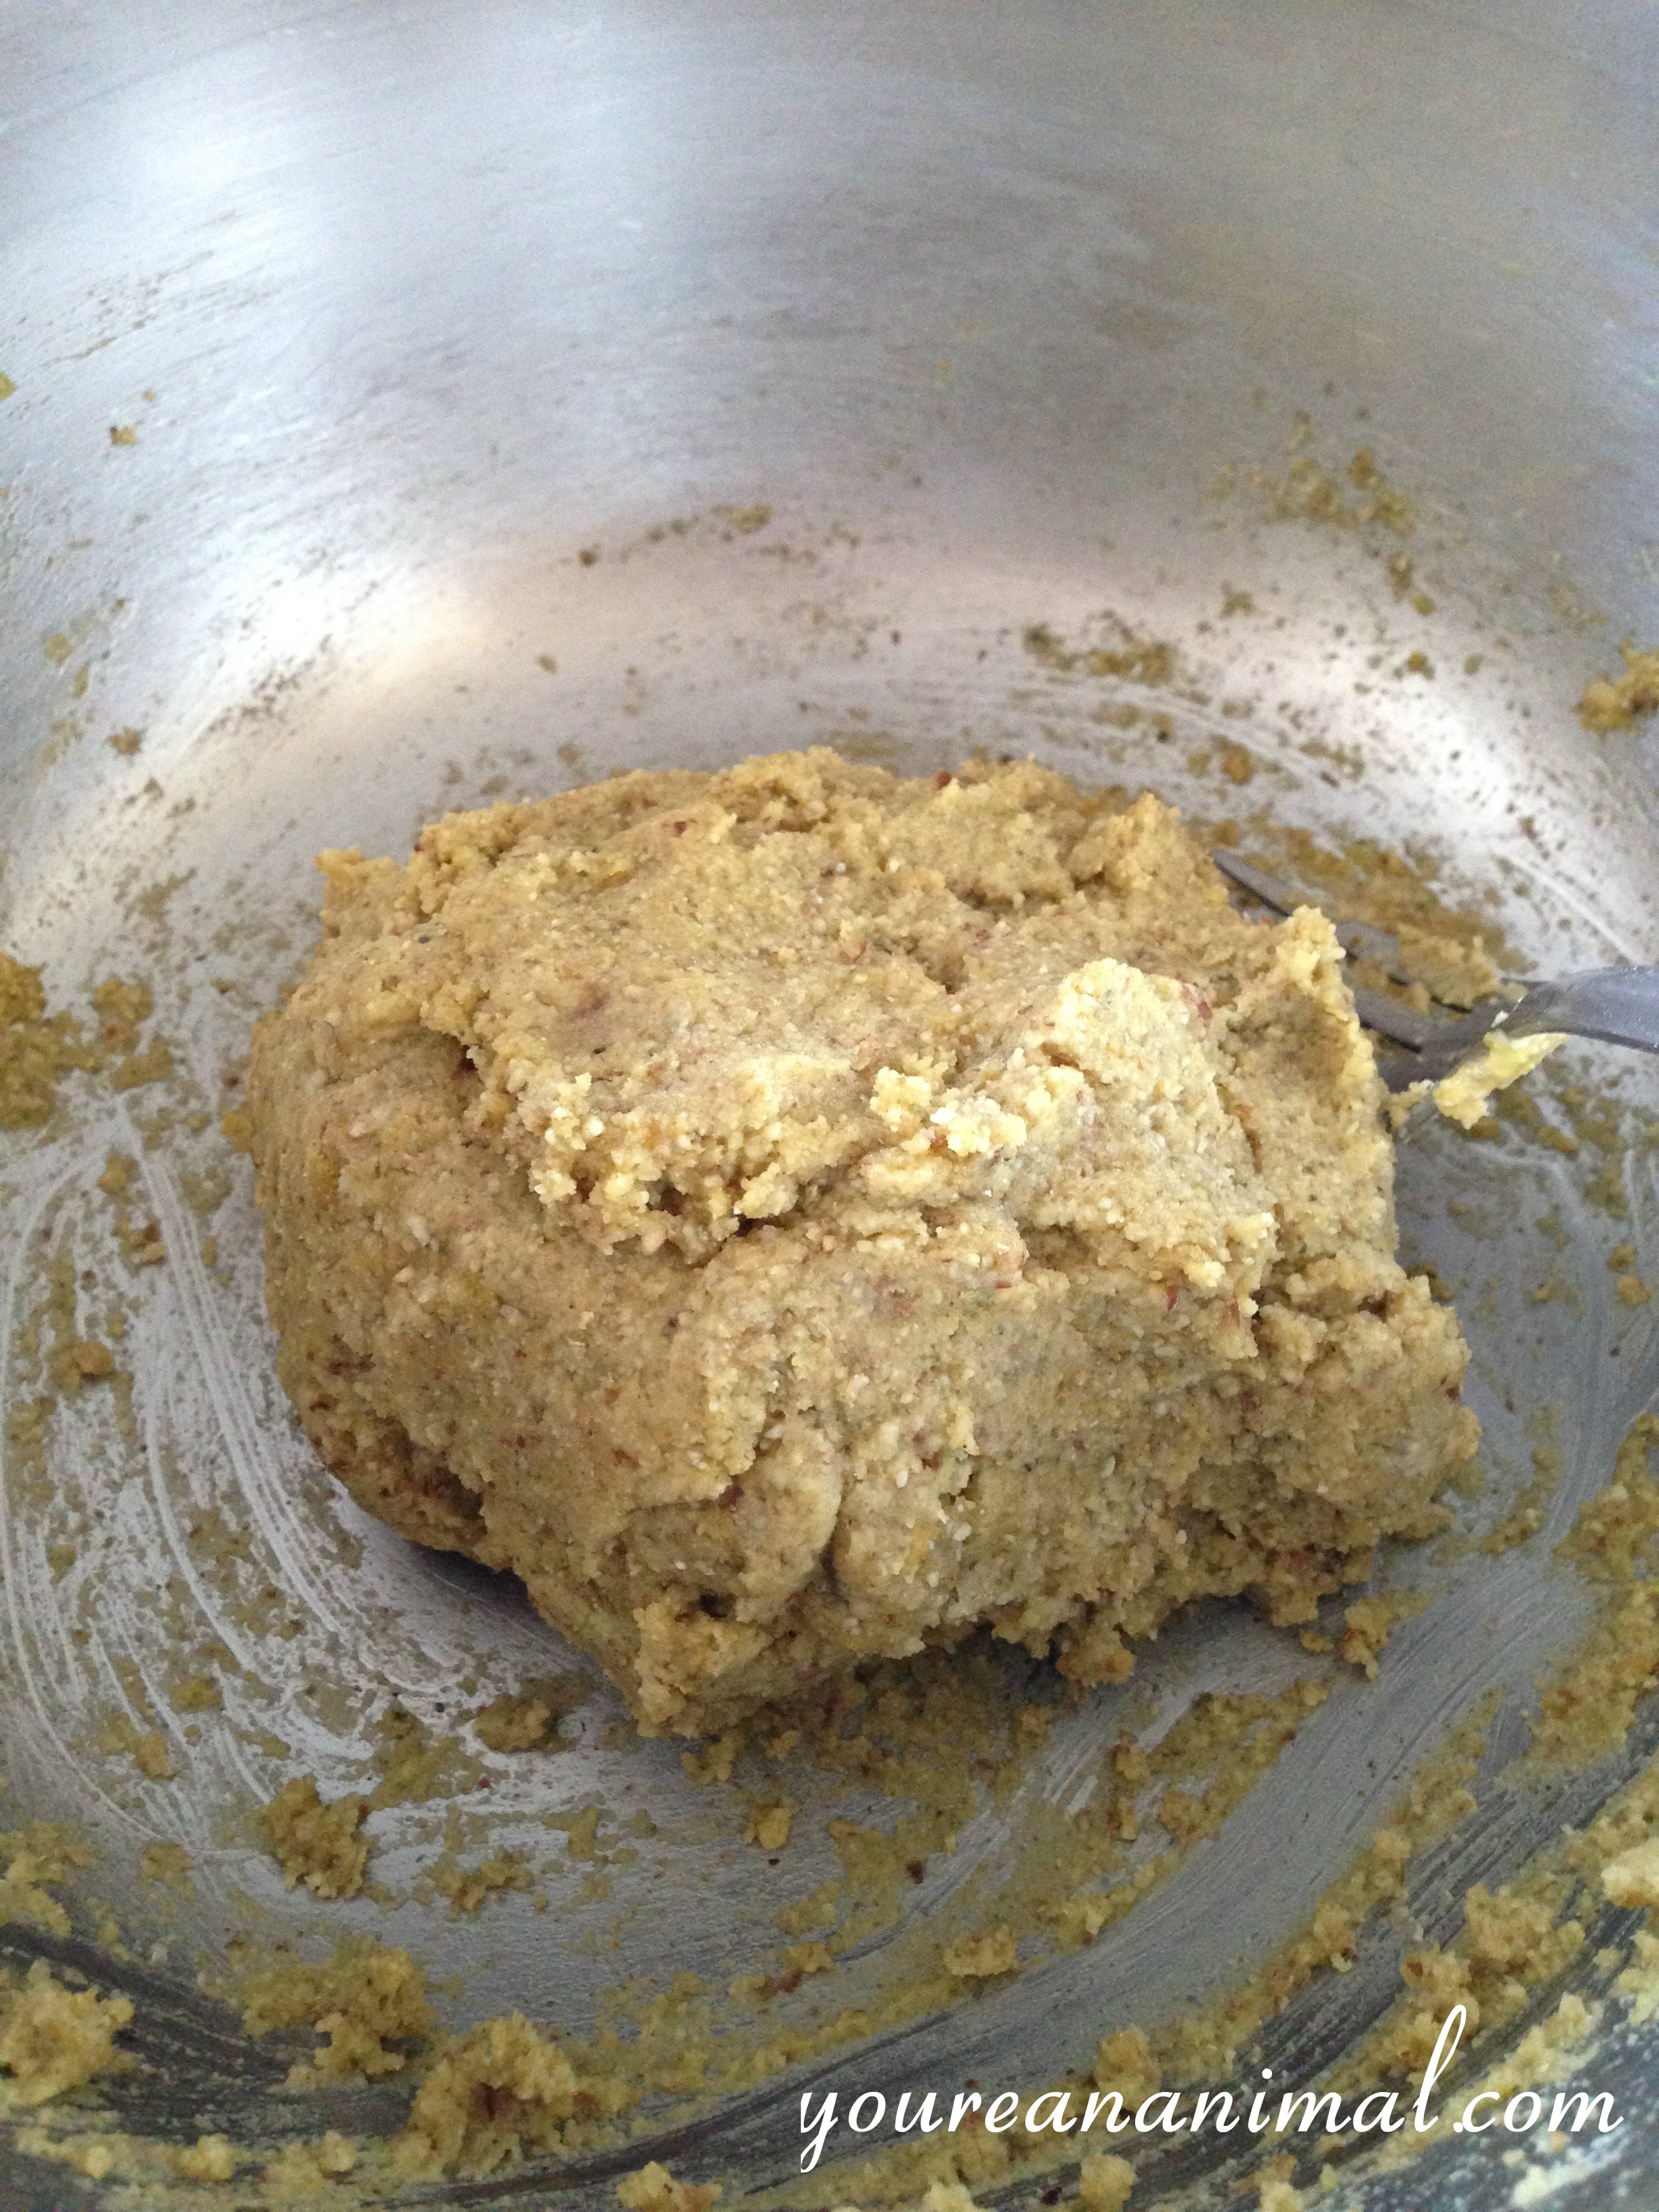
Combine your dry ingredients in a large bowl (ground sunflower seeds, almond flour, flax, coconut flour, baking powder, and spices).
Add the rest of the ingredients into the bowl of dry ingredients and mix by hand until thoroughly combined. Your mixture should stick together in a loose dough ball shape.
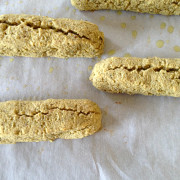
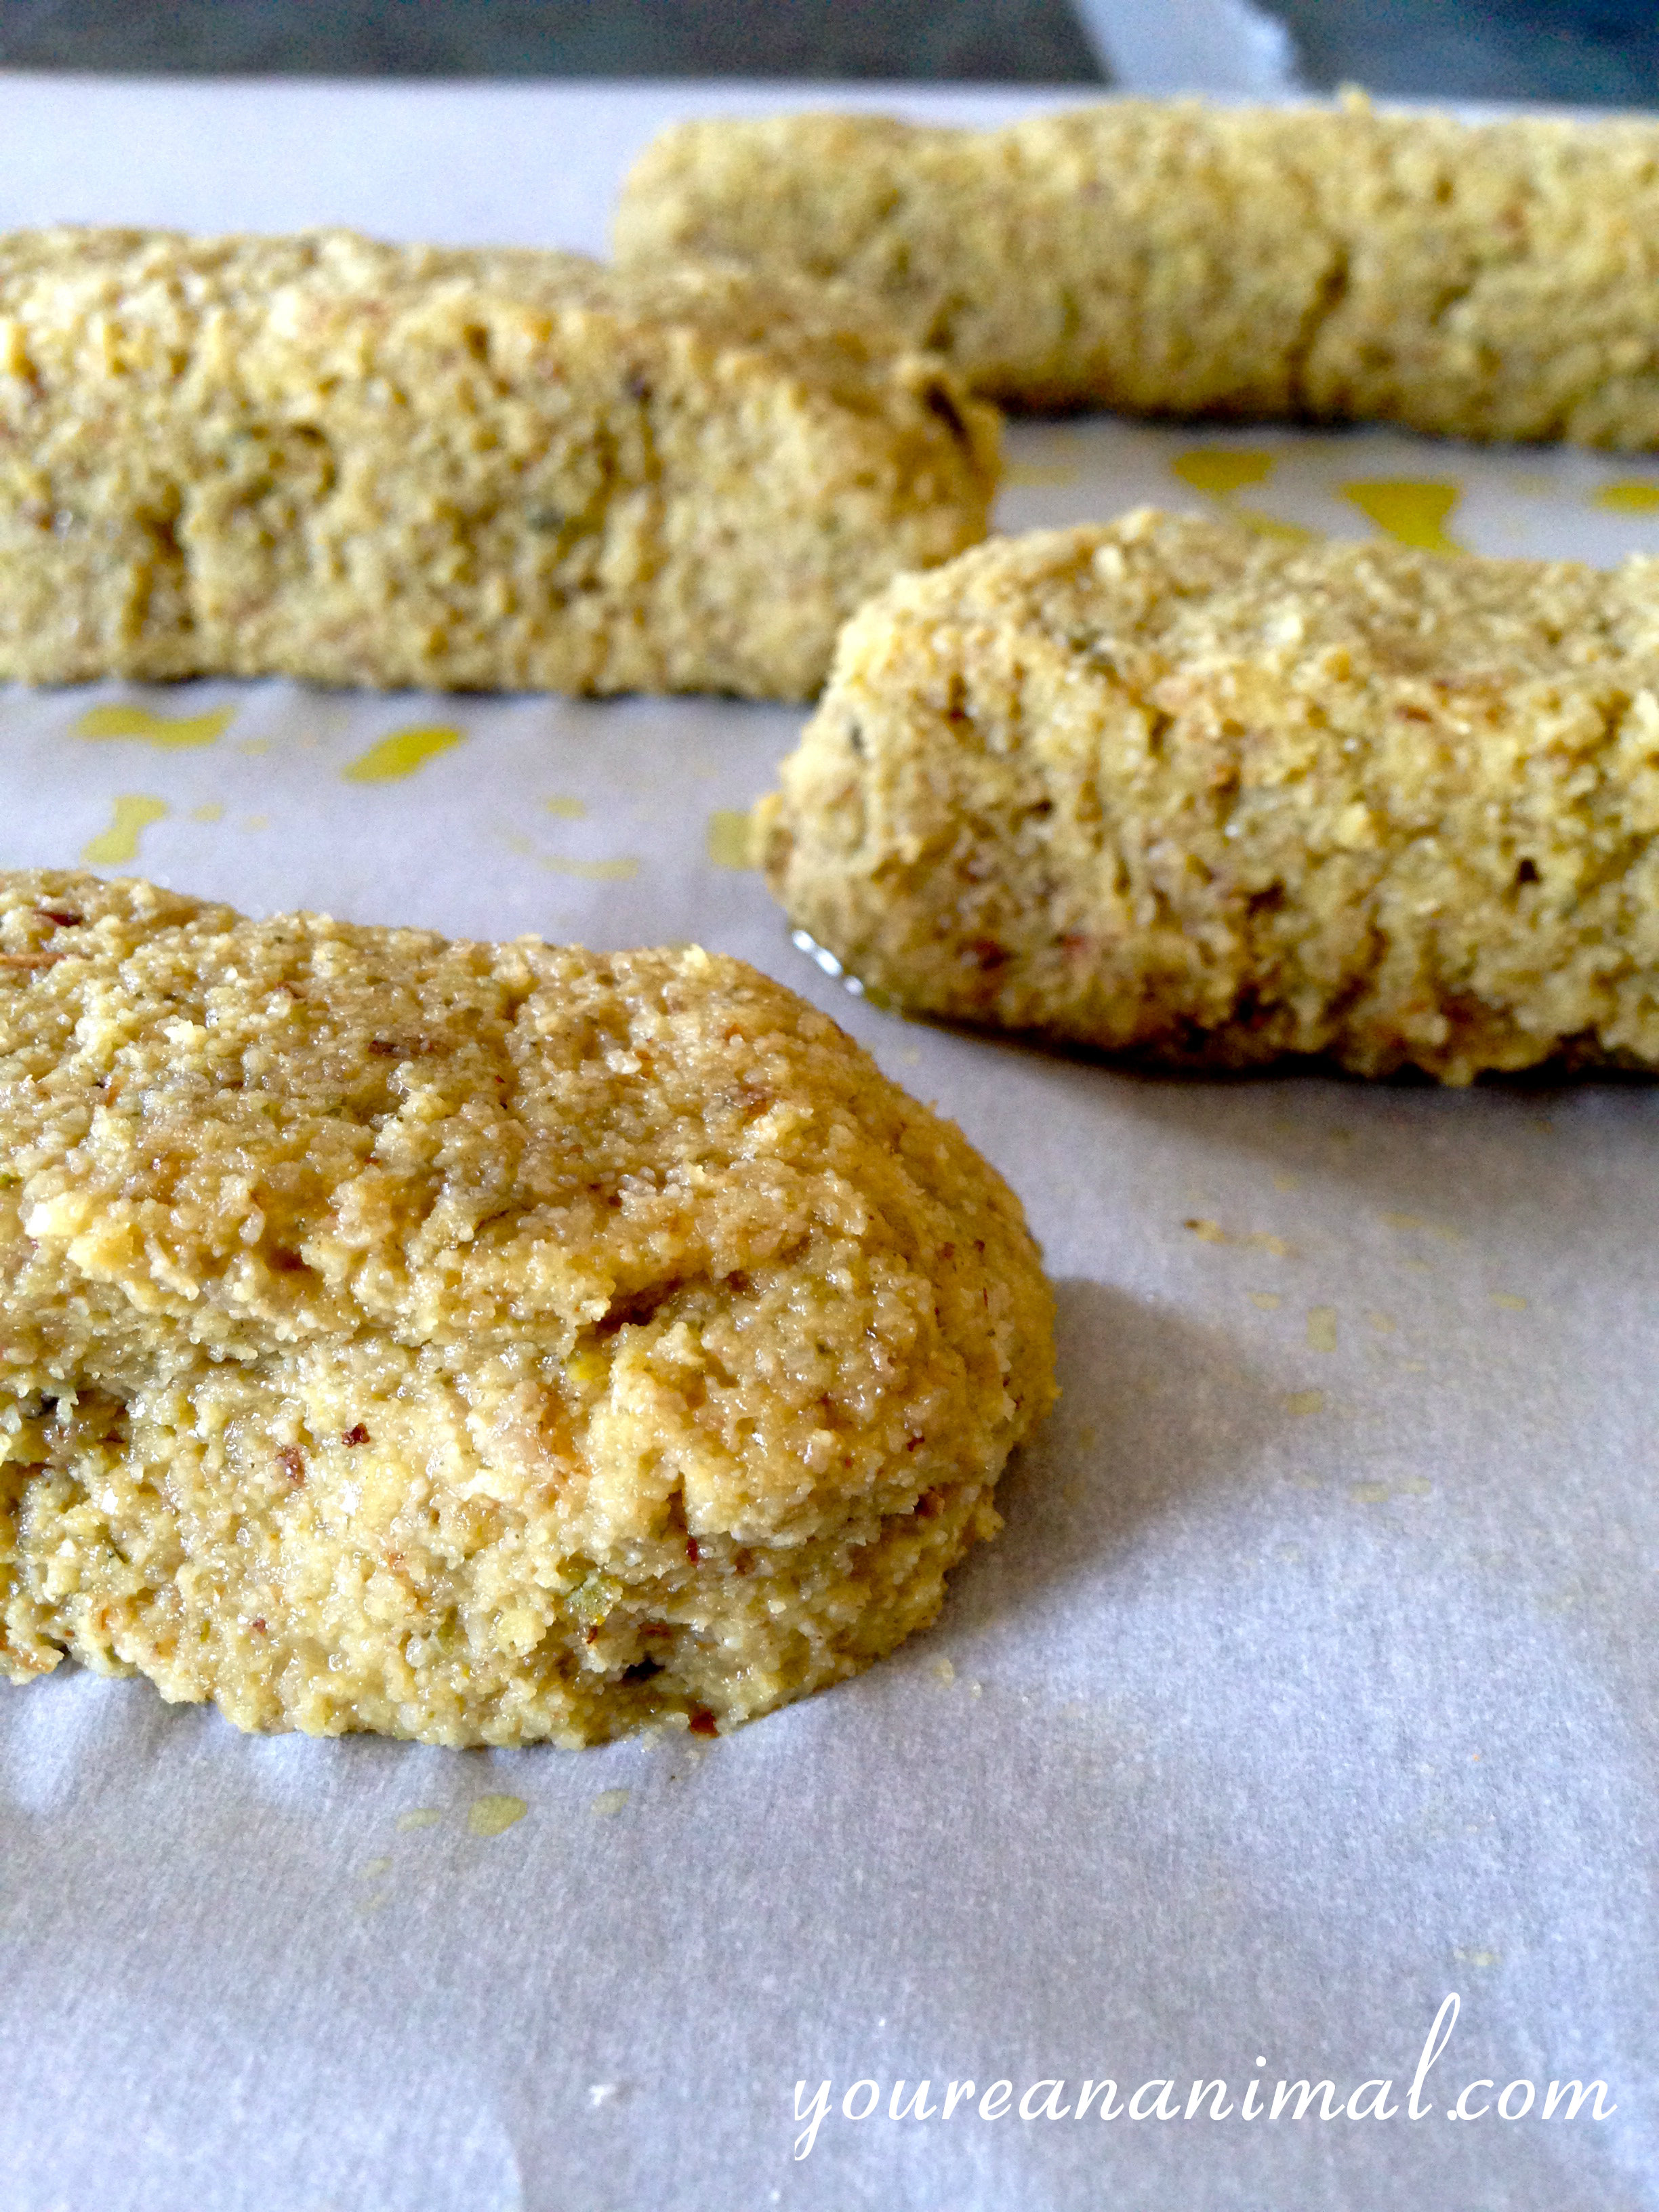
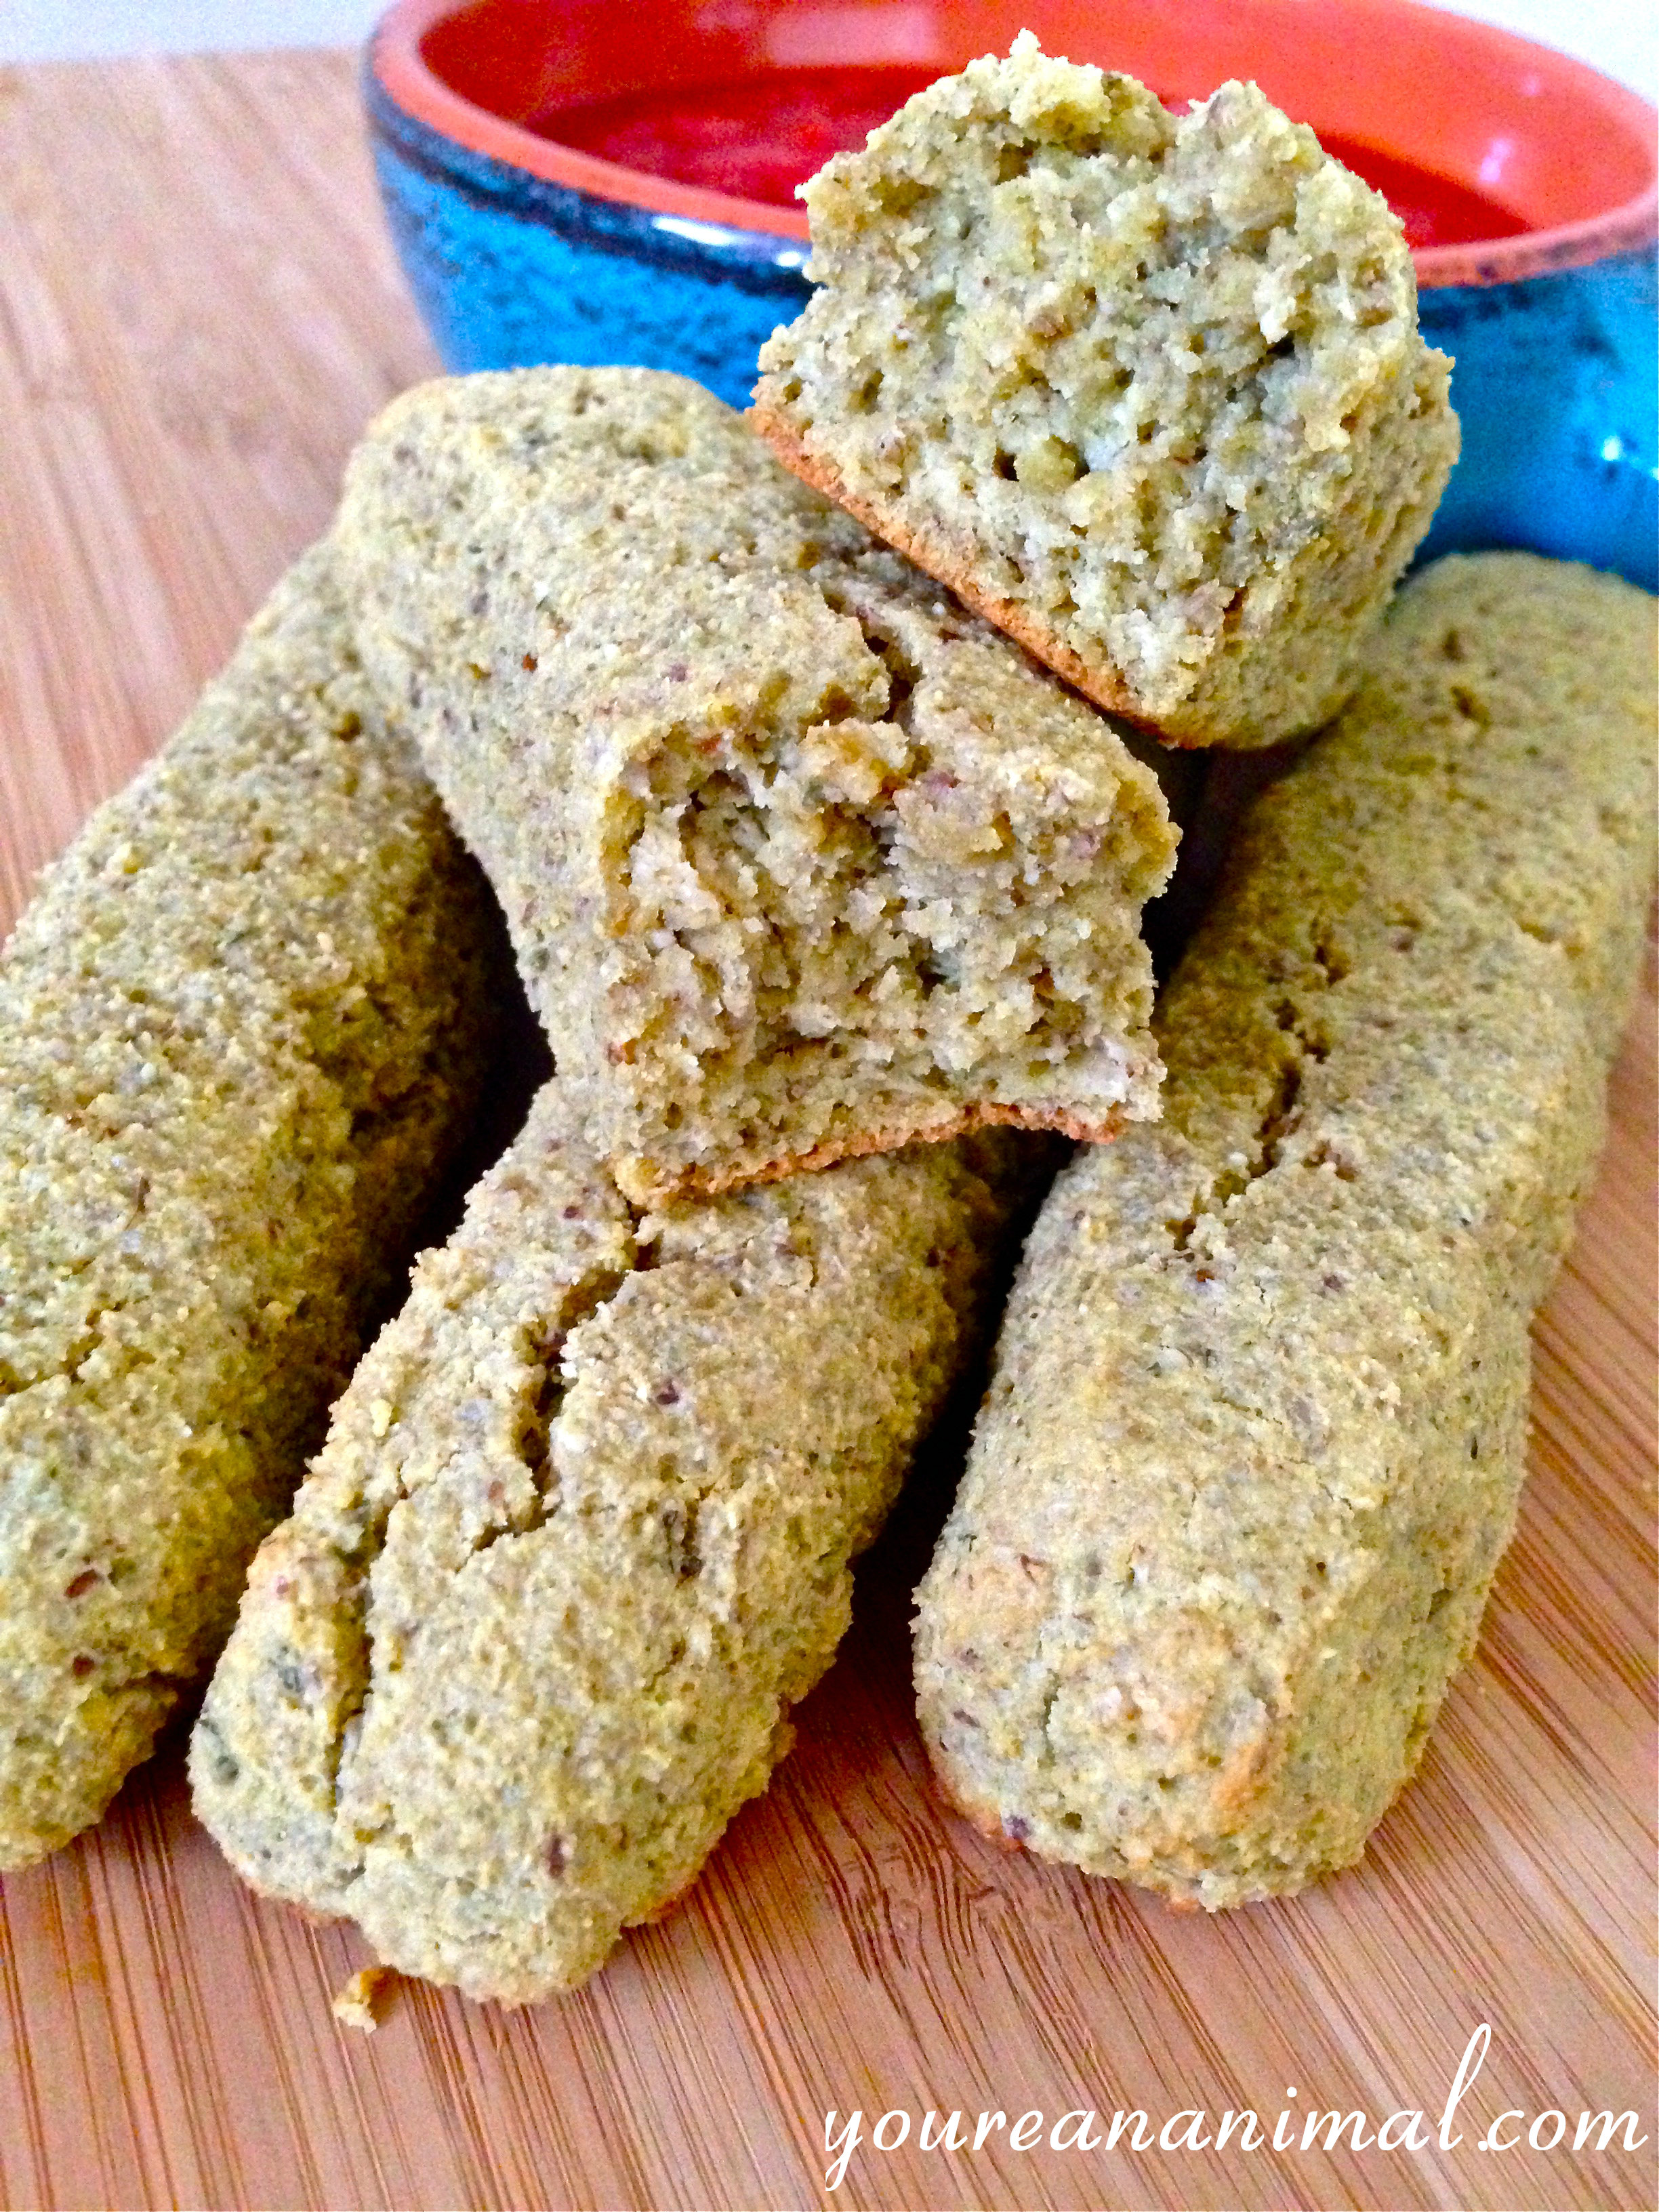
Divide your dough into 4 even sections, and mold into breadstick shapes. This dough will not roll out like a traditional bread does, so what I usually do is start to form the breadstick shape in my hands, then place on the baking sheet and continue to mold the dough until I have obtained my desired size and shape. The dough should hold its shape, but still feel slightly loose and watery. Place the breadsticks 1-2 inches apart on the baking sheet.
Place the baking sheet in the oven and bake for 10-12 minutes, or until they are golden brown in color, browned on the bottoms, and cracked on the tops.
Among the 16 major chemical elements that are contained in the make up of man, Potassium is so vital to the overall health that without it a human heart would not survive but for a very short period of time! Potassium is the element that increases the alkalinity of the entire muscular system. Anything that is considered alkaline in nature will help fight off the detrimental toxins, germs, and acids produced in the world as well as the human body. Potassium, like many other organic elements, has its life partner, Sodium. These two work very closely together, almost to the point where they are inseparable. Hand-in-hand so to speak. Both, Potassium and Sodium, are considered electrolytes and must stay in balance with each other in order to keep proper, effective, and efficient communication between our cells. When they get out of balance, disease processes begin. When in proper ratio they put the perfect osmotic pressure on cells to permit the exchange of many other vitamins, minerals, and amino acids in and out of the cells, especially muscle tissues – potassium inside, sodium outside. In conjunction with Calcium, these three elements are why our muscles contract and without Potassium or a lack of it will produce muscle cramps. Potassium can help in the protection of the heart as well, so it is a must in our diets! Eat a serving of Morgan’s banana ice cream and you’re well on your way to a stronger heart. Other good sources are kiwis, citrus fruits, potato and sweet potato skins, and most dark green leafy vegetables. Potassium is the leading element in the elimination of carbonic acid and lactic acid from our muscles – and a day after a good workout you’re sure to feel the effects of these acids in the form of sore, tight muscles! Always remember the 1st rule in health – to achieve great health, you must get your foods in their natural, whole state directly from the Earth.
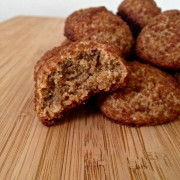
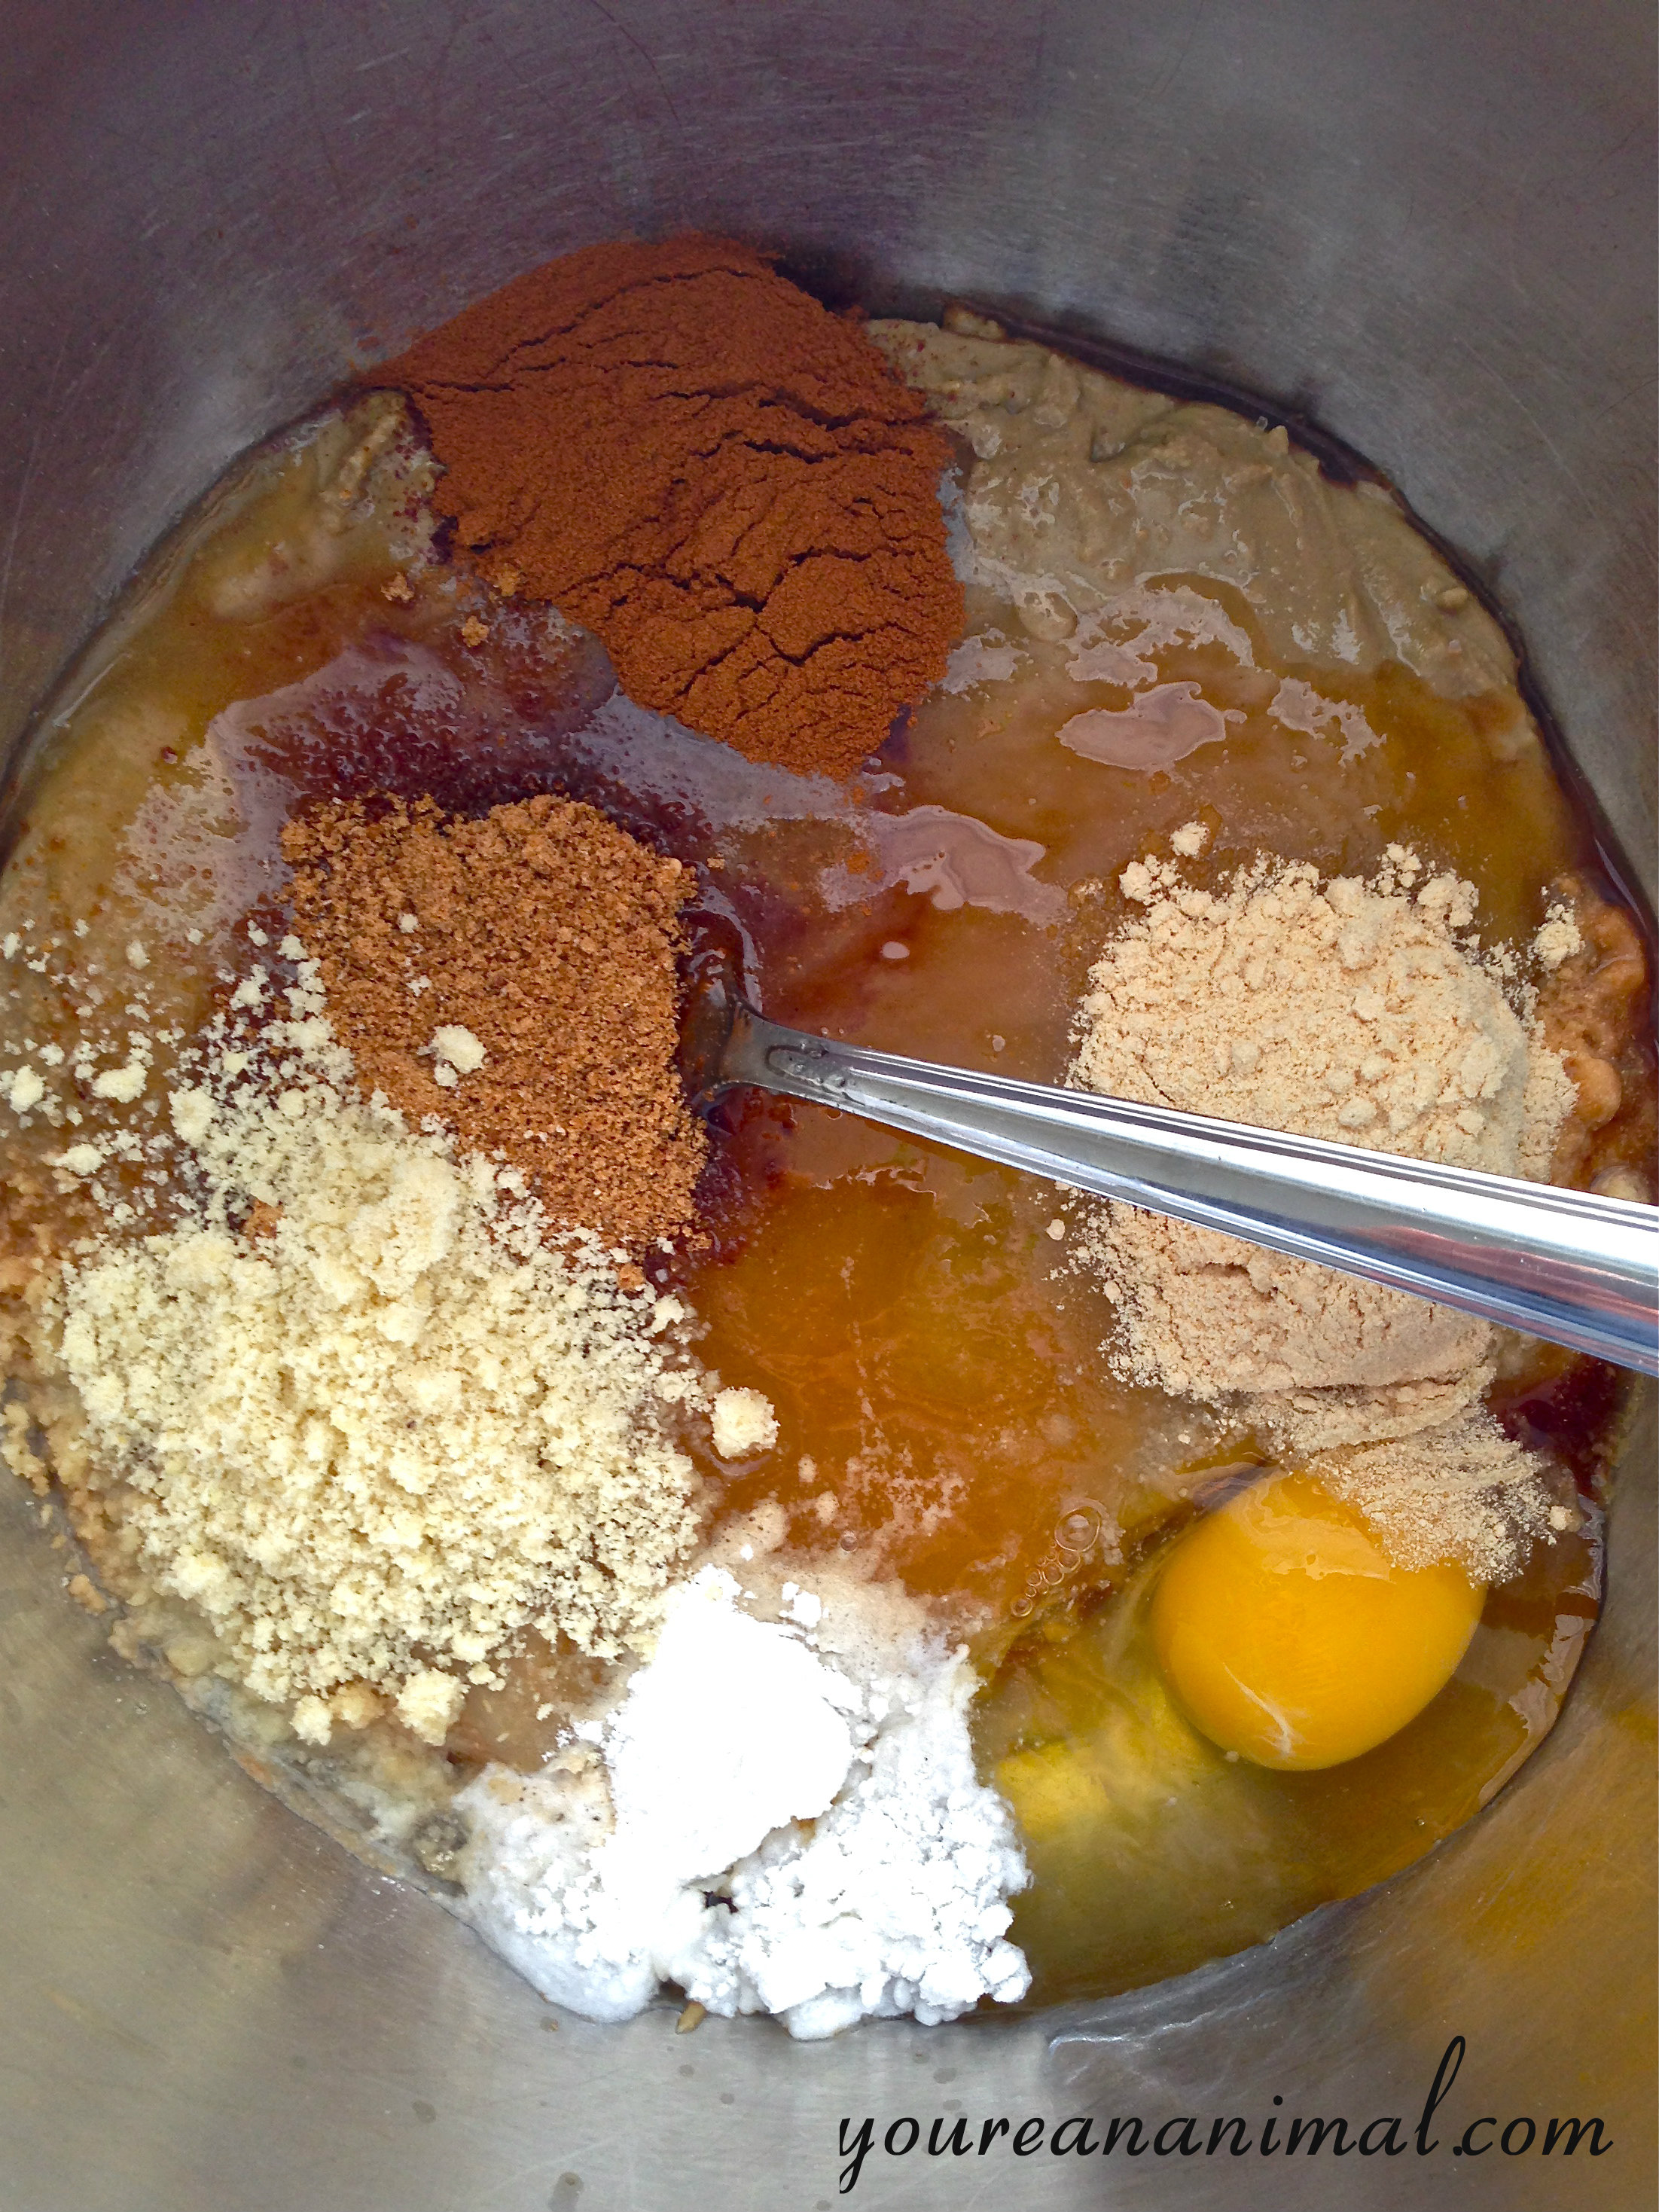
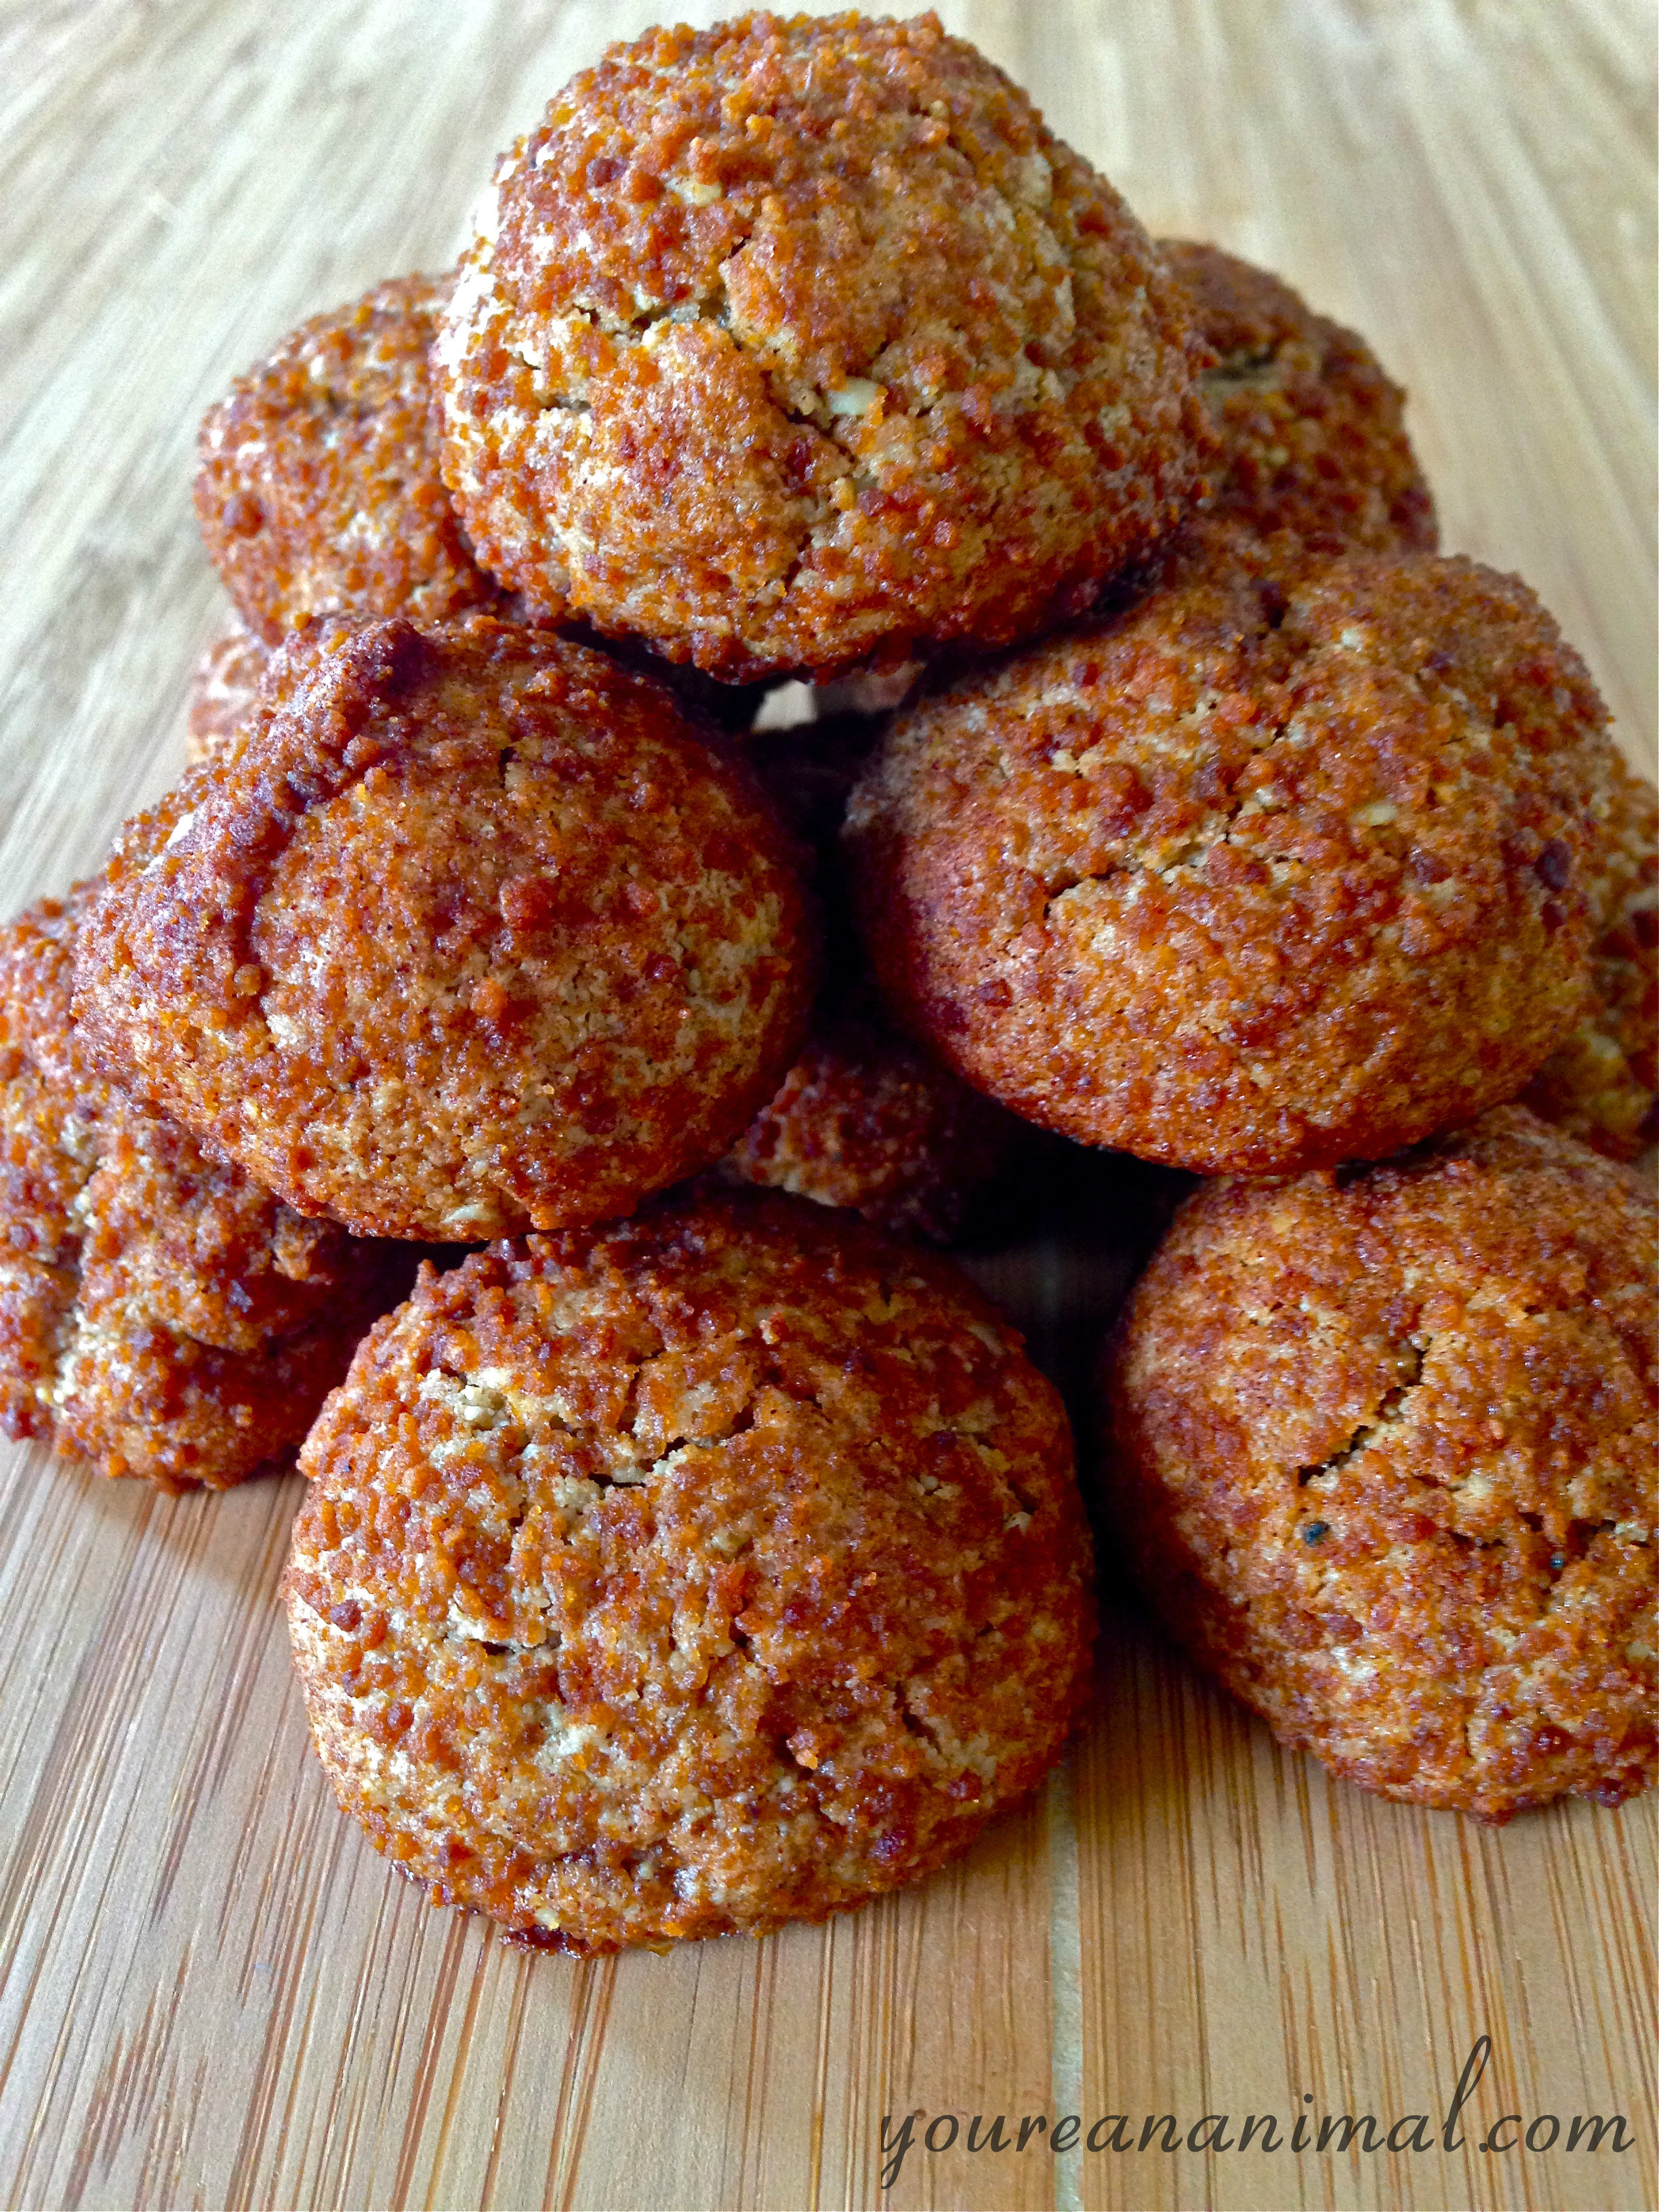
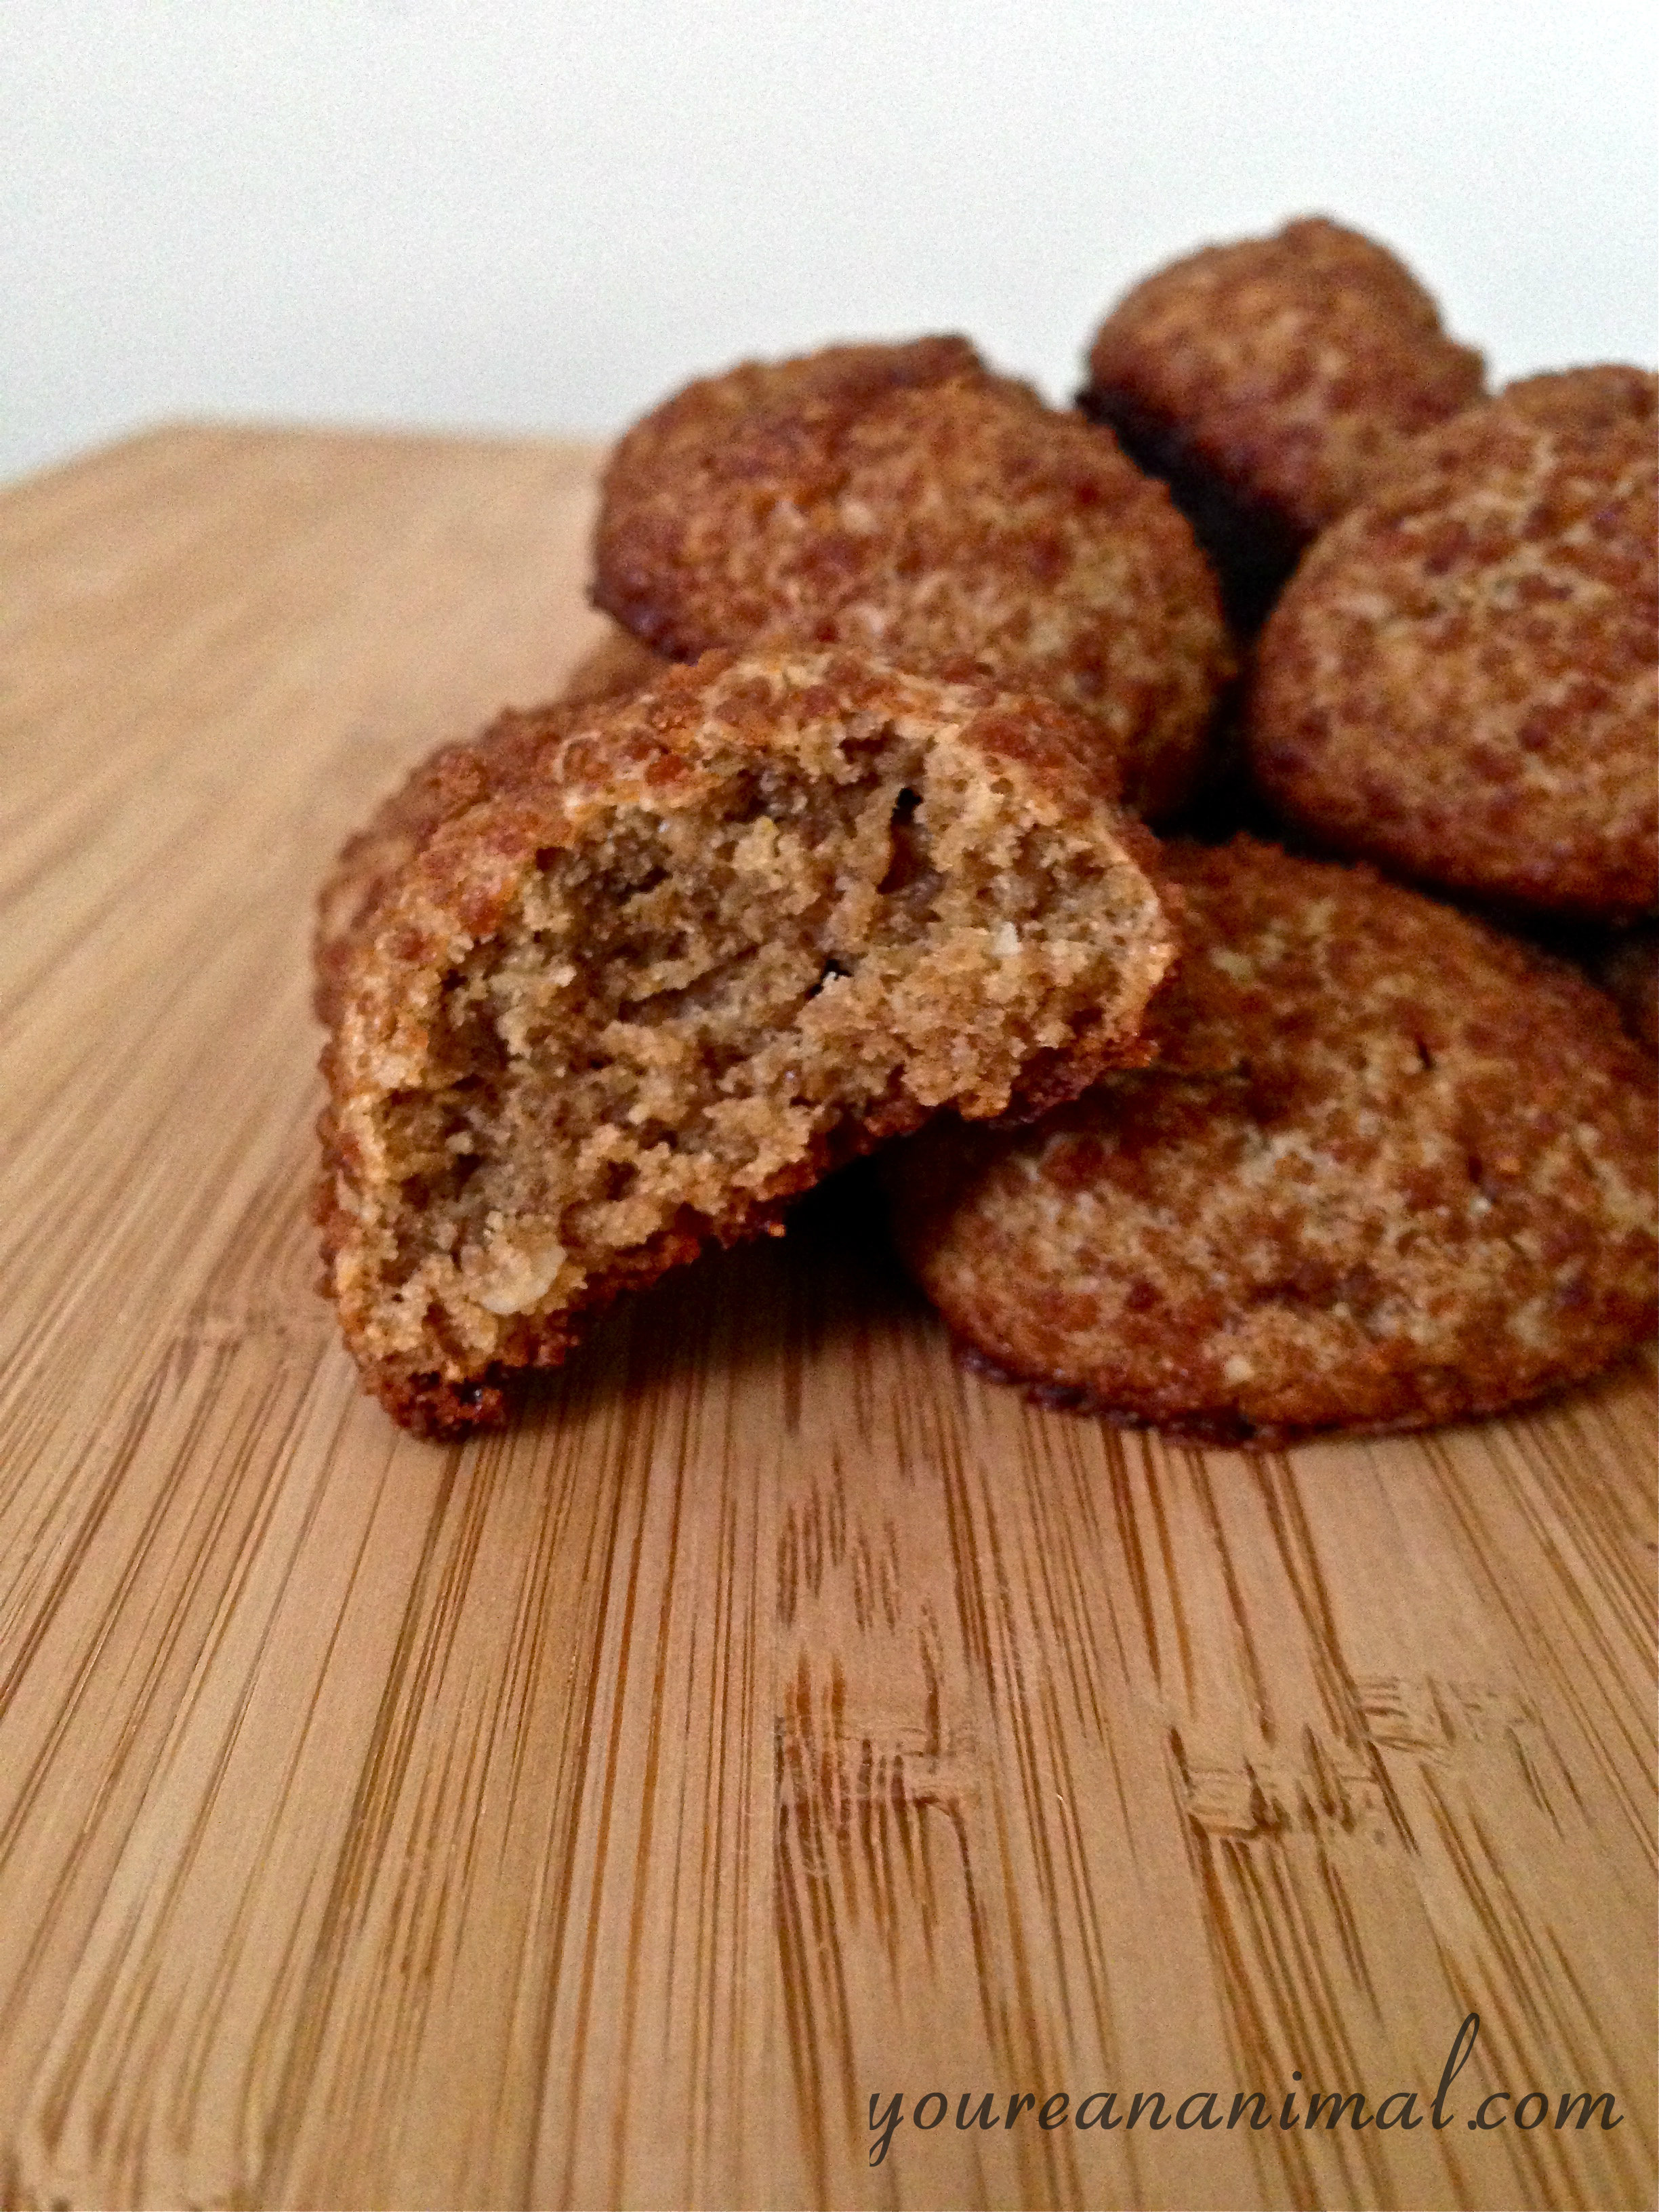
Snickerdoodles are one of my all-time favorite cookies, reason being that I absolutely love cinnamon. When I was younger (okay… maybe even now on occasion) I would sprinkle it straight onto my pancakes and waffles. No cinnamon-sugar combo here. Give me the straight up, real deal stuff and I will put it on just about anything. That being said, I do appreciate the cinnamon-sugar partnership and run with it whenever possible. Enter: Snickerdoodles. In bite form. Chewy on the inside, with that perfect sugar-shell on the outside. “But sugar?” You say, “But, but, I thought no sugar…?” Ah, but you are correct! There is no white sugar in these glorious little nuggets. How is that possible? Coconut palm sugar my friends. Coconut palm sugar comes from coconut flower blossom nectar. This stuff not only makes a perfect 1:1 replacement for white sugar, but is packed with nutrients and is claimed to be low-glycemic, which means it does not spike your blood sugar and leave you in a sugar crash later. According to the back of my specific bag, it has 16 vital amino acids and the nutrients include magnesium, nitrogen, zinc, potassium and calcium. Uh yeah… coconut palm sugar kicks white sugar’s booty. Pair that with the anti-inflammatory effects of cinnamon, and these cookies are a power-packed goldmine. Plus they’re completely addictive in their bite-sized form. I say win-win, right?
1 Tbsp almond flour (use flax meal to make nut-free)
1 egg (free-range is best)
1/2 Tbsp + 1/2 Tbsp cinnamon
1 tsp baking powder
1/4 tsp salt
1/2 tsp vanilla extract
Preheat the oven to 350 degrees F.
Combine all ingredients, minus the 1/4 cup coconut palm sugar and 1/2 Tbsp cinnamon, in a bowl and mix thoroughly. It may be helpful to first mix dry ingredients, and then add wet ingredients (however, I am lazy and just threw them all in the bowl at once and they worked out fine).
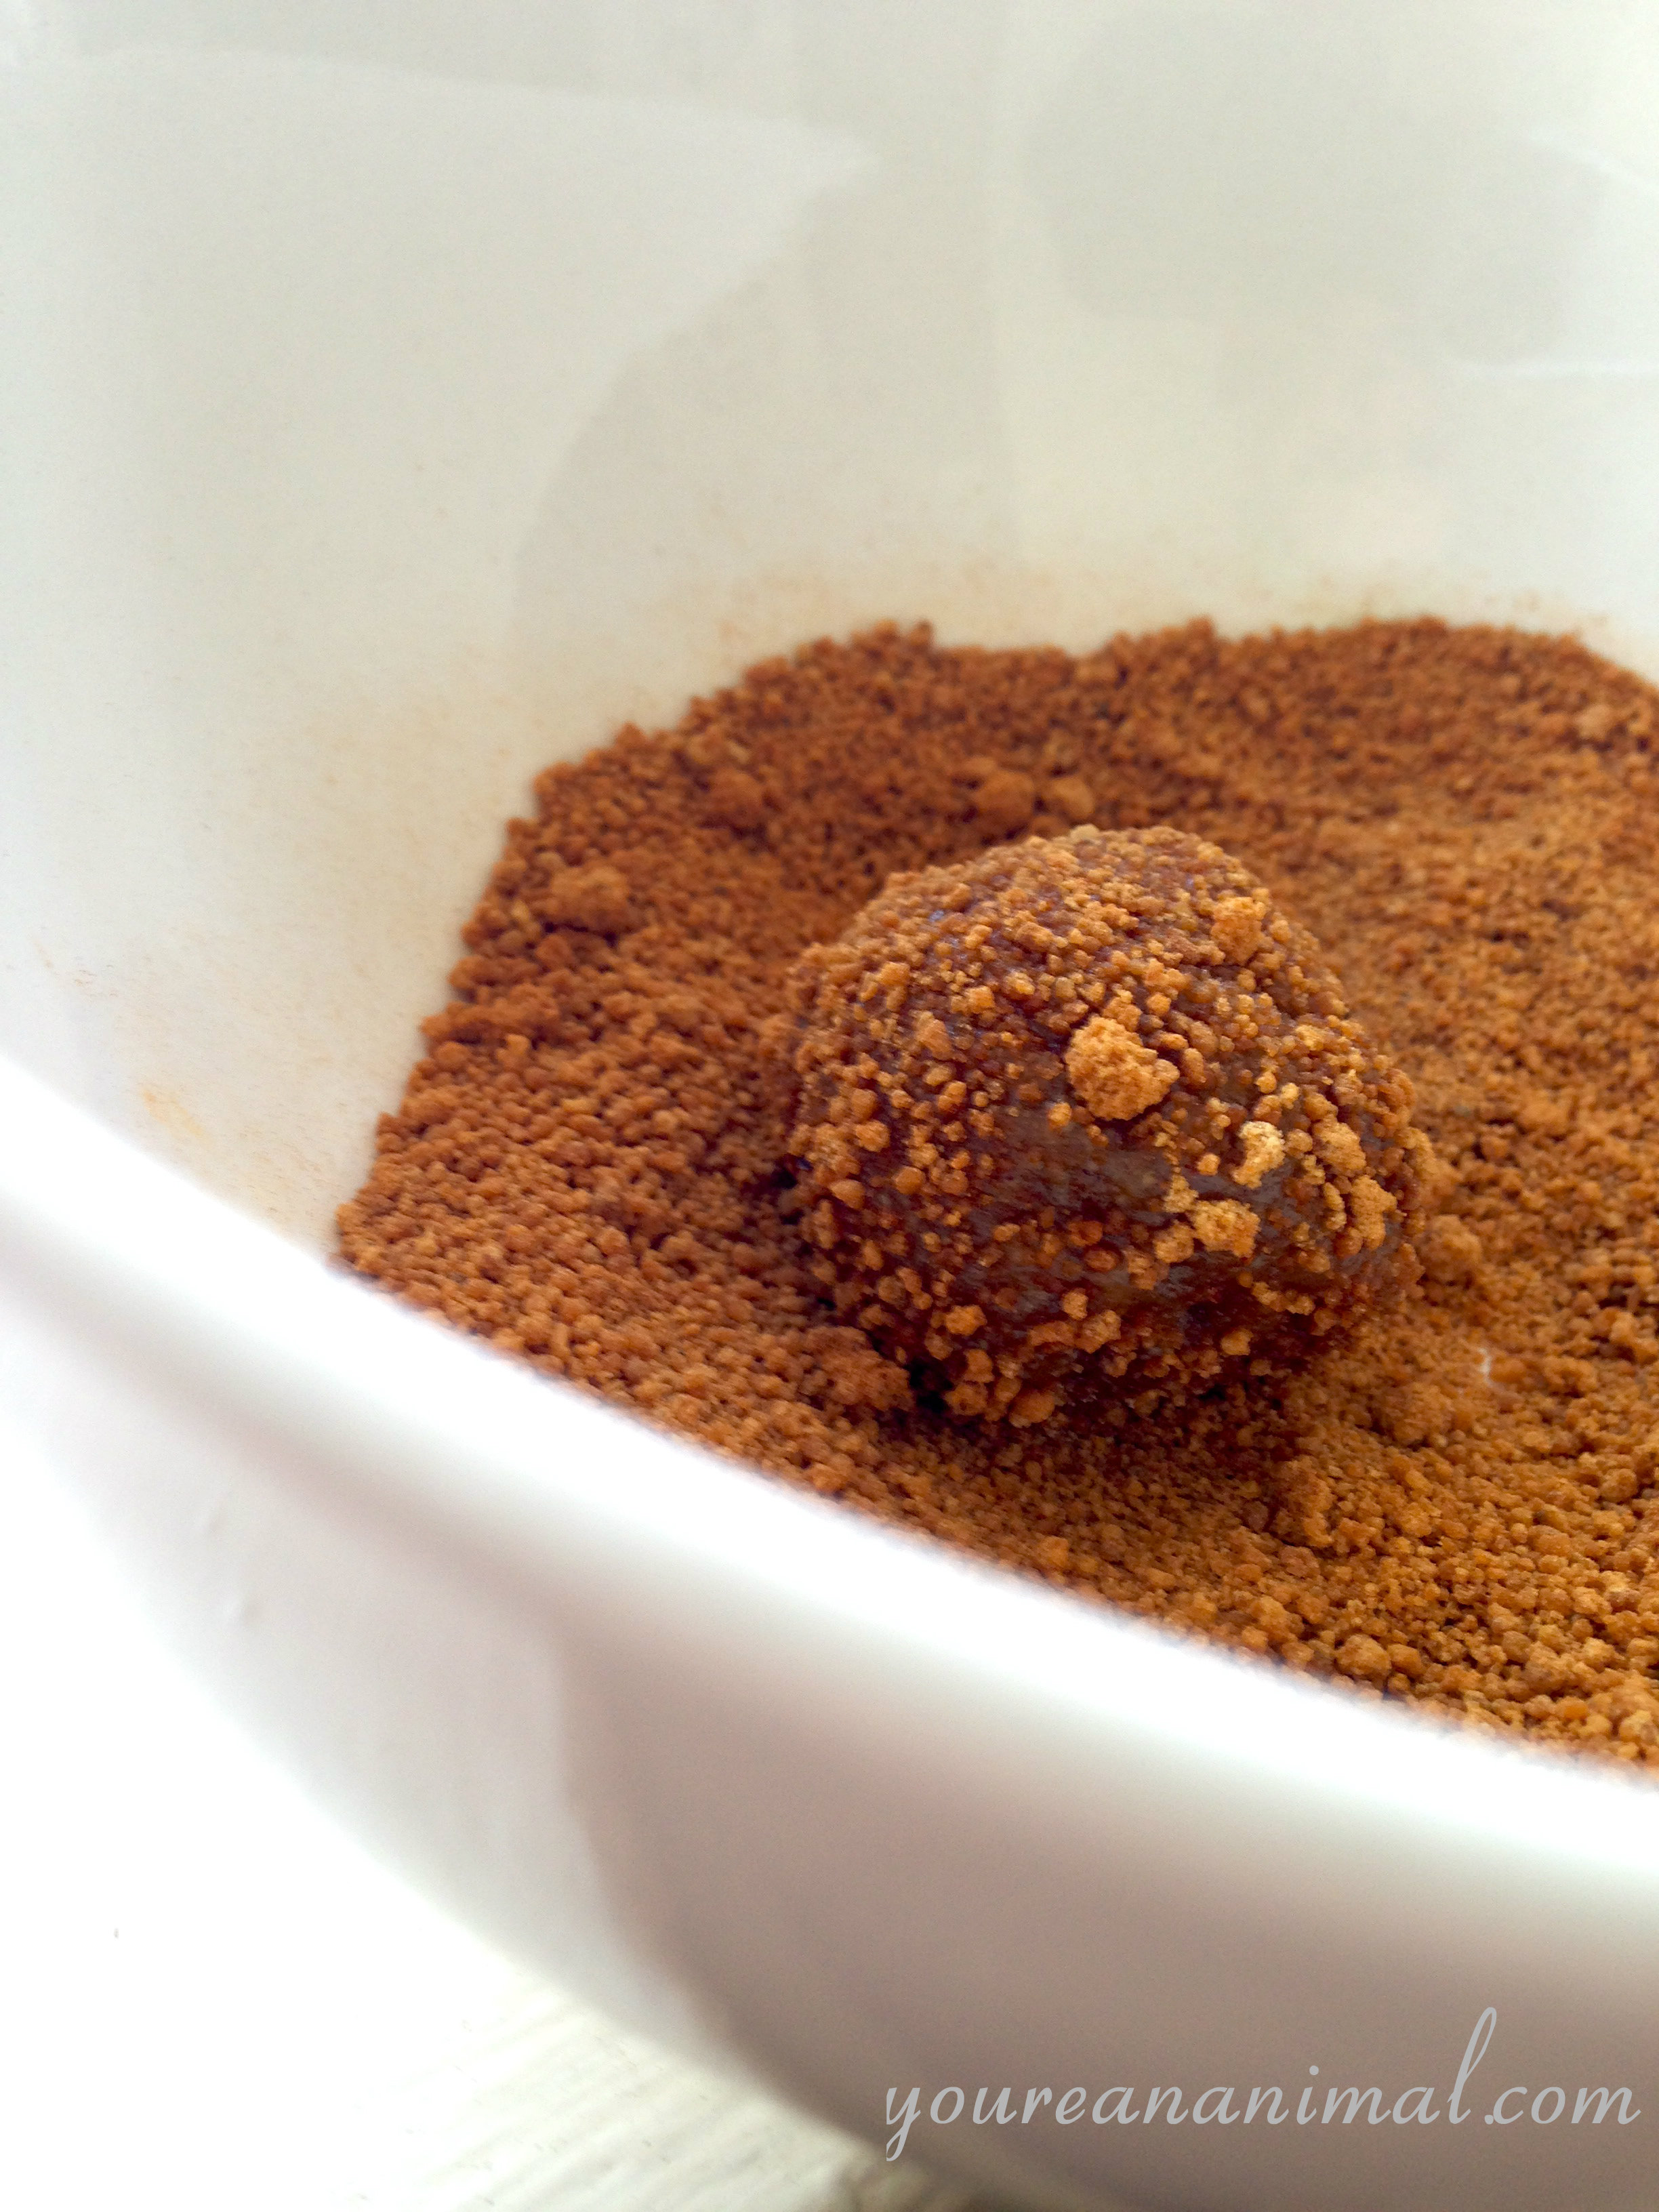
Combine the 1/4 cup coconut palm sugar and 1/2 Tbsp cinnamon in a separate bowl.
Scoop out the dough in 1/2 Tbsp balls. Roll the ball in your hands to create an even shape. I got about 30 dough balls from this recipe.
Place the dough ball into your separate bowl filled with the coconut palm sugar and cinnamon. Roll the ball of dough around in the cinnamon-sugar mixture until evenly and thoroughly covered.
Repeat this process with the rest of your dough.
Line 2 cookie sheets with parchment paper (or grease with coconut oil). Place your dough balls about 1-2 inches apart on your cookie sheets.
Place in your pre-heated oven and let bake for 8-10 minutes, or until cracks form on the tops of the cookies and the bottoms become slightly caramelized and golden brown. Note that these cookies will not spread out much, and will instead stay in bite-sized nuggets.
It's time to take care of yourself.
It's time to nourish your wild side.
Are you always spending your energy on everyone else, and have nothing left for yourself? Let us remind you why YOU matter, and why the people in your life deserve to receive your best, healthiest self. Sign up for our newsletter and you'll instantly get a copy of our FREE eBook, Take Control: Your 7-Day Challenge to Reclaim Energy and Reduce Stress. You deserve it!
Nourish Wild, LLC and nourishwild.com is intended for educational and recreational purposes only. Please consult your physician before making any health or lifestyle changes.
and it works like a charm), and combine.